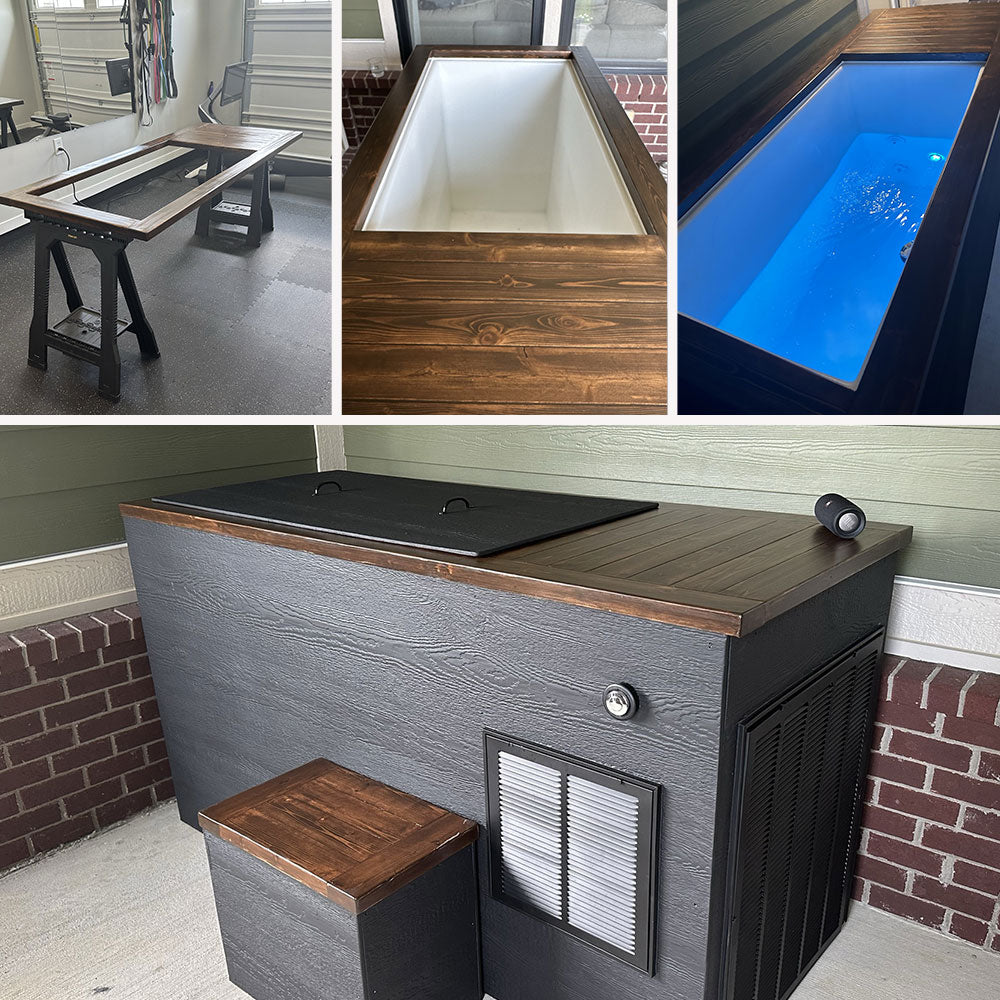
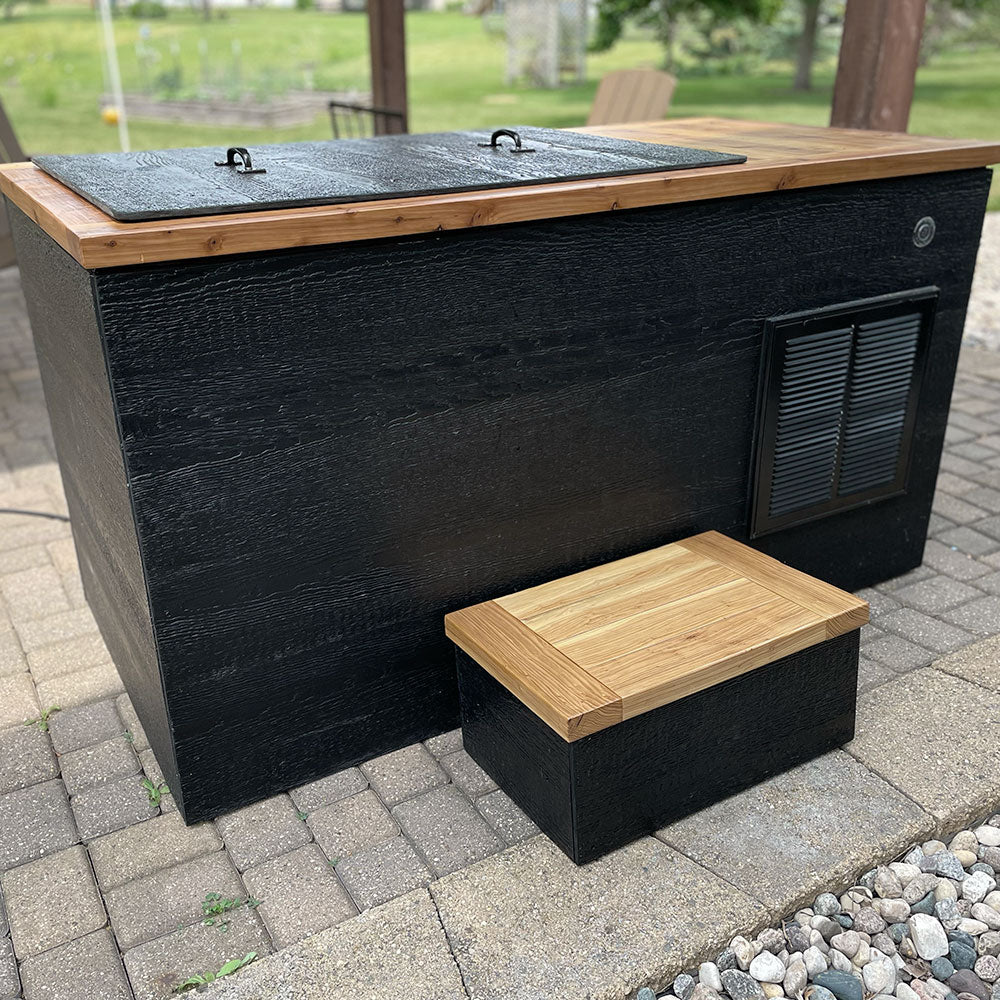
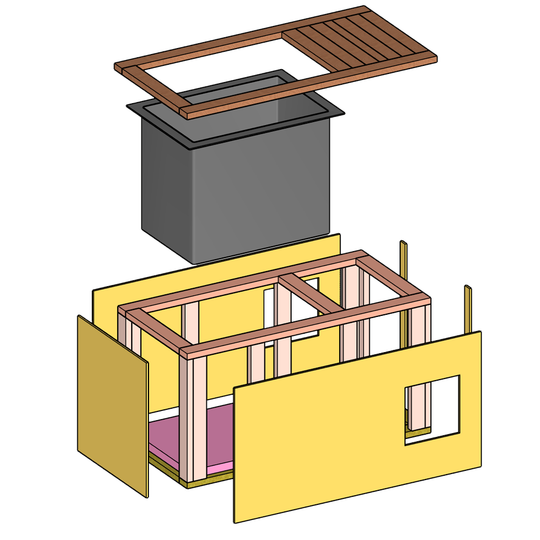
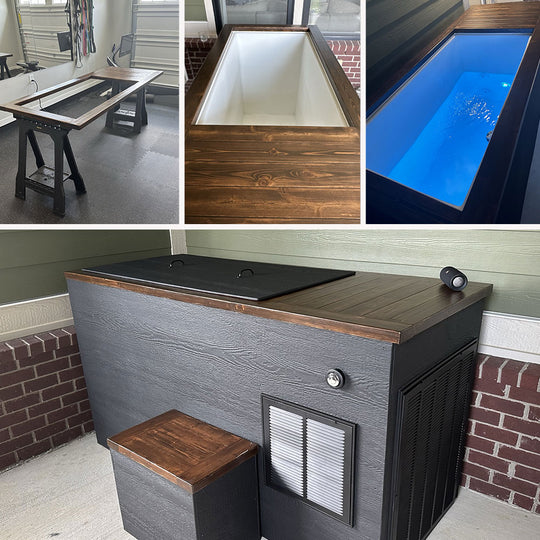
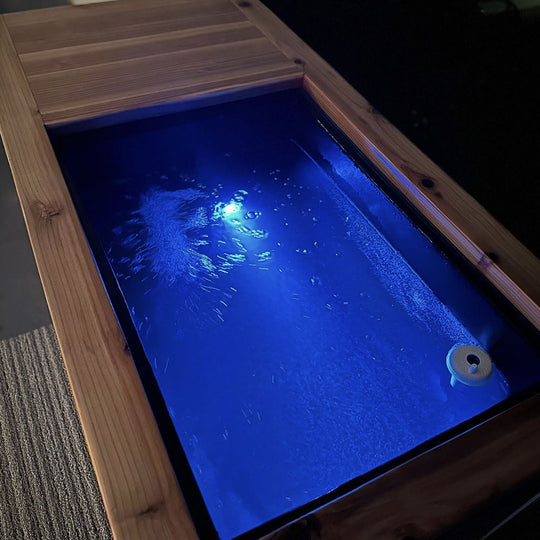
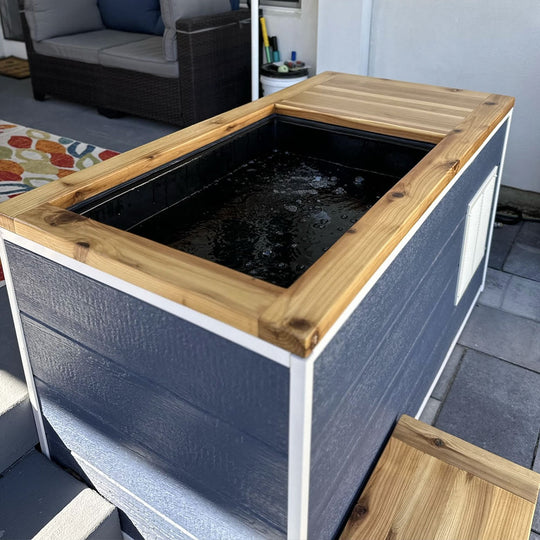
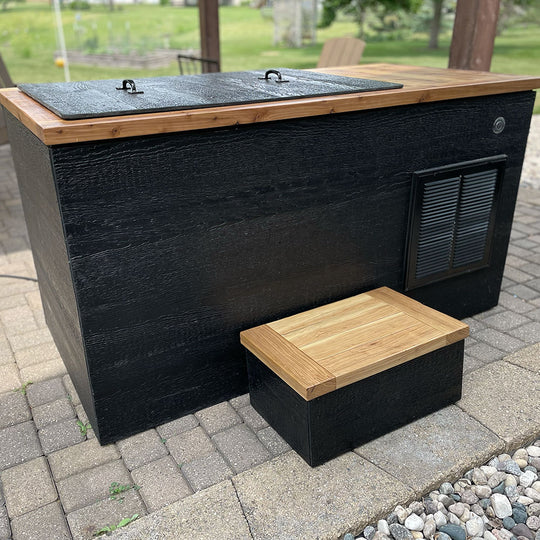
Joe gives very detailed plans, photos of every product you need and videos for each step in the procedure. For someone who is neither a carpenter or a plumber, I made a few mistakes that required more time to address, but I’m very happy with the finished product. Joe answers any emails I sent along the way, replying by the next morning every time I was stuck. That was a big help. I purchased the plans for the luxury tub build and the comprehensive product package then grabbed all building materials locally. I built it to match the color scheme of my house, along with the enclosed mechanical area, I like how it blends in on the deck. I love this thing! Highly recommend purchasing the plans if you’re on the fence!
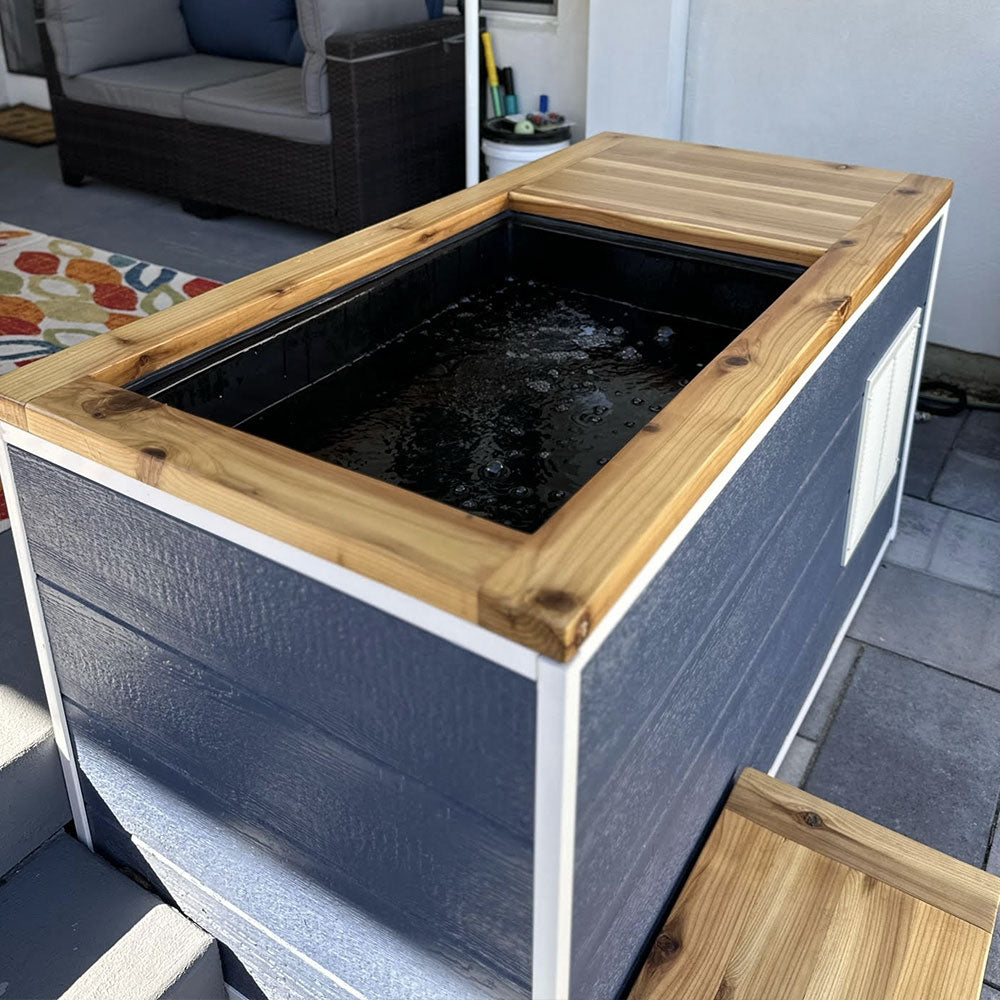
I have been plunging for a while with an inflatable tub and a subpar chiller. A friend of mine introduced me to the DIY coldplunge a few months ago. We built his first, then we build mine with minor changes. I used 1x8 cedar instead of the T-111. Both look great and both perform perfectly. The plans make it extremely easy for people of all levels. These cold plunges are the best out there (imo) and save you loads of money.
Last winter I was talking to a buddy who swears by his cold plunge routine (he is an orthopedic surgeon… so he knows what he is talking about). He showed me this site and I immediately ordered plans. I’m fairly handy, but very impatient. And these plans were great. I made mine my own by adding some cedar panels on the sides to really give it that up north at the cabin feeling. Along the way I had questions and Joe was super fast to reply. But, follow him on Facebook. He answers many of the questions I had in the content he now publishes.
I went with a penguin chiller.
I love my cold plunge tub and you will, too.
We did the luxury option as a father sons project. The entire plunge was assembled by my college aged sons who had very little prior experience. I was very very hands off (except for drilling the holes into the plastic tub🤣).
I could not be happier with the finished product. Cold water for plunging at home during hot summer months is SURREAL.
Thanks for making it so easy for us, Joe.
I recently finished the construction of my cold plunge. The instructions, videos, and inventory parts list were perfect. Wry easy to follow. Answered every question that I had along the way with my build. Additionally, Joe has been incredibly prompt in replying to questions regarding functionality and hints after I finished the project.


