First time I've ever bought pre made plans, and I can't recommend enough. All of Joe's plans are detailed and easy to follow, and made the project go quick and smooth.
Followed the instructions it was a straight forward build. LOVE the stock tank build.
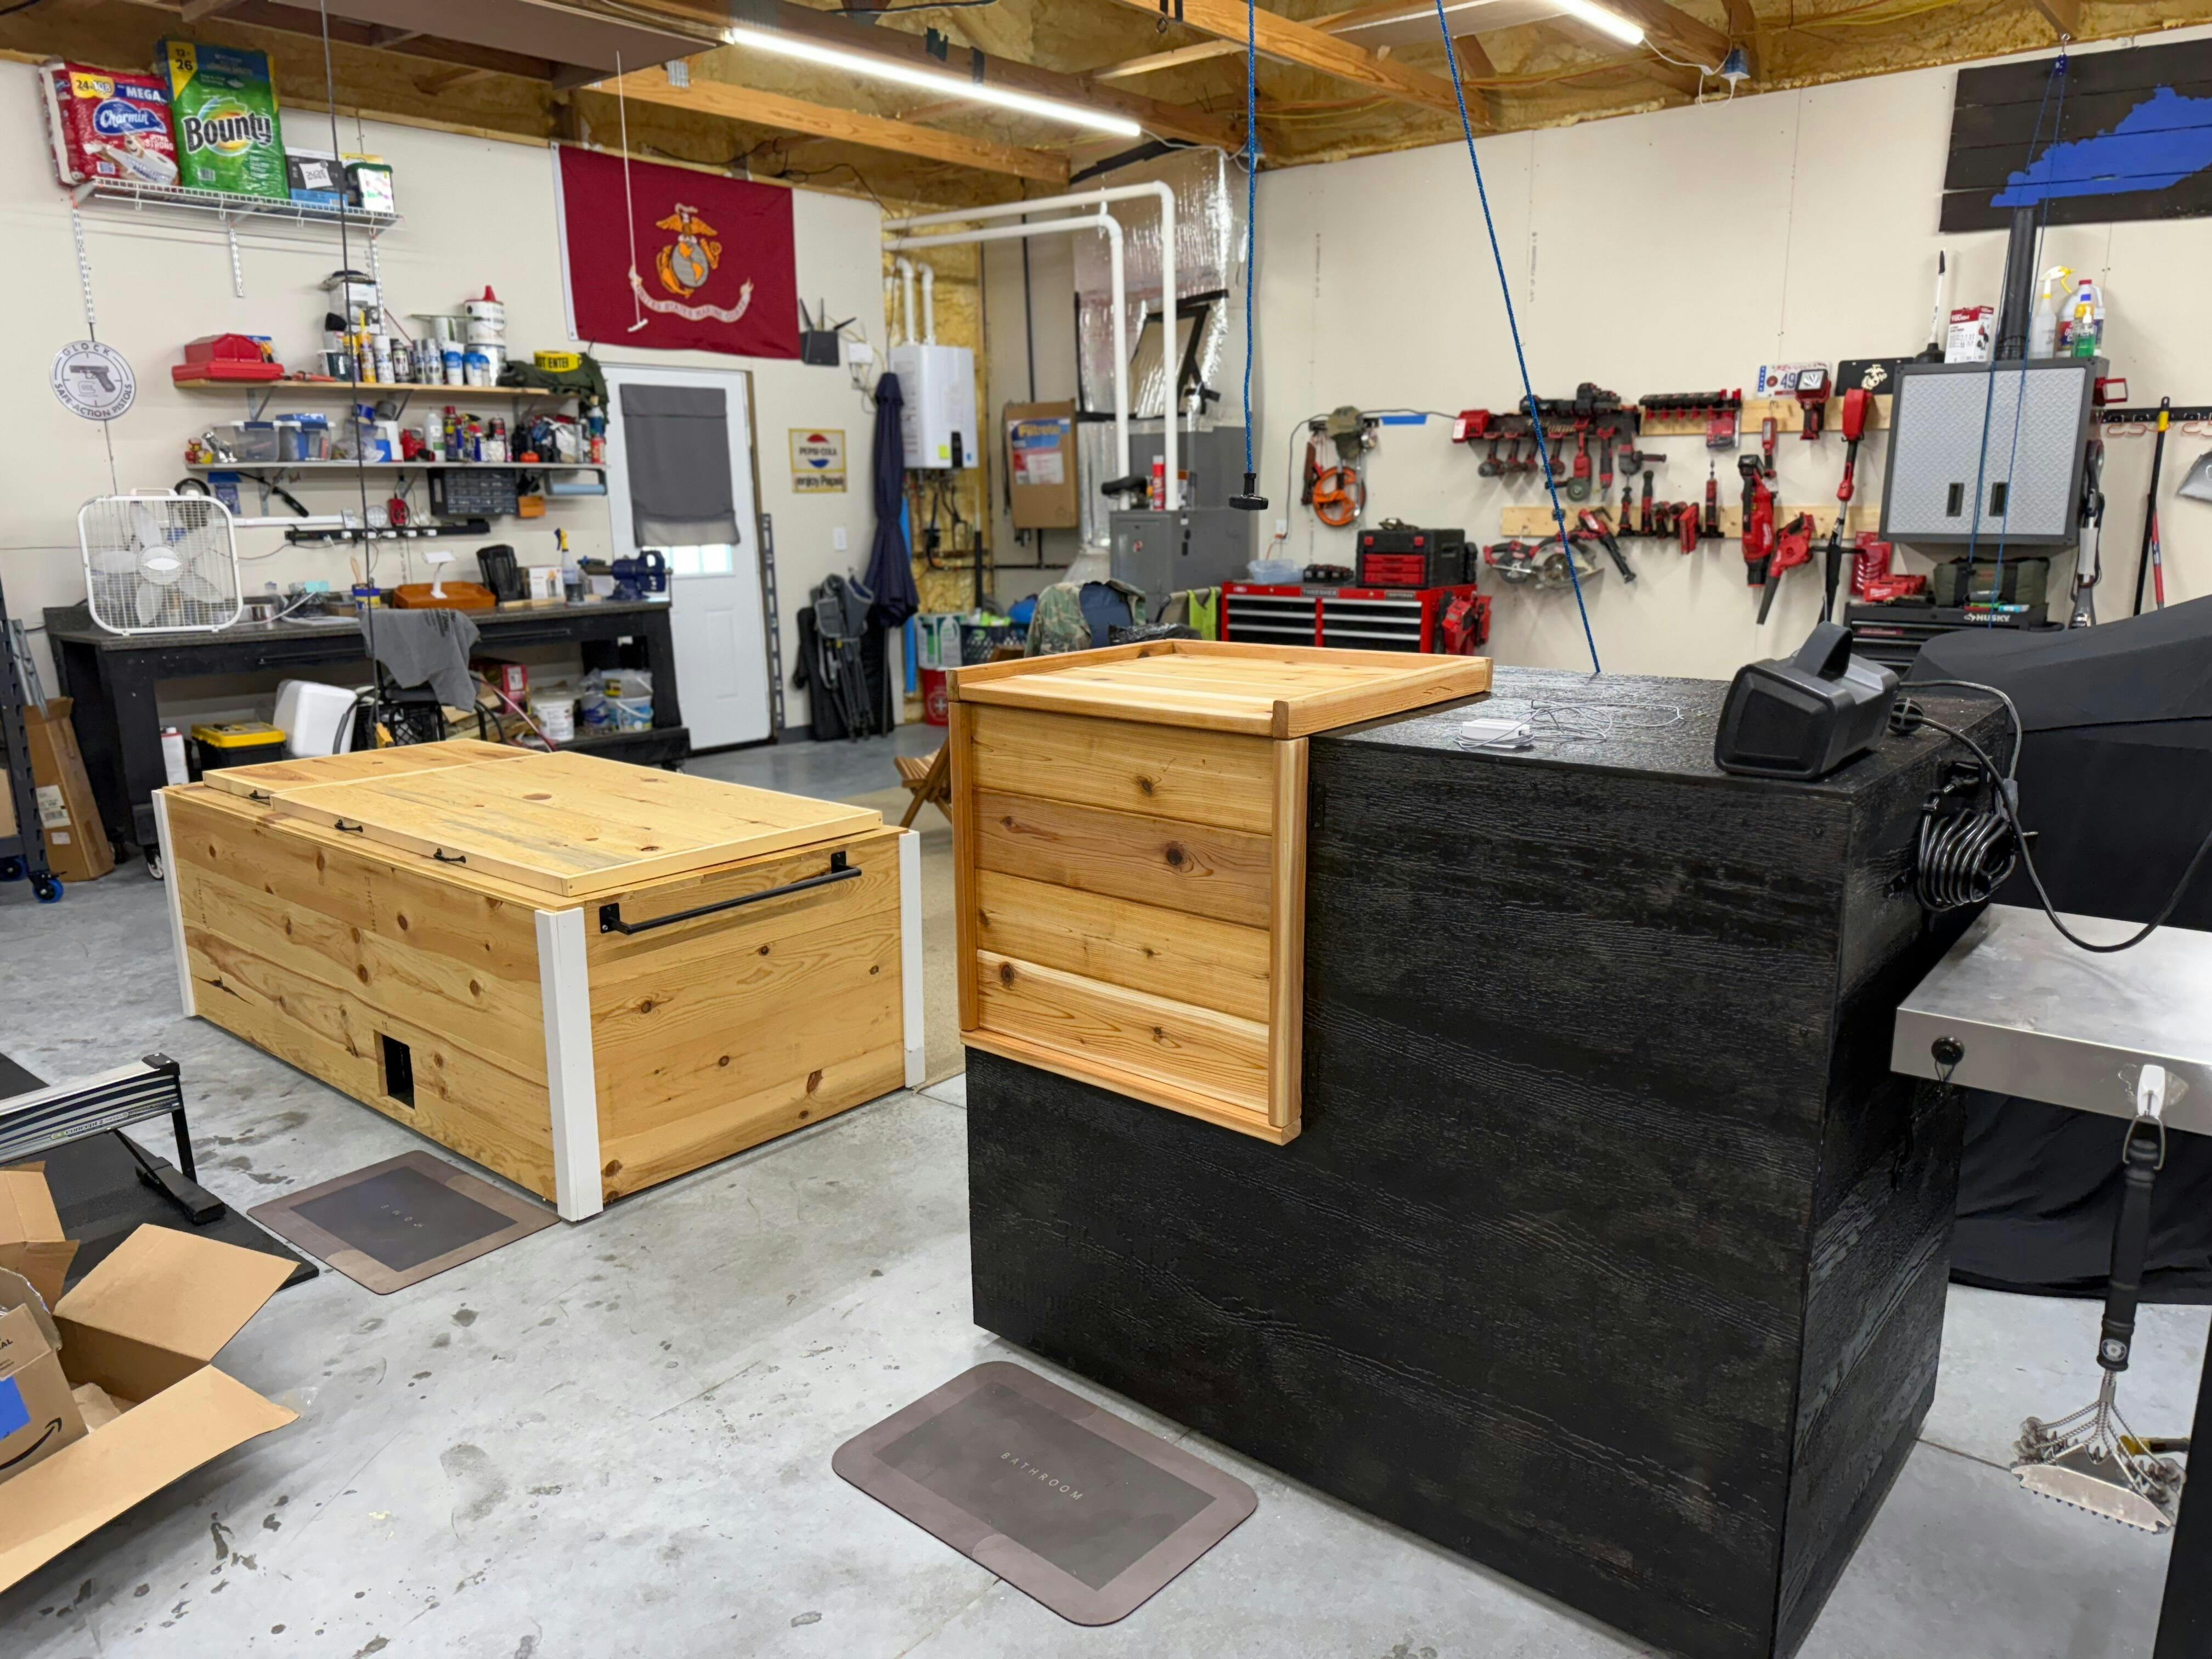
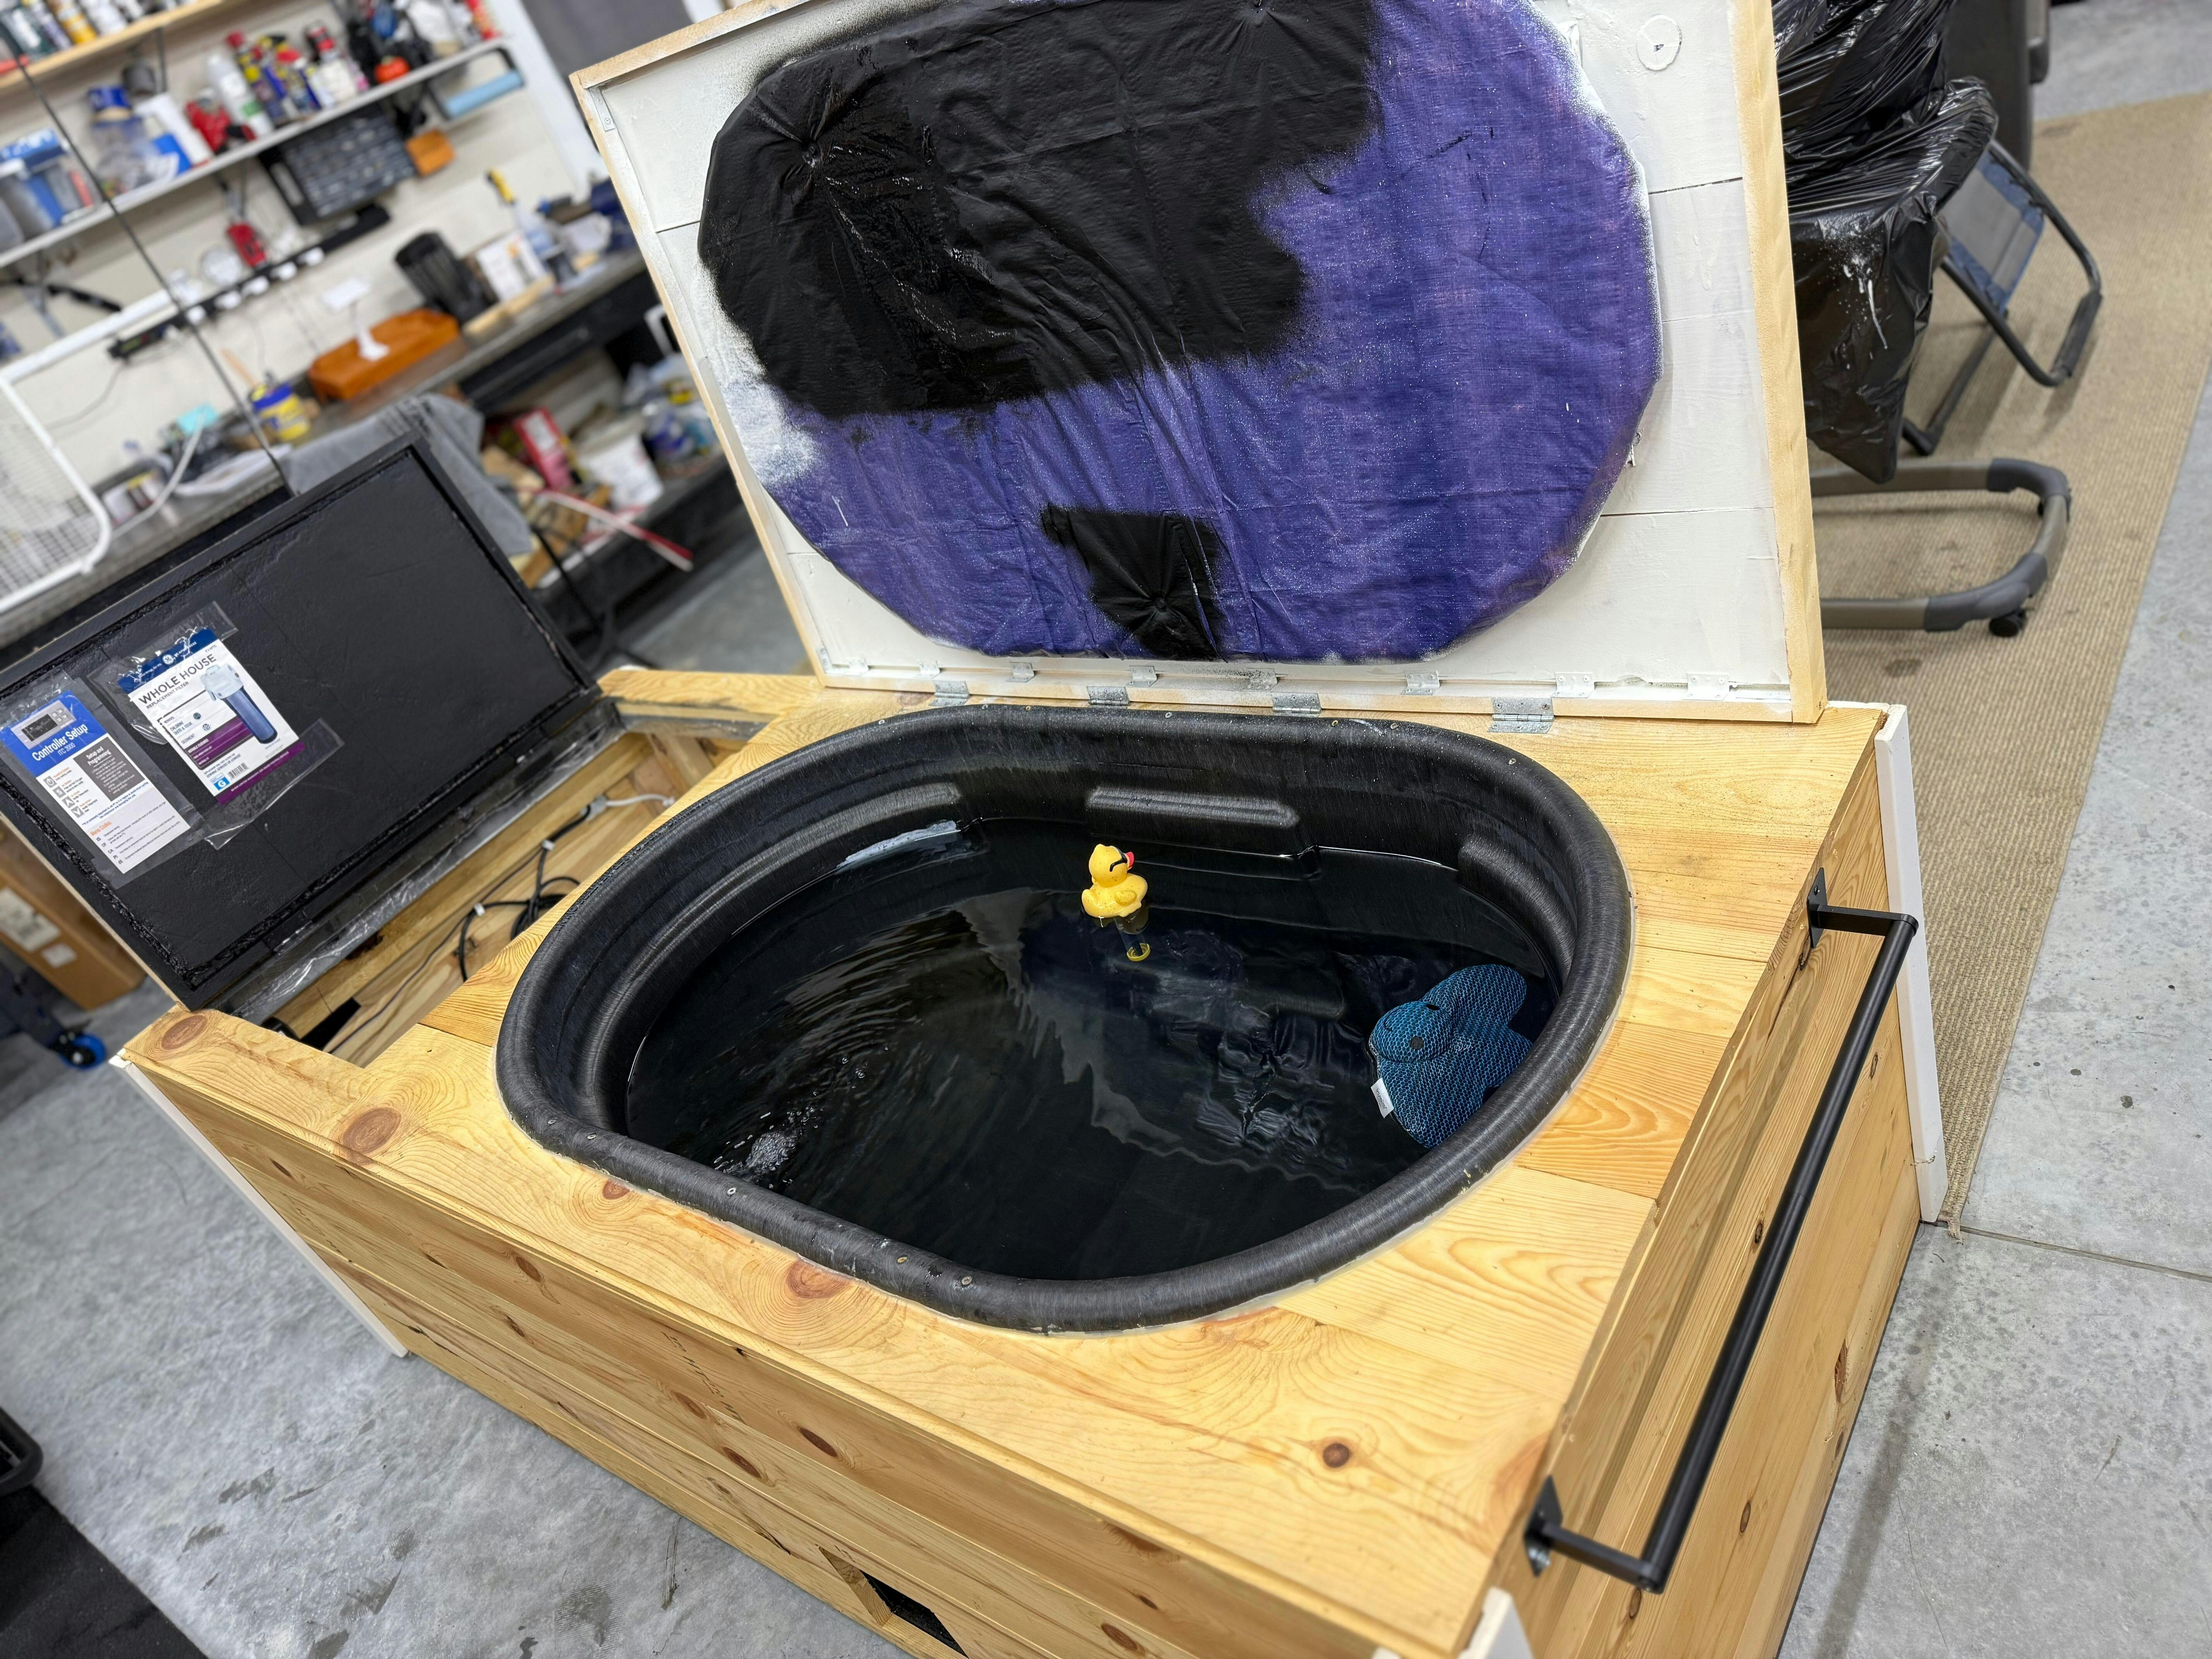
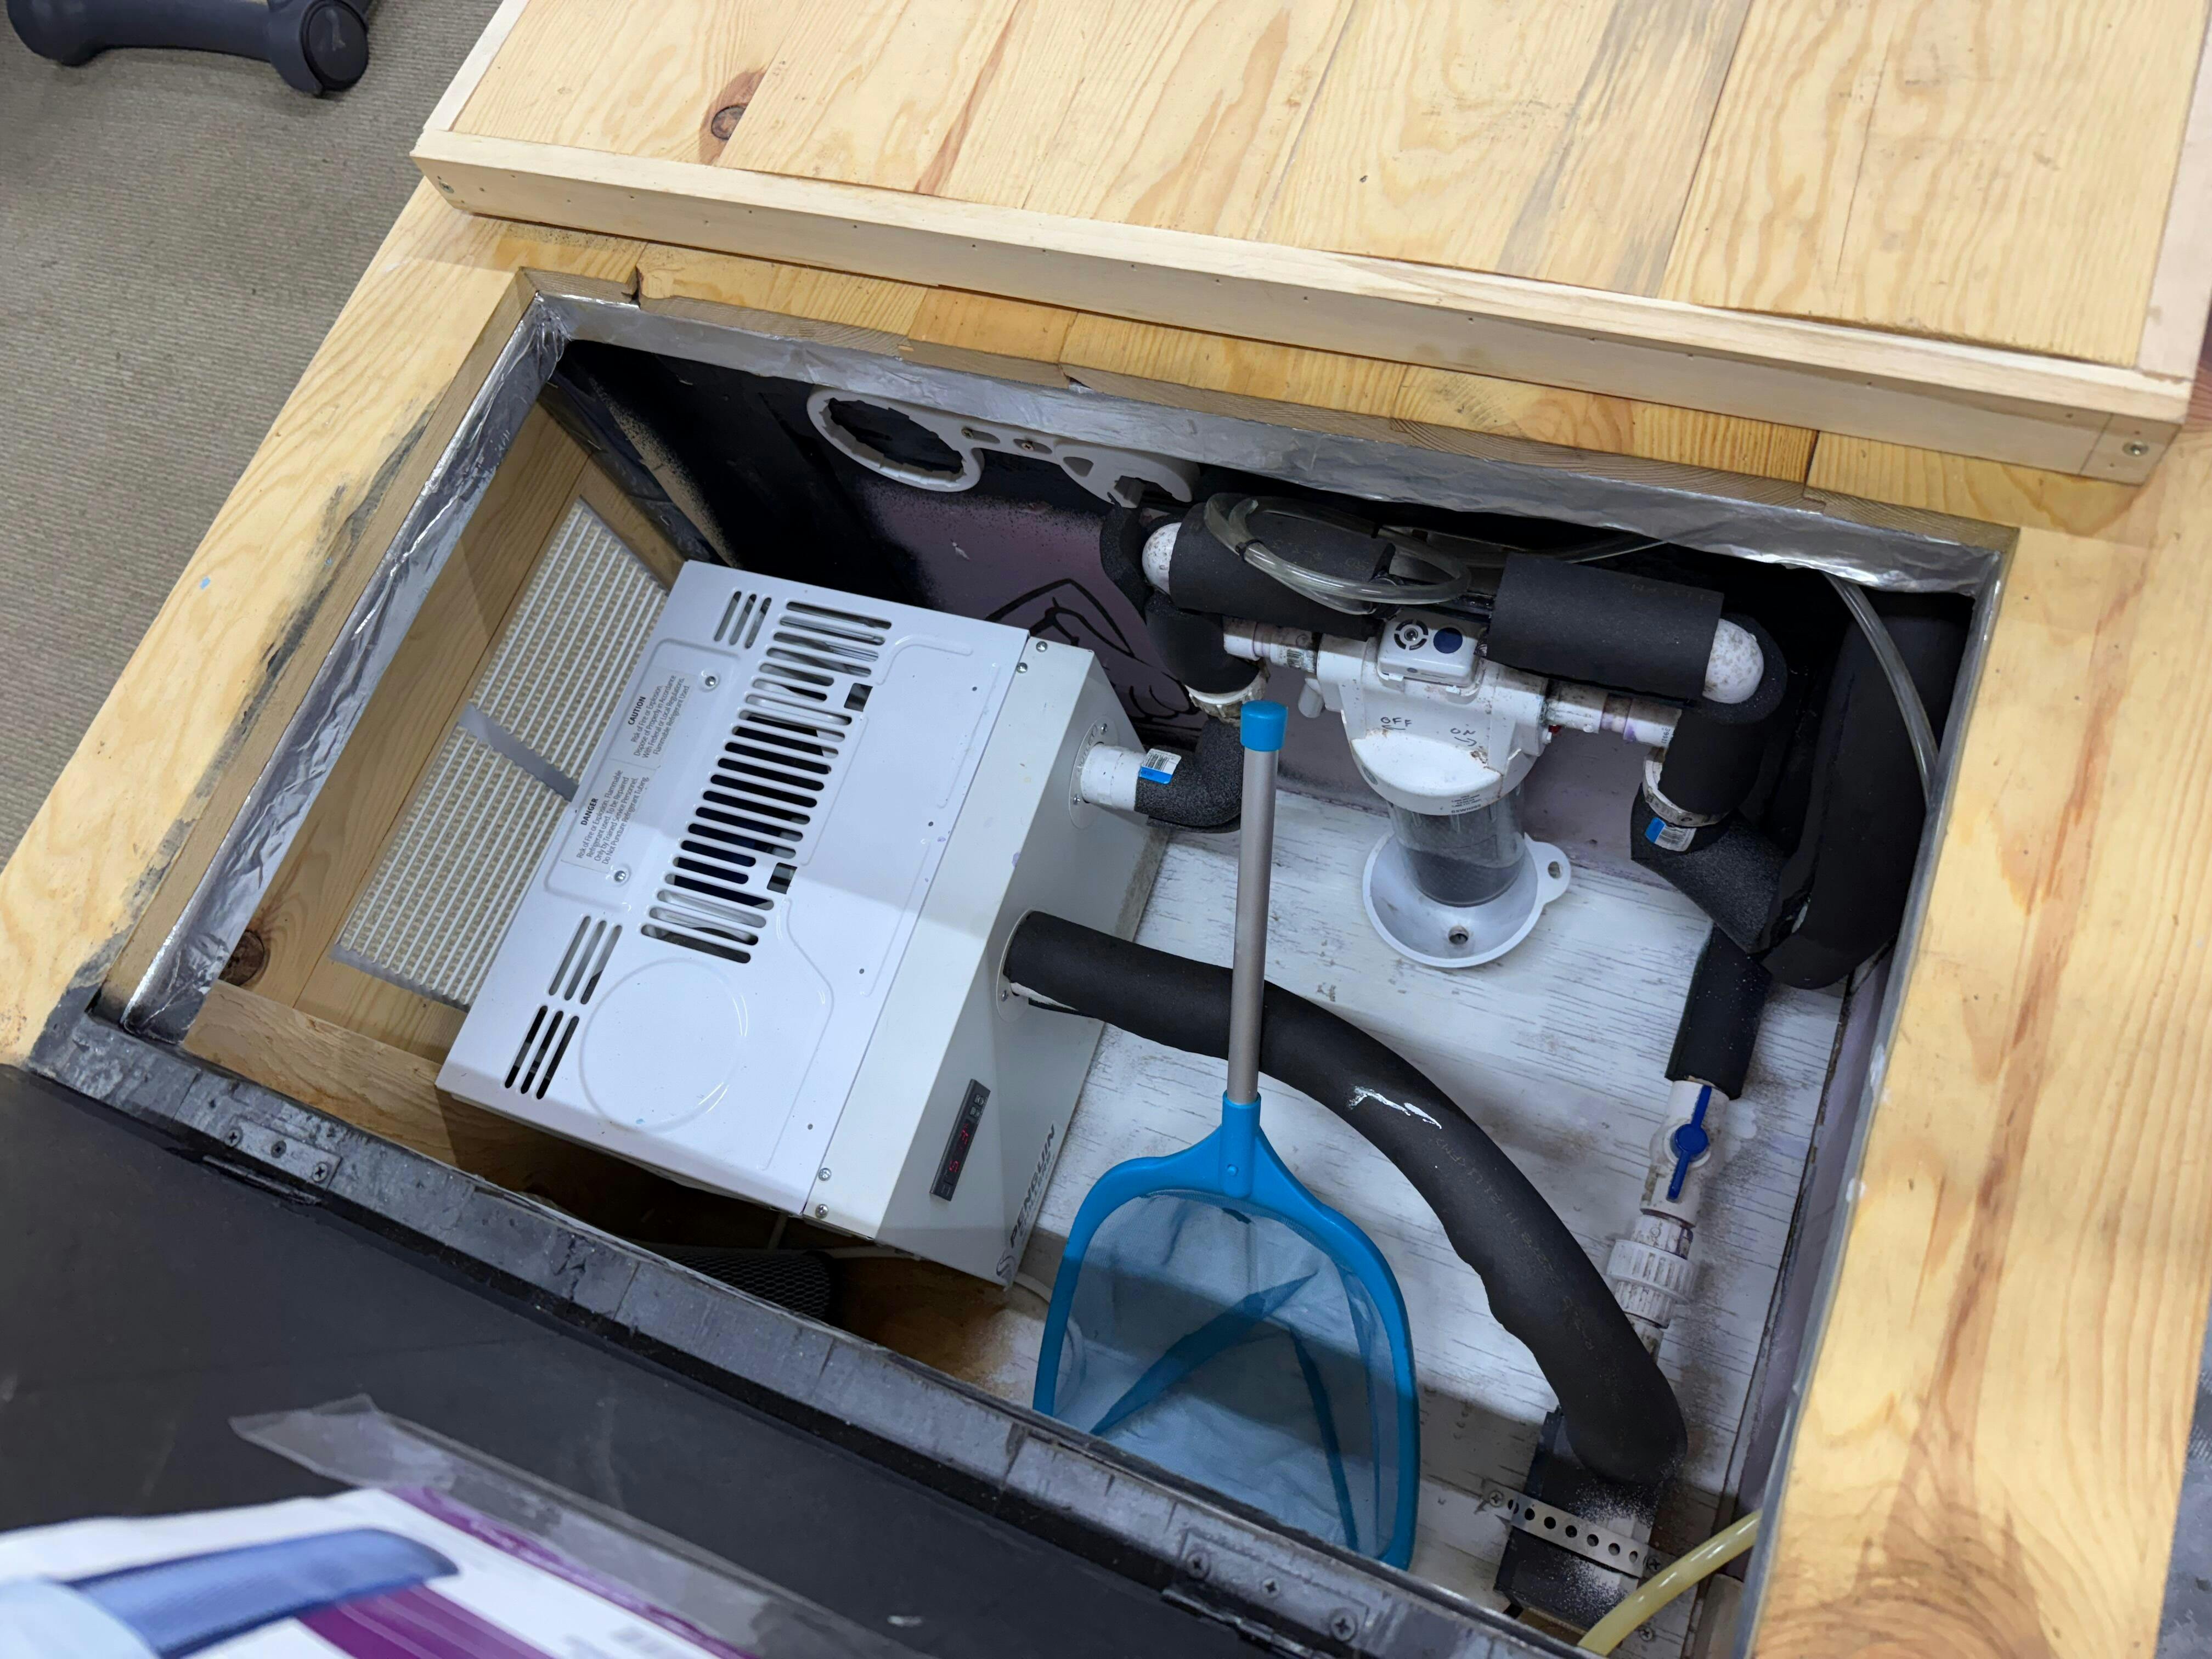
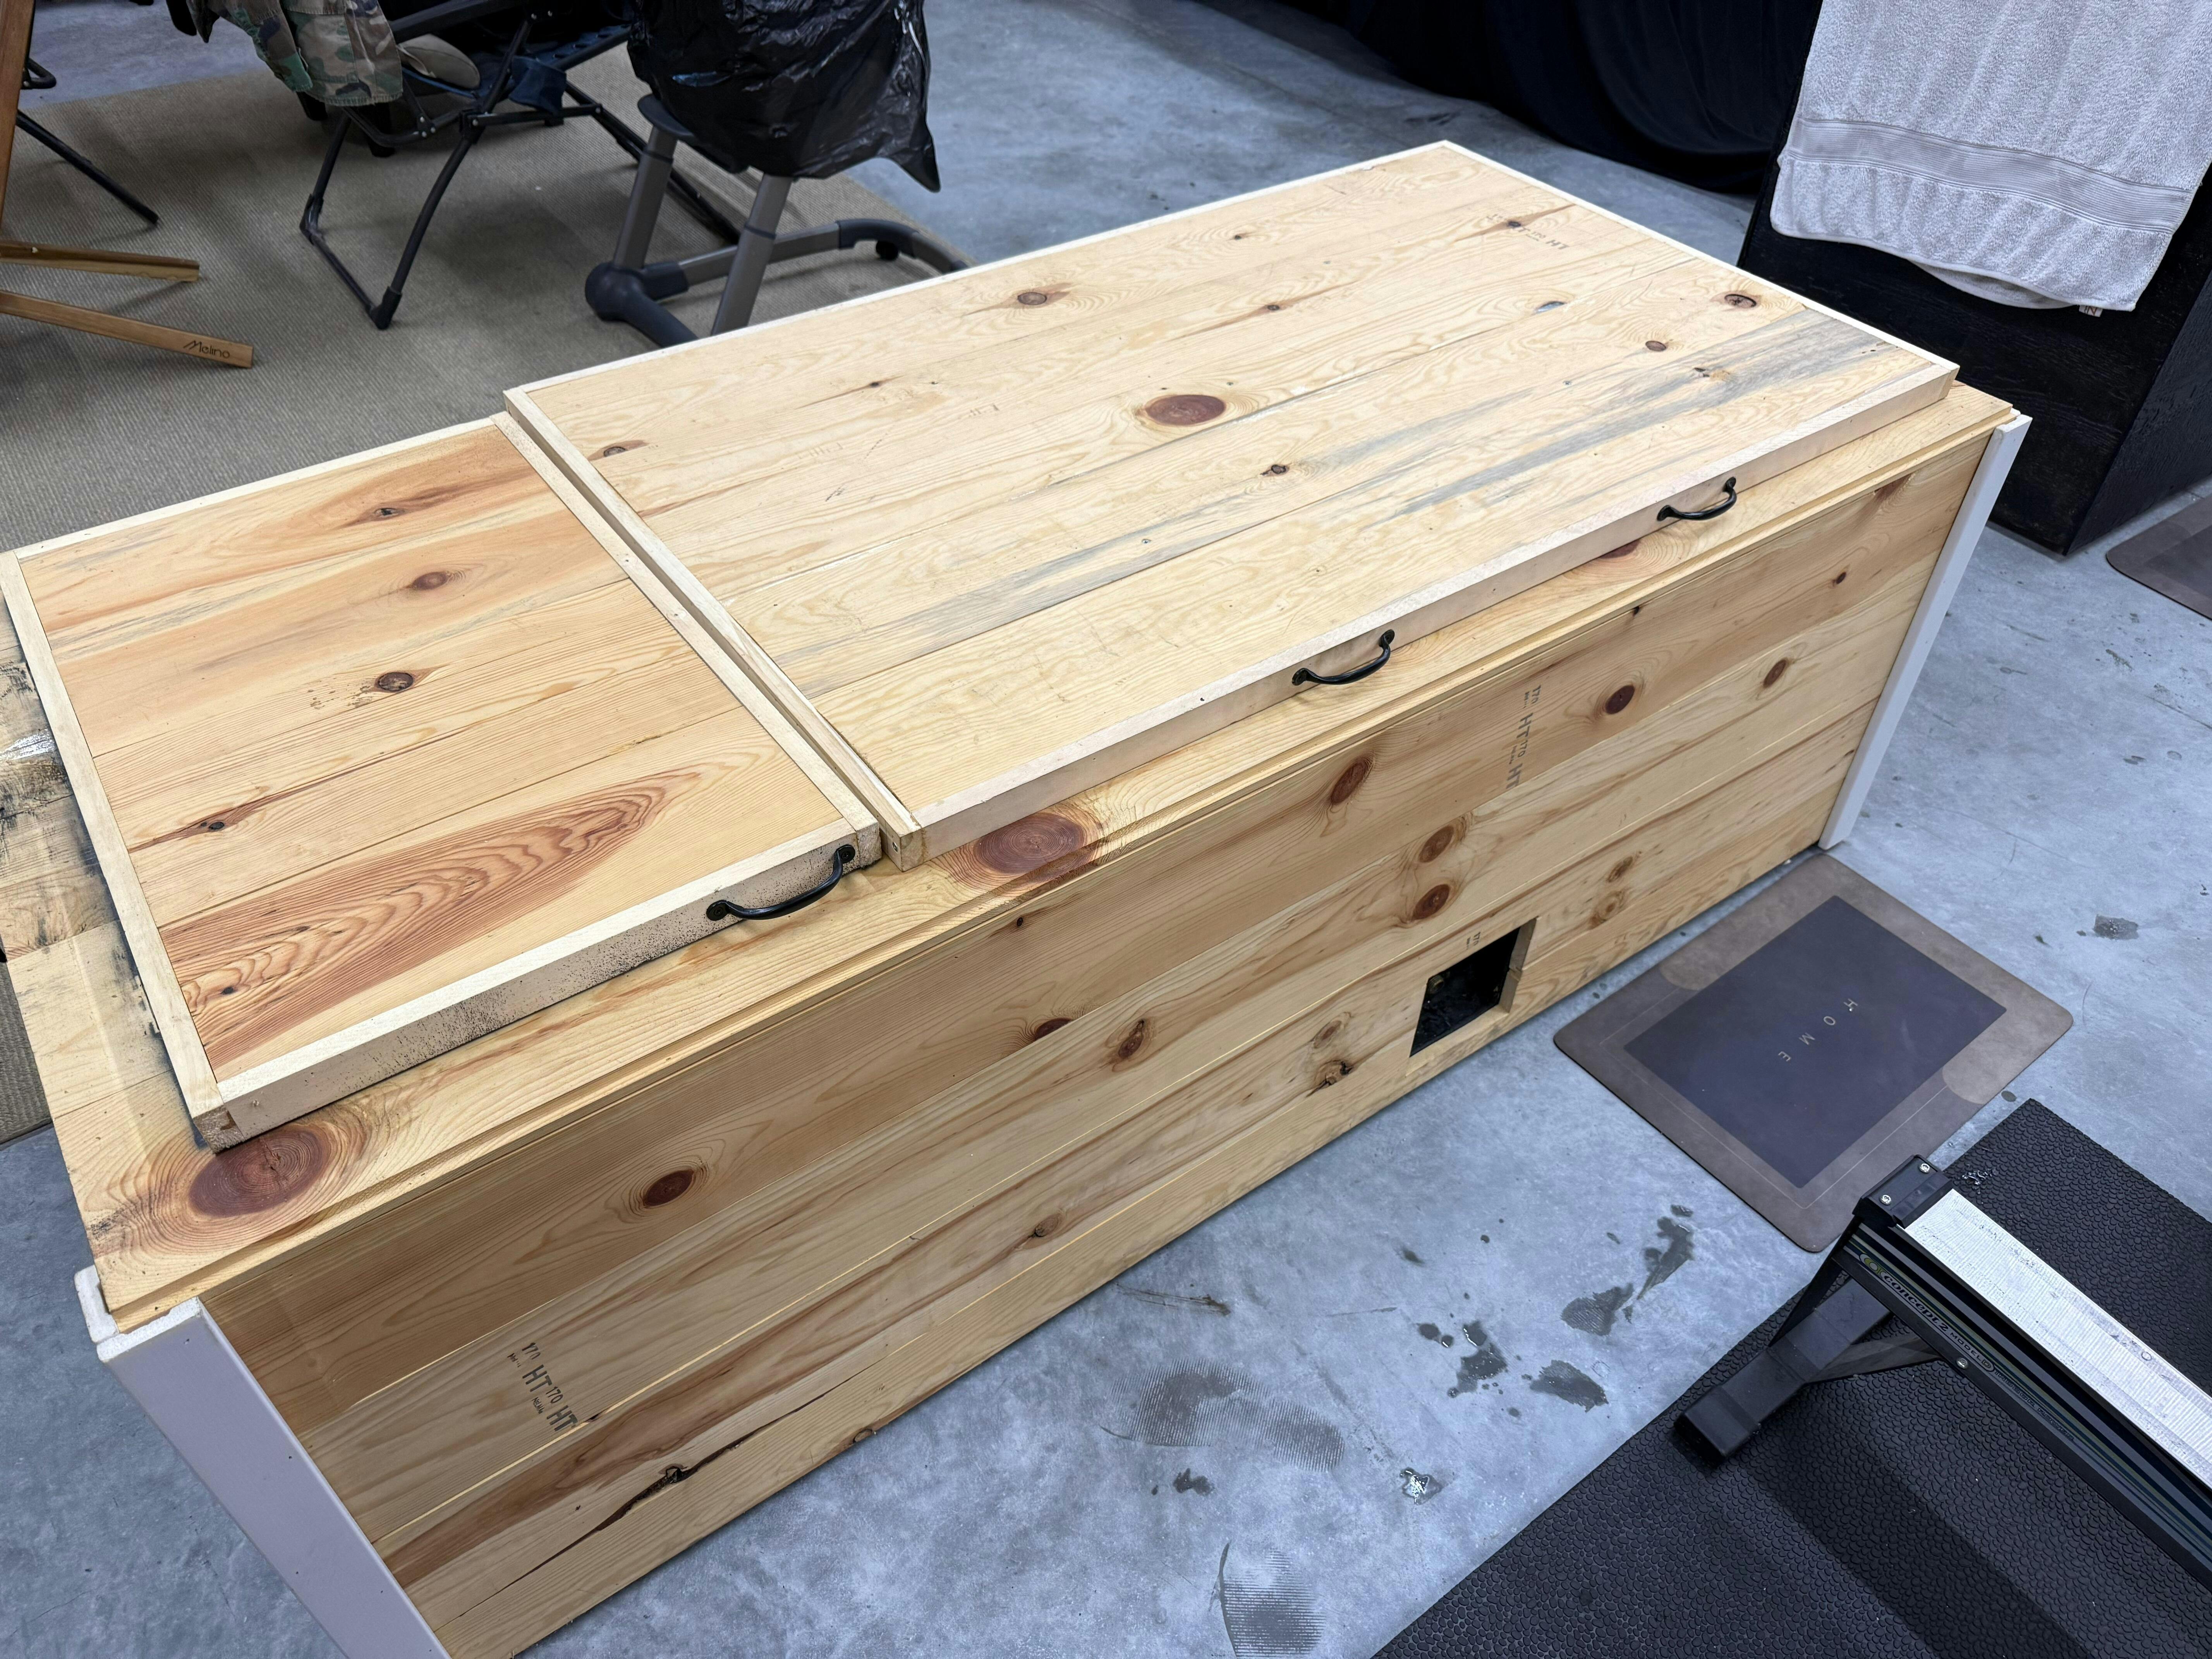
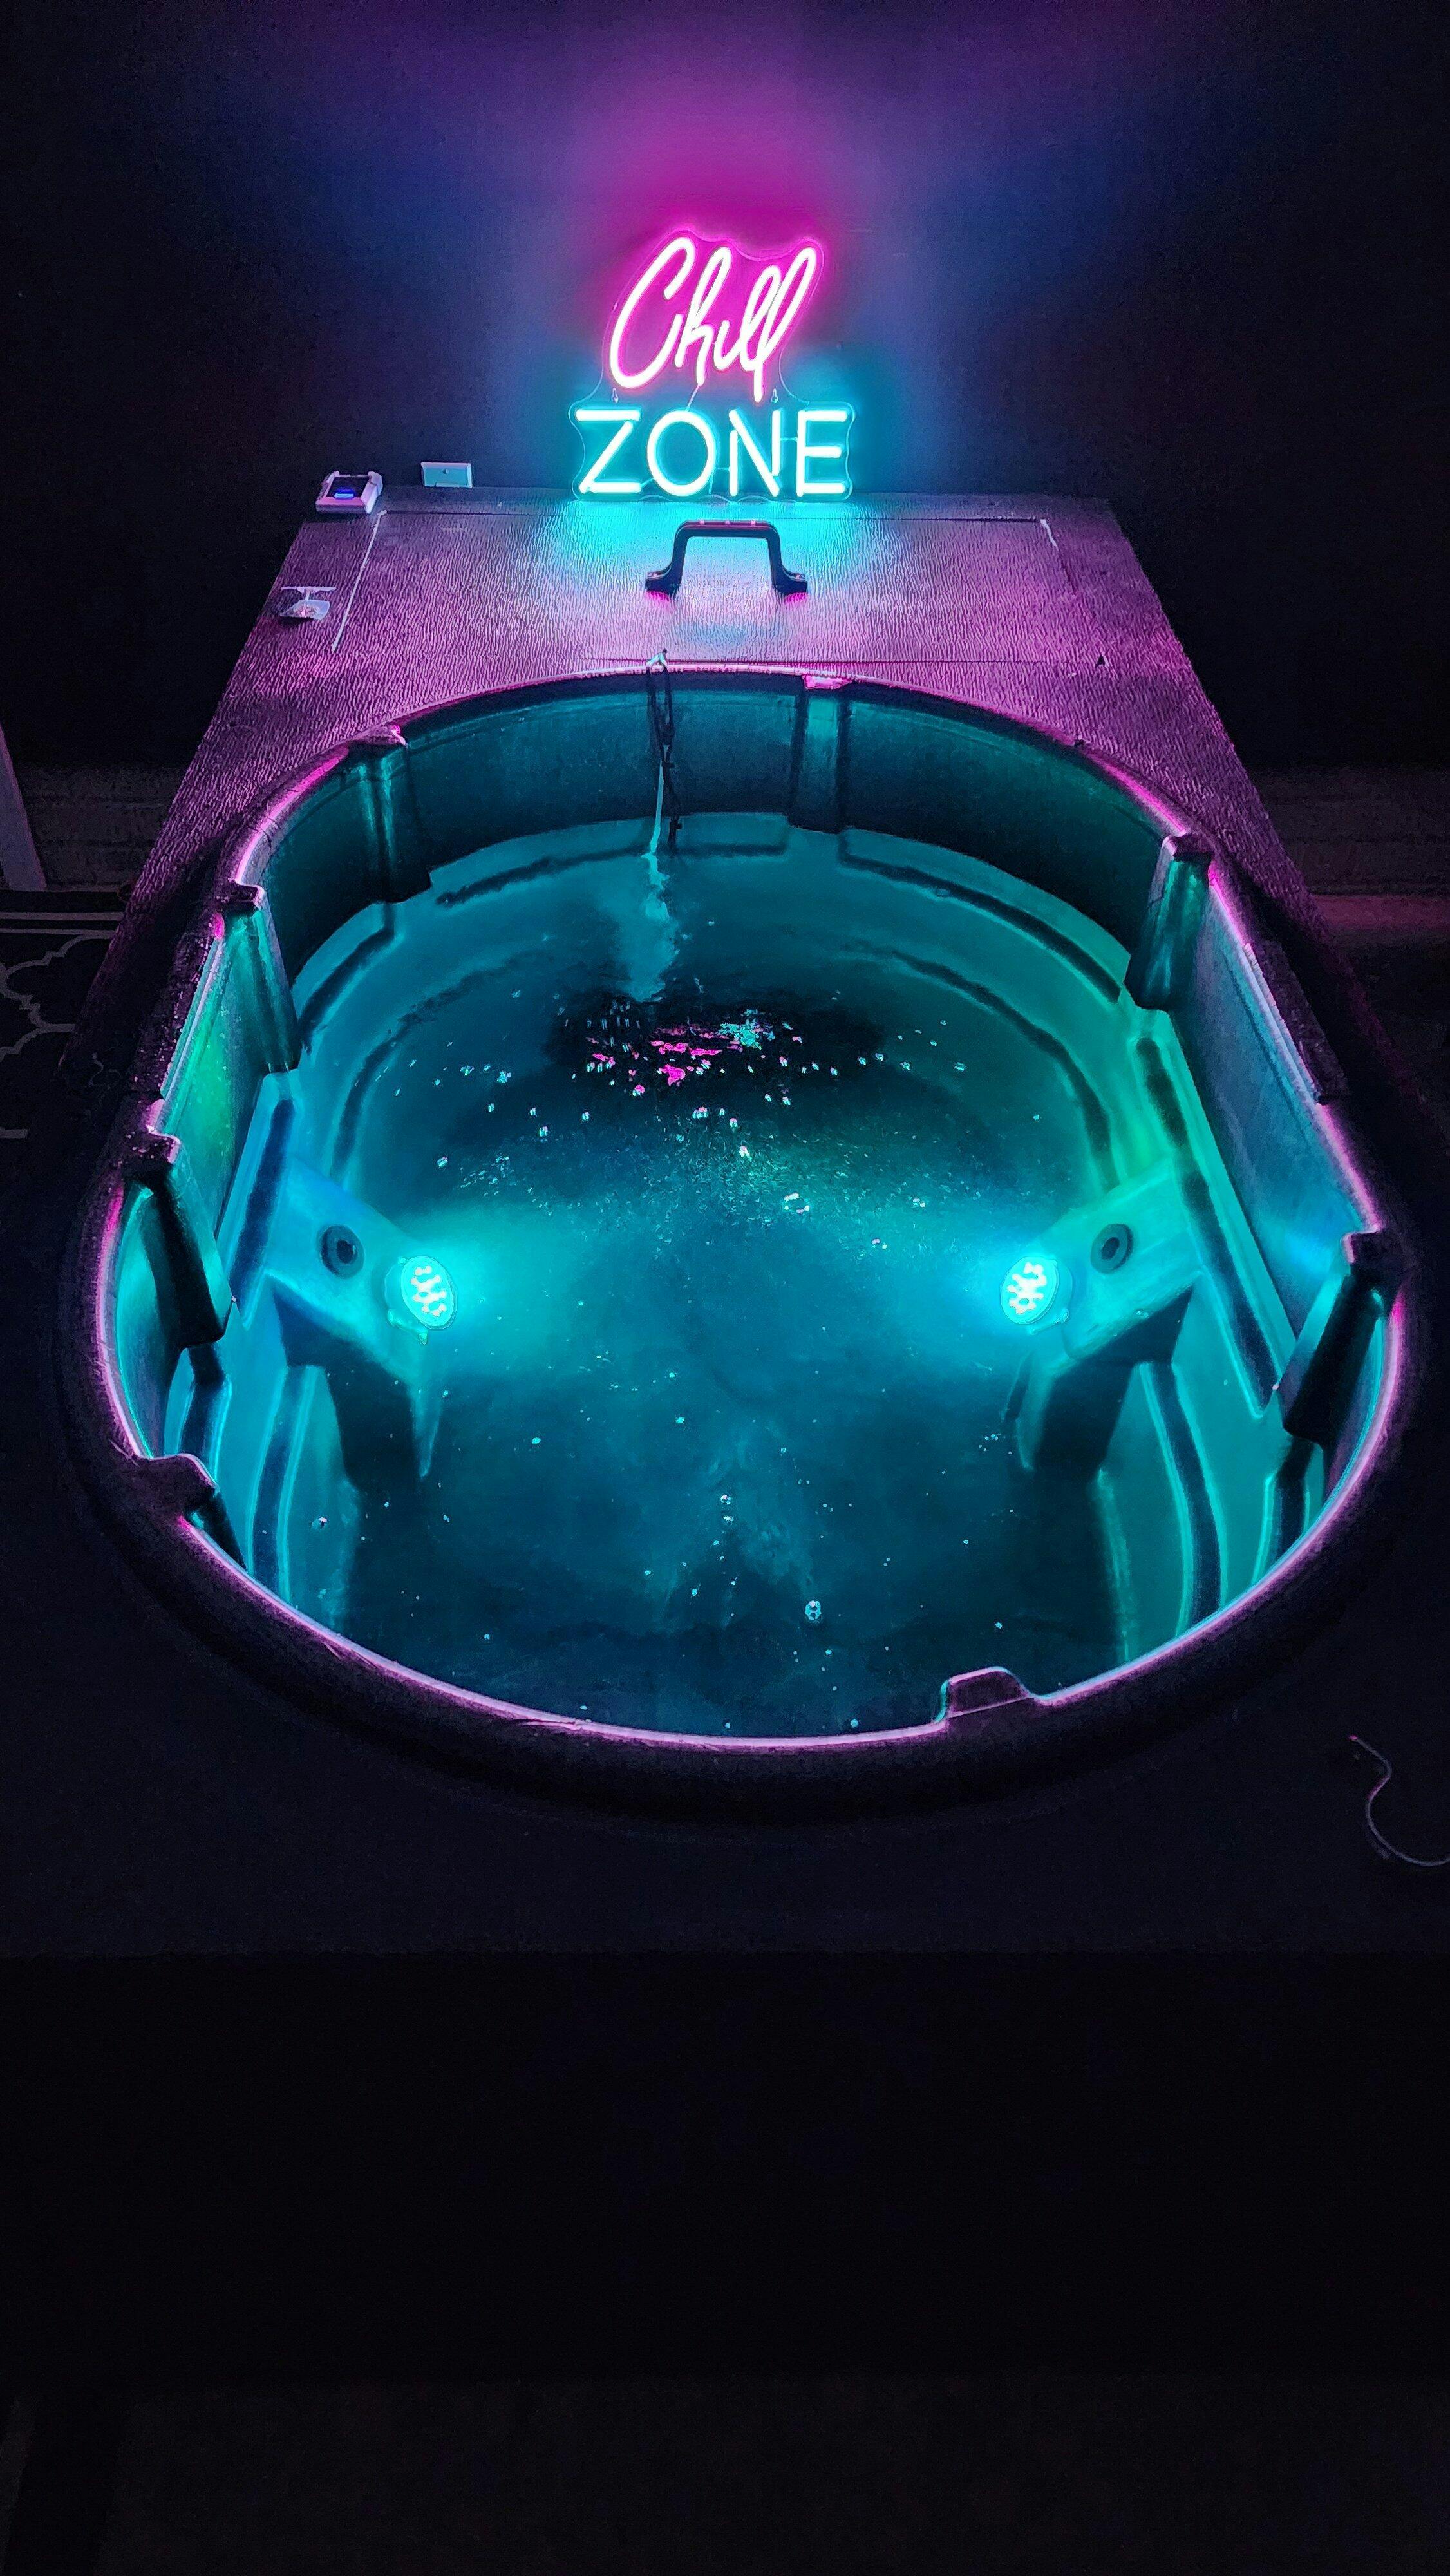
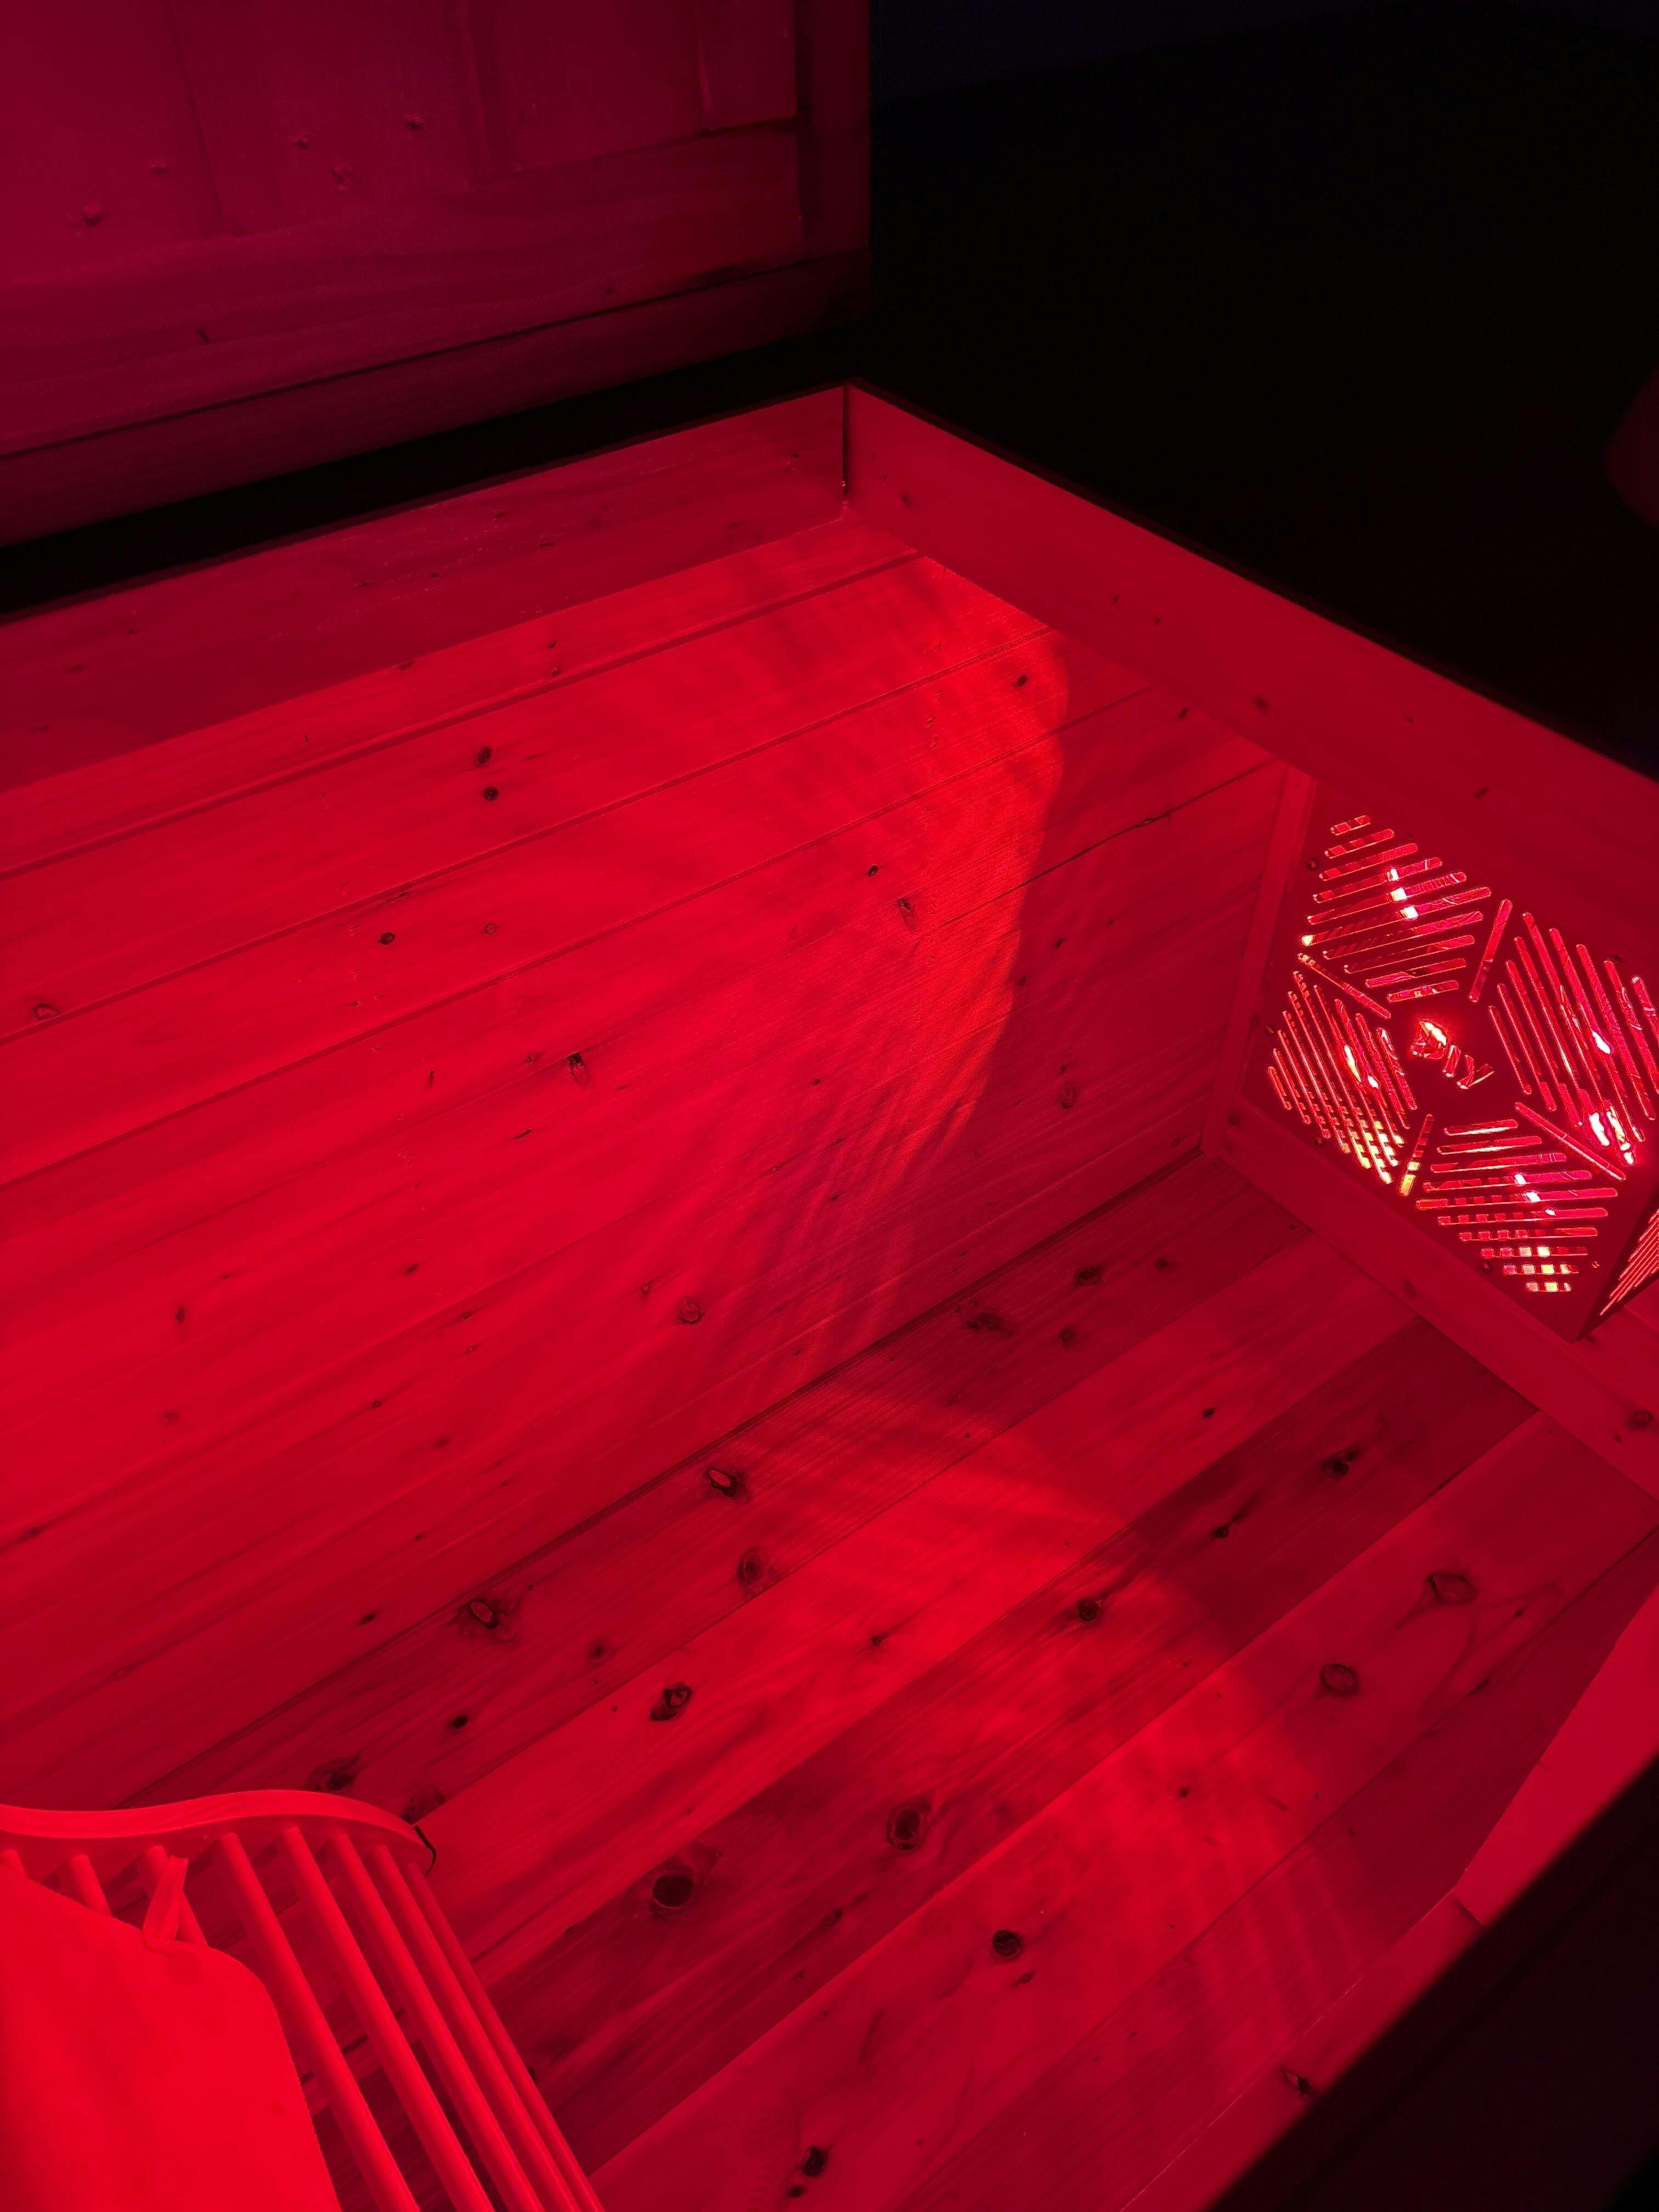
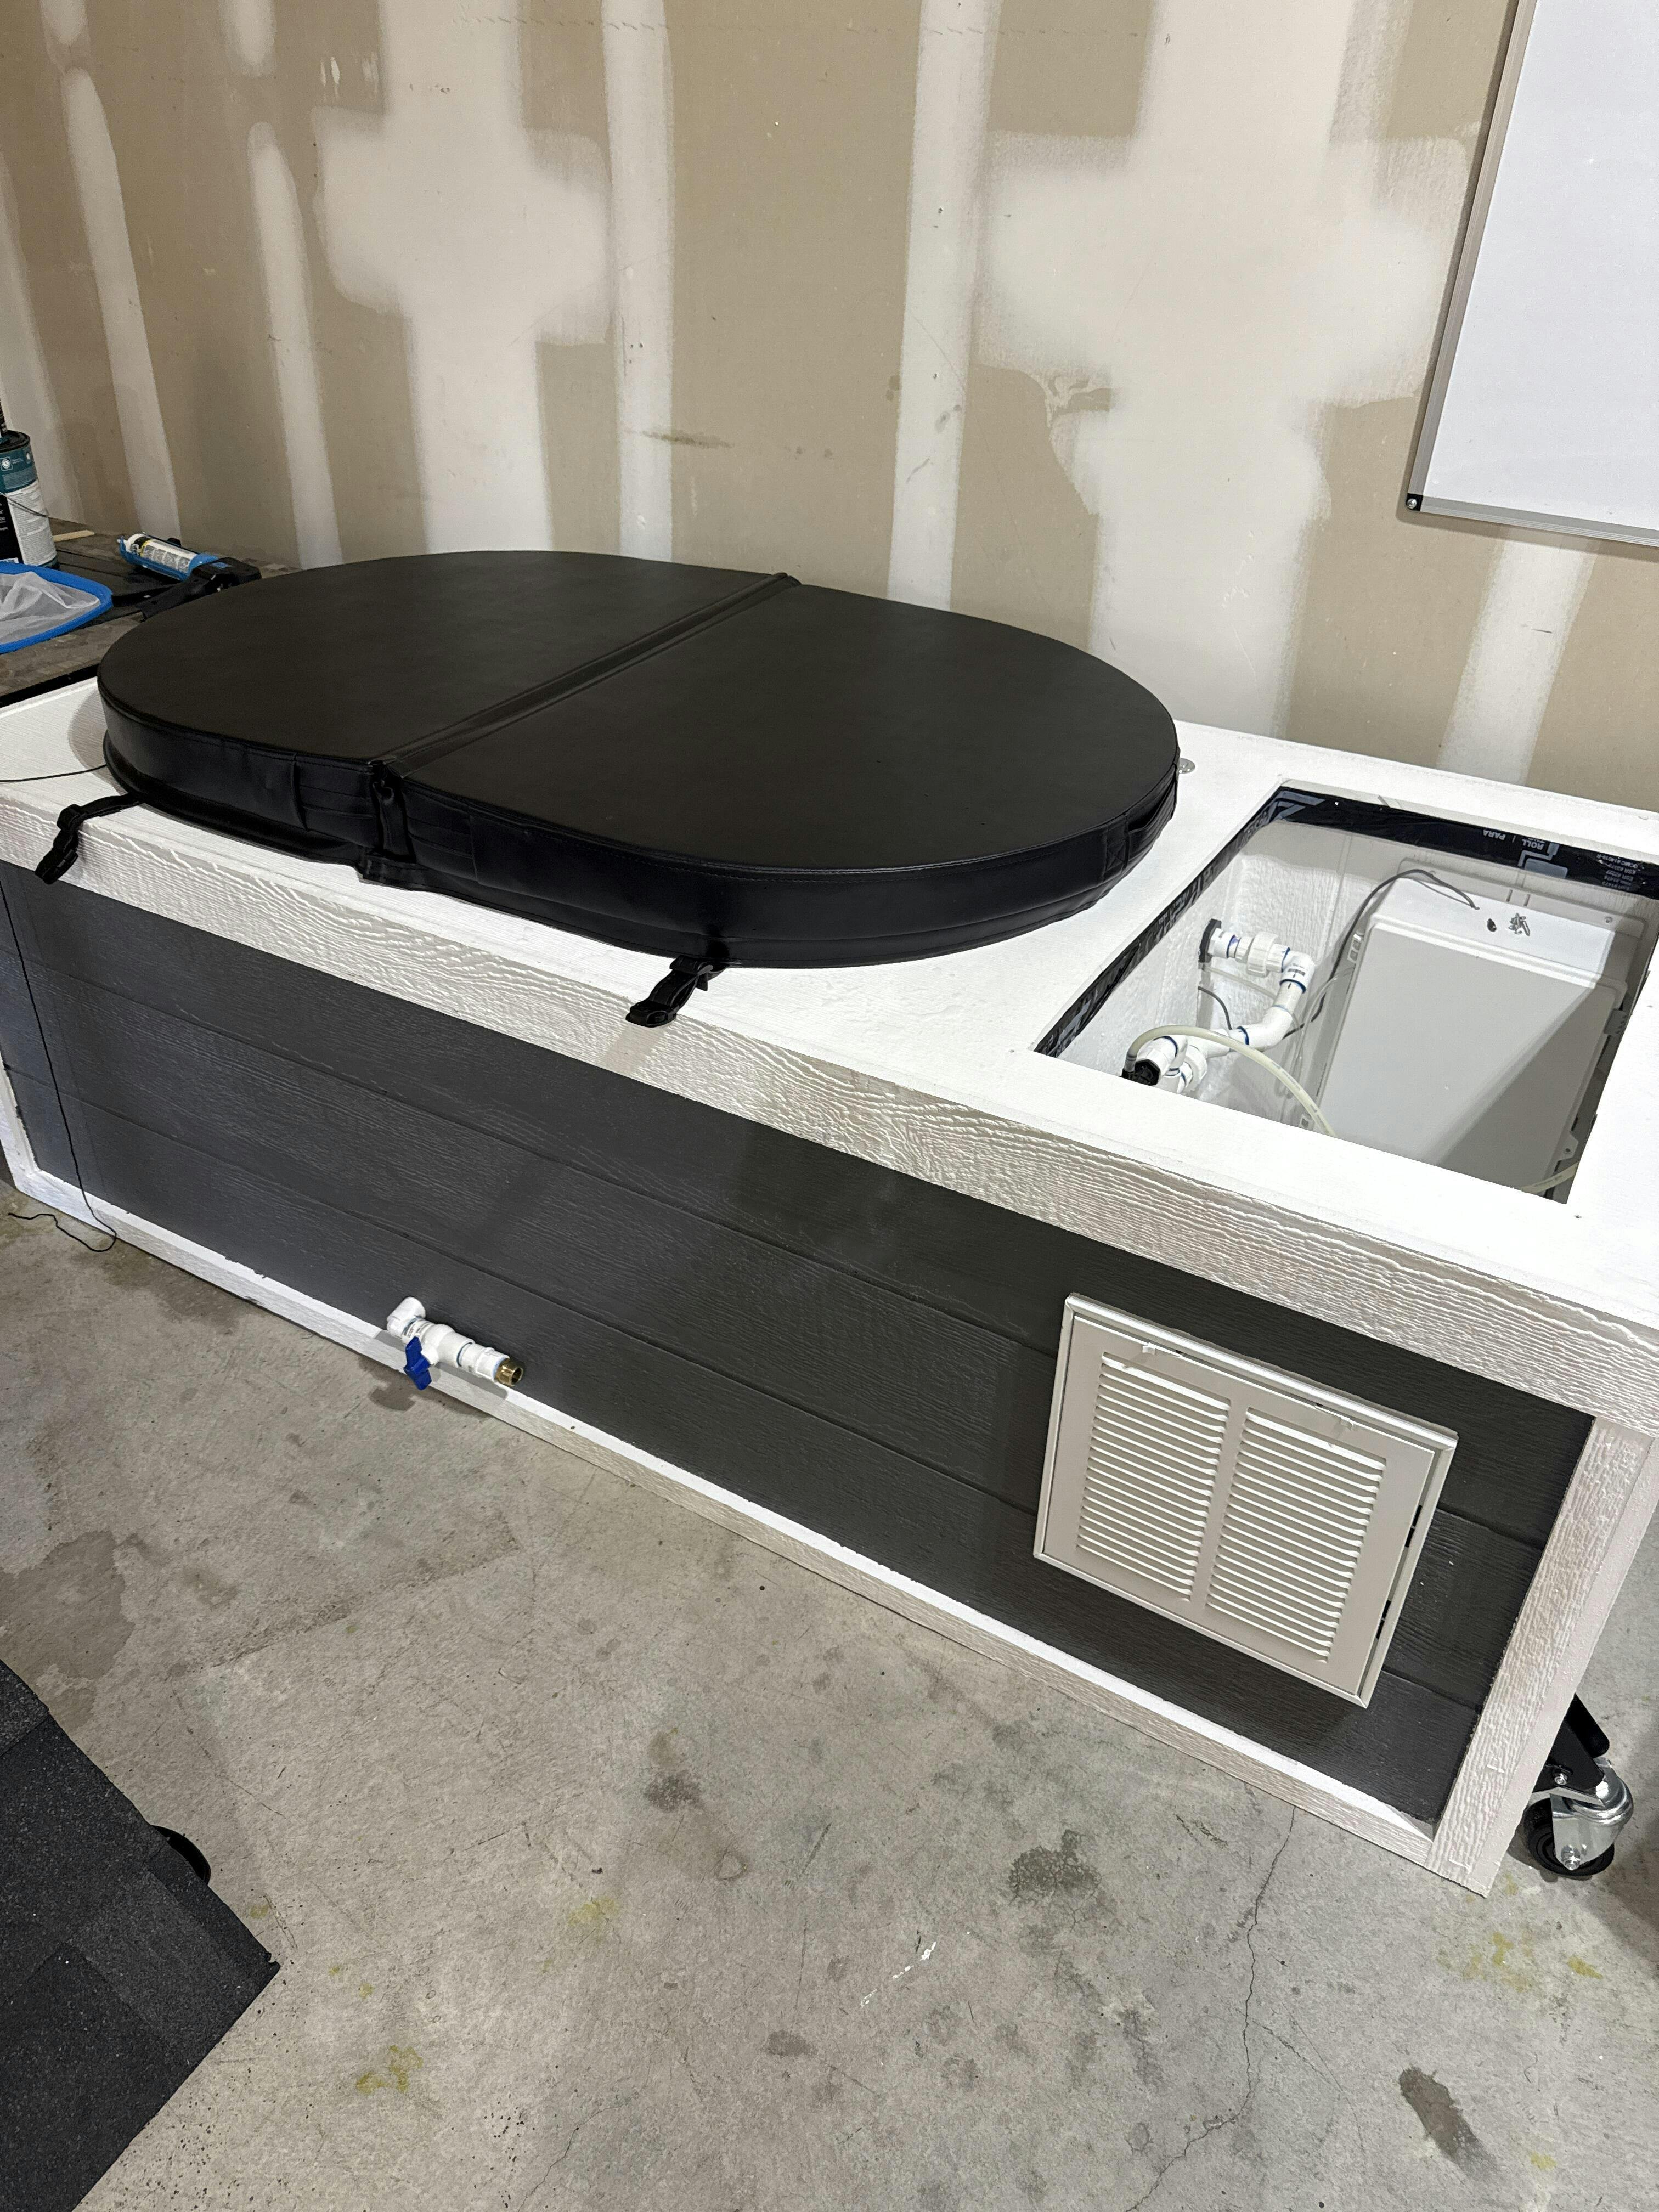
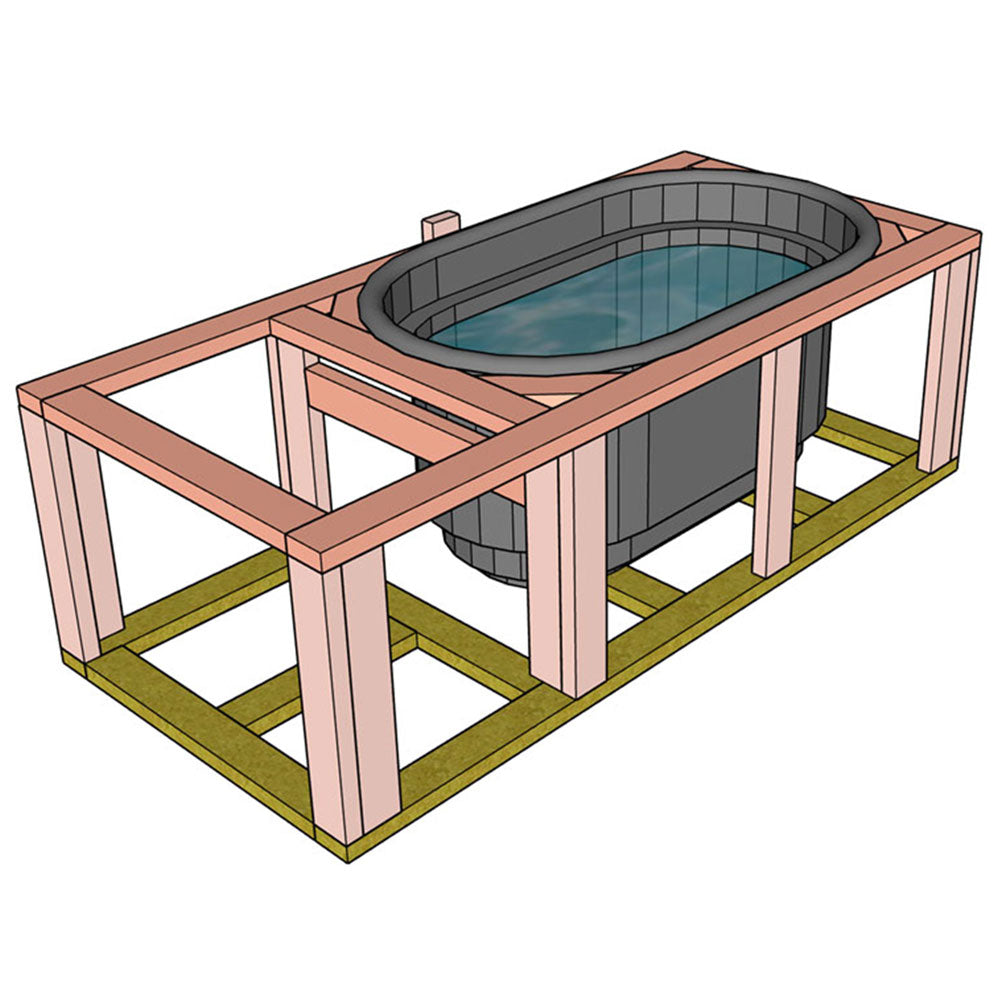
After spending a couple hundred dollars on an inflatable tub and buying ice molds, I quickly realized a stand alone chiller-driven unit was in the best interest of my wallet and time. I stumbled upon DIYCP's YT channel and purchased the plans. Over the course of a few weeks I was able to build this unit. It stays at 50 degrees and stays clean using double filtration + UV sanitizer/ aerator. The pump I purchased is way over sized so I get really good water flow to eliminate the thermo bubble. Added in a drain spout coming out the one side, so I can hook up a hose and drain it to the outside. Clean and refill every 6 months. Added in some AV cabinet fans to the lid on the mechanical area to help pull air through grates and keep air moving across the chiller. I also installed some lighting in the mechanical area. I had to fancy it up a bit with some RGB wireless remote controlled LED pucks, and a corny little sign to stare at while submerged. Next project is the DIY Sauna, which I already purchased the plans for.
Over 2 years and the OG stock tank plan I have was a fun build and Joe is a pleasure to work with ! Couldn’t be happier to have found diy cold plunge
He does all the hard work for you! Just follow step by step and you are done before you know it. Best part is if you have any questions he responds quickly too!
Joe is killing it EVERYTIME! The Heater is a game changer.
This product was very well built, very well packaged and very nicely shipped. I’m always a little leery buying off of smaller sites, but I can tell you from somebody that’s ordered multiple times from this company that every time a order shows up, extreme care was used to make sure it is delivered properly. Thank you so much, Joe!
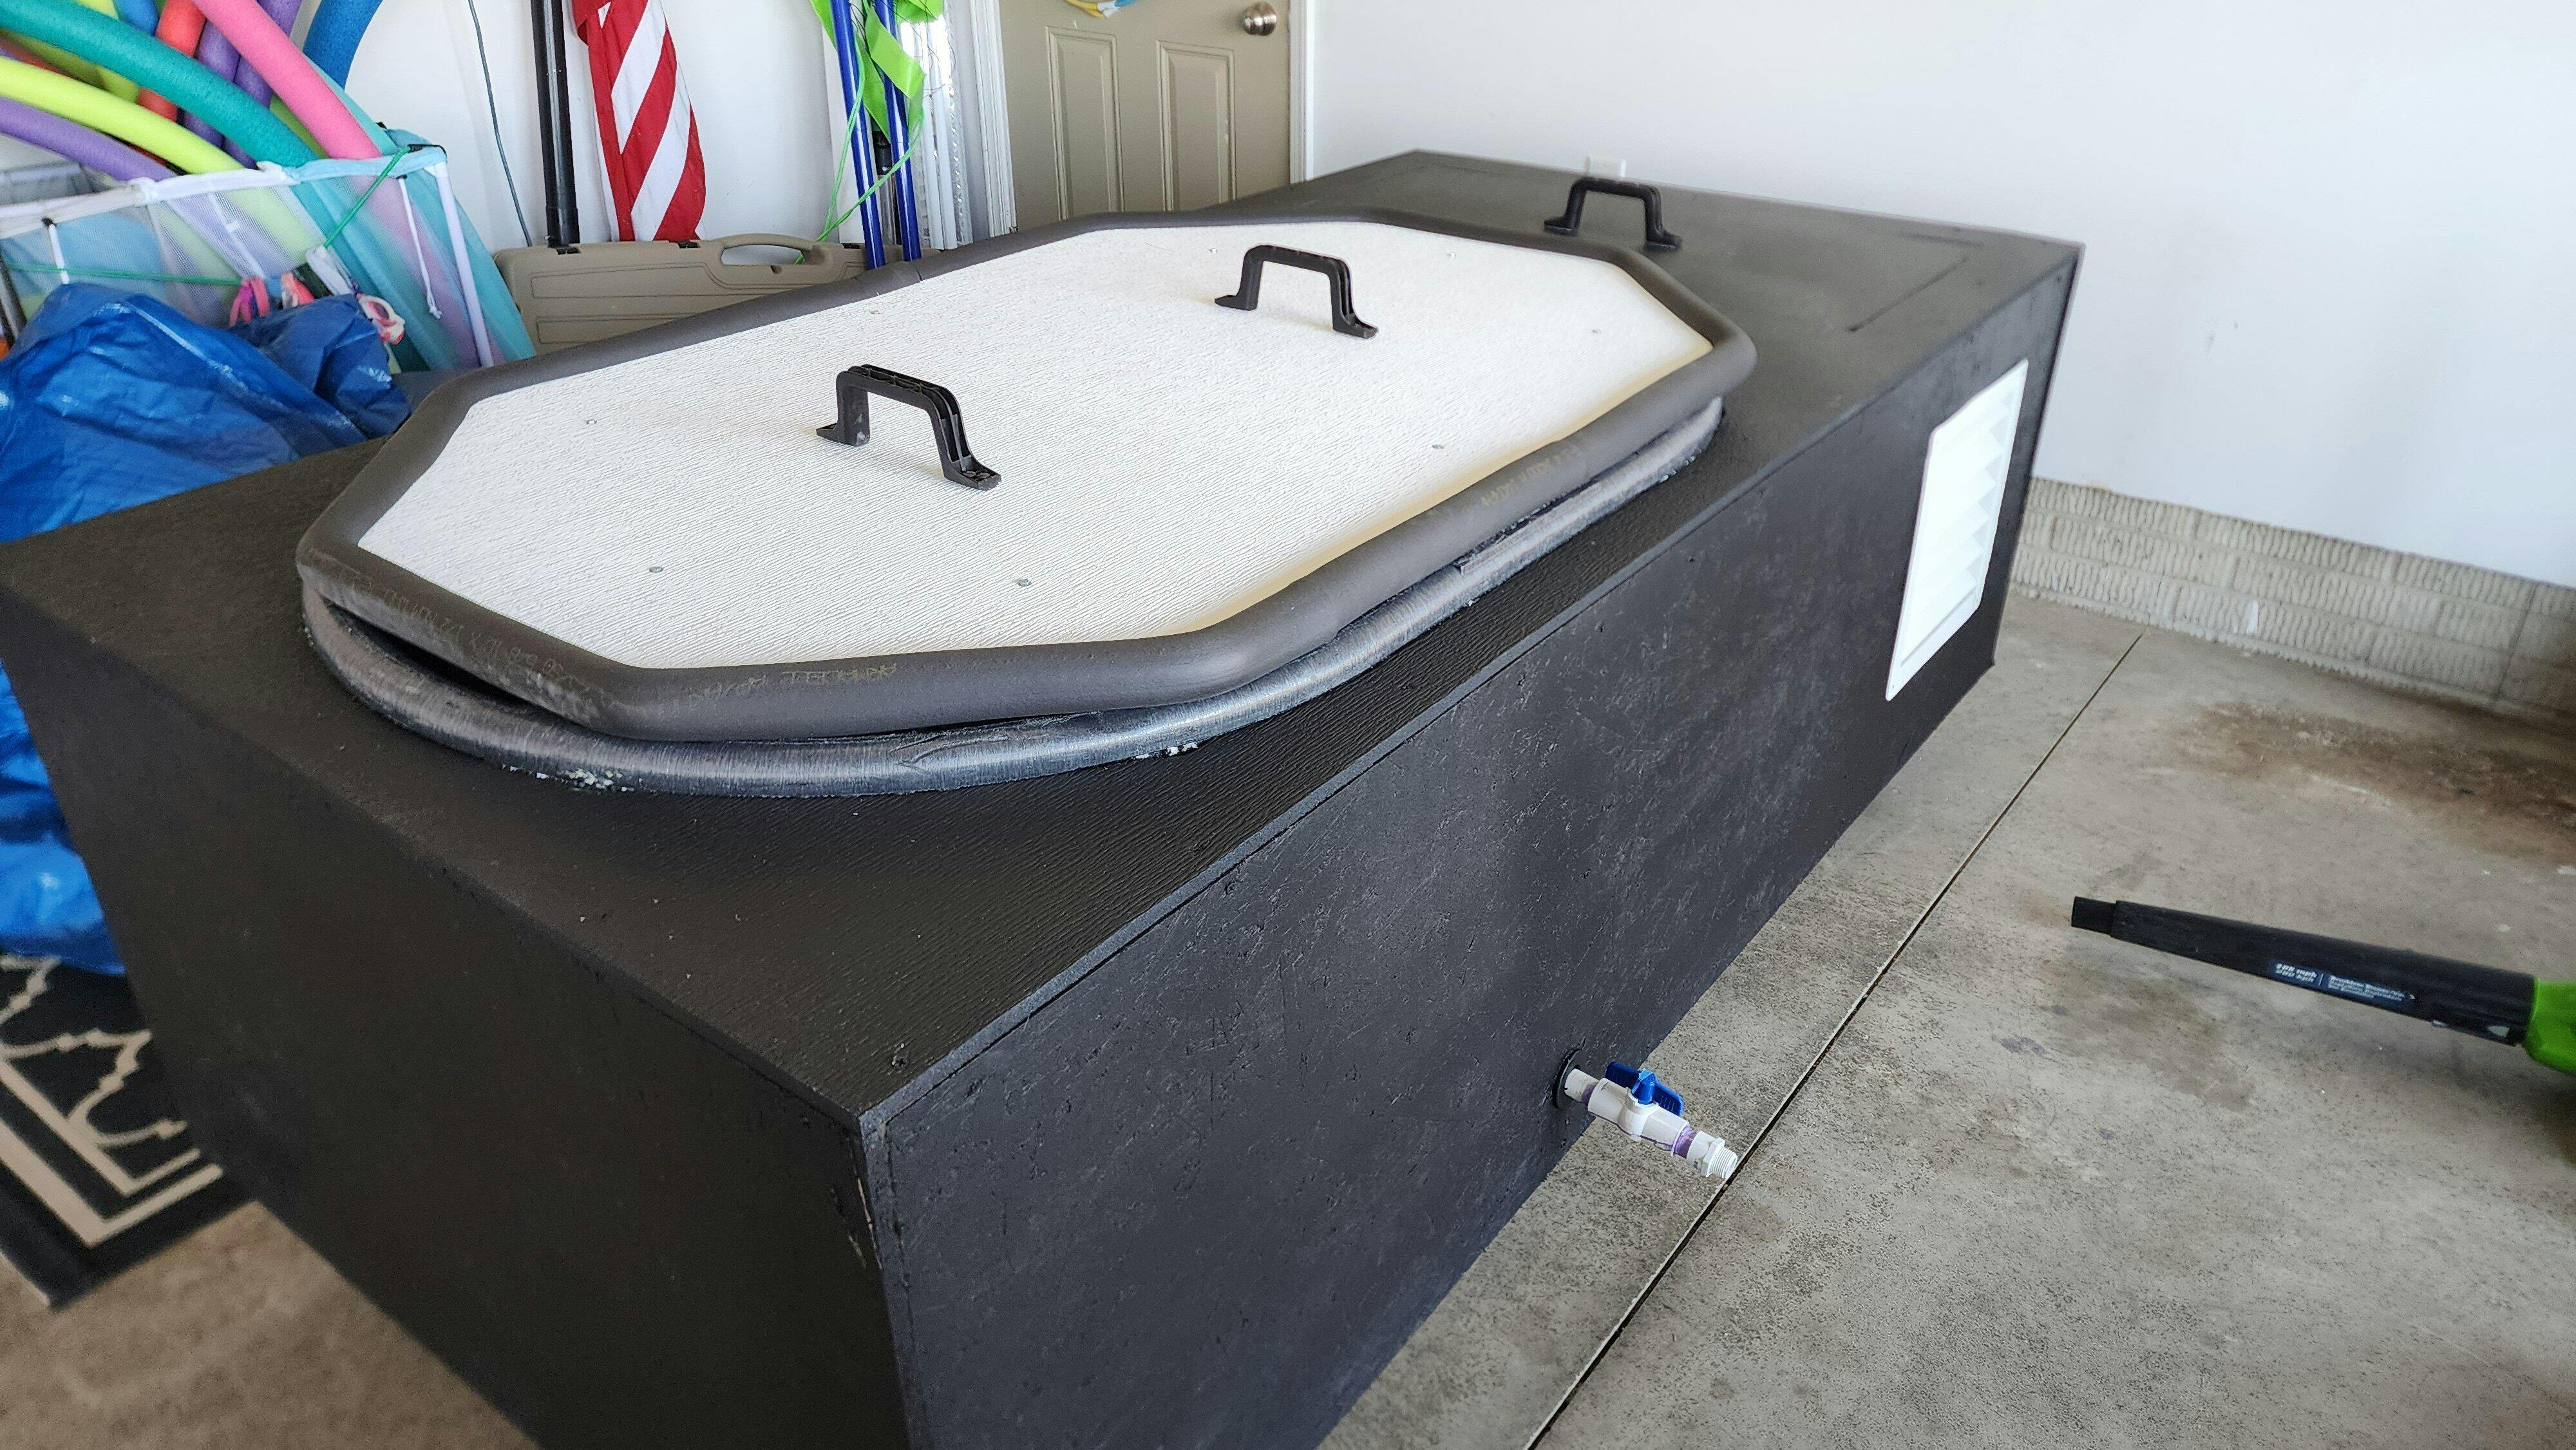
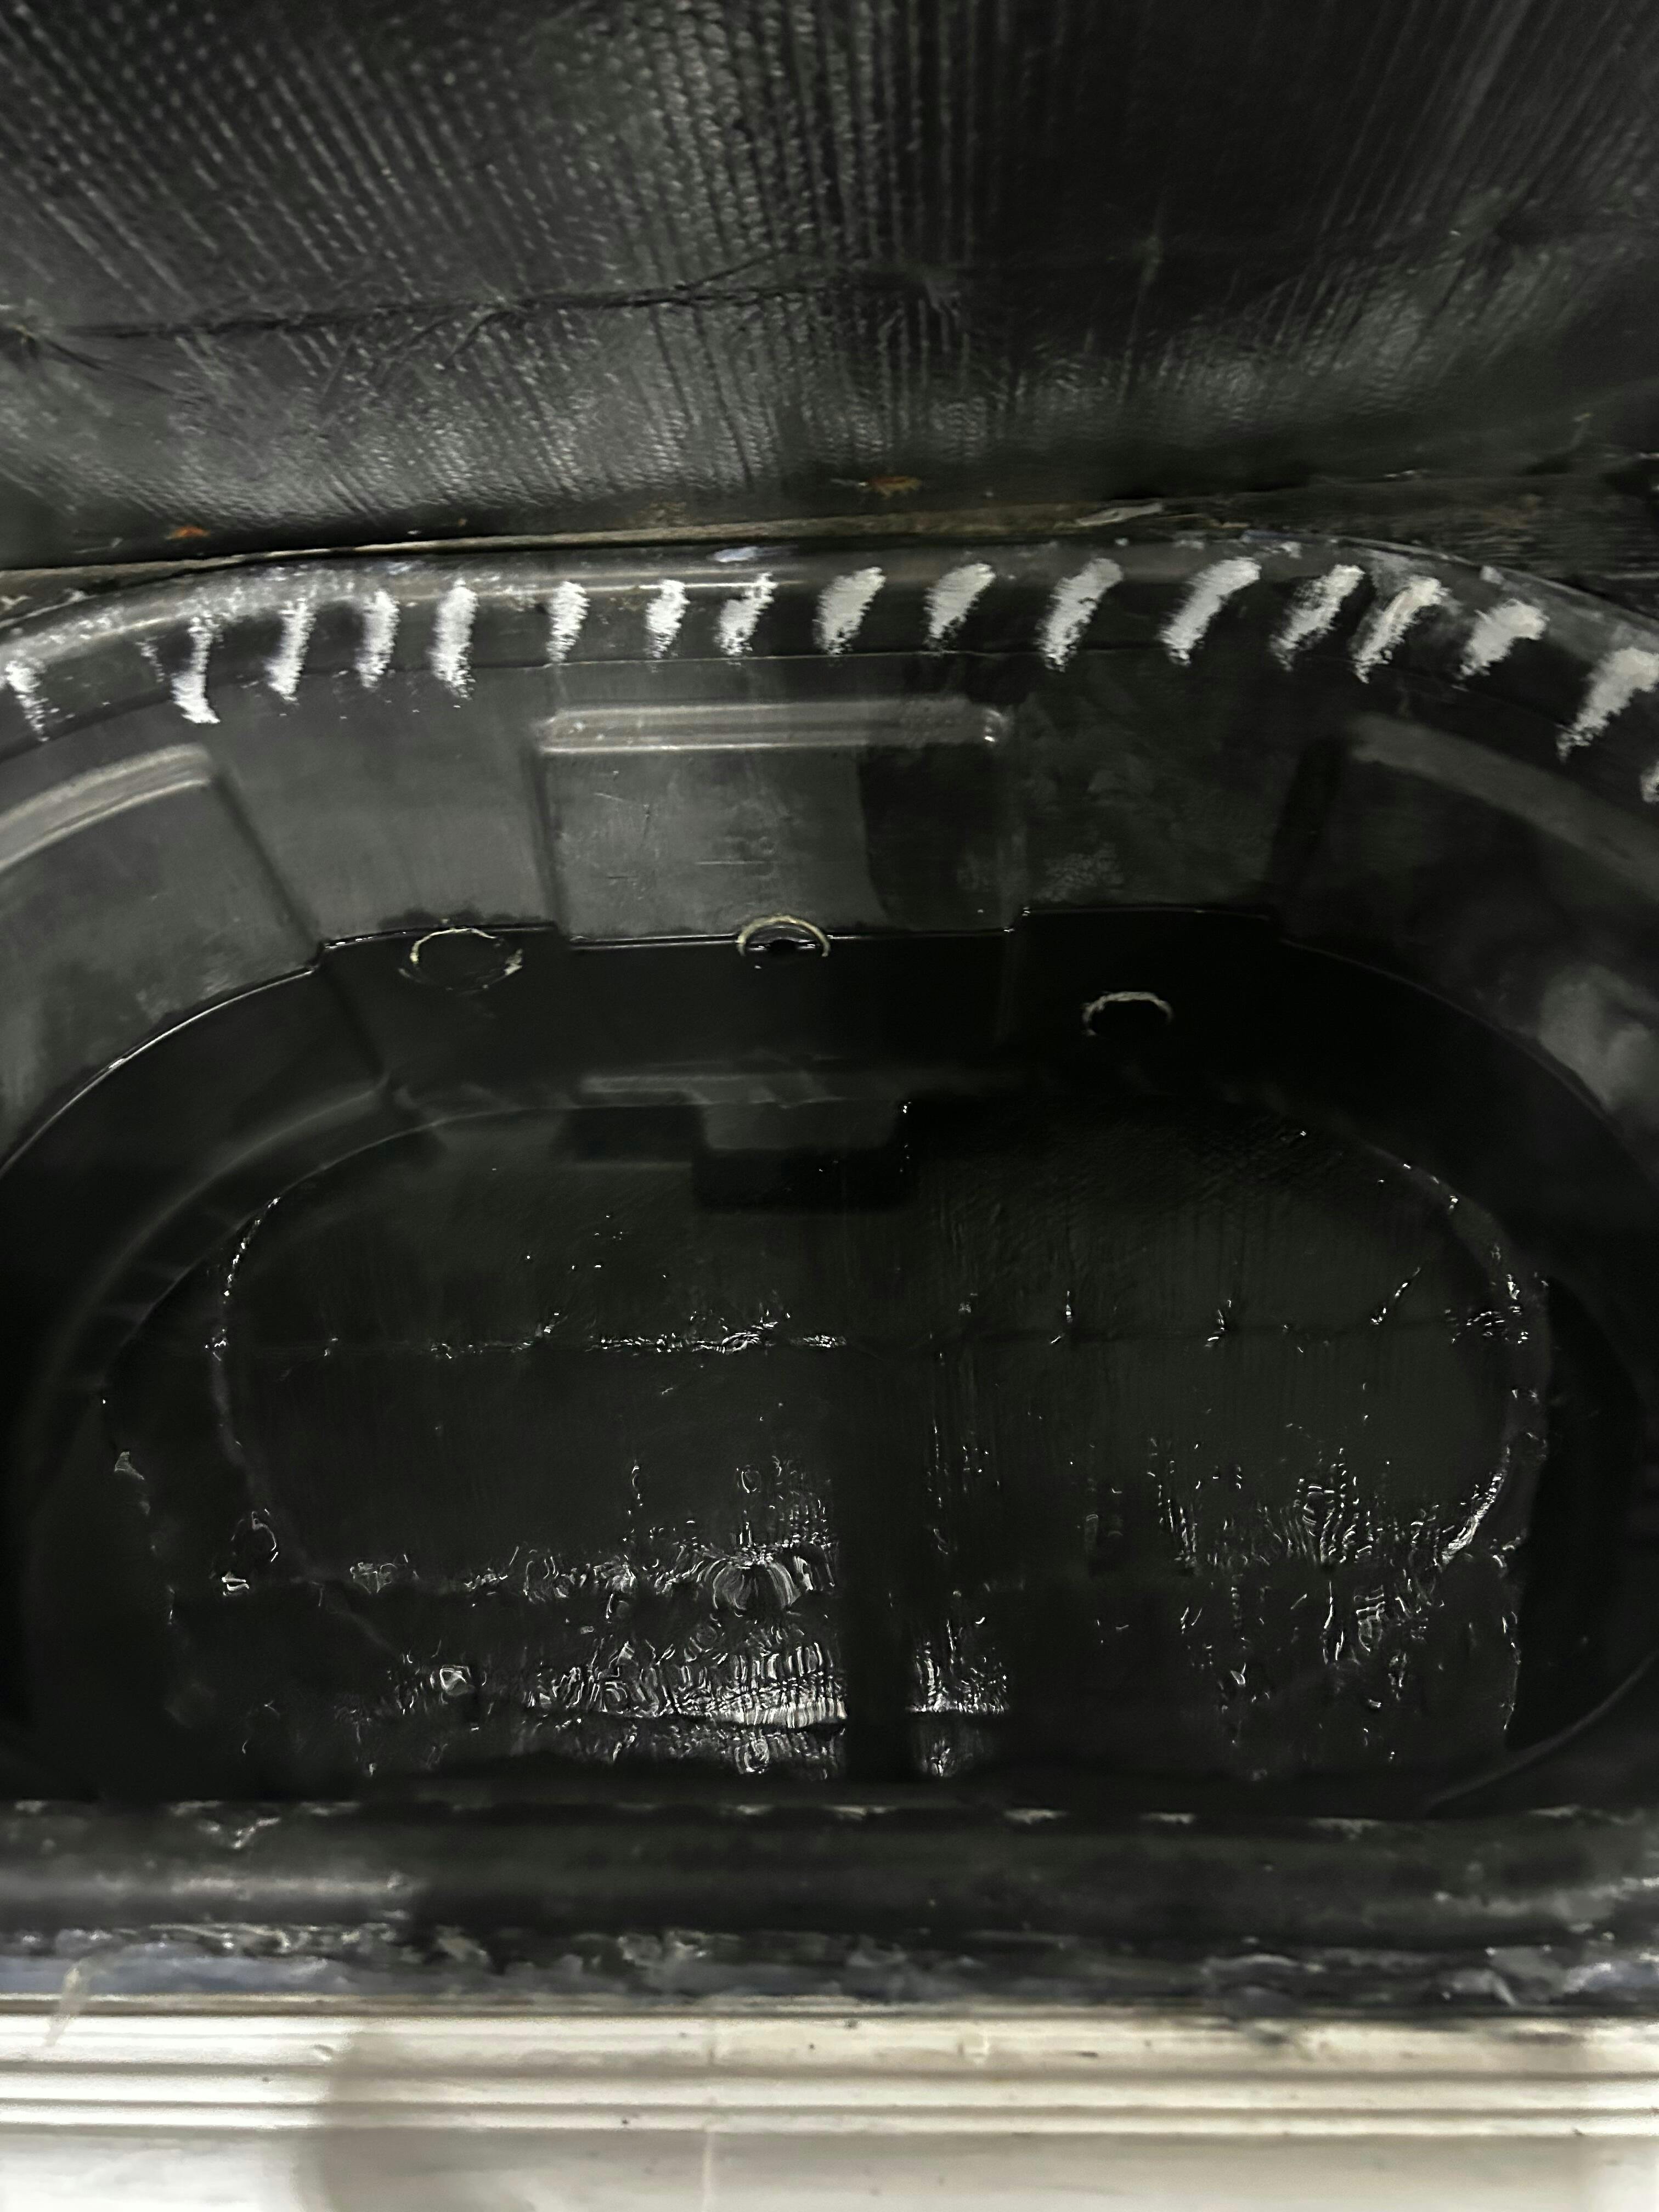
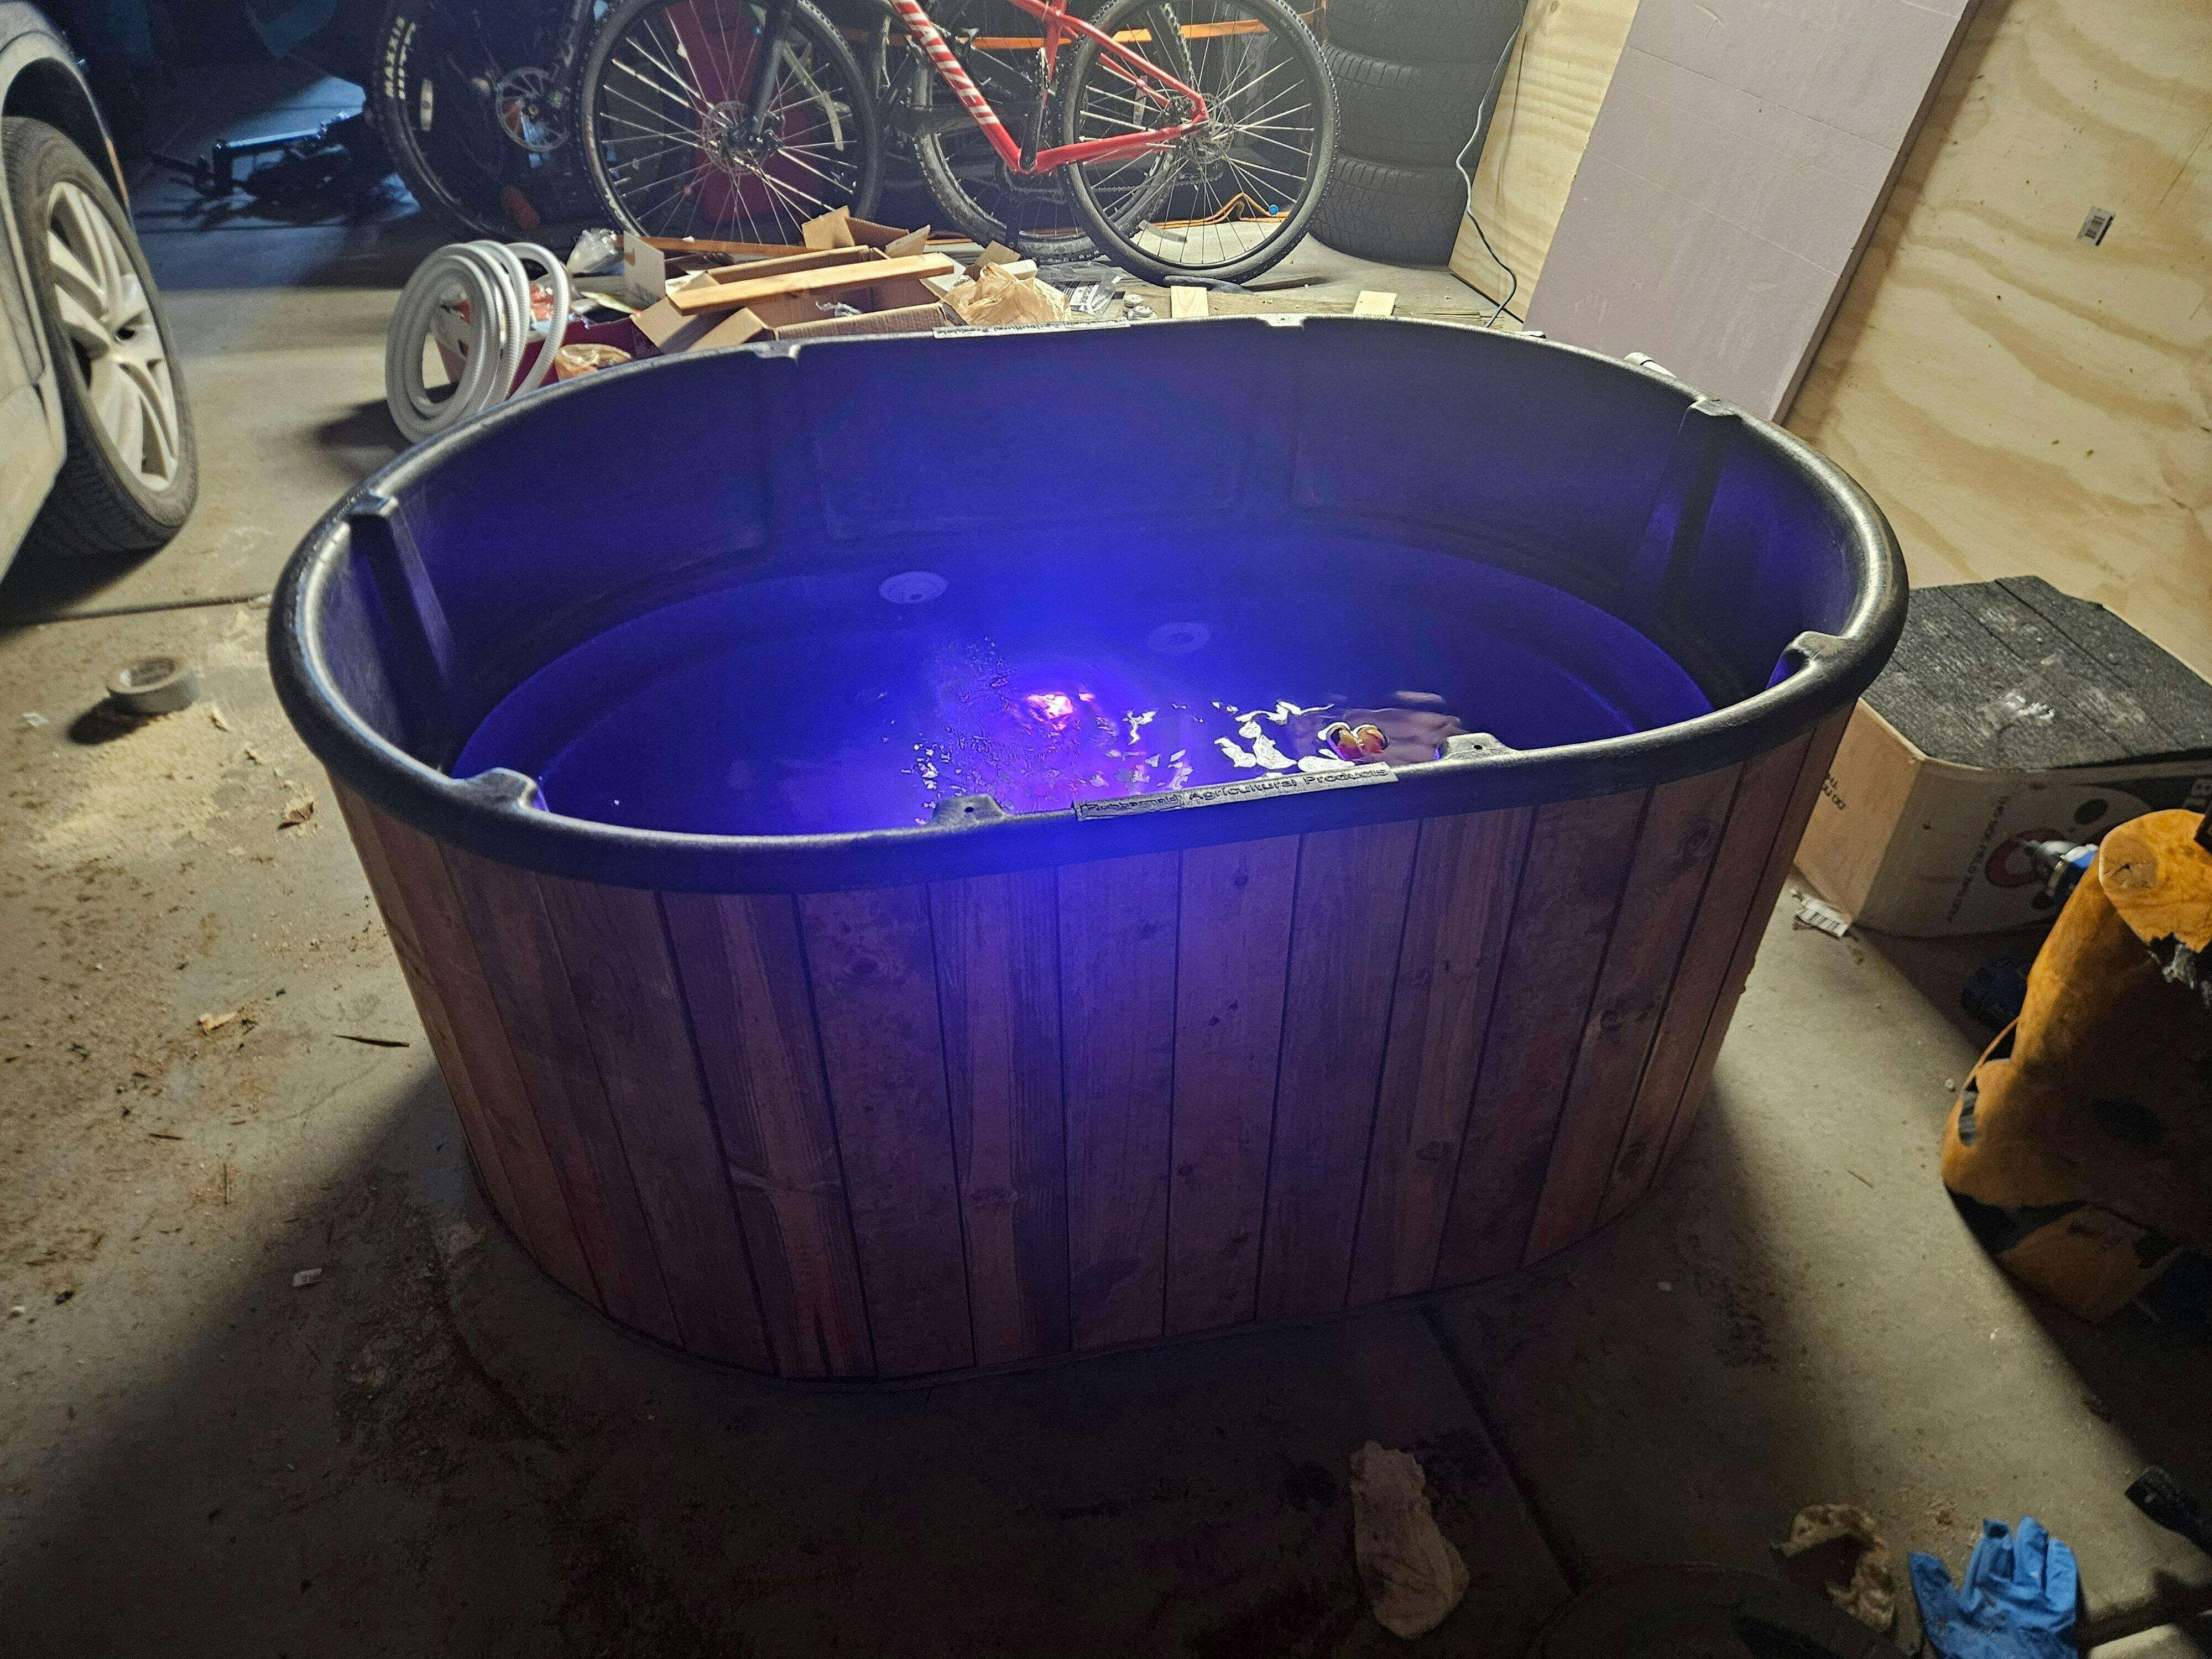
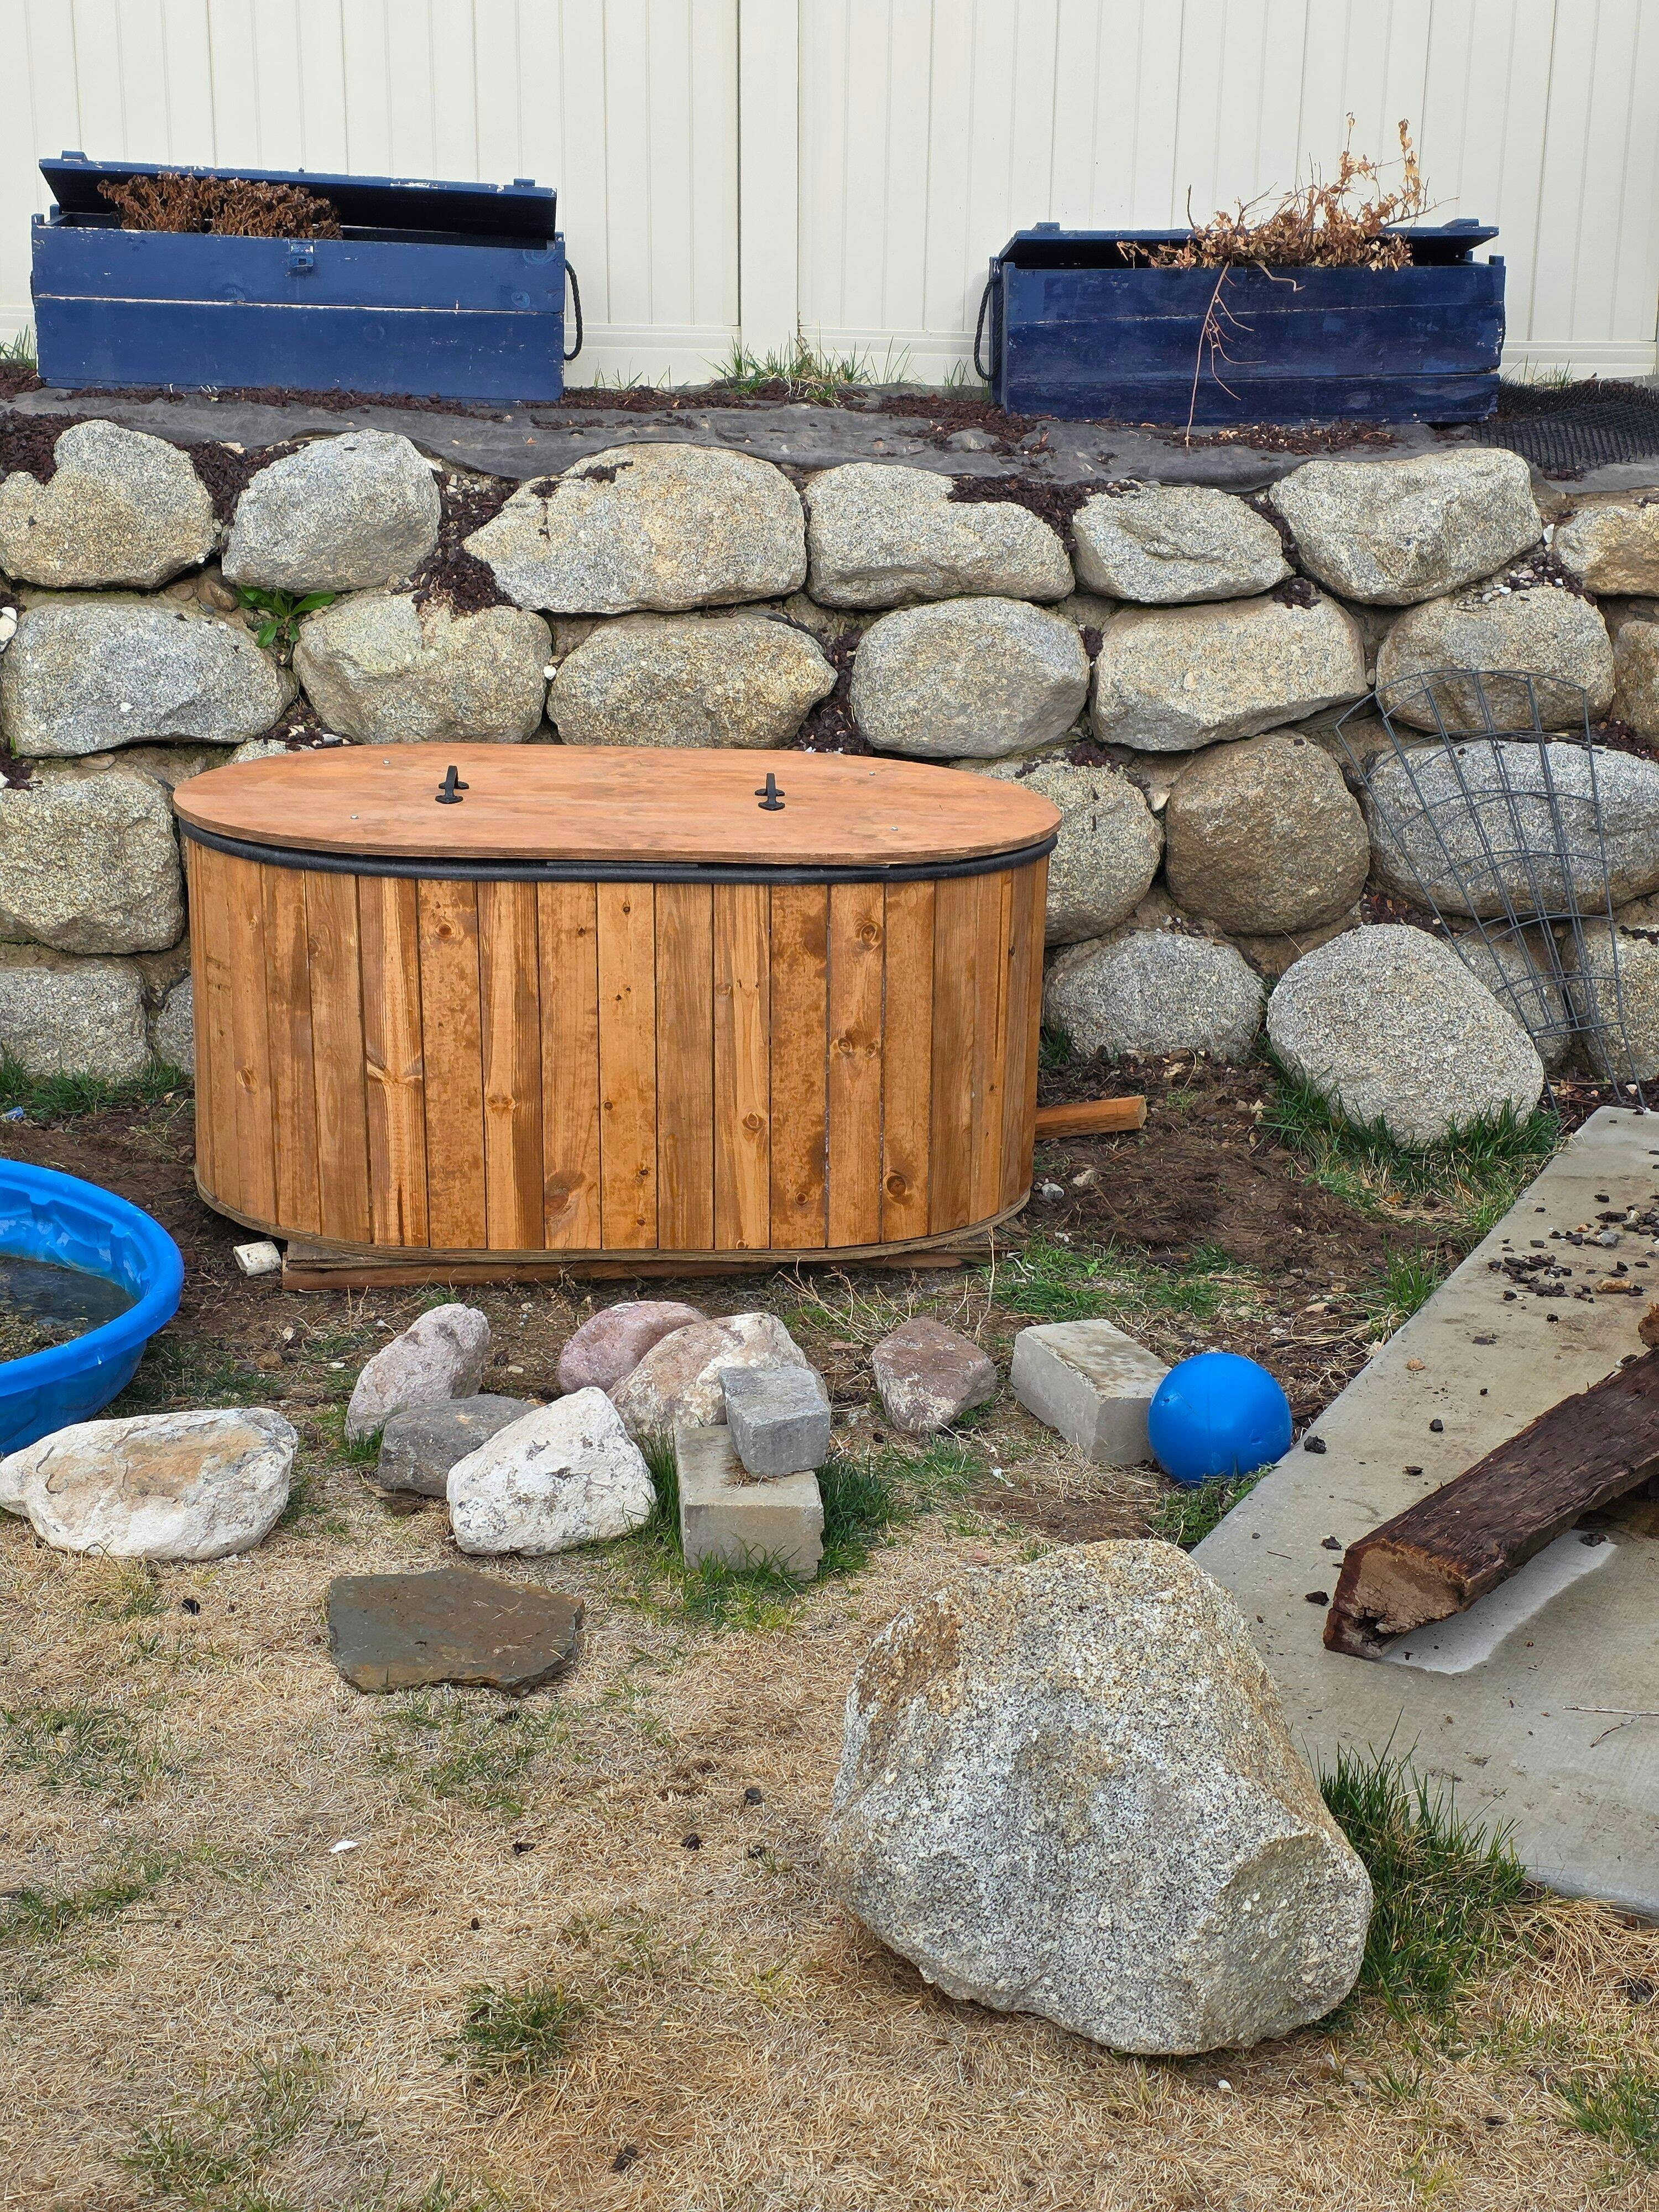
I used them as a base for a simplified version. Did all your plumbing and it works Great. The path I took was just gluing 1×4 stained pine under the lip of the rubbermaid, but first wrapping the tank in insulation, and then using 1 inch pink insulation board between the slats and foil. Then used a 1 inch treated plywood base and screwed that in.
It holds together really well, and in 90 degree Utah heat and sun its holding 39 degrees just fine.
The chiller is the Pod Company product, which is actually just a $280 product if you buy it from the manufacturer - and it works great.
I did my best with the top - the 150 gallon tank has an internal contour that made fitting a 2 inch pink insulation board a real ugly thing to cut. And then sealing it with tarp is not pretty. But it seals tight and looks good when closed. I would recommend buying the cover from Joe.
Final product is great!
First time I've ever bought pre made plans, and I can't recommend enough. All of Joe's plans are detailed and easy to follow, and made the project go quick and smooth.