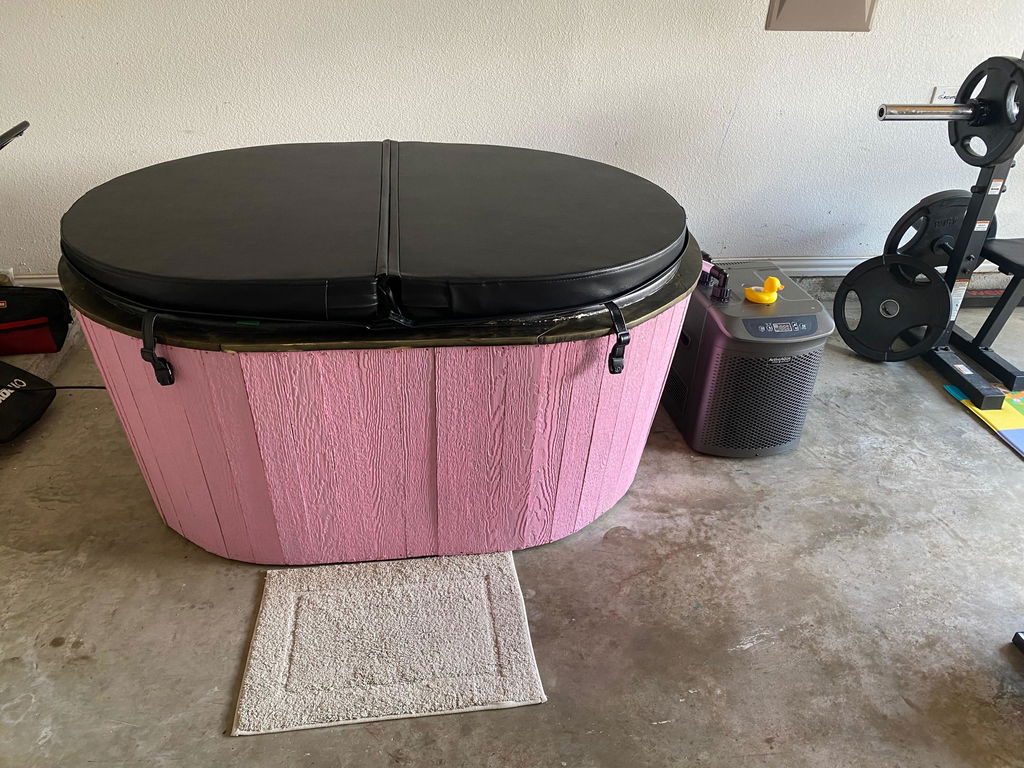
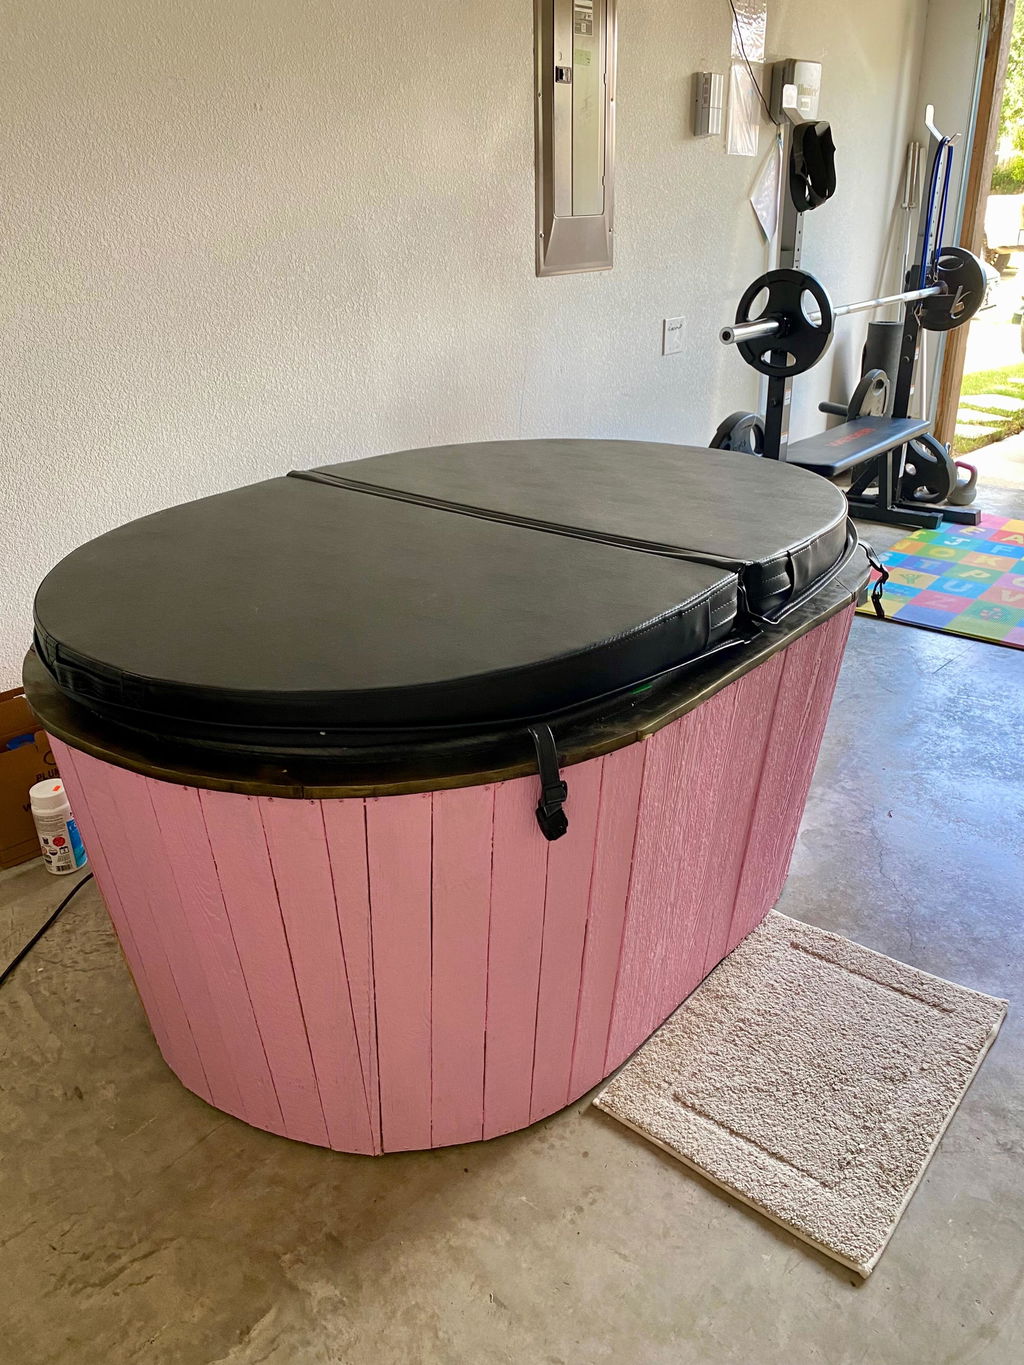
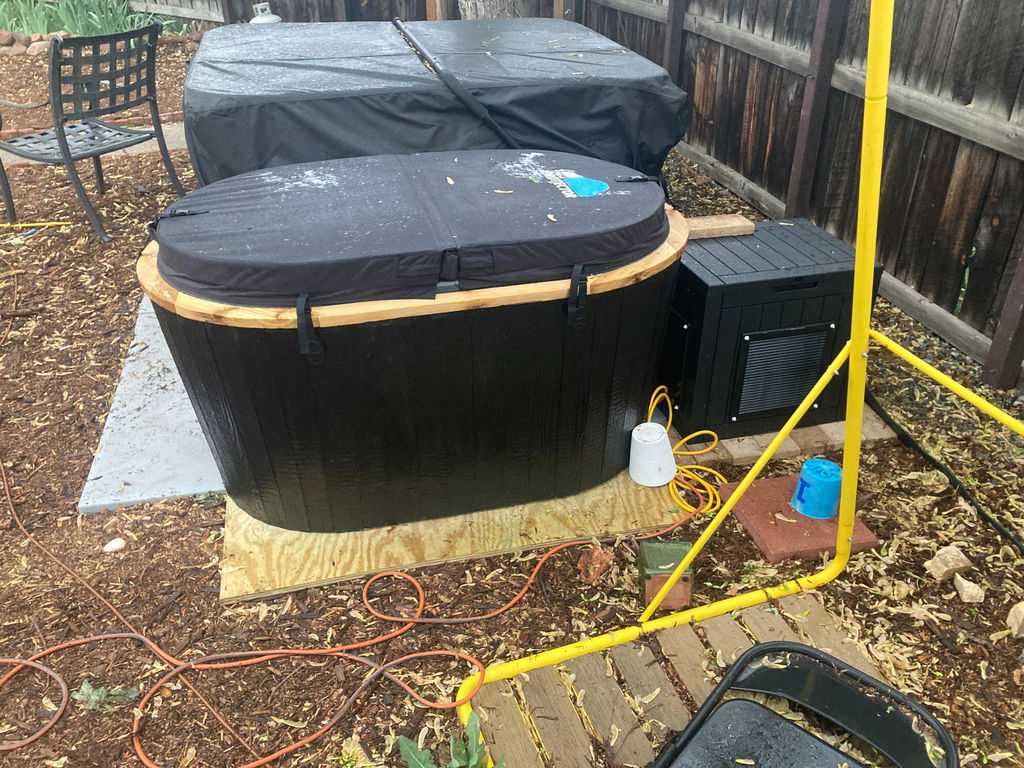
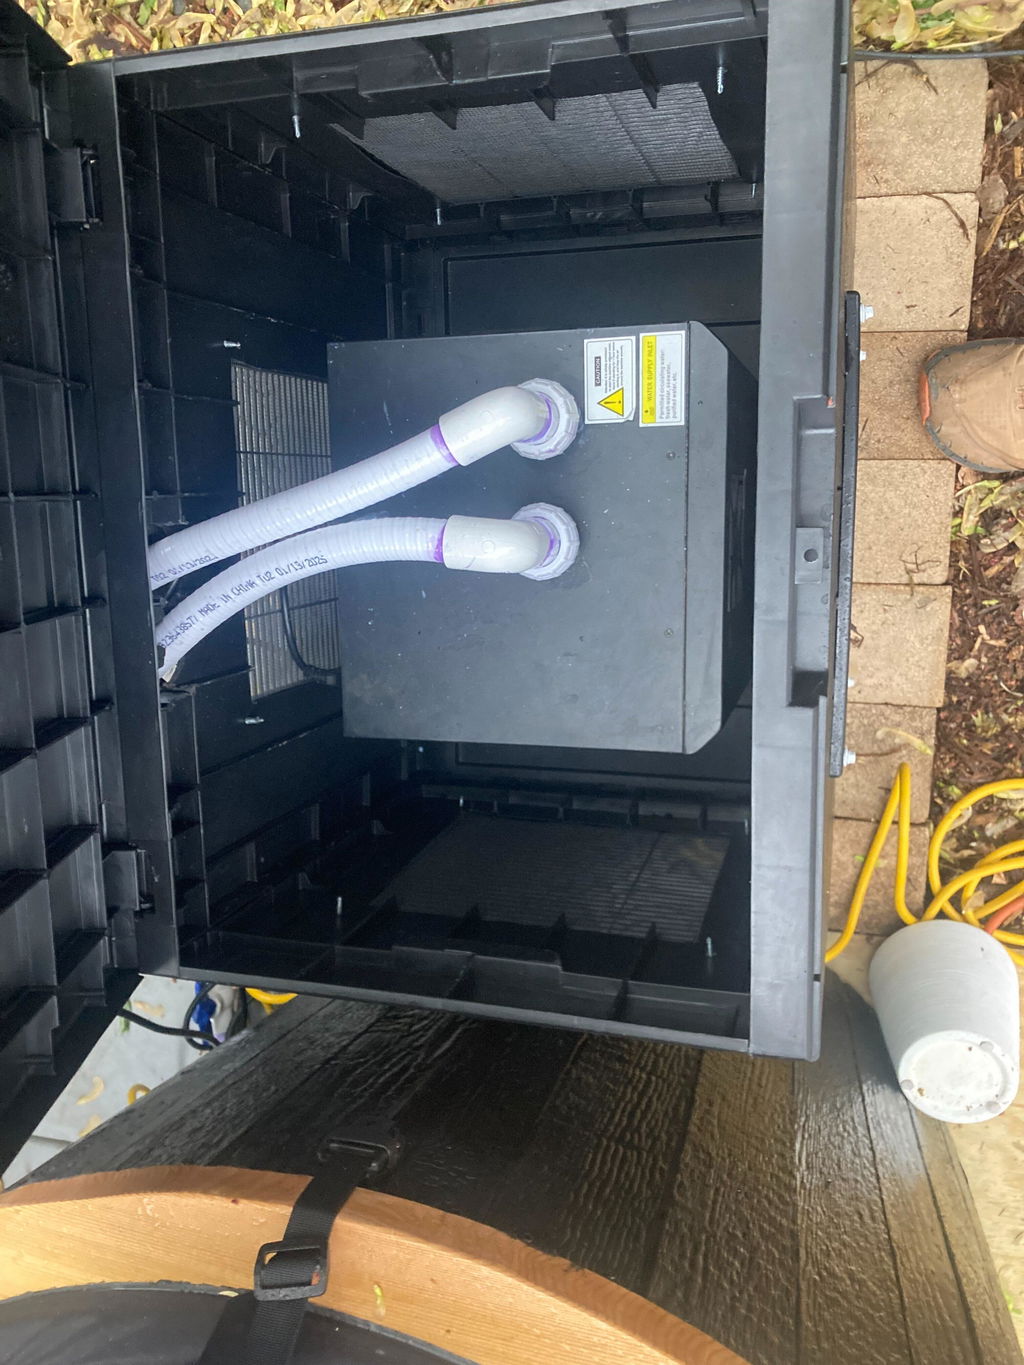
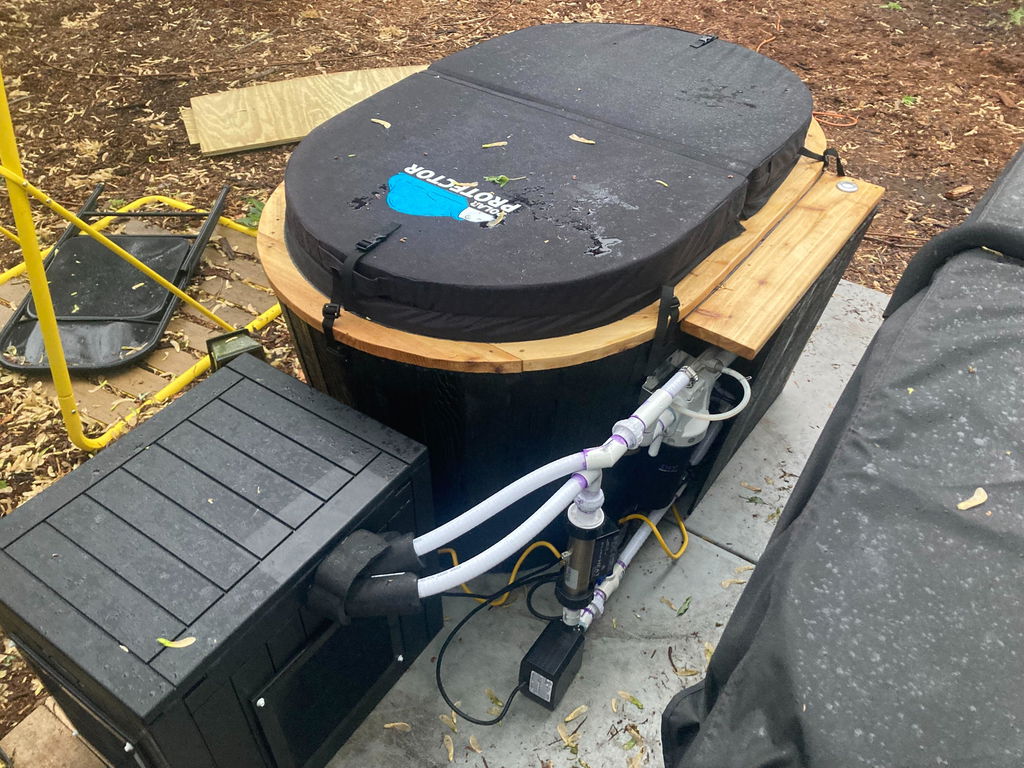
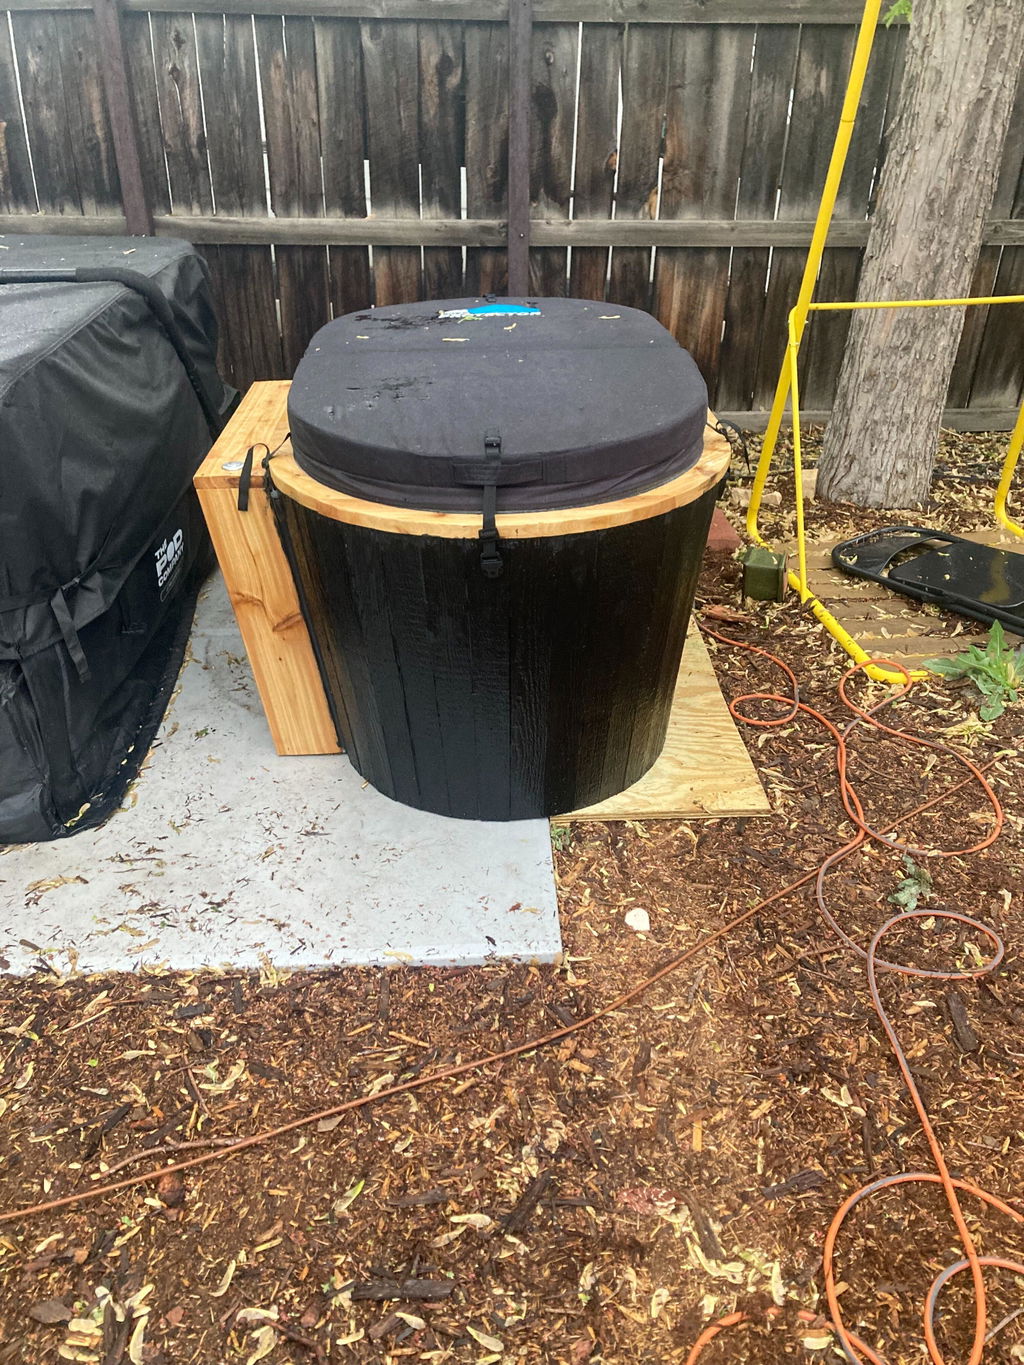
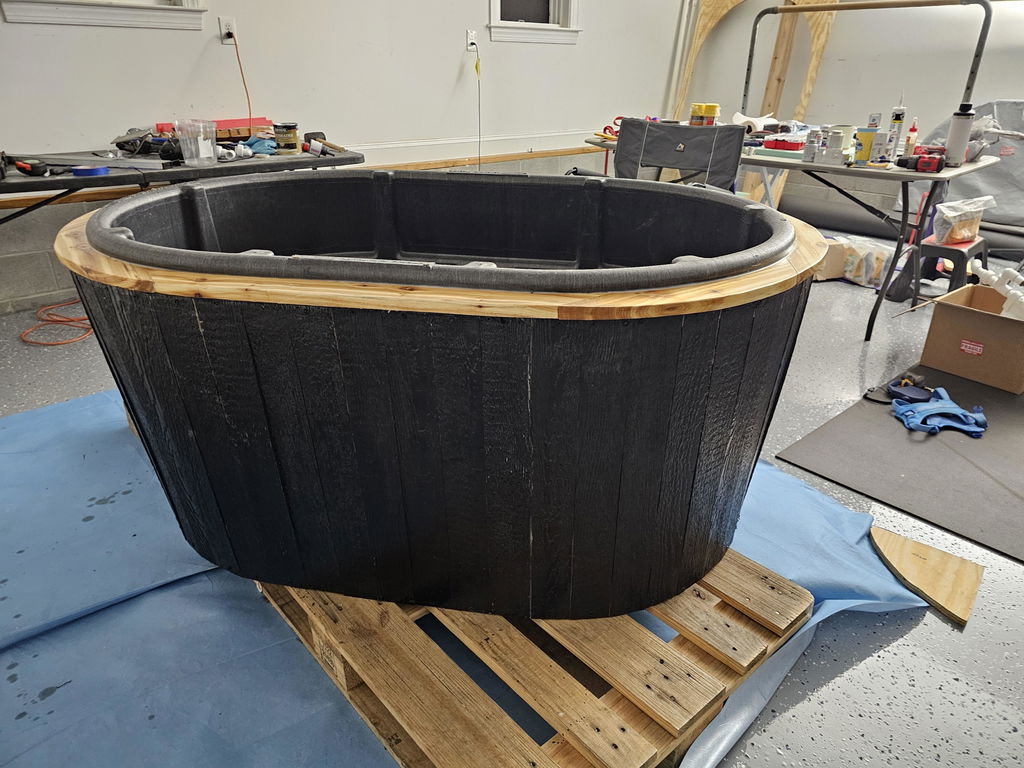
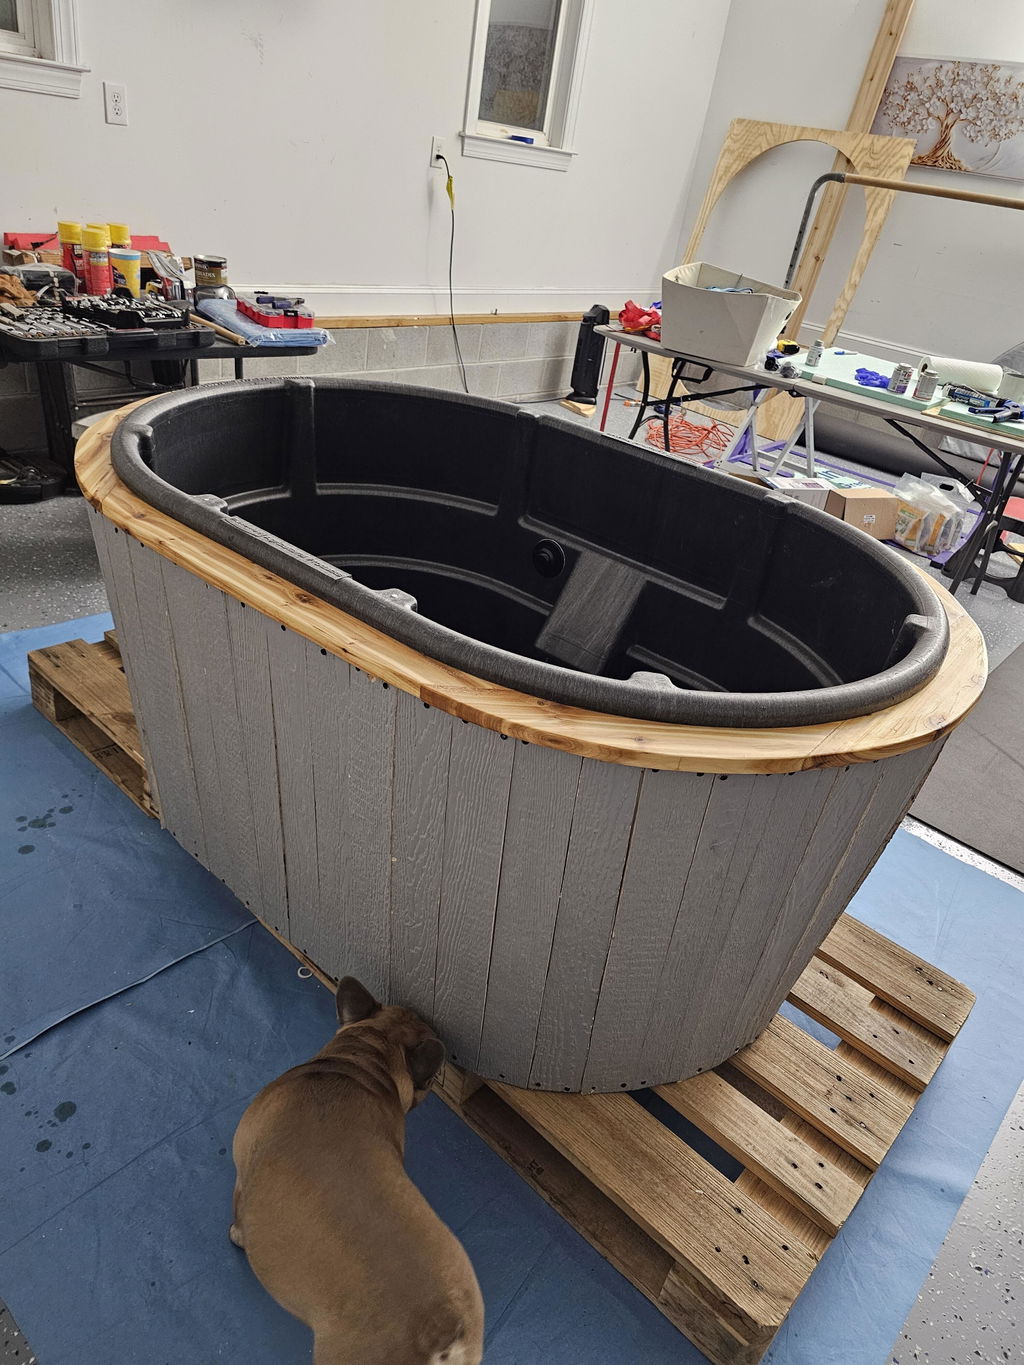
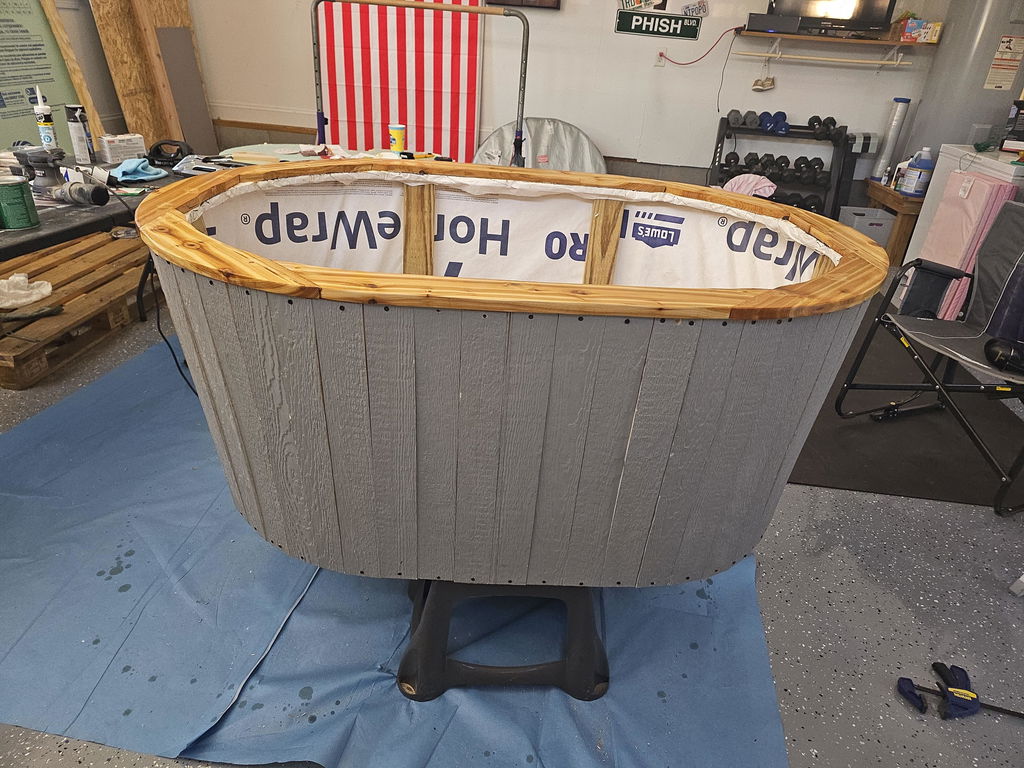
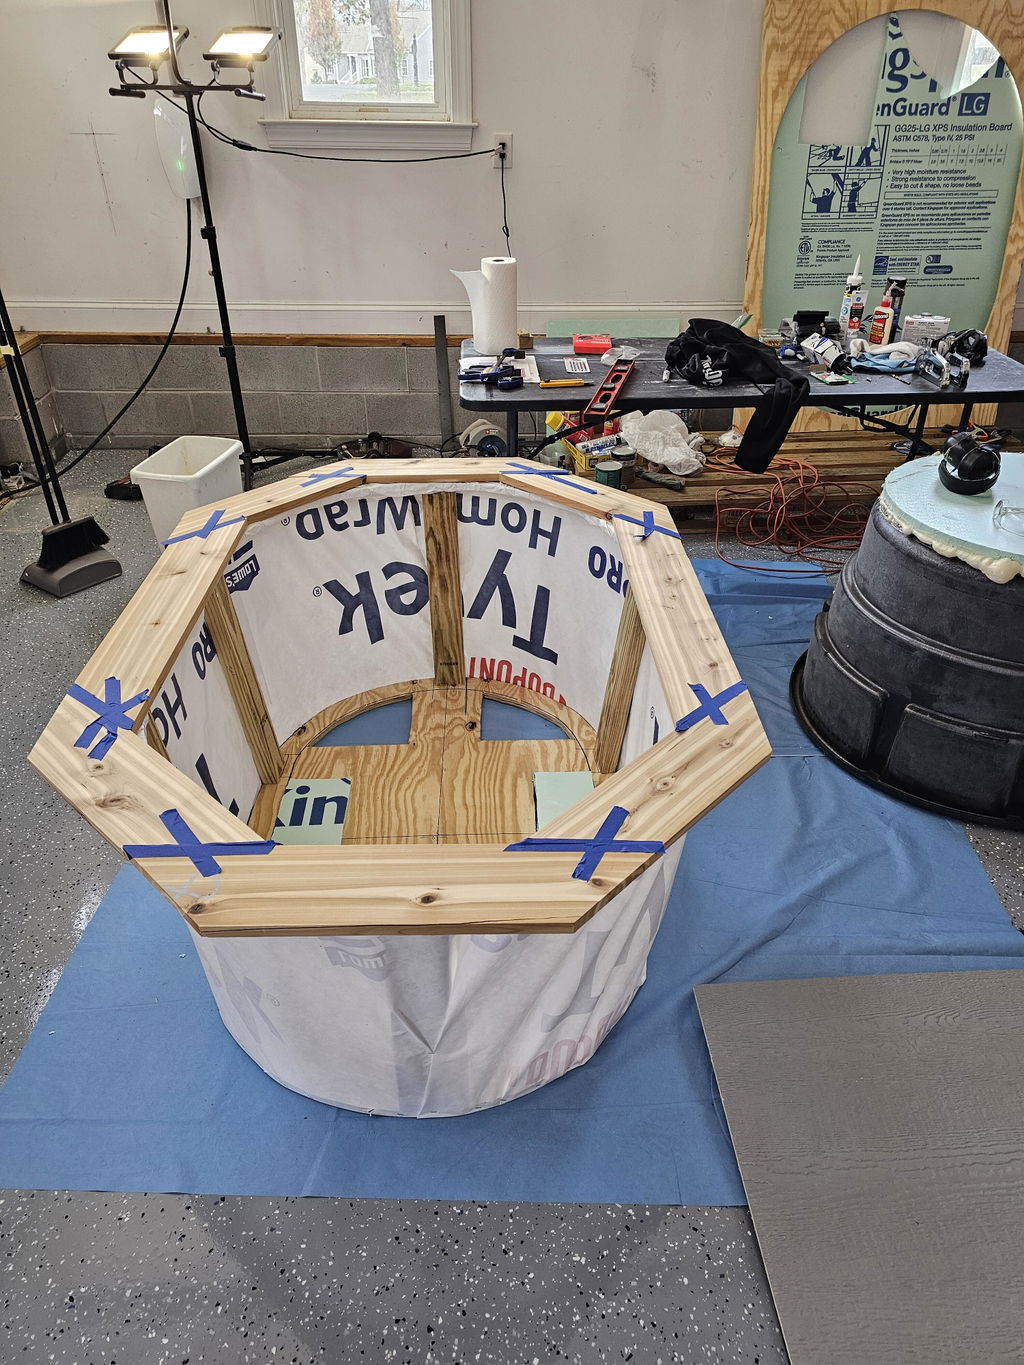
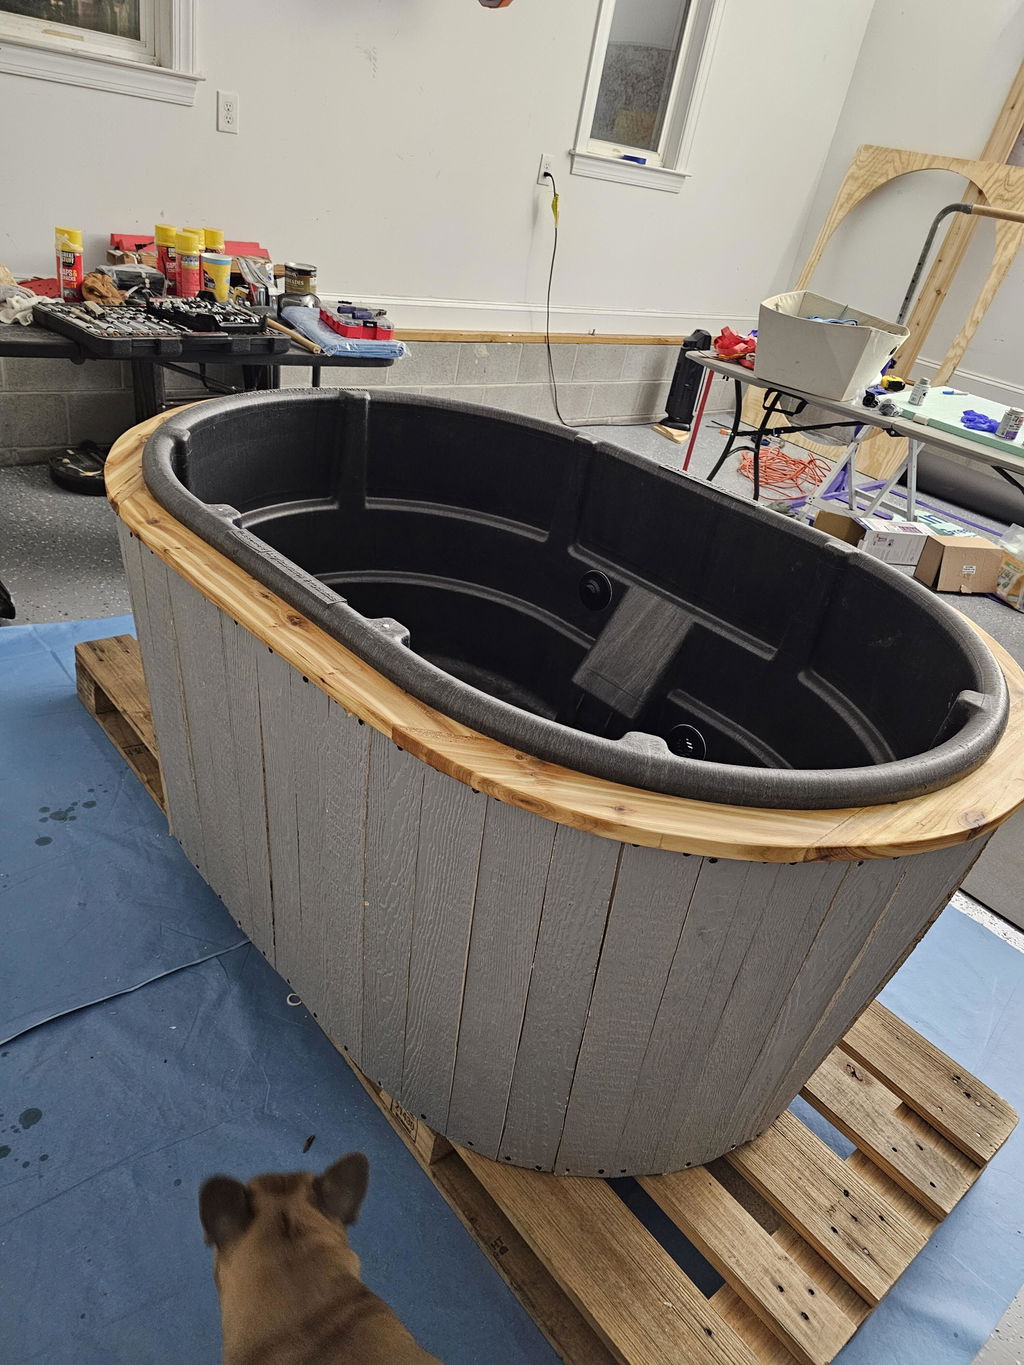
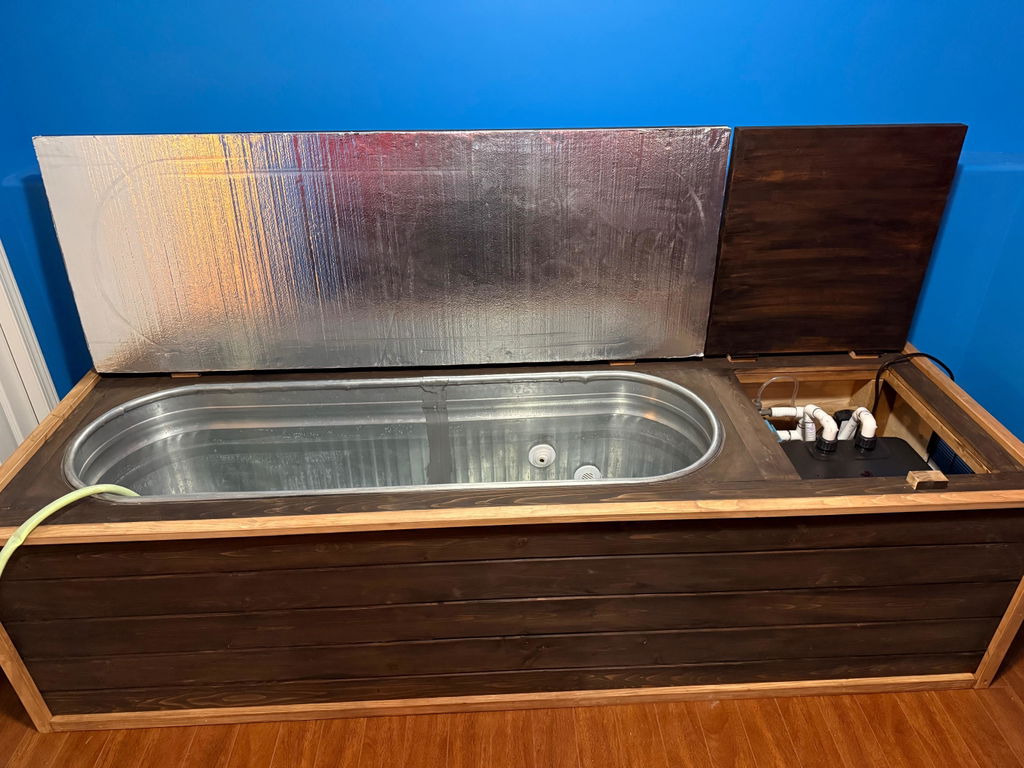
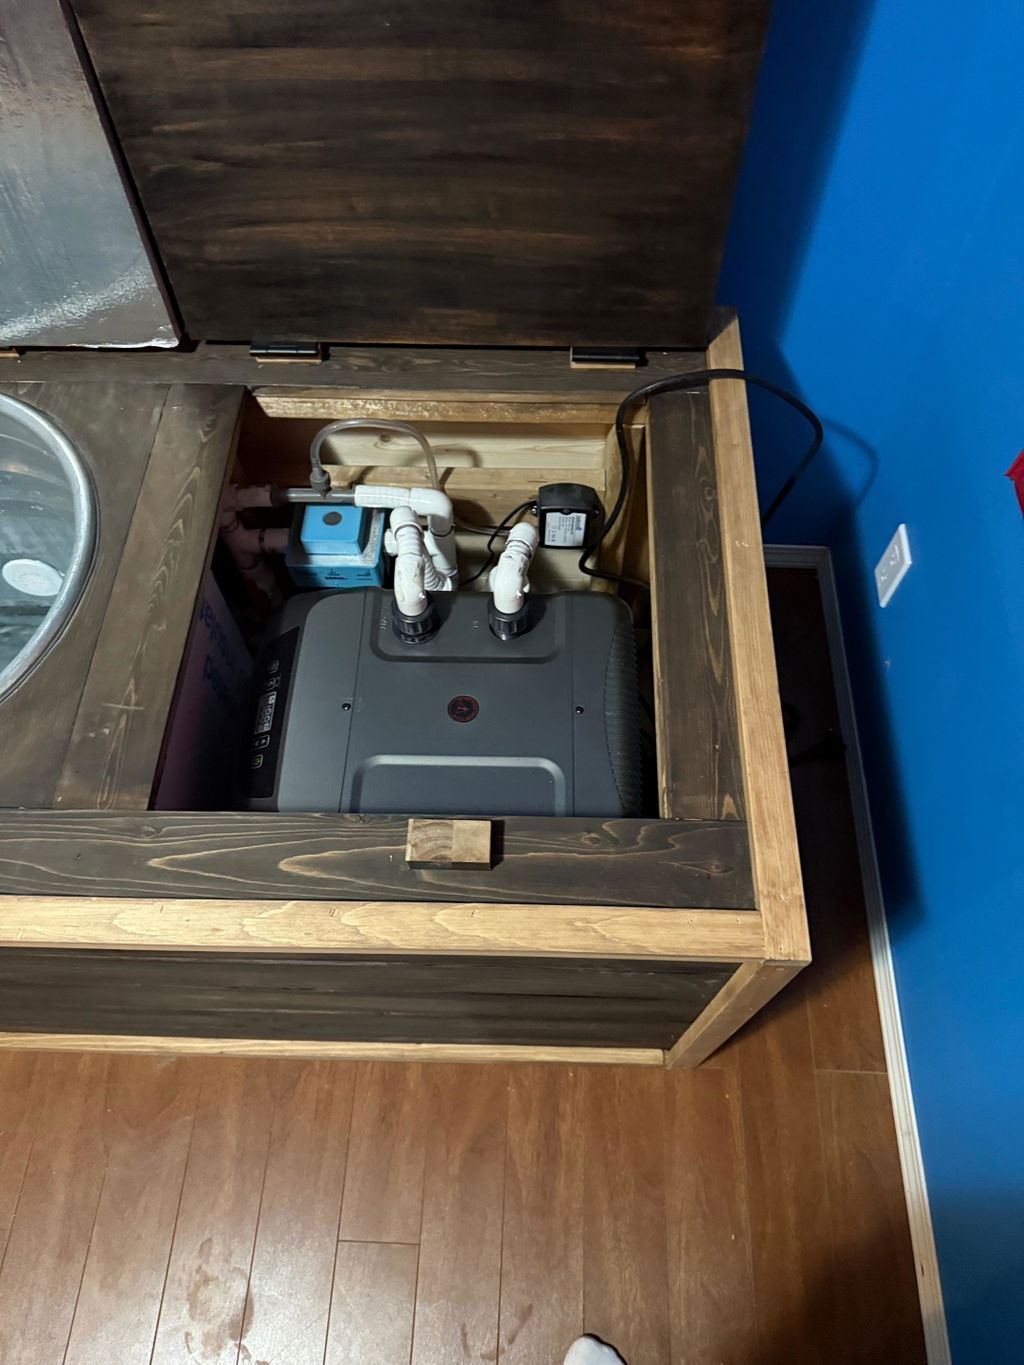
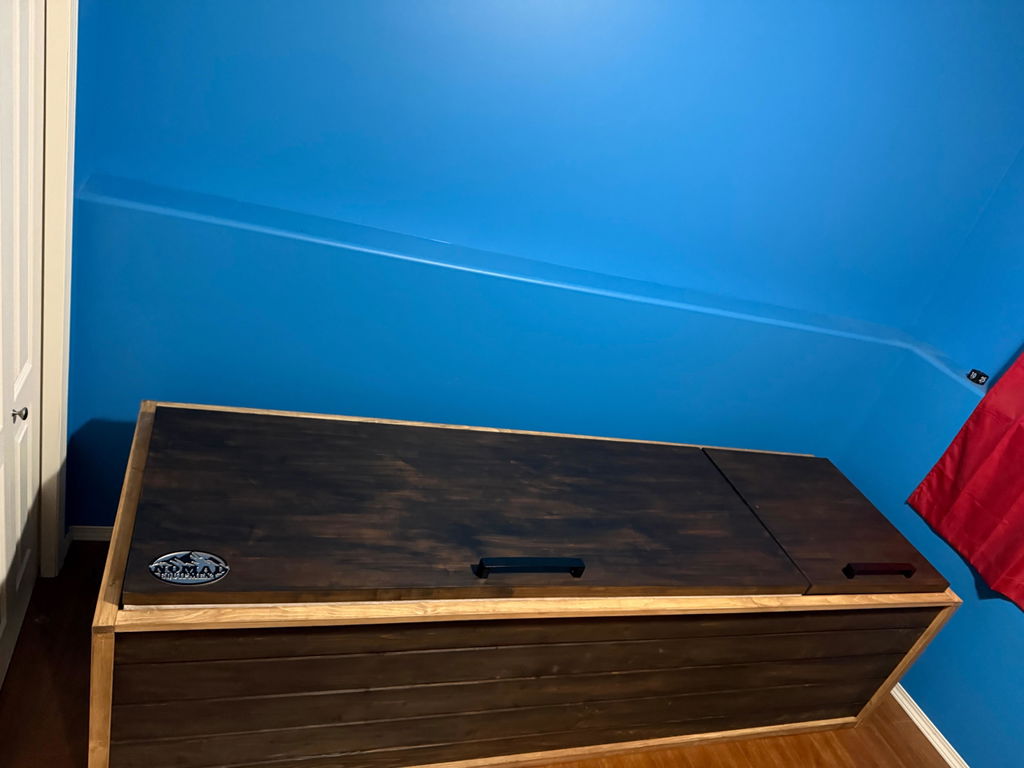
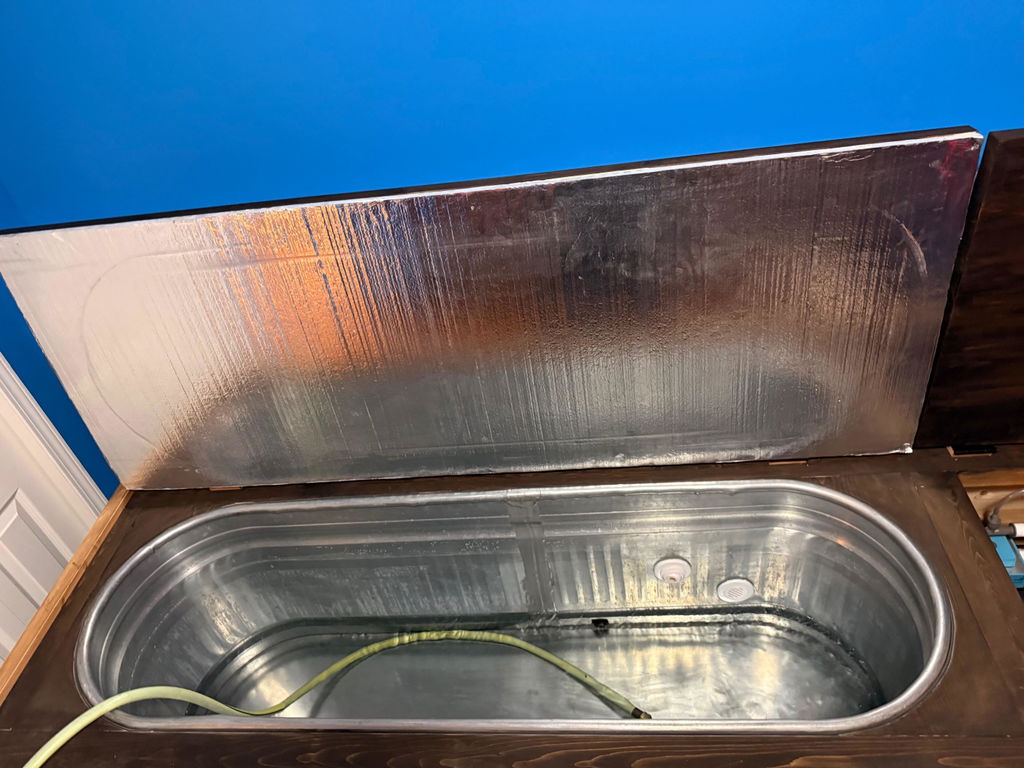
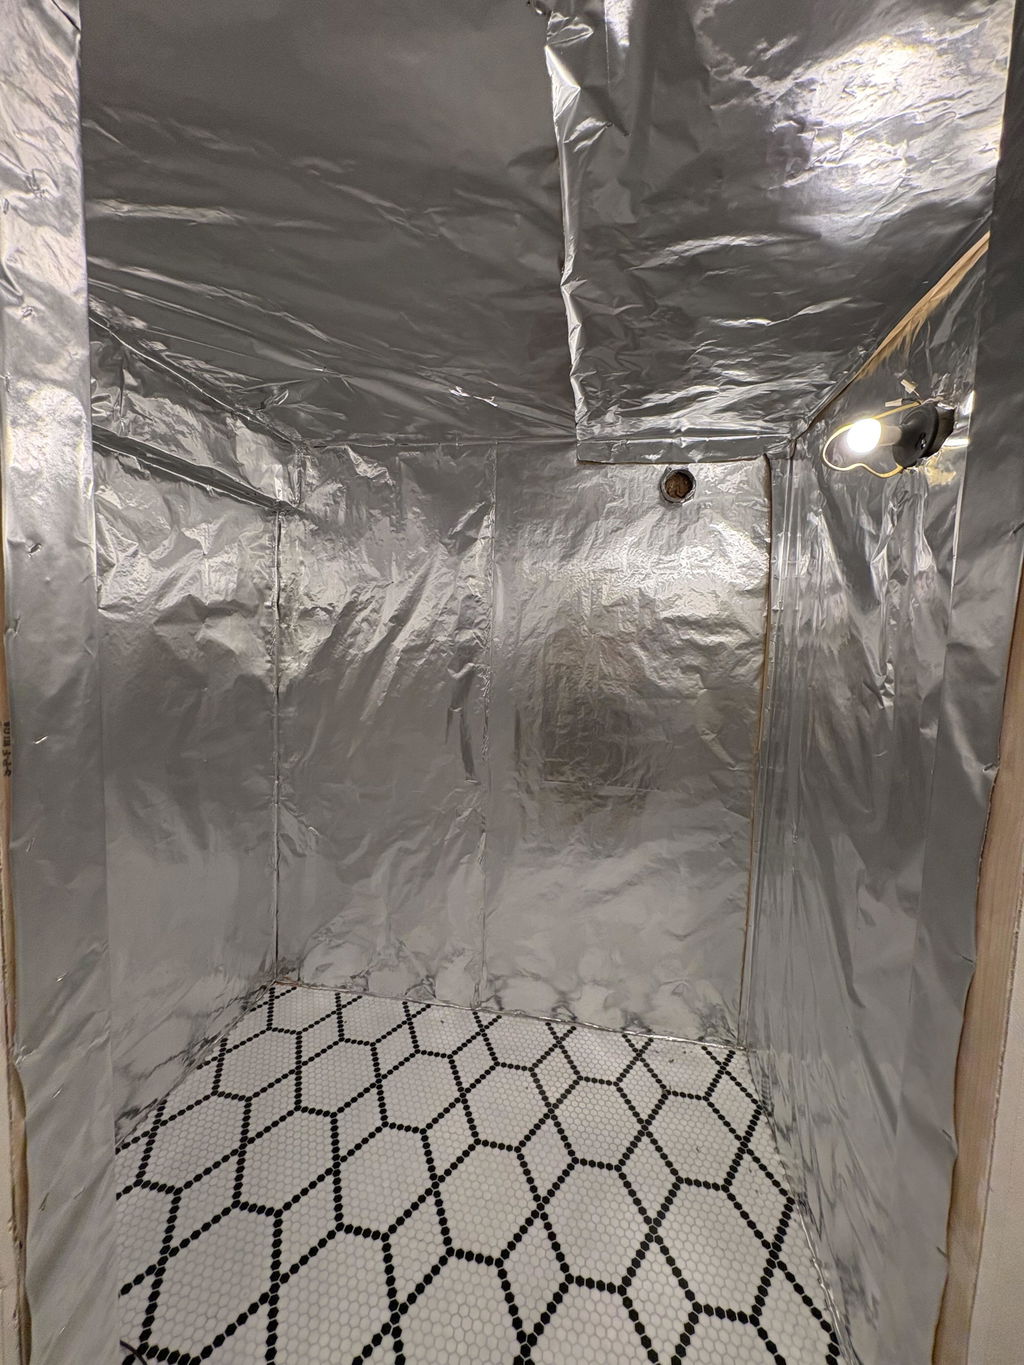
Stock Tank Cold Plunge Plan

Stock Tank Cold Plunge Plan

Regular price$99.95
/
Shipping calculated at checkout.

Style
  • In stock, ready to ship
  • Inventory on the way

Transform a stock tank into the ultimate DIY cold plunge - for less than $2,500 all-in.

This plan has absolutely everything you need to build a cold plunge from a Rubbermaid 100 or 150 gallon stock tank from start to finish. I've taken out all of the guesswork for you, simply follow along with each step to build the cold plunge you see pictured here - there are diagrams, videos and images for each phase of the project. 

Both plans include a plumbing assembly to bypass a chiller if you 1) aren't ready to purchase one just yet or 2) need to pull your chiller in the colder months. 

Plumbing Only Plan:

  • Get a bare-bones cold plunge up and running in ~3 hours!
  • Includes diagrams & step-by-step video for the entire assembly
  • Complete shopping list with direct links
  • PVC parts breakdown & best practices
  • All-in cost for plumbing parts only ~$250
    • Estimate does not include tank, pump, or ozone generator
  • Includes chiller bypass assembly in the plan
  • Supplemental PDF for adding IN-LINE HEAT included

Full Start-to-Finish Plan:

  • This build can be achieved in 2-3 days
  • Includes plan for 100 & 150 Gallon Rubbermaid Stock Tanks
  • Complete shopping list with direct links
  • Diagrams, video & images for each step
  • All in-cost for the entire DIY Cold Plunge (as pictured) ~$2,000-2,500
    • Save even more by building a DIY Lid/Cover
  • Includes chiller bypass assembly in the plan
  • Supplemental PDF for adding IN-LINE HEAT included

Rough Footprint (Full Build):

  • 100 Gallon - 72" x 41"
  • 150 Gallon - 80" x 48"

All digital download orders are final and non-refundable.

Customer Reviews

Based on 40 reviews
98%
(39)
3%
(1)
0%
(0)
0%
(0)
0%
(0)
D
Daniel B.
Awesome cold plunge!!

I couldn’t be happier with our cold plunge. I am definitely not a handy person and Joe’s plans were very easy to follow and it turned out great. He was also very responsive to all of my questions during the build. My wife and I use it all the time for recovery and could not be happier. I am 6‘9“ tall 240 pounds and the 150 gallon stock tank works perfectly for me.To cover the chiller, I found a bamboo ventilated doghouse that I cut out part of the side and it works great. Thanks again, Joe!

D
Daniel D.
Absolutely love my Cold Plunge

My wife and I use this daily and absolutely love the cold plunge stock tank DIY. Plans are done so well and the video explanation of every step is super helpful as I am a visual learner. I’m 6’ 2” / 260lbs and the 100 tank does the job. I am able to sit Indiana style and still get shoulders completely covered in the water with roughly 1 inch of space above water.
100% worth purchasing the full setup plans.

B
Bob H.
150 Gallon

The plan was easy enough to follow. Joe was very responsive to my many questions. Other than my poor craftmanship in cutting and shaping the top cedars pieces it turned out great and I use it 5 days a week.

D
Dave
Worth Every Penny: The Perfect DIY Cold Plunge Guide That Saves Time, Money, and Headaches

I’ll be honest—I was hesitant to spend nearly $200 on a DIY plan when the whole point of doing it yourself is to save money. But after nearly completing my build, I can confidently say this was one of the best decisions I made. Nothing is more valuable than time, and this guide takes all the guesswork out of the process, making it an enjoyable project rather than a frustrating one. The $190 price tag is easily justified by how streamlined and stress-free the experience was.

The parts list, detailed step-by-step PDF, and video tutorials are incredibly well-organized and easy to follow. On top of that, the quick and friendly email support whenever I had a question made a huge difference. It’s clear that a lot of thought and effort went into making this guide accessible for anyone, regardless of skill level.

Before this build, I was using a stock tank with ice and could barely get my water below 50°F. Even after adding a chiller last summer, keeping temps down during hot days was a constant battle. With this design and proper insulation, my chiller now works efficiently—I poured in room temp water, and it hit my target temperature within hours and stays there with no problem.

Another huge win is the filtration and sanitation setup. I used to waste over 80 gallons of water every week because it would get nasty fast. Now, I don’t have to worry about constant water changes—this system keeps everything clean and fresh.

Overall, I’m beyond satisfied. This guide doesn’t just help you build a cold plunge—it saves you time, frustration, and ongoing costs. I’m even tempted to grab the DIY sauna plans next (even though I already own an infrared one). If you’re on the fence like I was, trust me—this is well worth it.

E
Erik S.
Great plans!

These plans are awesome and the videos are super helpful. I recommend watching all the videos before you start and then again along the way.