When it comes to keeping your DIY Cold Plunge clean and clear, filtration is one of the biggest factors. But... if you’ve searched online, you’ve probably seen a ton of different opinions on how to do it and how it ties into your plumbing system. The good news? It’s actually pretty simple—if you use the right setup.
After testing different filter housings, filter types, and micron ratings, I’ve found the best combination for DIY cold plunges. In my latest YouTube video, I break it all down so you don’t have to waste time and money figuring it out yourself.
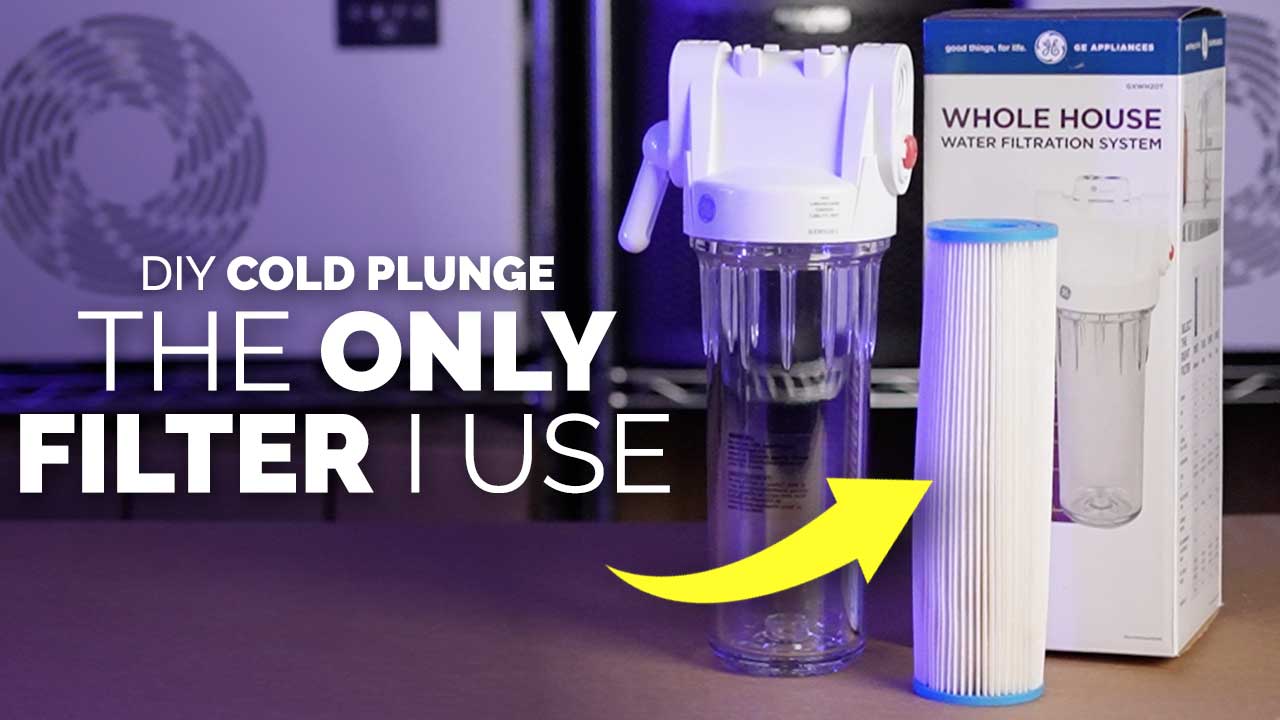
The Only Filter HOUSING You Should Use
🔹 GE Filter Housing with Built-in Bypass & Shutoff Valve
I’ve tried multiple filter housings, and this one wins every time. Here’s why:
✅ ¾” Female Threaded Connections – Easily integrates with your plumbing setup.
✅ Built-in Bypass & Shutoff Valve – Swap filters without draining your plunge.
✅ Clear Canister – See exactly when your filter needs changing.
✅ Includes Wrench & Mounting Bracket – Everything you need for easy installation.
This housing eliminates a ton of headaches, especially when it’s time for a filter change. Instead of shutting down your entire system, just turn the bypass valve, swap the filter, and you’re good to go.
Which Filter CARTRIDGE Should You Use?
Just because a filter fits doesn’t mean it’s the right one. There are a ton of filter types out there, but I’ve found that pleated polyester filters work best. Here’s what you need to know:
Filters to Avoid 🚫
❌ Anything that looks like a spool-of-yarn
❌ Carbon Filters
❌ Polypropylene Sediment Filters
❌ Plastic-Webbed Filters
Filters to Use ✅
✅ 10” x 2.5” Pleated Polyester Filters with a 50 Micron Rating – These provide the best balance of filtration and flow.
What’s the Best Micron Rating?
This is a point of confusion for a lot of people. The lower the micron rating, the more debris the filter catches—but the faster it clogs.
Here’s what I tested:
🔸 5 Micron – Too fine, clogs way too fast.
🔸 20 Micron – Recommended by some big brands.
🔸 50 Micron – The sweet spot! Works just as well as 20 micron (IMO), but lasts longer.
💡 Pro Tip: Ignore the flow rate printed on filter labels. Cold plunges are closed-loop systems, meaning you don’t need to change filters as often as it suggests. Instead, swap your filter every 4-6 weeks, or sooner if you notice slower water flow.
How to Change Your Filter (Step-by-Step)
Changing your filter the right way prevents leaks and keeps your system running smoothly. Tutorial is in the video above ☝️
Here’s how:
1️⃣ Rinse your new filter before installing.
2️⃣ Turn the bypass valve to redirect water flow.
3️⃣ Unscrew the housing (use the included wrench if needed).
4️⃣ Remove the old filter and dump any dirty water.
5️⃣ Check the rubber O-ring for damage or kinks—this prevents leaks.
6️⃣ Insert the new filter, screw the housing back on, and switch the valve back to "Filter."
That’s it! Super easy, no mess, no downtime.
Should You Use a Pre-Filter?
I get asked about pre-filters and hair traps all the time. Here’s my take: Skip them.
🚫 They clog too fast.
🚫 They’re hard to clean.
🚫 They can damage your pump if you don’t maintain them constantly.
I’ve tested them so you don’t have to—and after years of running my DIY cold plunge, I’ve never needed one. If you’re curious, I have a separate video breaking this down in more detail.
Filtration Is Only Half the Equation
Having the right filter setup is key, but don’t forget sanitation! Filtration catches debris, but you still need a way to kill bacteria and keep the water safe.
I’ve got two videos covering the best ozone sanitation setup and how to use a Venturi injector to for hands-free sanitation. Be sure to check those out if you want a maintenance-free cold plunge.
Designing Your Filtration & Sanitation System
There's a LOT more that goes into a functional and efficient plumbing setup than simply connecting a bunch of PVC & parts together... You want to carefully plan how your system interacts with the different components.
Check out the video below for a crash course on how to set this up.
Final Thoughts
With the right filter housing and filters, your cold plunge will stay clean and clear without constant maintenance. If you’re still piecing your build together, I have step-by-step plumbing plans that take all the guesswork out of it.
I only sell what actually works, so check out the reviews if you’re on the fence!
Thanks!
Joe