
DIY Sauna Plan
- 🛠️ Beginner-Friendly Build
- ✅ Cedar Interior
- 🌡️ 200°F+ Capability
Couldn't load pickup availability
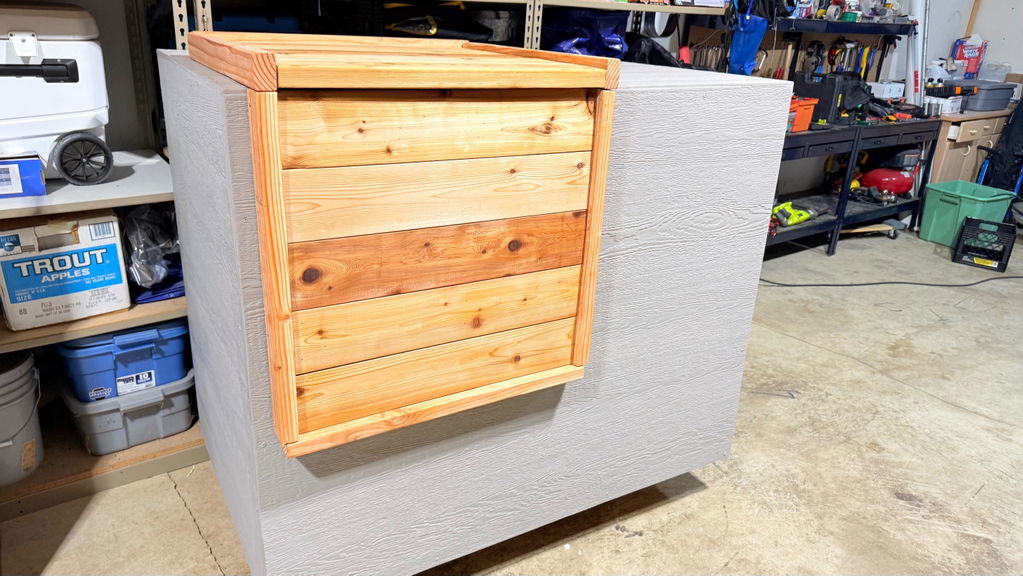
Looking for a high-performance sauna that fits in small spaces without breaking the bank? The DIY Sauna is the ultimate solution—fully customizable, modular design that you can build yourself in one weekend.
🛠️ This is a Digital Download Plan to build your own sauna-box structure. Sauna heater options are not included.
High Heat, Small Footprint, BIG Benefits🔥
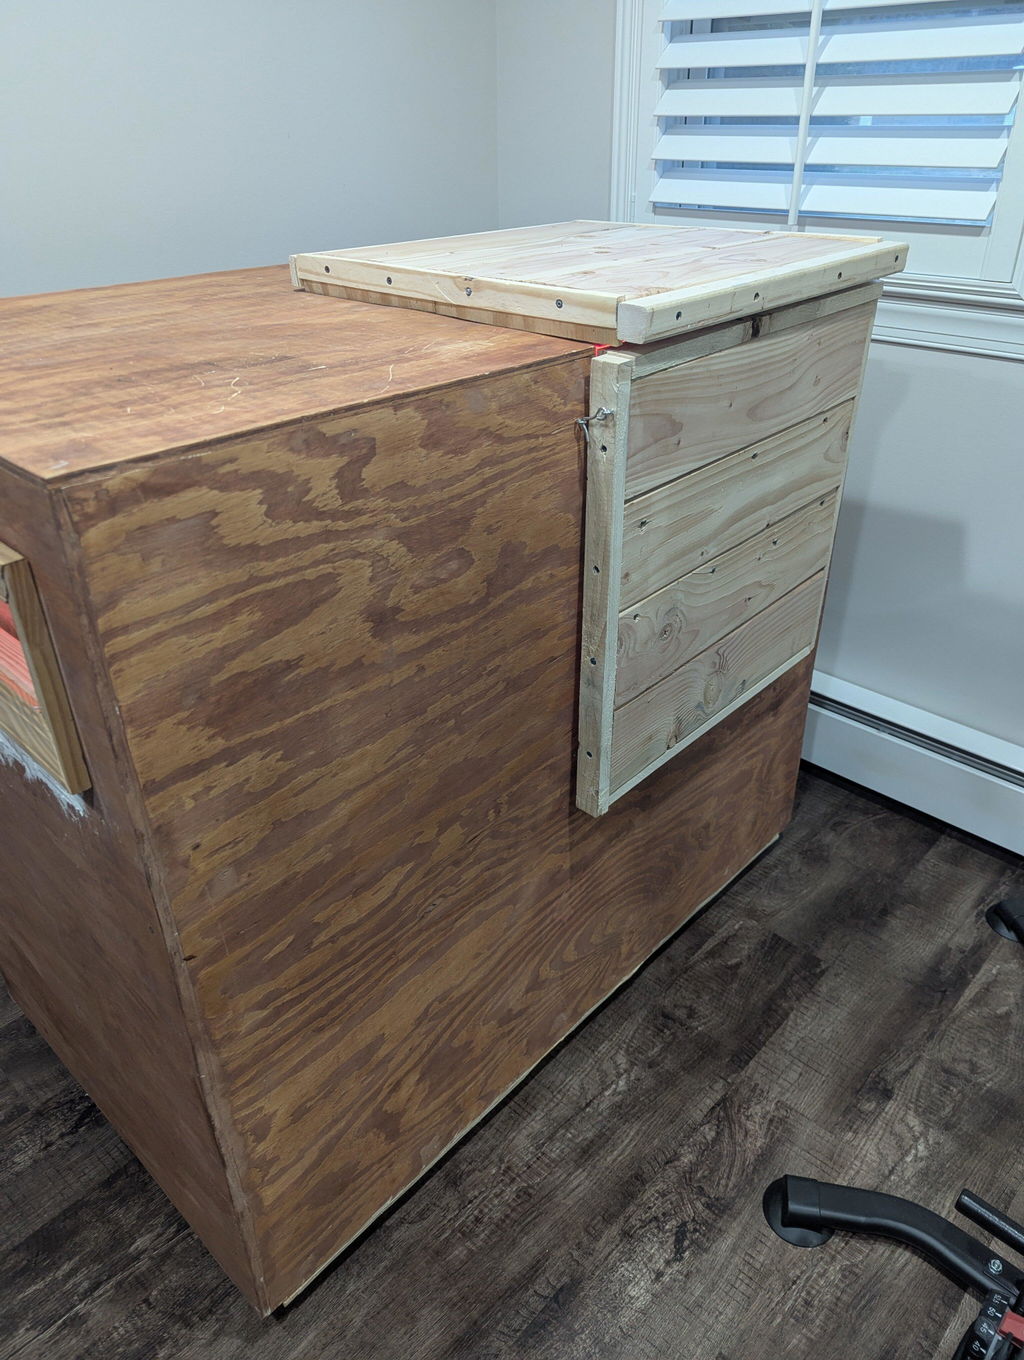
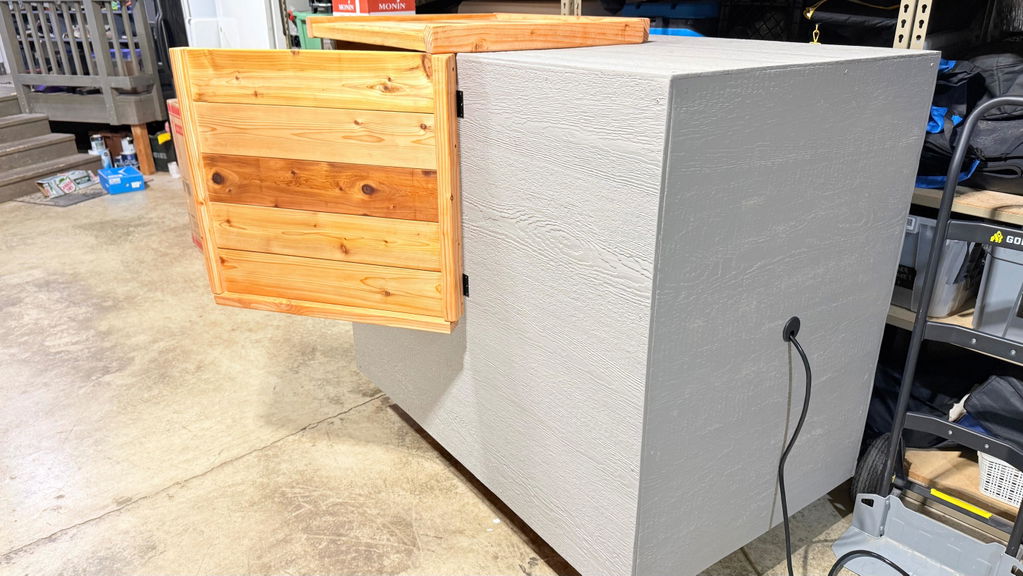
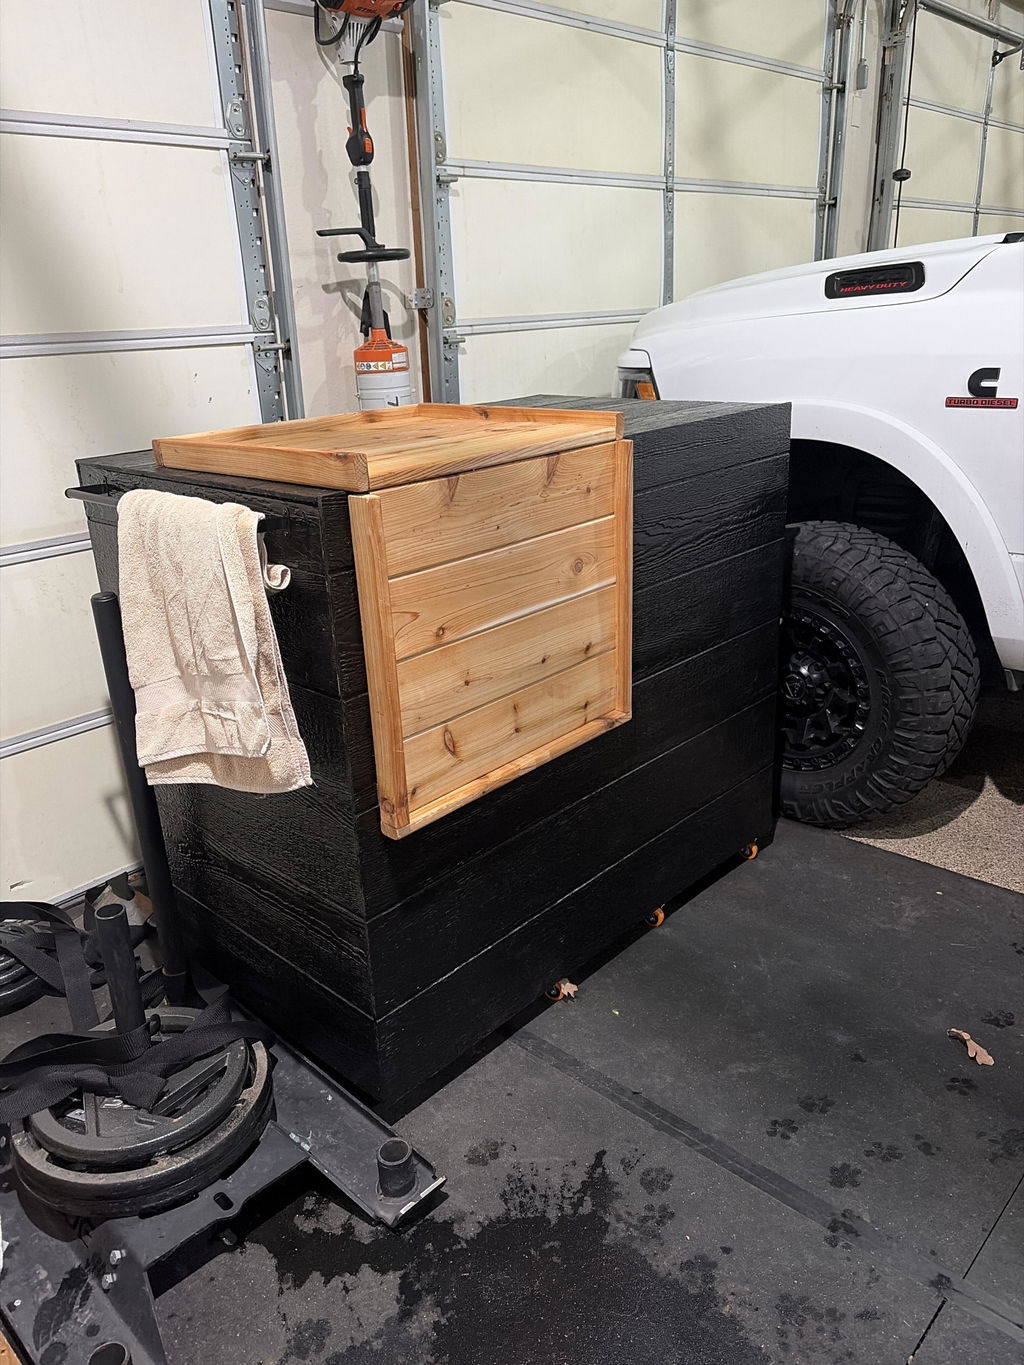
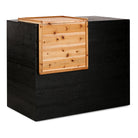
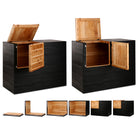
- Space-Saving, Modular Design – Perfect for garage gyms. Disassembles for easy transport.
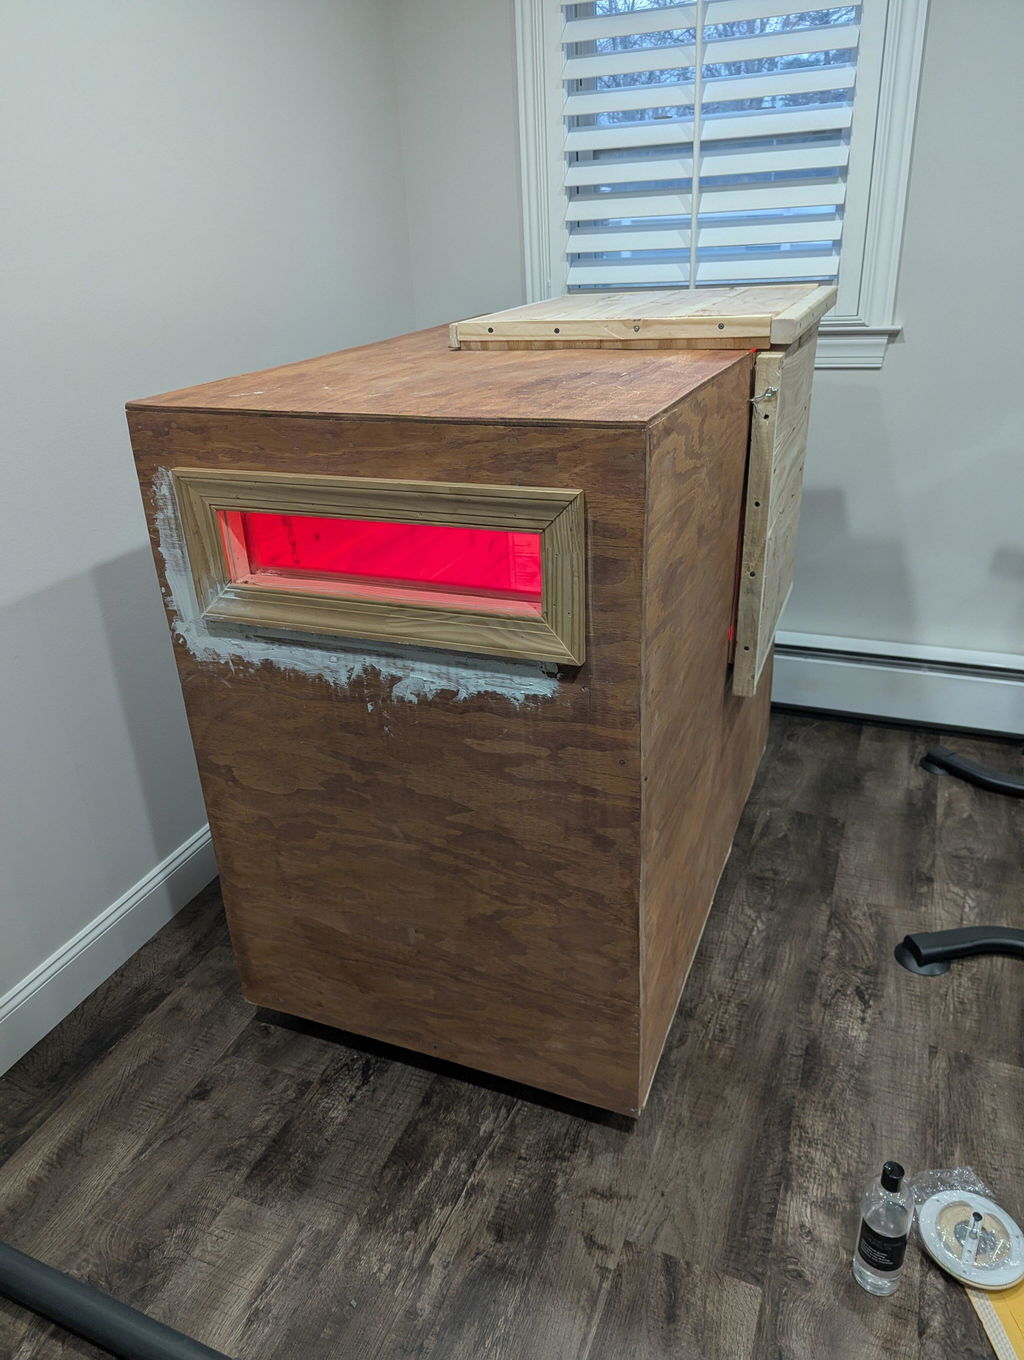
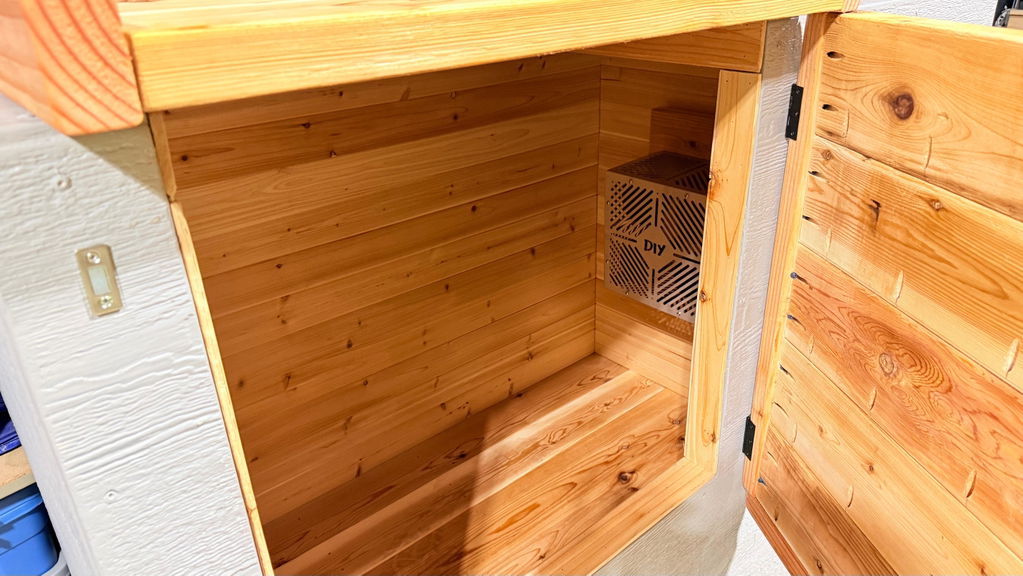
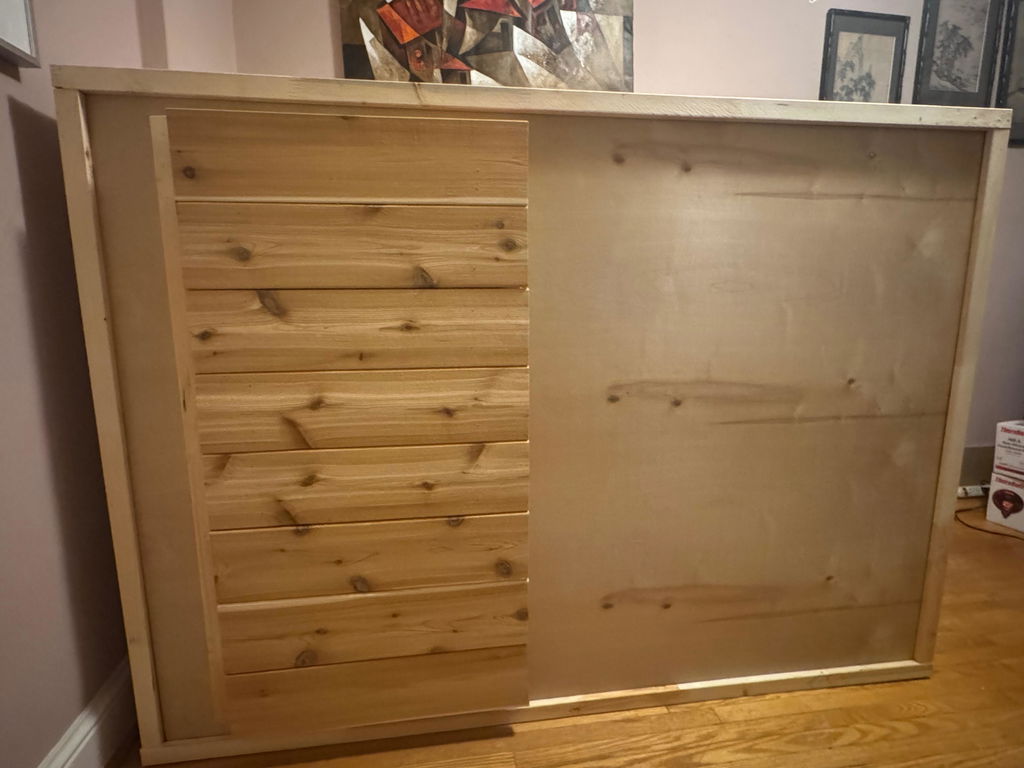
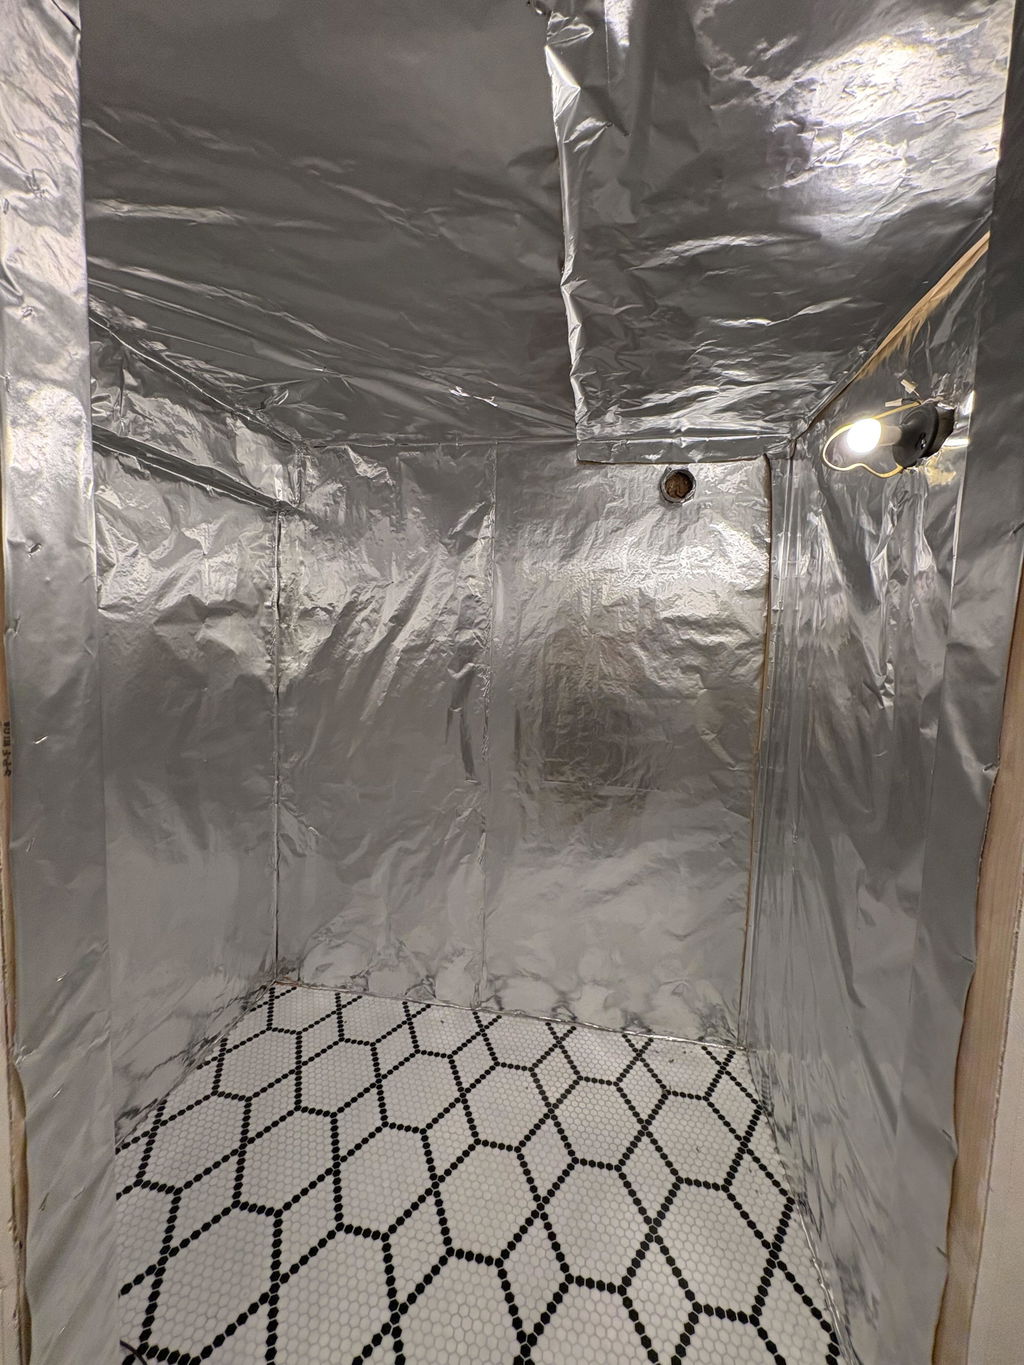
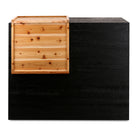
- Fully Insulated with Cedar Interior – That classic sauna feel.
- Cost-Effective DIY Build – A fraction of the cost of traditional saunas .
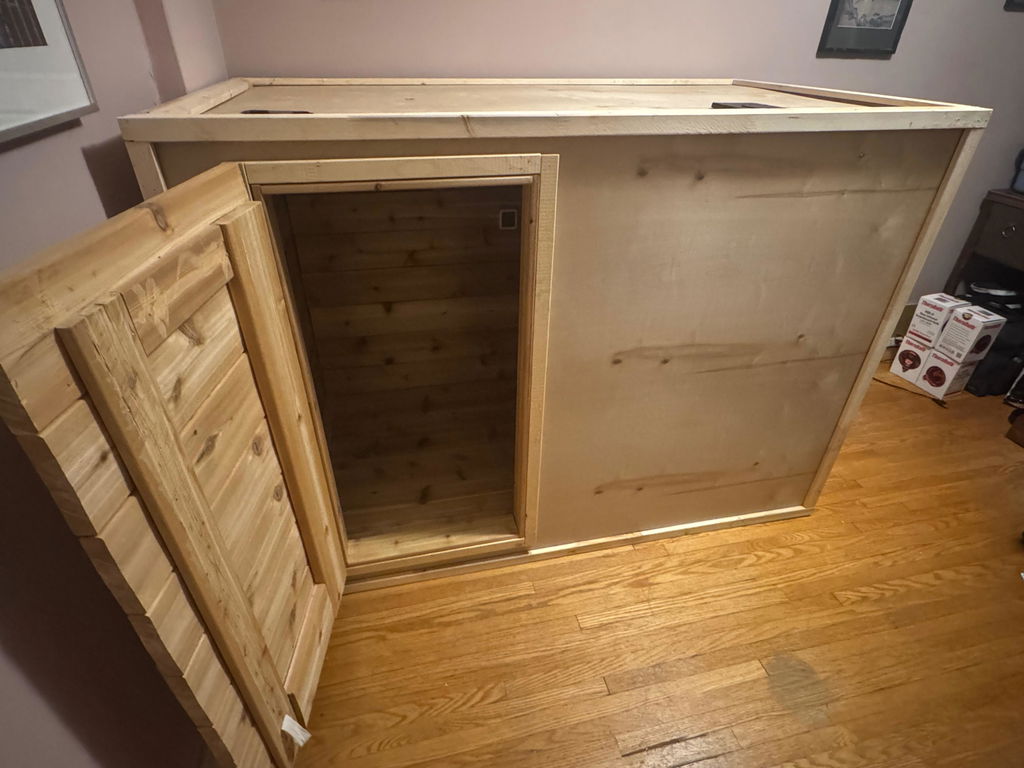
This beginner friendly, step-by-step plan walks you through everything you need to build your own DIY Box-Style Sauna enclosure.
Materials list, cut plans, assembly tutorials are all included. These plans eliminate the guesswork and save you time.
Plans Include:
✔️ Detailed Build Instructions with Video
✔️ Complete Shopping List
✔️ Cut List
✔️ Customization Options & More
|
Build Dimensions |
Length |
Width |
Height |
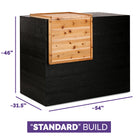
| "Standard" Exterior | ~54" | ~31-1/2" | ~46" |
| "Standard" Interior | ~49" | ~27" | ~40" |
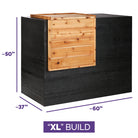
| "XL" Exterior | ~60" | ~37" | ~50" |
| "XL" Interior | ~56" | ~33-1/2" | ~45" |
All digital download orders are final and non-refundable.
FREQUENTLY ASKED QUESTIONS
I've done my best to answer all of the questions that have been pouring in over the DIY Sauna – feel free to reach out if there's anything I've missed!
Plan Overview
The DIY Sauna Plan is a step-by-step guide that walks you through building a 175–220°F capable sauna for a fraction of the cost of buying one.
FYI –This isn’t a cookie-cutter cornhole board printout… It includes:
- Complete shopping lists with direct links
- Detailed cut plans for two sauna sizes
- Color-coded assembly diagrams
- Video tutorials covering every aspect of the build.
It’s designed for first-timers—clear instructions, easy-to-find materials, and pro-level results.
Think of it as having a buddy who’s already built it, showing you every step 👍
Total Cost?
The DIY Sauna is about $2,000 all-in... right down to sandpaper and screws.
That's literally thousands less than buying a prefab sauna — plus you get the pride of saying "I built this myself."
Here's the breakdown.
- DIY Plan - $89.95
- Dimensional Lumber – ~$60.00
- Cedar Boards & Lumber – ~$210.00
- Exterior Panel/Board – ~$160.00
- Screws & Nails – ~$60.00
- Casters (Optional) – ~$35.00
- Magnets & Hinges – ~$12.00
- Vapor Barrier & Foil Tape – ~$90
- Insulation – ~$55
- Stain & Oil – ~$30
- Brushes, Sandpaper, etc. – ~$10
Grand Total (Estimate, without Heater) ~$812.00
Dimensions?
If you build based on the plan, you’ve got two sizes available (see diagrams & images above). The beauty of DIY, however, is that you can customize your build to suit your needs.
The "Standard" – ~54" x ~31-1/2" x ~46"
The "XL" – ~60" x ~37" x ~50"
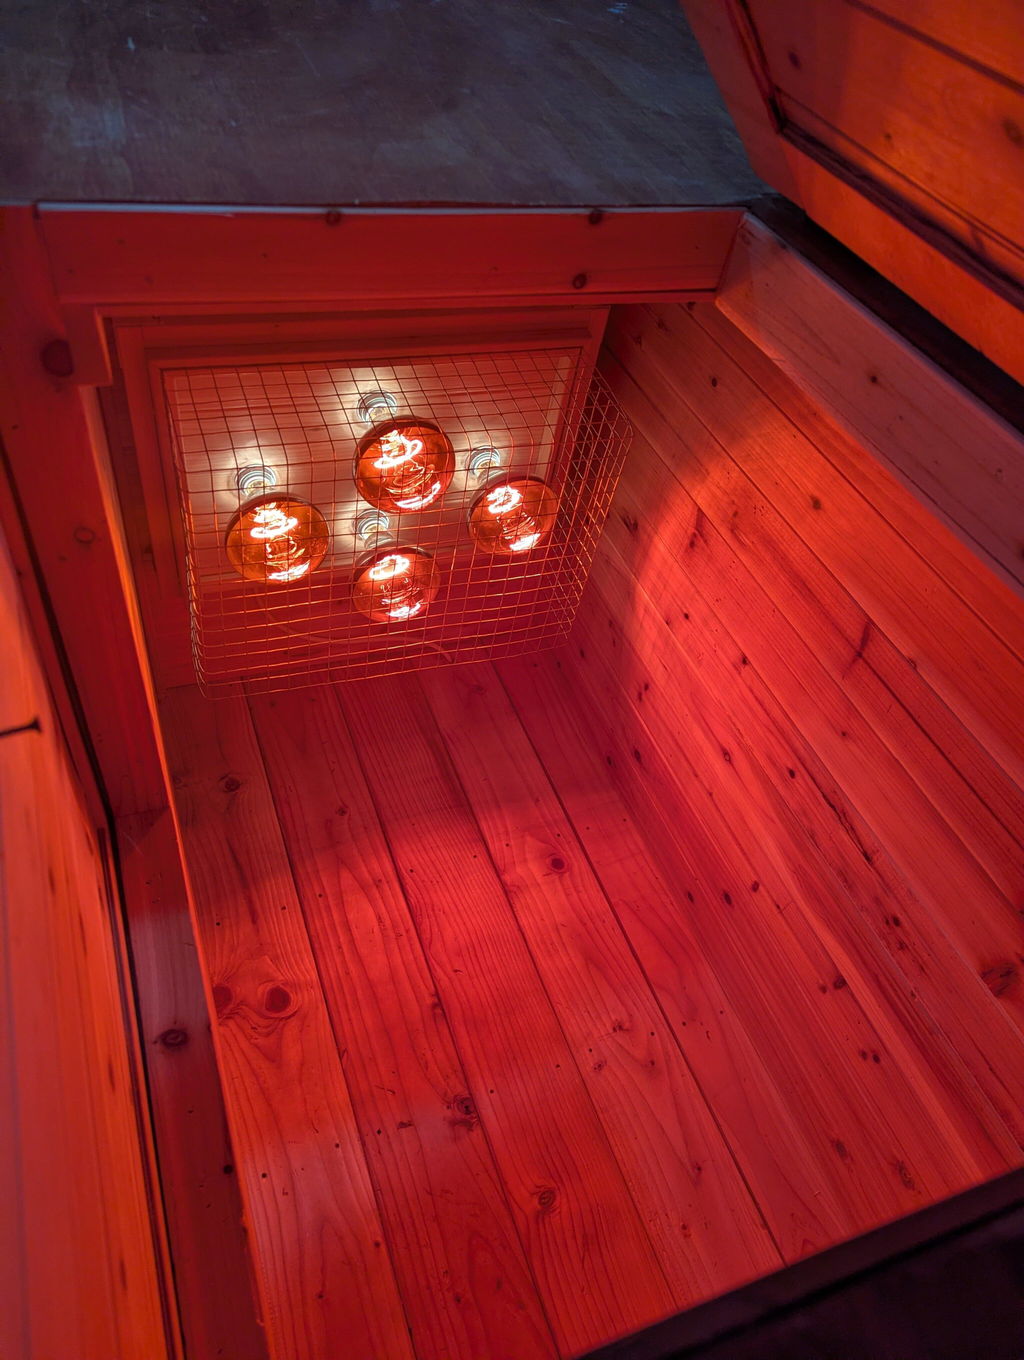
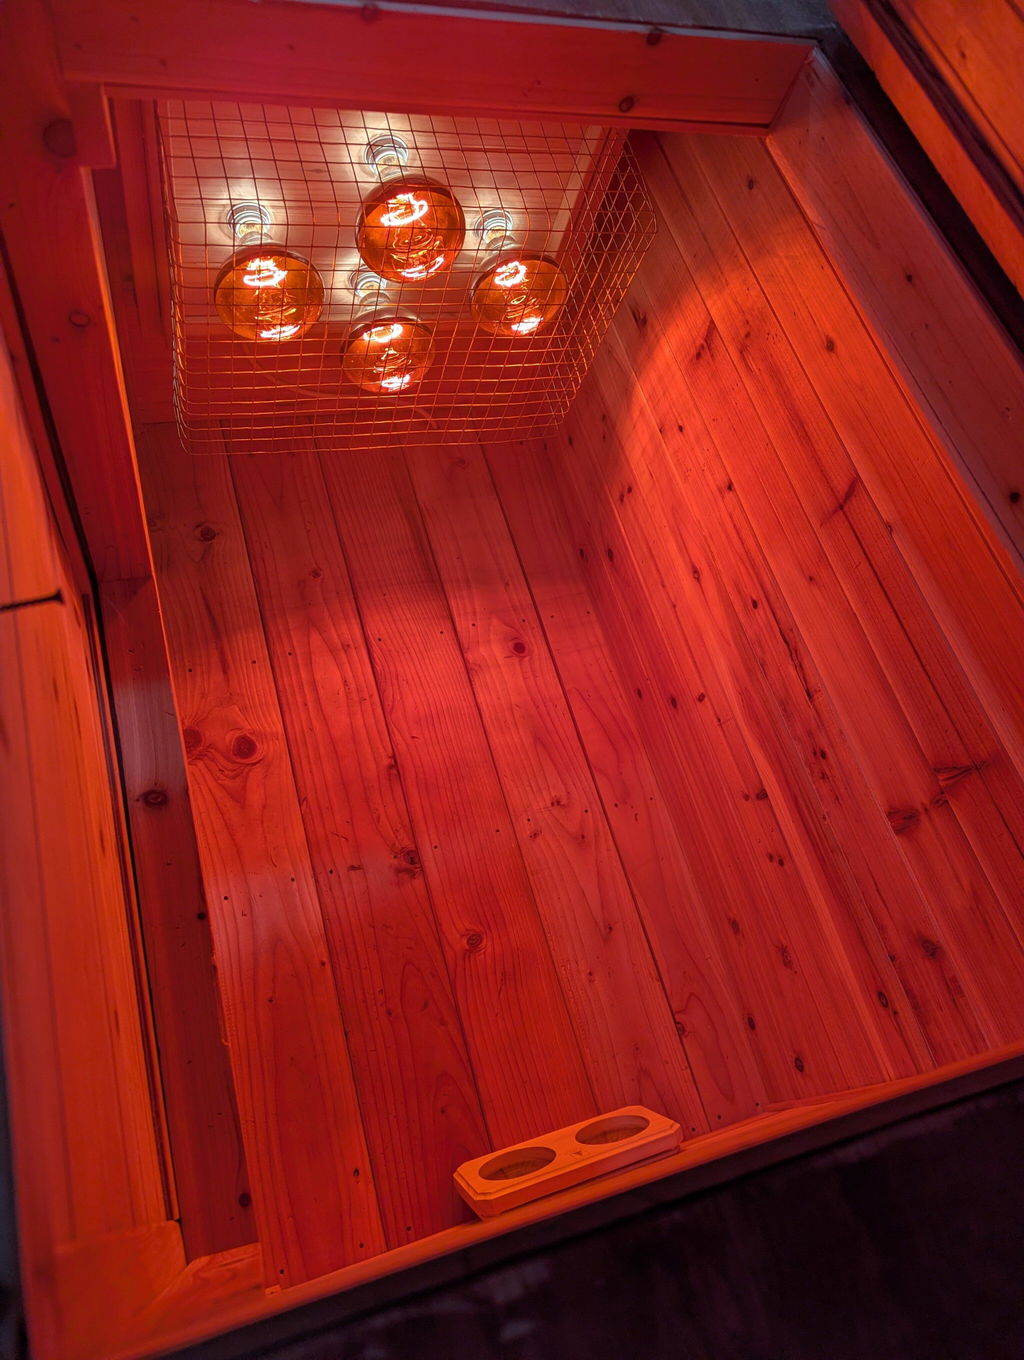
Want a peek at what it looks like inside
Tools Needed?
I designed this build to be completed using basic tools – ones you likely have on hand or could easily borrow from a friend.
The required tools are in bold below, but life is easier if you can at least gain access to everything listed here.
- Miter Saw or Circular Saw
- Jigsaw
- Drill
- Orbital Sander
- Brad Nailer
- Pocket Hole Jig
- Hammer
- Tape Measure
- Framing Square
- Utility Knife
- Scissors
- Pencil
- Sharpie
Recommended Bulbs?
There’s a number of options out there for these bulbs – there’s nothing new here in regard to sauna, they’ve been used in sauna products (and even bathrooms) for years. They come in either 275W or 375W.
I’ve tested a good amount of bulbs and have my top recommendations linked in the plan.
Power Draw? Cost to Run?
The Heater Kit pulls about 8A with four 275W bulbs, and about 12.5A with two 275W and two 375W bulbs.
With heavy, daily use you can still expect operating costs to be less than $100/year. That’s literally pennies compared to a spa membership.
Heat up times?
Ambient temperature plays a factor here, but from cold start, it hits sauna-level temps in about an hour.
There's a table above that shows what to expect but most customer reviews say it heats up faster – feel free to read up on the reviews below 👍