If you're building a DIY Cold Plunge, water sanitation is a major consideration. You want crystal-clear, bacteria-free water without the hassle of constantly adding chemicals that irritate your skin. That’s where an ozone generator comes in.
Ozone is the gold standard for cold plunge sanitation—it’s highly effective, requires minimal maintenance, and outperforms chlorine and UV light.
But not all ozone generators are created equal.
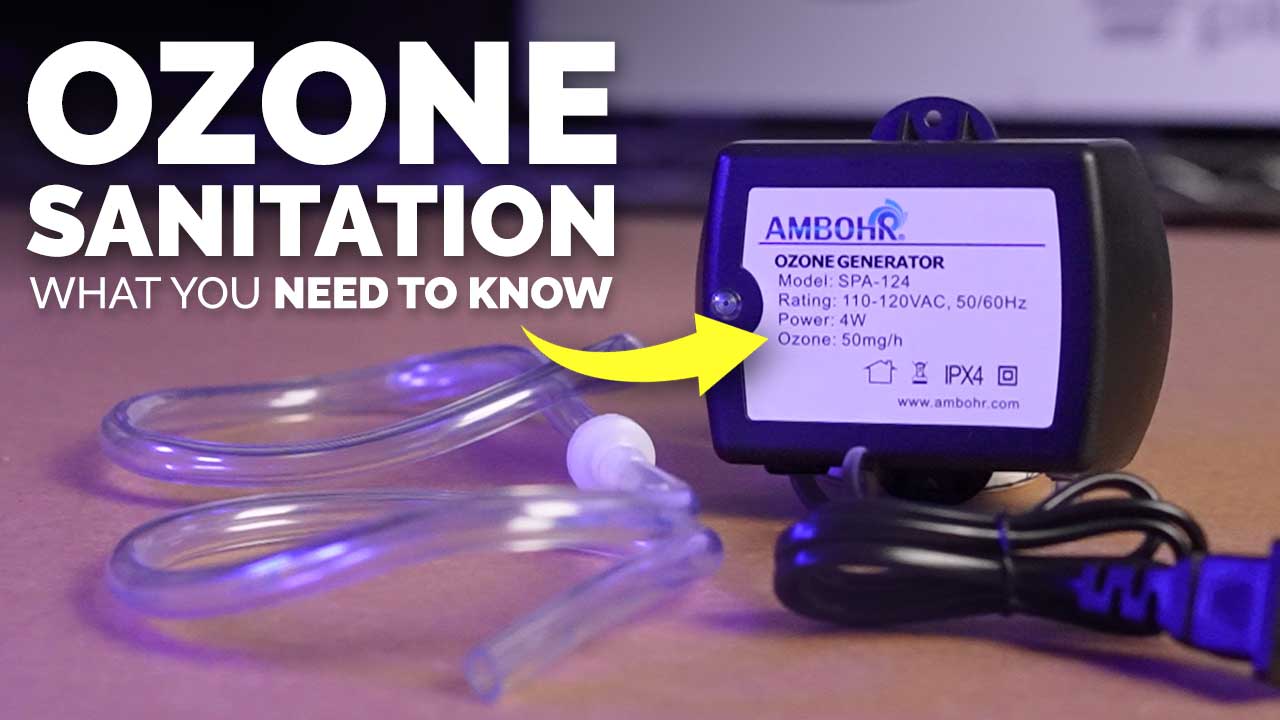
After 2.5 years of tinkering, testing, and learning, I’ve found the best ozone generator for DIY cold plunges: the Spa-124 Ozone Generator 50mg.hr
You may find this generator on Amazon and other sites, but even though they look the same, the one I carry on DIYColdPlunge.com is the only one I’ve seen that is rated at 50 mg/hr—the safest and most effective dose for a body of water this size.
Why Ozone is the Best Water Sanitation Option
Ozone is a powerful oxidizer, meaning it effectively kills bacteria, algae, and other microorganisms in your water. Unlike chlorine, ozone doesn’t leave behind chemical residue.
Instead, it breaks down into pure oxygen after about 30 minutes, making it a natural and highly efficient sanitation method.

How an Ozone Generator Works in a Cold Plunge
An ozone generator produces ozone gas (O₃), which is then pulled into your plumbing system via the Venturi injector. The Venturi creates a vacuum that mixes ozone with your water, sanitizing it as it circulates.
This setup ensures that your water remains clean, odor-free, and chemical-free—without the need for constant monitoring or chemical adjustments.
Why the 50 mg/hr Ozone Generator is the Best Choice
Not all ozone generators are ideal for small cold plunges. Many are too powerful, leading to excessive ozone buildup, which can irritate your eyes, nose, and throat with prolonged exposure.
The Spa 124 Ozone Generator is rated at 50 mg/hr, making it the perfect size for cold plunges. It’s strong enough to sanitize efficiently but not so powerful that it creates health concerns.
✅ Key Benefits:
- Effective sanitation without chemicals
- Plug-and-play operation—set it up once and forget about it
- Optimized for small volumes of water to ensure safety
How to Install the Spa 124 Ozone Generator
Proper installation is crucial for performance and longevity. Follow these steps:
1. Mount It Above the Waterline (If Possible)
- This prevents water from backflowing into the unit, which could damage the generator.
- If mounting above the waterline isn’t possible, don’t worry—it will still function, but taking additional precautions is a good idea.
2. Check Your One-Way Valve
- Your generator comes with a check valve that ensures ozone flows in one direction only.
- Before installing, blow through it to determine the correct airflow direction—it should go from the generator to the Venturi injector.
3. Add a Loop in the Tubing
- If possible, create a loop above the waterline in the tubing leading to your Venturi injector.
- This adds an extra layer of protection against water backflow into your generator.
📺 Check out the video above for a visual guide! 👍
Is Your Ozone Generator Working?
Here’s how to test if your ozone generator is operating properly:
✅ Look for a faint green light on the unit—it’s very dim, so you may need a dark space to see it.
✅ Listen for a low hum or hissing sound.
🚫 There is no built in air pump, so you won't see bubbles when you dip the tubing in water.
✅ Check for bubbles at your inlet—if you don’t see bubbles, you likely have a plumbing issue, not a problem with your generator.

Best Practices for Running Your Ozone Generator
To get the most out of your cold plunge sanitation system, follow these best practices:
1. Use a Timer
- Start with 1–2 hours per day, ideally shortly after your plunge.
- Adjust as needed based on water clarity and usage.
2. If Used Indoors, Ensure Proper Ventilation
- Cold plunges in small, indoor spaces need proper airflow to prevent ozone buildup.
- If you accidentally run it too long, simply open the lid and let the ozone dissipate for about 30 minutes.
3. Protect It from the Elements
- The generator shell is water-resistant, but you should shield it from direct exposure to avoid damage.
Why Buy from DIY Cold Plunge?
If you’re in the market for an ozone generator that’s proven to work for DIY cold plunges, I’ve got you covered. The Spa 124 Ozone Generator is available on my website, and every order comes with a free rubber duck… because why not?
💡 Fun fact: My daughter hand-selects each rubber duck before they go out—she’s very proud of this job. 😂
✅ Beginner-friendly, step-by-step cold plunge plans are also available if you need help with your plumbing setup.
🔹 Shop the ozone generator & venturi bundle here!

Final Thoughts
An ozone generator is the best way to keep your cold plunge clean without dealing with chlorine or UV systems. The Spa 124 Ozone Generator offers the perfect balance of power, safety, and reliability.
🔹 Have questions? Check out my plumbing plans or reach out—I’m happy to help!
Thanks for reading,
Joe