So... why build a cold plunge?
Taking on a challenging task early in the day can make everything else feel more manageable. We've always been fascinated by the effects of dopamine in the body. When you immerse yourself in freezing cold water, you're essentially conditioning your brain to reward activities that are difficult and that provide a gradual release of dopamine throughout the day, as opposed to the quick-fix dopamine hits from scrolling through social media or indulging in chocolate.
Also, we decided to start cold plunging due to the reported benefits in athletic performance and recovery. Personally, I've been dealing with an injured back, and there's nothing quite like a plunge in icy water for relief!
Were the plans what you expected?
I found the plans to be incredibly helpful. They struck the right balance, providing enough detail to guide the project without making it overly prescriptive. The framing, in particular, was remarkably straightforward with the plans. I would rate the overall guidance a solid 10/10.

What was your all-in cost?
In the end, my plunge project cost me about $2,200. I invested a significant amount of money and time into enhancing its aesthetics. For those seeking cost-effective alternatives, using T-111 shed siding can be a great way to save both time and money when enclosing your plunge. In our case, we used individual cedar tongue and groove planks, which were more expensive and time-consuming, but they do provide a very appealing look.
We also purchased a 1 HP chiller, mainly due to the scorching 100+ degree summers here in Sacramento, CA. Chiller units of that size can be quite costly, but we lucked out by finding an Active Aqua unit for a much better price on Facebook Marketplace, which was a significant cost-saving.
How long did it take, from start to finish?
It took me approximately two weeks to construct our plunge, dedicating my after-work hours and weekends to the project. If/when I embark on building another one in the future, I believe I could complete it in half the time with the lessons learned from this experience.

Did you make any modifications to the plan?
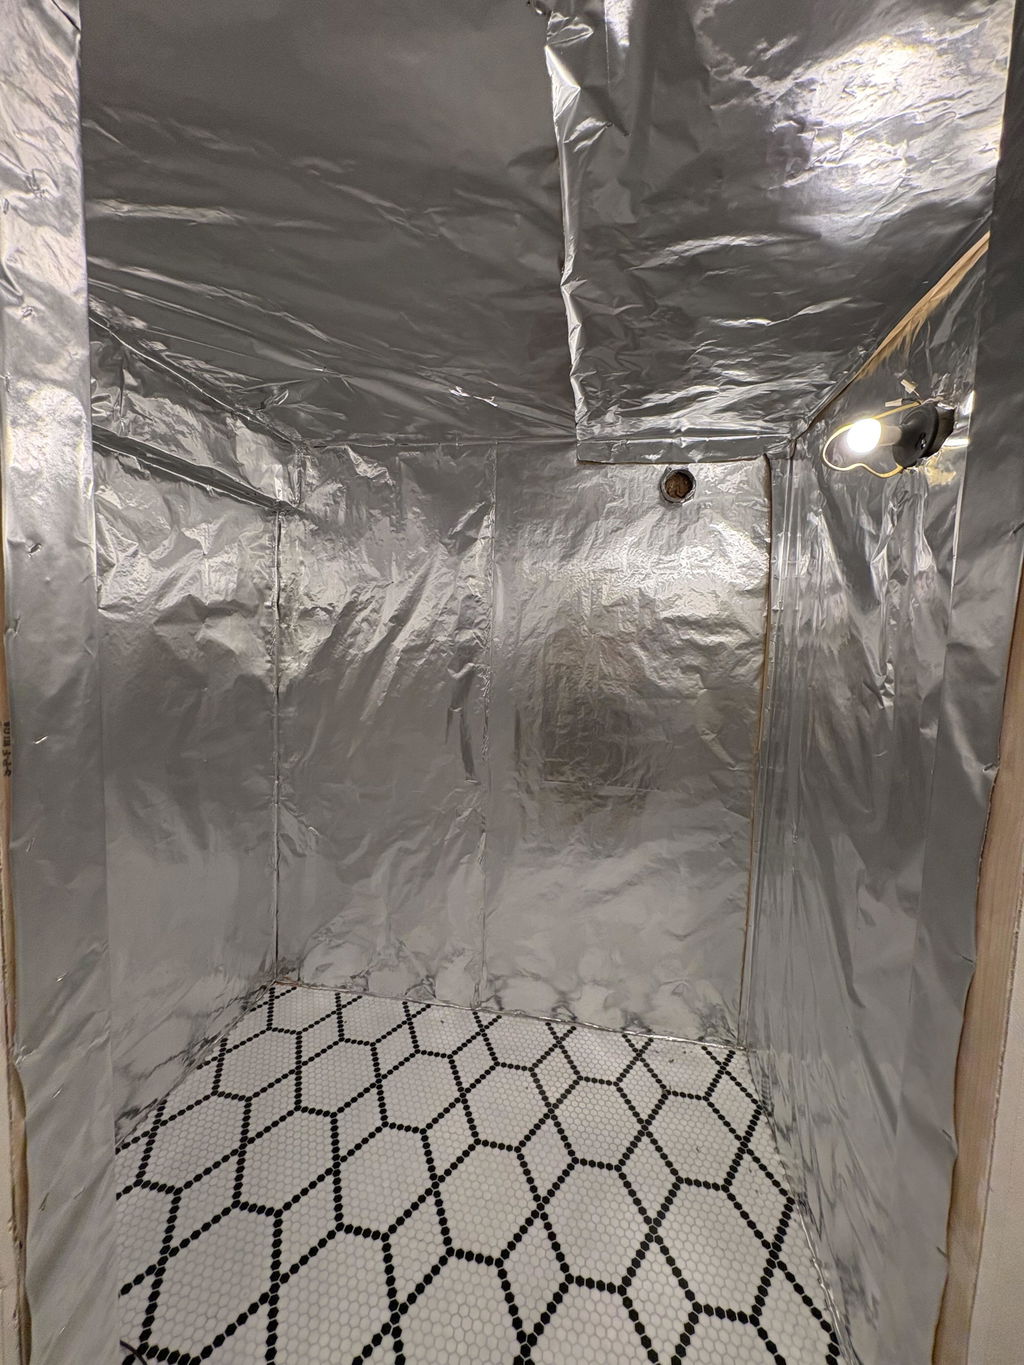
I made a few substitutions in my project that I'd like to share. Firstly, I chose not to use spray foam insulation. Since we are renting our home, I wanted to ensure that the plunge was easily movable. I felt that spray foam could make it too permanent, and I wanted the option to remove the tank in the future. Instead, I used Everbilt 24 in. x 25 ft. Double Reflective roll. I cut it into strips and wrapped each section of the tank several times, fastening it to itself. This approach has worked exceptionally well and provides me the flexibility to remove the tank if needed.Living in Northern California with scorching summer temperatures exceeding 100 degrees, my chiller schedule has been quite effective. I run the chiller from 1 am to 7 am and set the temperature to 40 degrees. The insulation I used has performed admirably in the heat. Even 12 hours after the chiller turned off, the temperature only rose to 52 degrees on a day when it reached 109. I've never seen it go above 53 degrees.For those who prefer not to use spray foam insulation, the combination of R10 insulation boards and the double bubble insulation with an R-value of 3.5, along with the additional R5 for each inch of dead air space, has proven to be an excellent alternative. It's a great option for maintaining temperature control in your plunge.
I also made a small door in the back of the plunge so that I could access the bulkhead fitting going into the stock tank. Things leak, rubber loosens in the heat etc. I wanted access to it just in case it needed maintenance.

Is there anything you wish you had known or would like to see added to our plans?
As far as the plans go, everything was there! There were a few things I would have done differently personally. I should have used a larger plunging diameter because our chiller is so large - it would have helped with flow. Also, I used a plastic 4 ft. x 8 ft. White .090 FRP Wall Board for the top of my plunge which was a great choice in terms of aesthetics and waterproofing. However, the grooves in the material can collect dirt, especially when the plunge is located outside. A smooth surface would be easier to clean and maintain.
What’s the best part of having a DIY cold plunge?
Waking up to a refreshing, pristine plunge every morning is truly a delight. The minimal maintenance it requires is a huge plus, and we thoroughly enjoy having our friends and family share in the experience with us. It's simply the best.
Would you recommend the plans to other DIY'ers?
100% yes!
👉 Shop Stock Tank Plans & Products