Ben posted his finished stock tank cold plunge in the DIY Cold Plunge Facebook group, and got flooded with praise for his build. The black and cedar look seem to be popular on these DIY cold plunges, and everyone was curious how he made the top panel & cover flush in his design. Read on to learn more!
So... why build a cold plunge?
I had been taking cold showers for several months and was loving the way they would make me feel, so I wanted to up my routine and start cold plunging. I looked around at a few of the off the shelf cold plunges and thought I could build something that was just as good for way less money.
How did you discover the plans?
I think I first saw some @DIYColdPlunge content on Instagram, and then started seeing some videos on YouTube which led me to the website.
How long did it take, from start to finish?
The entire build took 6 weeks. I ordered my chiller on day 1 and was just trying to trying to get the build done in time to drop the chiller in when it arrived. I think I finished with a few days to spare.

Any cost saving tips for others?
The total cost was mostly in line with my expectations. I bought a few tools that I didn't already have to make things easier, so that made the total cost slightly more expensive than planned. My biggest cost saving tip would be to try and get as much of the weather wrap, tarp, etc from somewhere (like a construction site) for free. Also take your time with the build. A miscut or plumbing leak can be time consuming and expensive!
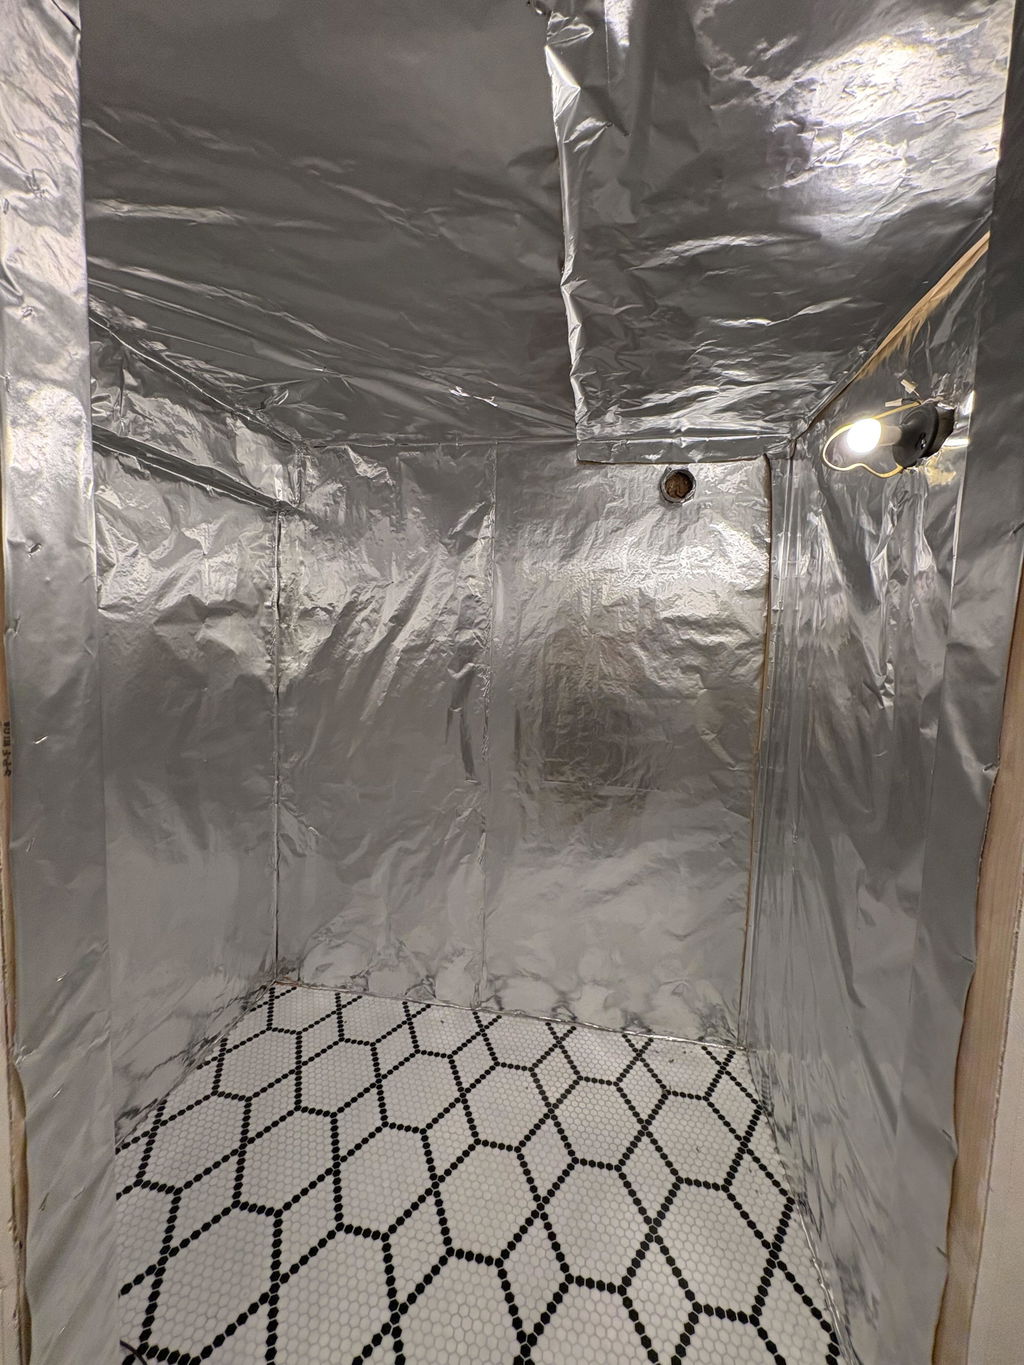
Can you explain how you made the top panel and lid? I know everyone is curious!
I decided that I wanted to hide the lip of the tank halfway through the build. Because I had already started, I had to add an extra layer of 2x4's on the top of the frame to raise the top surface above the lip of the tank. After that, I cut enough 1x4 cedar boards to cover the entire surface of the tank and I traced the outline of the stock tank onto the cedar boards. After I had the outline, I attached the boards together with glue and pocket hole screws and then cut along the tank outline with a jigsaw. I removed the tank lid boards and then used glue and 1/4" dowel pins to secure the remaining deck boards to the outer frame of the lid. This part took the most time because I was left with several small pieces to join back together. I finished the lid off by wrapping a foam board in a tarp and attaching it to the bottom of the lid, similar to how Joe did in one of his videos. I also carved the wooden handles myself because I couldn't find any that I liked online.
Were there any issues during construction?
I had a few leaks trying to use the flexible spa hose. I think the flexible hose was easier than using rigid PVC pipe, but it was much less forgiving when gluing so I had to take my time with it. When I put spray foam on the tank, I also overfilled it in a few places to where the expanding foam pushed out the foam boards I had placed in the frame. I had to shave the 2" thick foam board down so it would fit within the side panels which was a big waste of time. If I had to do it over again, I would make sure to tape the foam boards in place and not use more foam than I need.
Did you make any modifications to the plan?
The only modifications I made were adding the extra 2x4's to the frame so that the lip of the stock tank was hidden and then the top that I already mentioned. I also added a few extra unions to the plumbing so I could remove the chiller easier in the winter.

What components are you using to run your DIY Cold Plunge?
I'm using a Danner 950 Pump, Penguin 1/2 HP HE Chiller, and a GE house filter with the Ambohr Ozone Generator. I liked that Penguin chillers were built in the USA and thought that if I was going to put all this work into building a cold plunge I wanted a chiller that I knew would hold up as well. I just took the DIY Cold Plunge recommendations for the rest of the components.
Any time-saving tips for others?
I think my only time-saving recommendation is to hold off on wrapping the frame until you go to put the side panels on. I felt like the wrapping just got in the way when I was trying to do the insulation and I ended up re-wrapping it one or two times.
Is there anything you wish you had known or would like to see added to our plans?
Nope! I think the plans were great, and they did a great job of giving you instructions for the basics like the frame and plumbing but also gave you the freedom to make the final product look exactly like you want.
Would you recommend the plans to other DIY'ers?
I would absolutely recommend the plans! The YouTube videos got me through the framing pretty easily, but the plumbing plans made that part of the build so much easier than figuring out all of the parts by myself.
Anything else people should know?
If there is anyone that is on the fence about building their own cold plunge I HIGHLY recommend it. I had a ton of fun building this on my own, and it only makes cold plunging better knowing that I worked so hard building a cold plunge that I am proud of.
👉 Shop Stock Tank Plans & Products