This is an awesome DIY Cold Plunge. Kyle took the luxury plans to a whole new level. He shared his build in the DIY Cold Plunge Facebook group, and I immediately knew I wanted to feature his process and build here. He went with a larger tank size and found some really cool solves for condensation in the mechanical area. Read on and check out his build!
So... Why build a DIY Cold Plunge?
I started by doing cold showers about a year ago. I loved cold showers, and then explored cryotherapy. I signed up for a membership, but it was just too far away to go on a consistent basis. I always knew about cold plunging, but never looked at having one in my home. I started exploring options and found they were extremely expensive. This is when I came across the DIY Facebook group, and it all went from there. I saw some amazing builds and it inspired me to build my own.
Did you run into any unexpected difficulties during the build?
I did run into a few roadblocks. Mainly my own operational errors that could have been prevented. I am not a very handy man, and I really enjoyed learning about plumbing, framing, etc. I ended up going with the larger tank to give extra room to dunk my head and it threw off some measurements. Nothing was a huge deal to adjust, but it was fun making it my own while also following the plans Joe provided.

Which chiller did you end up choosing?
I went with the Penguin 1/2 hp HE chiller. So far, I love it!
Were the materials and tools recommended in the plans readily available in your area?
Yes, I didn't run into anything I couldn't find at our local hardware store, Amazon, or the DIY Cold Plunge website.
What modifications and/or substitutions did you make?
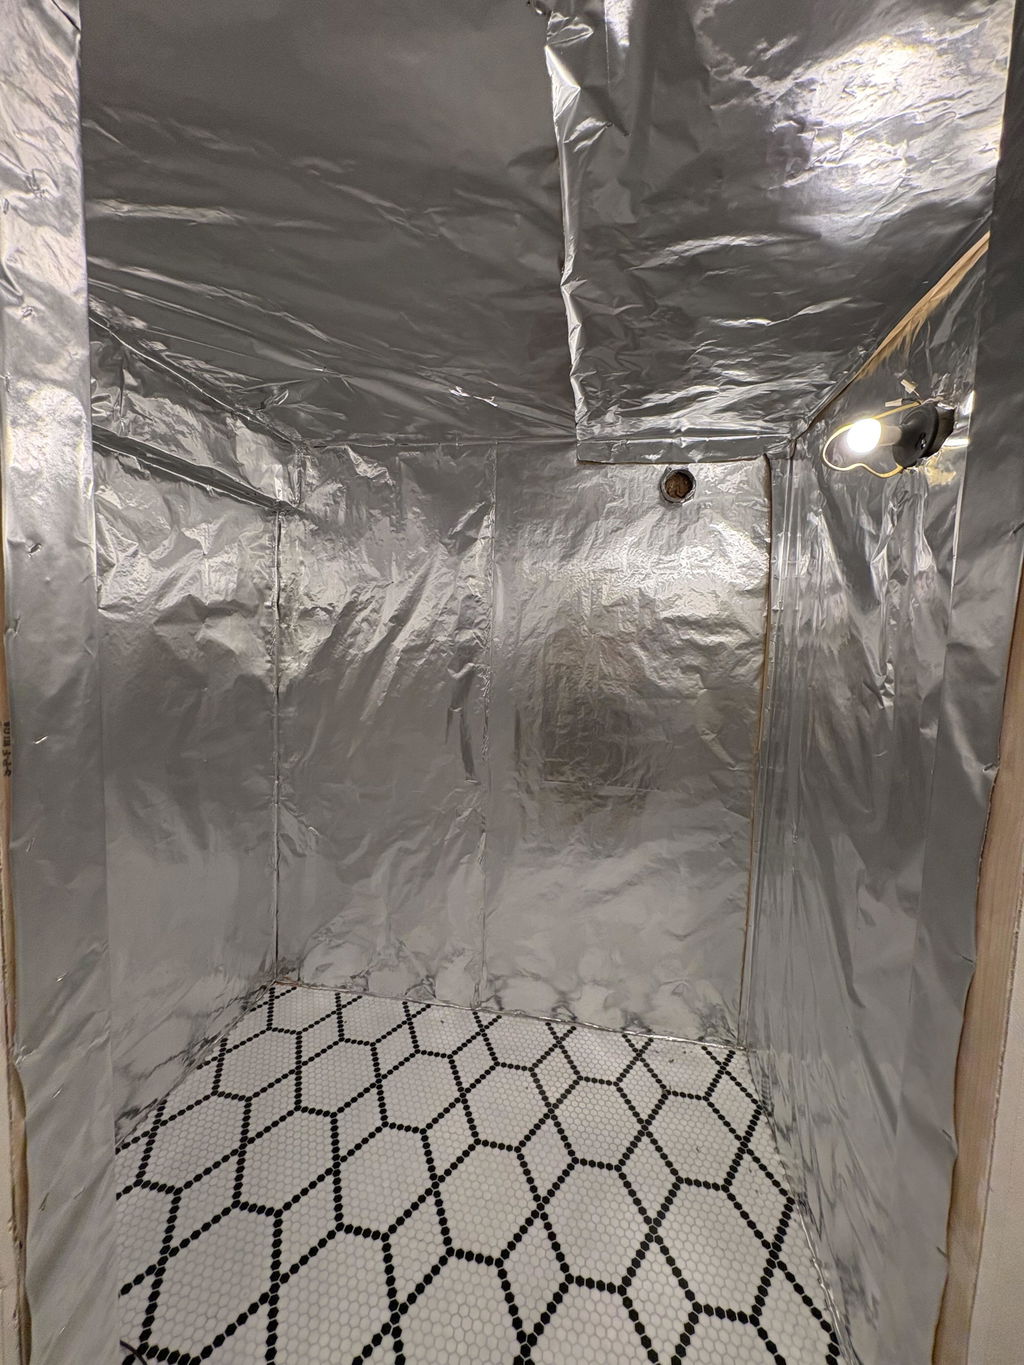
The only changes I made were the dimensions for the build overall. Honestly, I know I have said it a few times already, but the plan is very well thought out and there weren't really any "upgrades" that I could find. The only one I can potentially think of would be the insulation on the plumbing and filter. I had quite a bit of condensation and added some flexible foam wrap to all of the plumbing which helped significantly with the condensation. I also added an insulated sleeve to the filter which helps a ton as well.

How much did it cost to build?
Final cost was somewhere between $3,500 and $4,000. Initially, I was hoping to be closer to $3,000, but a lot of the extra cost was buying tools I didn't have (saw, sander, etc) and adjusting some of the plans for the larger tank (extra foam sheet, extra LP Siding, extra cedar 2x4s, etc.)
How long did it take, from start to finish?
It took me about 2 months to complete. That time was could have been cut in 1/4 if I didn't have to wait for the chiller. I would work on it a few hours a week because I knew I was waiting on the chiller to ship anyway.
On a scale of 1 to 10, how much did you enjoy the process of building your cold plunge?
10. I love the look of the final build and would do it again in a heartbeat. It is amazing having a product you made that looks nicer than 90% of the plunges on the market, for quite a bit cheaper.
Is there anything you wish you had known or would like to see added to the plans?
Not that I can think of!
Last question - would you recommend these plans to anyone on the fence about building a diy cold plunge?
👉 Shop Plans & Products for this build