Turn up the HEAT!
Turn up the HEAT!
Affordable, Simple, Powerful.

Snag Early Bird Pricing on the DIY Sauna Plan & Pre-Order Pricing on the DIY Heater Kit.

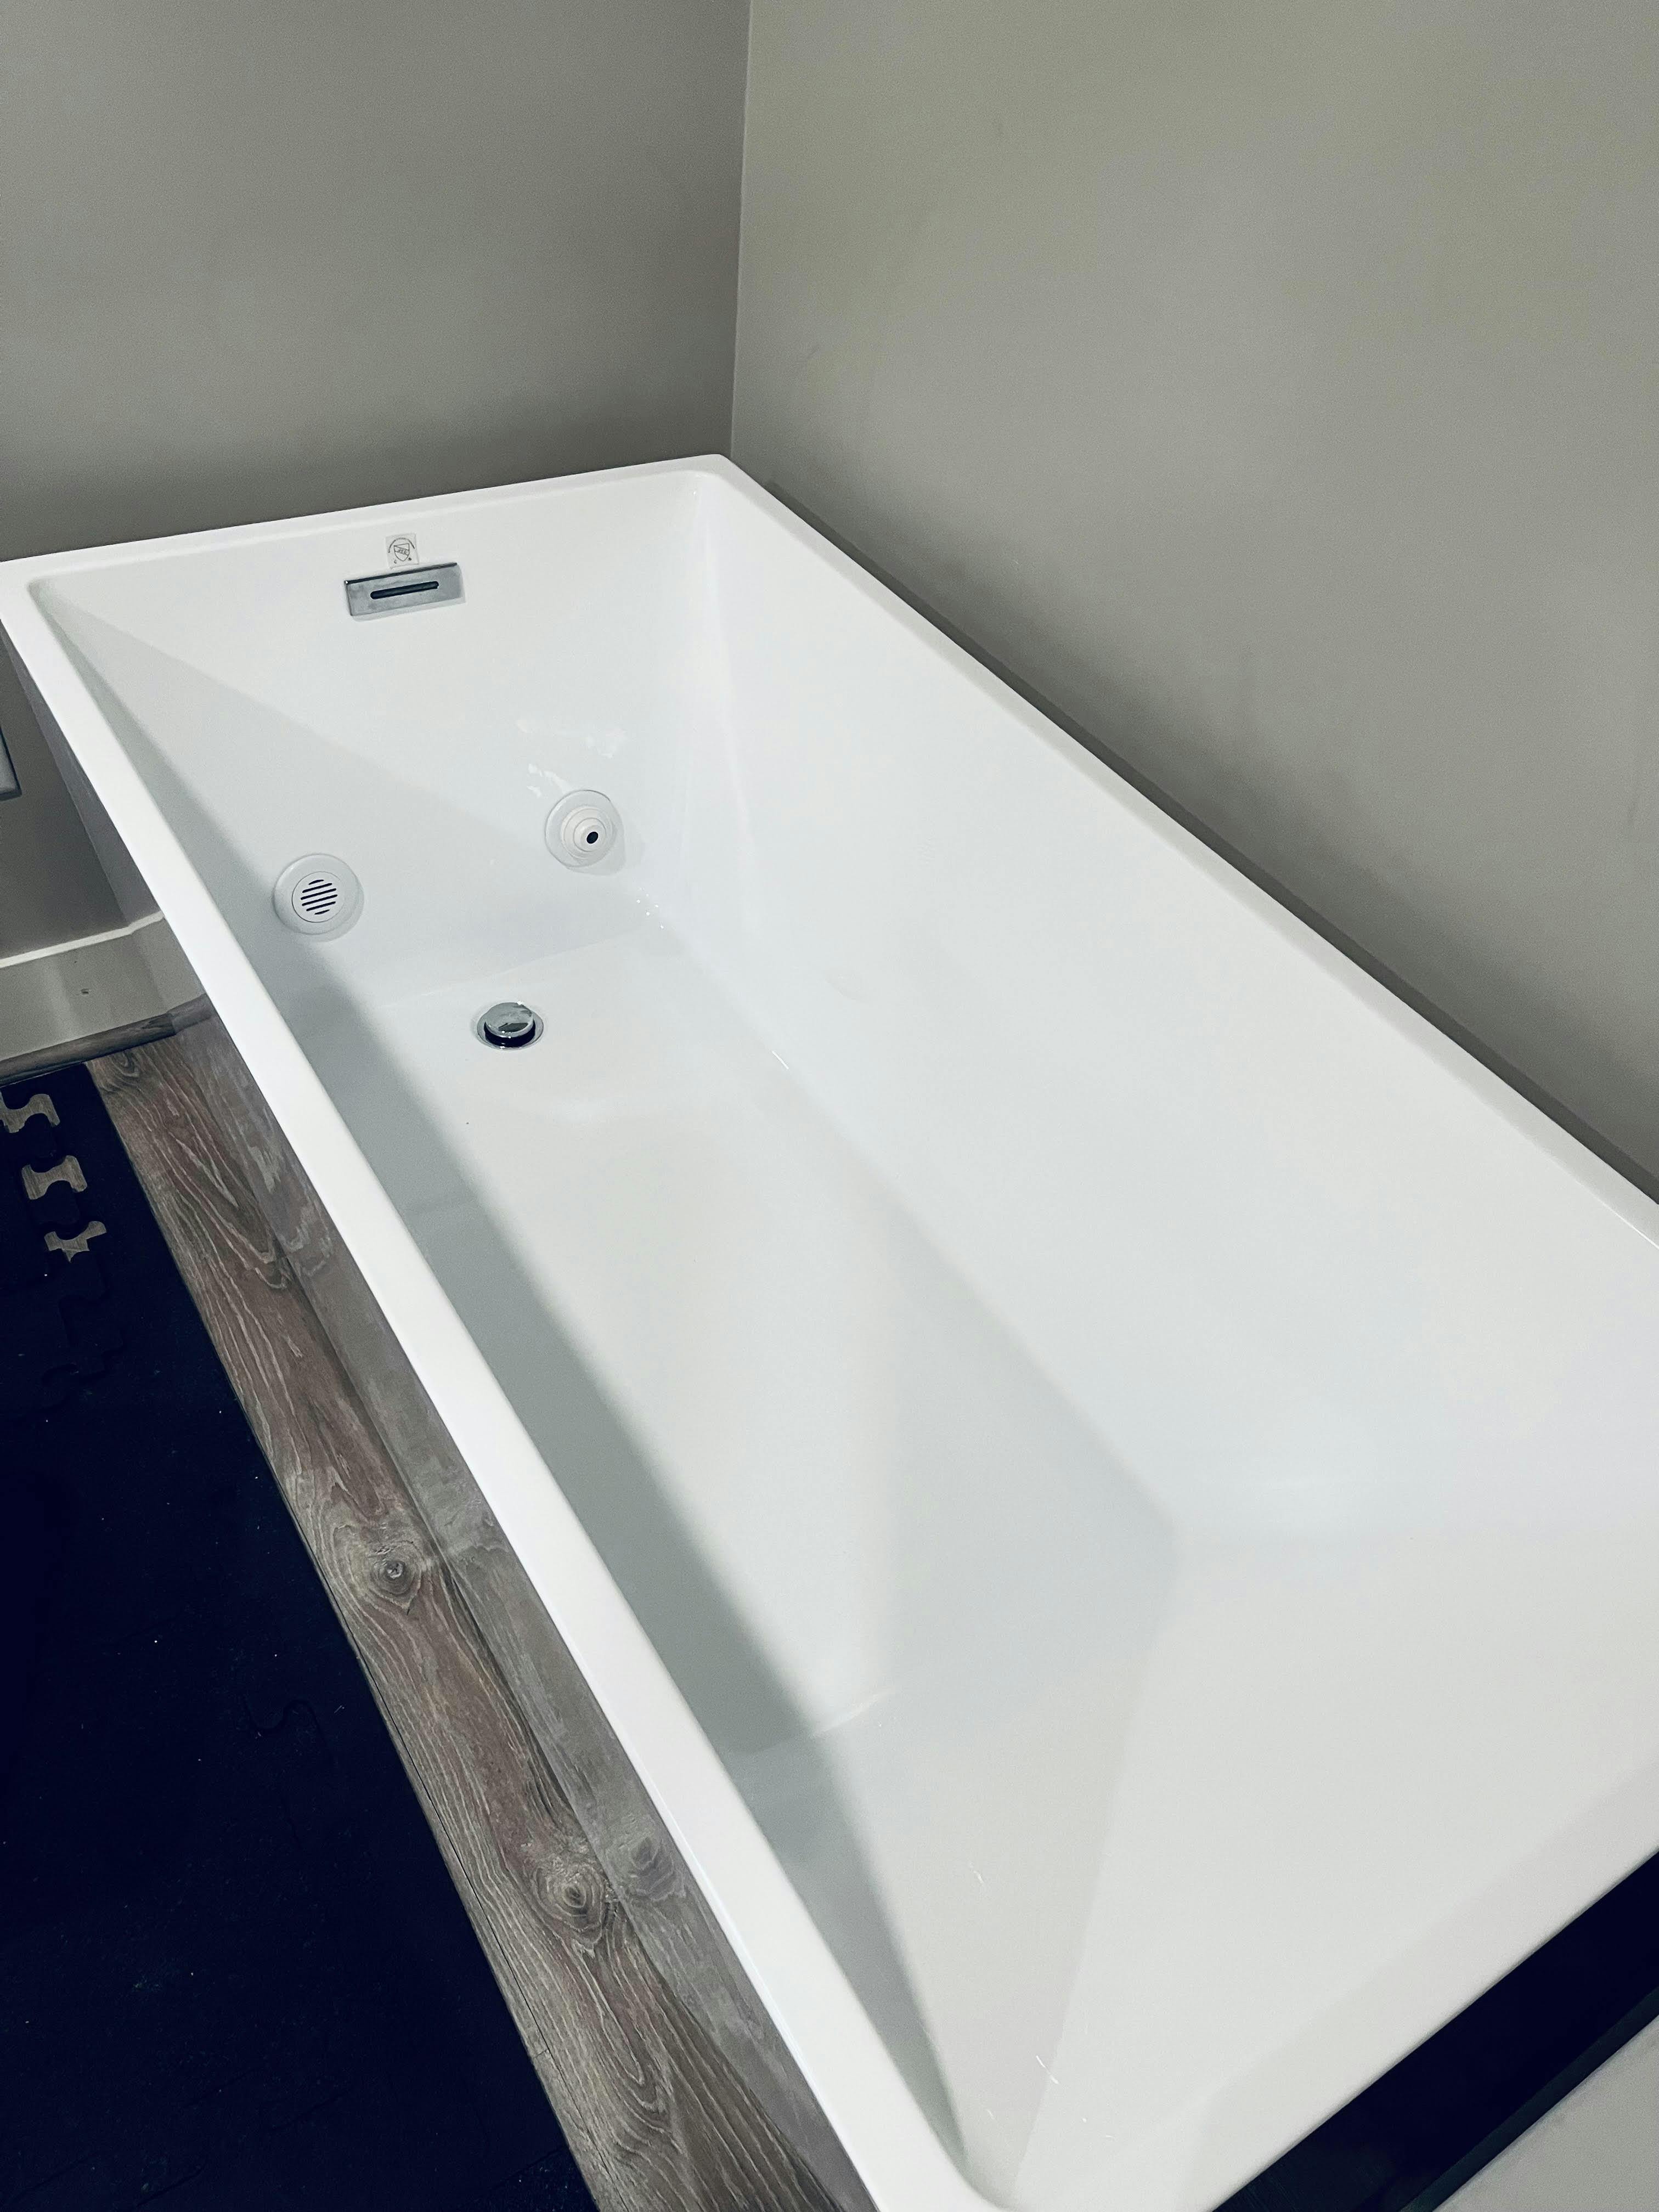
Build a DIY Cold Plunge with all the same features as big brands for a fraction of the price. And... it's easier than you'd think!
I’ll be honest—I was hesitant to spend nearly $200 on a DIY plan when the whole point of doing it yourself is to save money. But after nearly completing my build, I can confidently say this was one of the best decisions I made. Nothing is more valuable than time, and this guide takes all the guesswork out of the process, making it an enjoyable project rather than a frustrating one. The $190 price tag is easily justified by how streamlined and stress-free the experience was.
The parts list, detailed step-by-step PDF, and video tutorials are incredibly well-organized and easy to follow. On top of that, the quick and friendly email support whenever I had a question made a huge difference. It’s clear that a lot of thought and effort went into making this guide accessible for anyone, regardless of skill level.
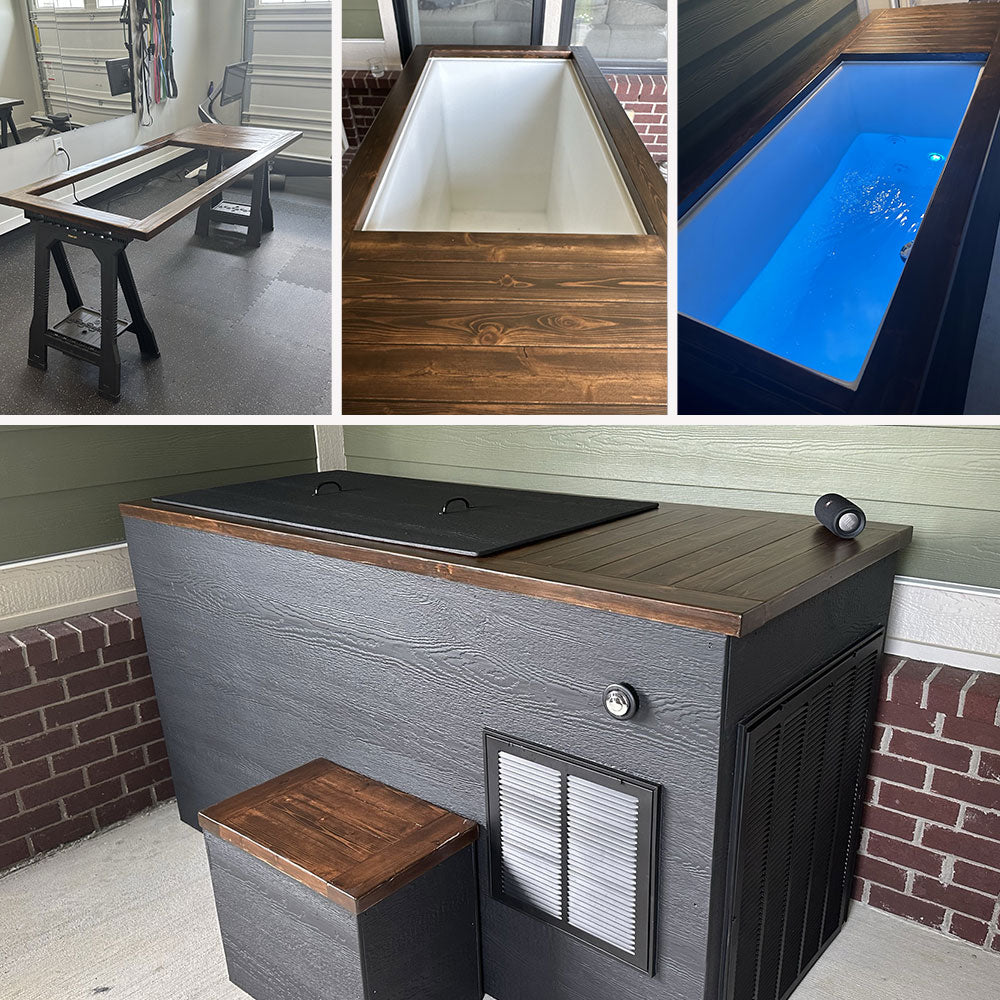
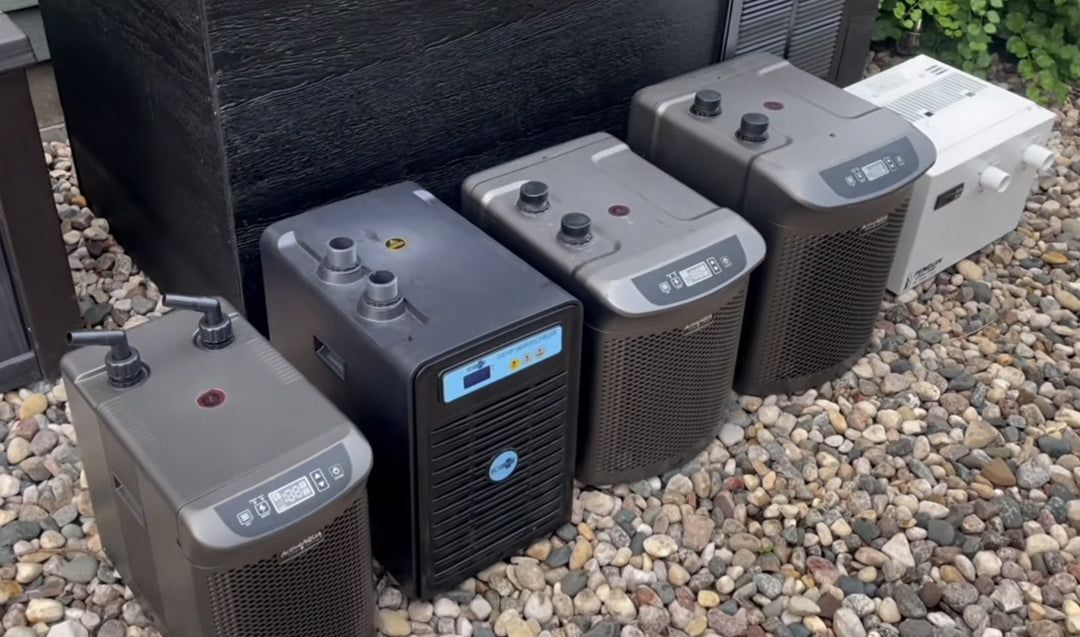
Before this build, I was using a stock tank with ice and could barely get my water below 50°F. Even after adding a chiller last summer, keeping temps down during hot days was a constant battle. With this design and proper insulation, my chiller now works efficiently—I poured in room temp water, and it hit my target temperature within hours and stays there with no problem.
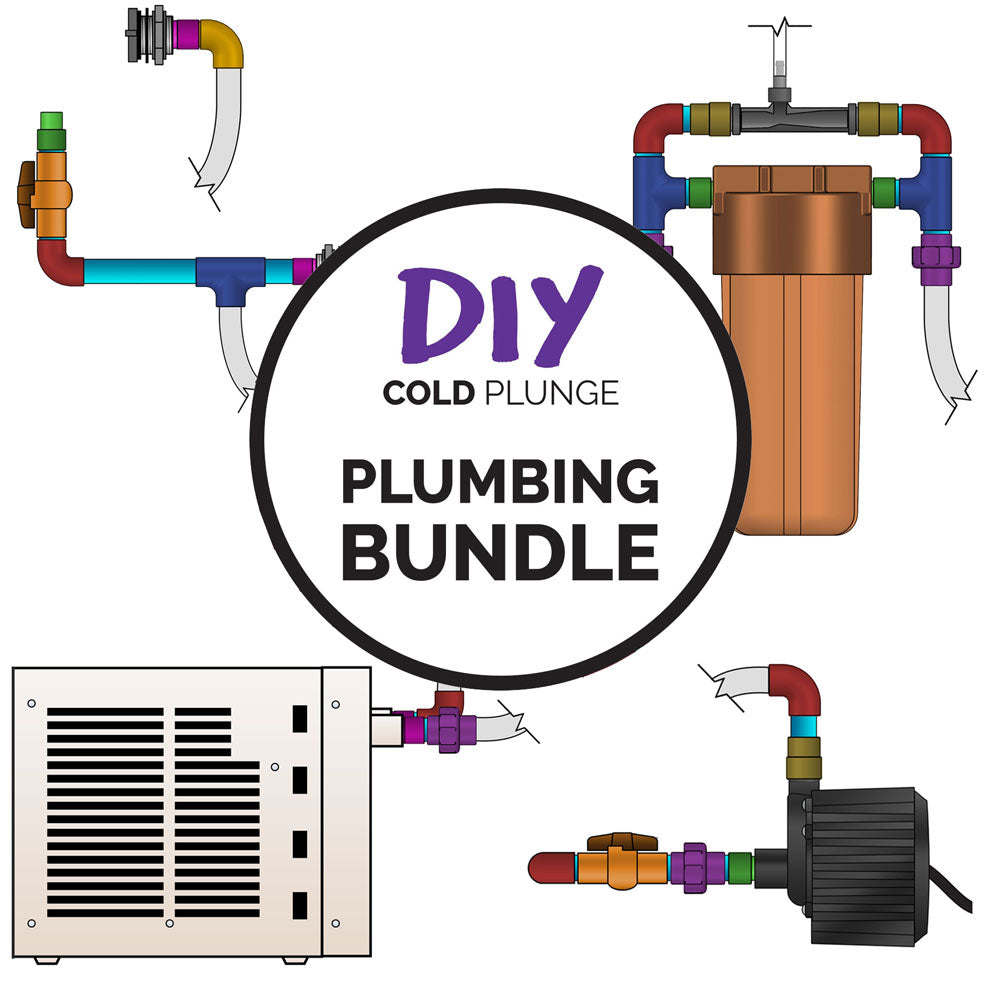
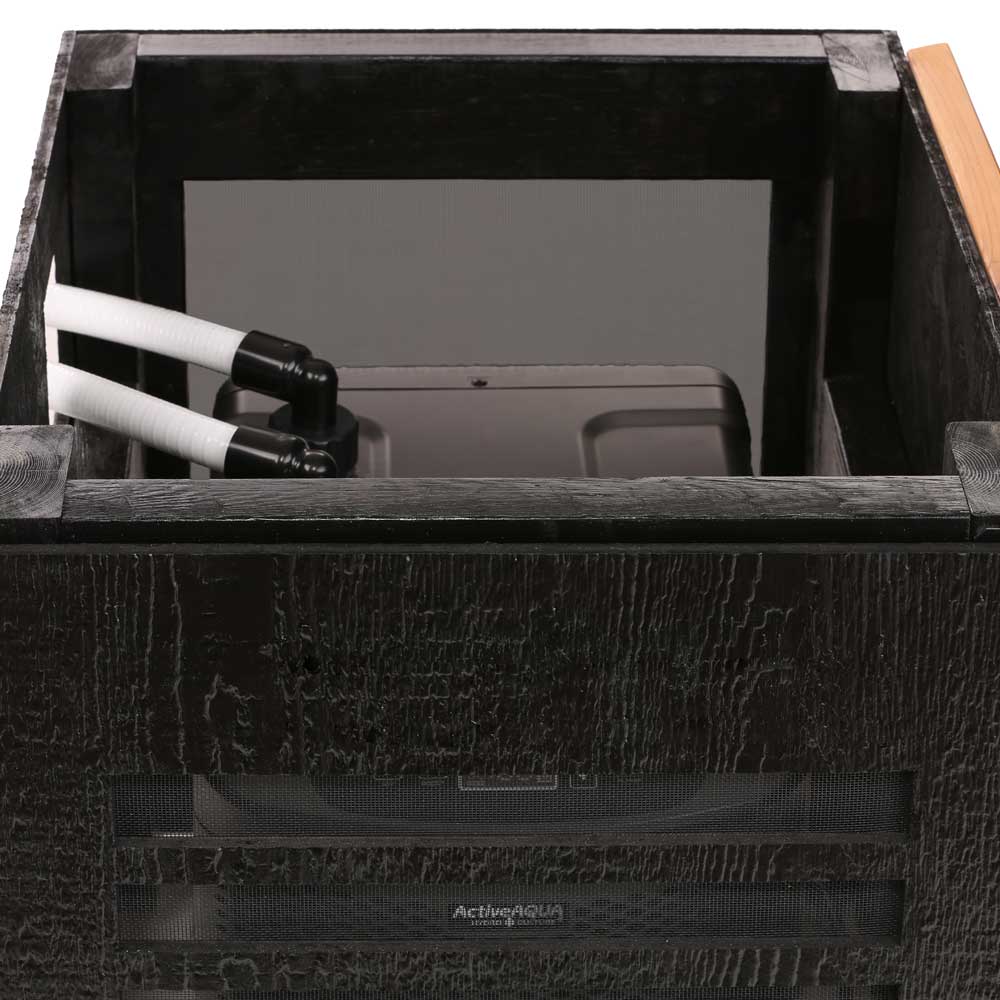
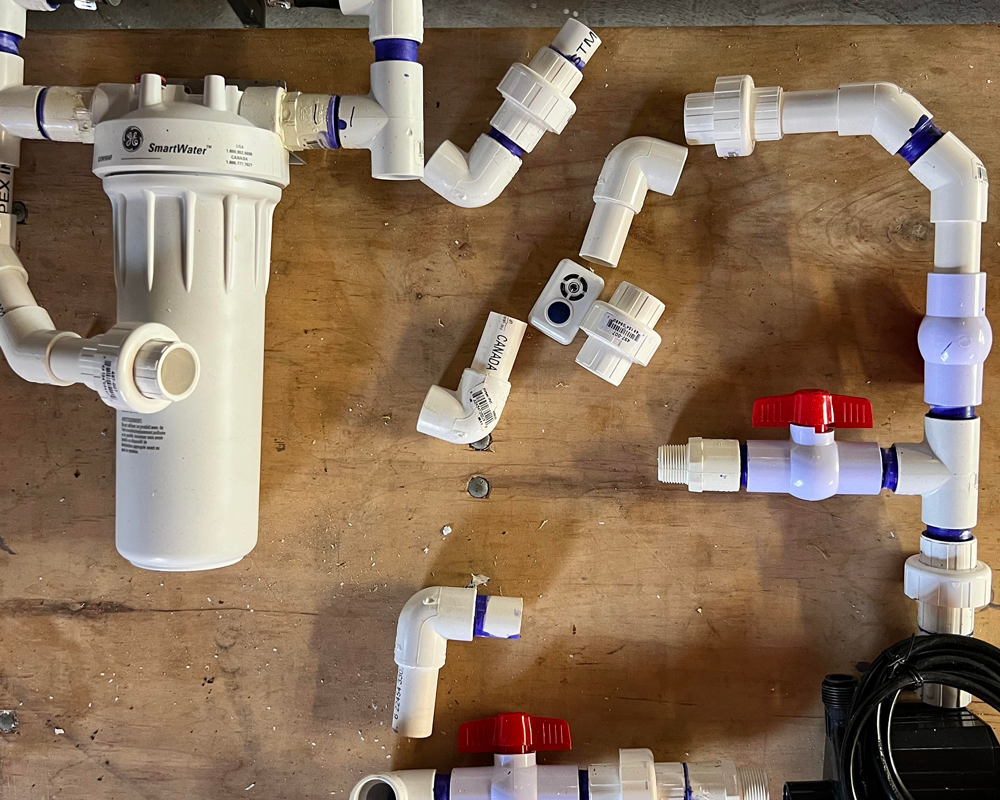
Another huge win is the filtration and sanitation setup. I used to waste over 80 gallons of water every week because it would get nasty fast. Now, I don’t have to worry about constant water changes—this system keeps everything clean and fresh.
Overall, I’m beyond satisfied. This guide doesn’t just help you build a cold plunge—it saves you time, frustration, and ongoing costs. I’m even tempted to grab the DIY sauna plans next (even though I already own an infrared one). If you’re on the fence like I was, trust me—this is well worth it.
Cannot recommend the guides and supplies sold from DIY cold plunge. Joe's guides are easy and fun to follow along and are well worth the costs given how much time they save! The shopping lists make ordering everything very convenient. Thanks Joe!
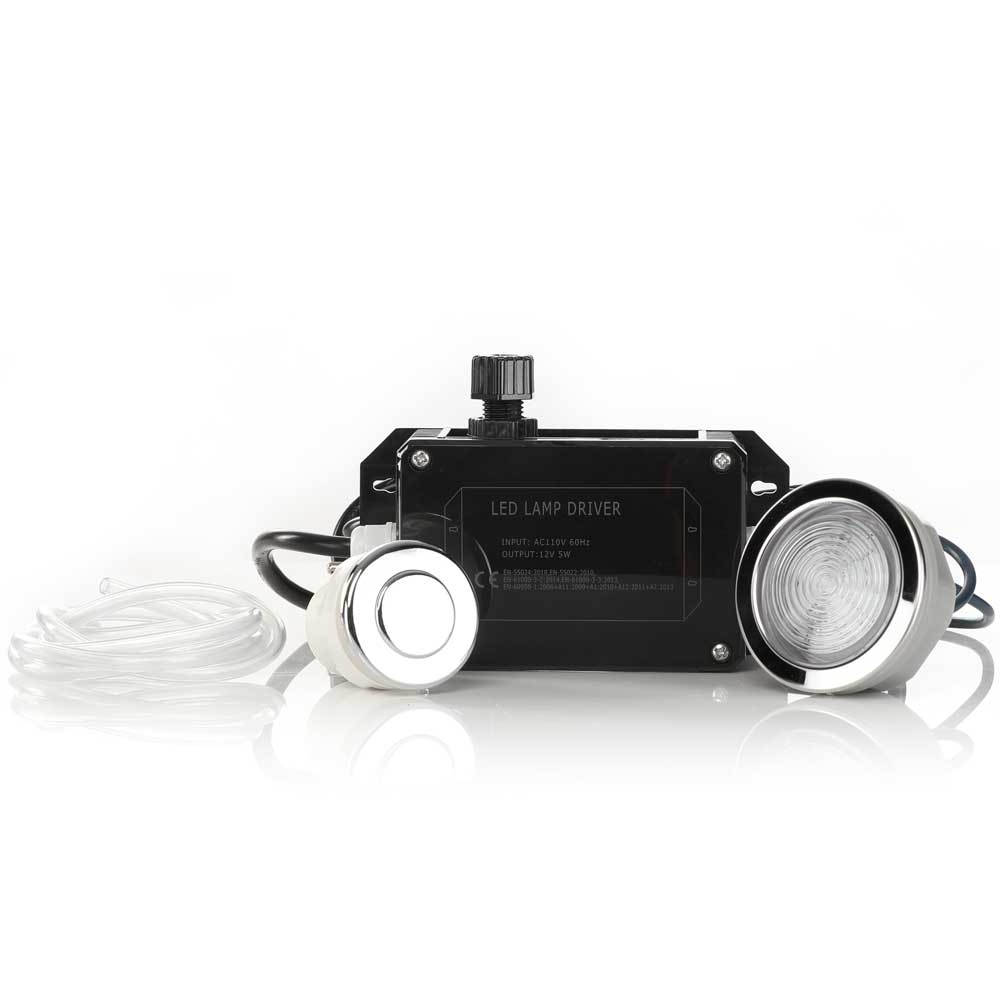
The spa light really adds to the cold plunge experience. It was super easy to install in the stock rubbermaid container. Shipping was very fast and easy.
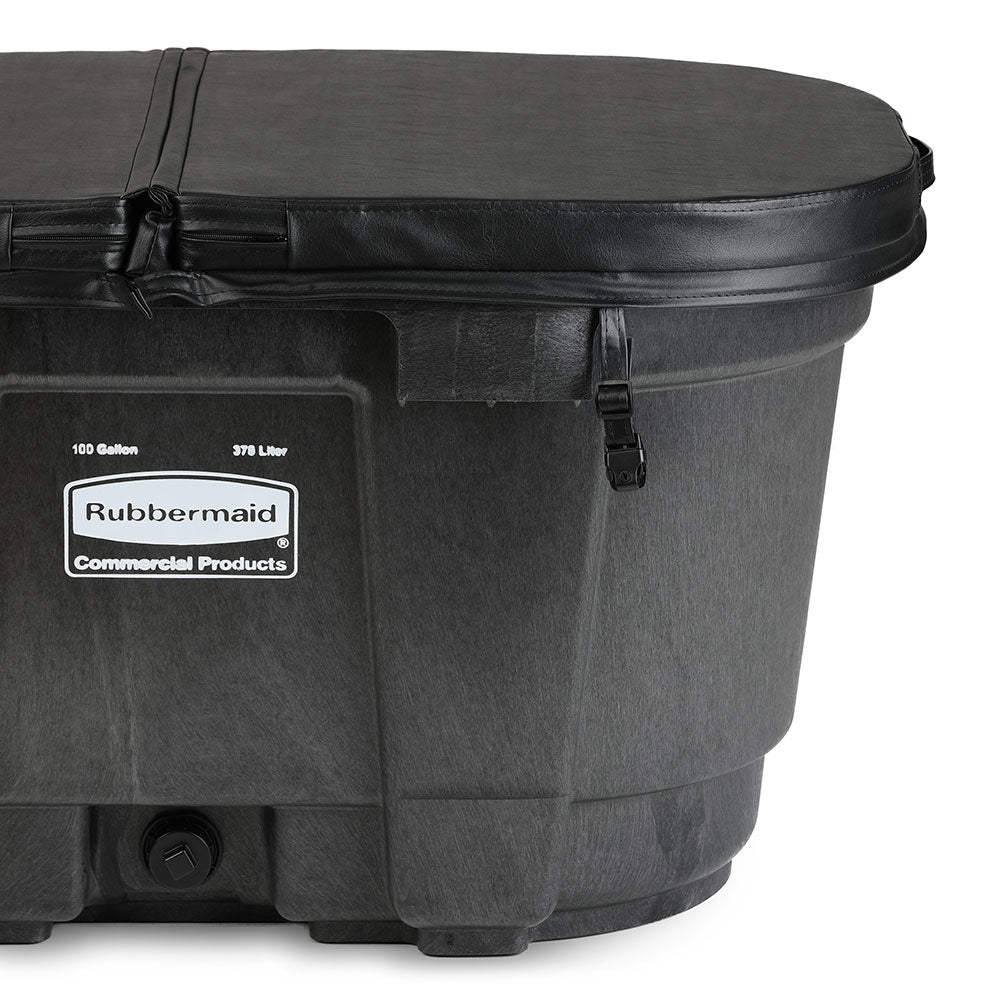
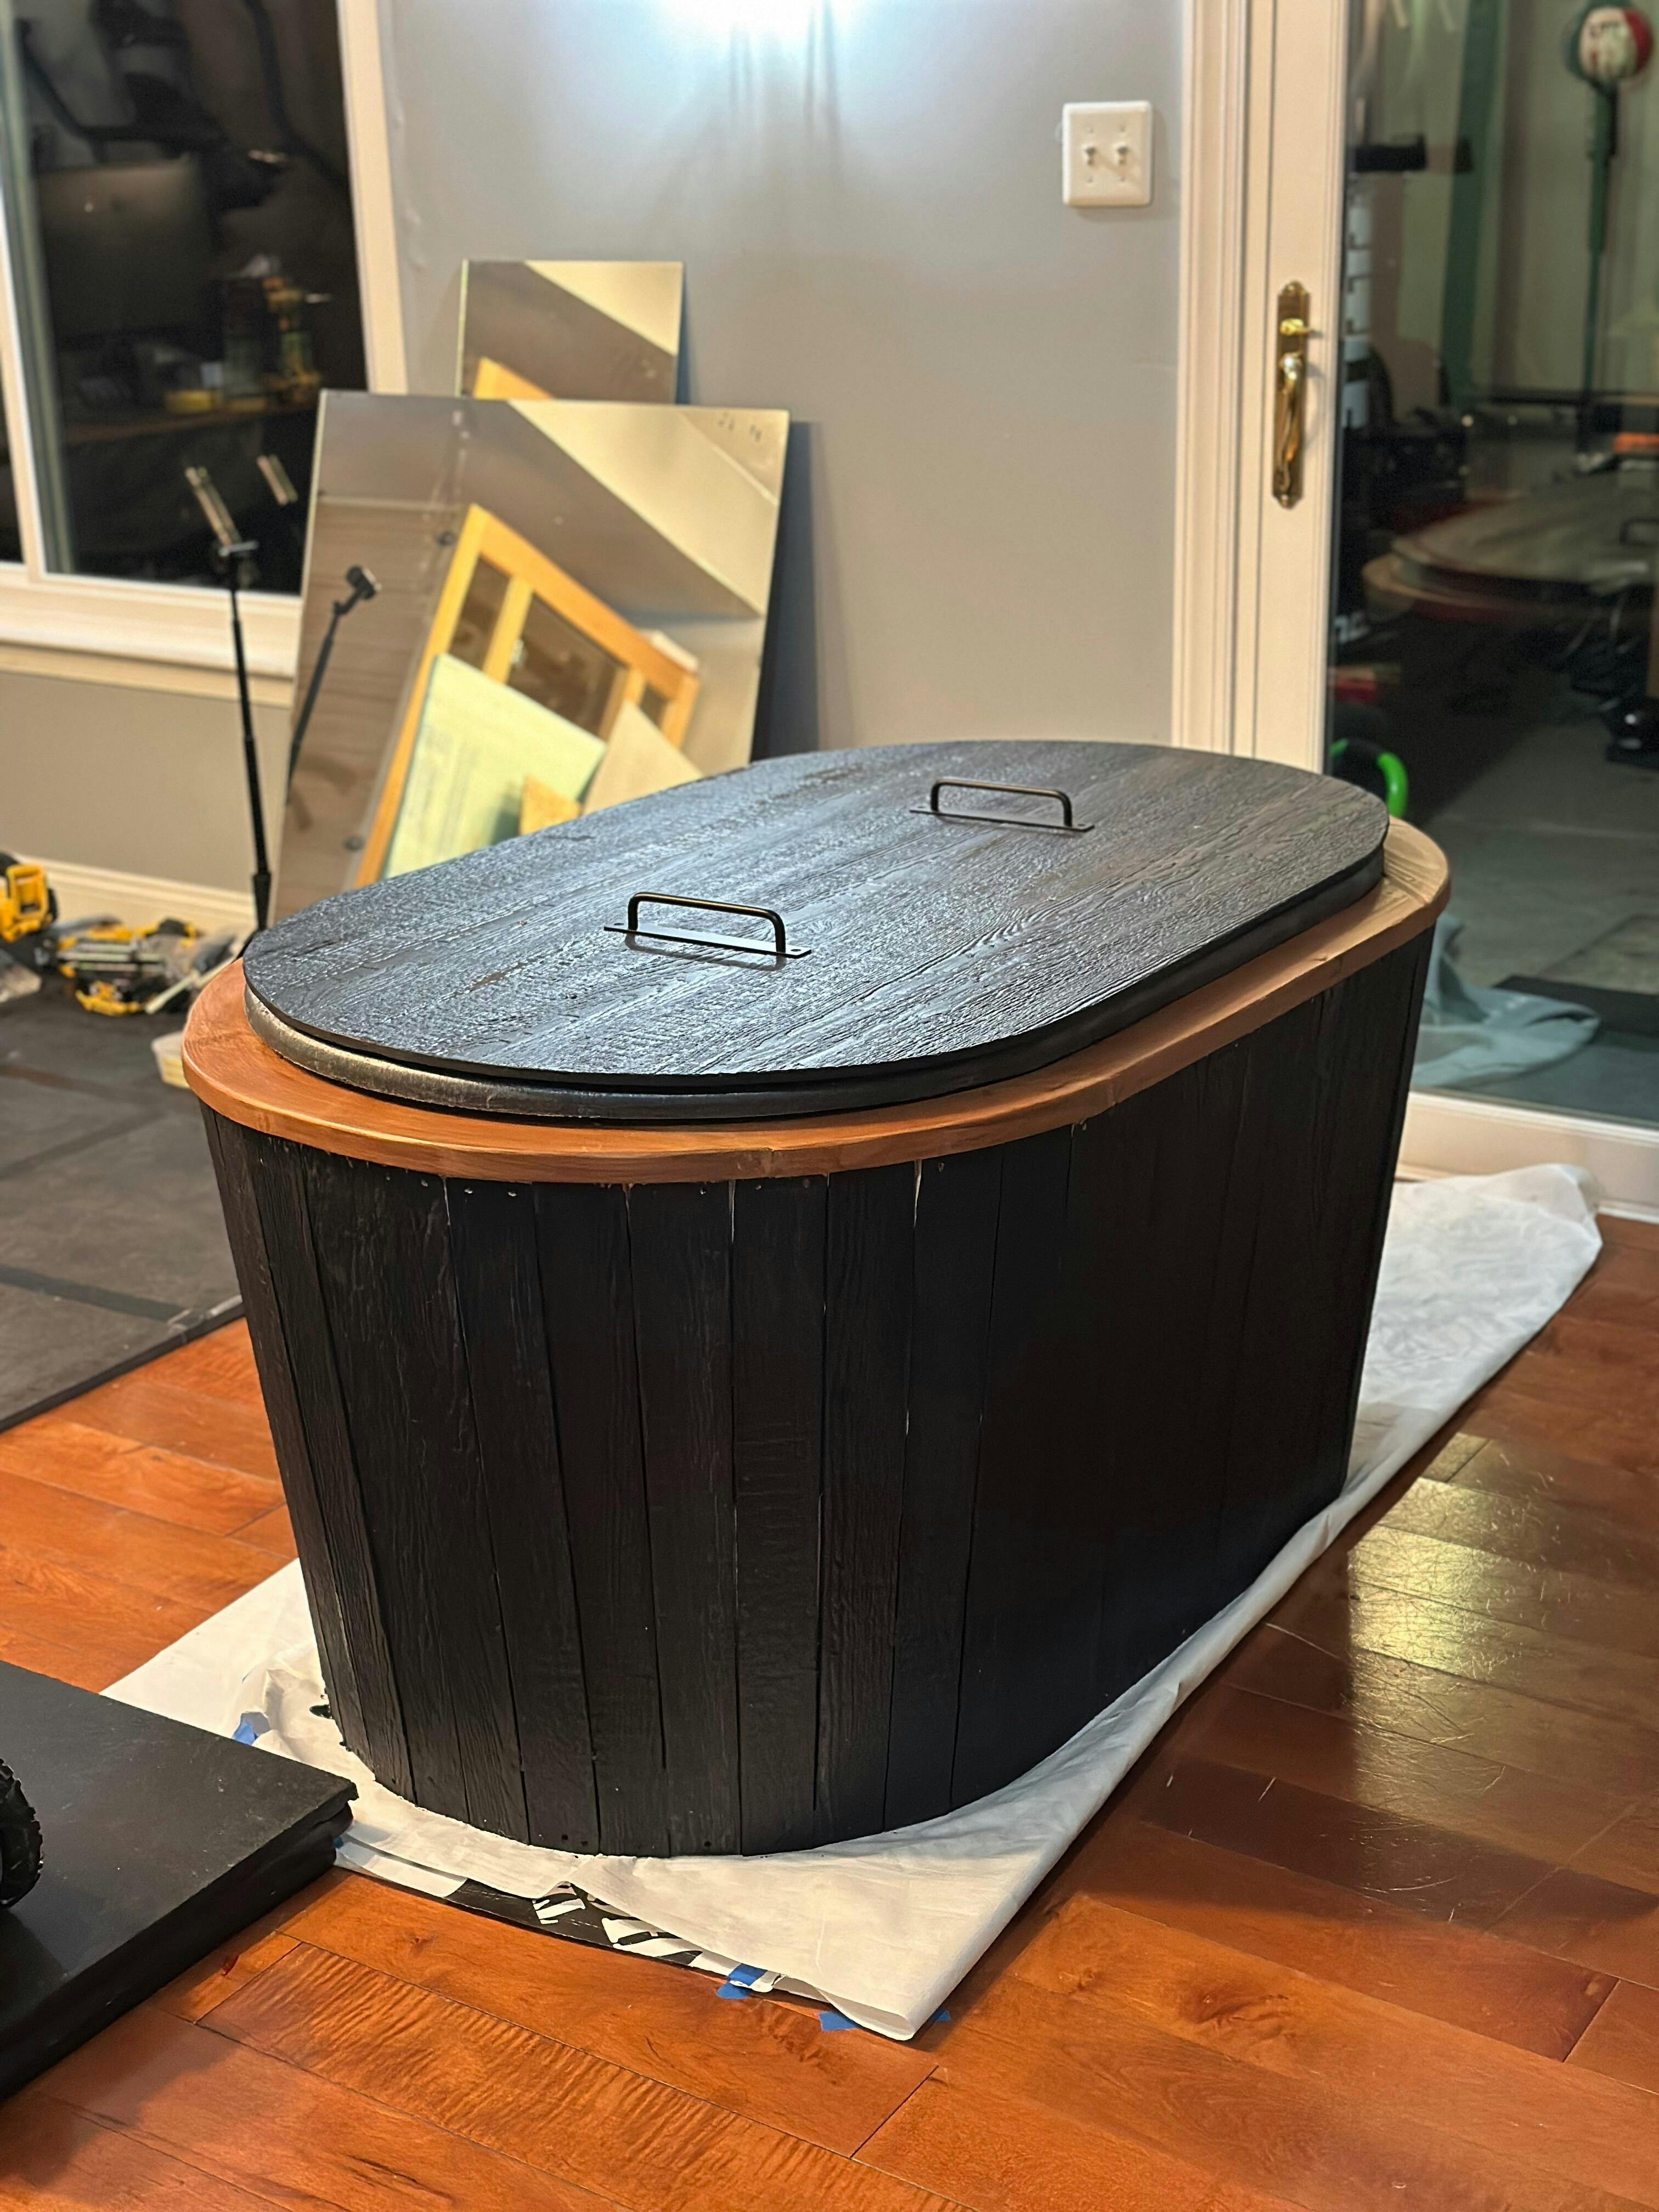
This is a well designed and constructed insulated cover for a rubbermaid stock tank. I am very happy with it after using it for several months. Shipping was very quick and everything was easy to use out of the box.
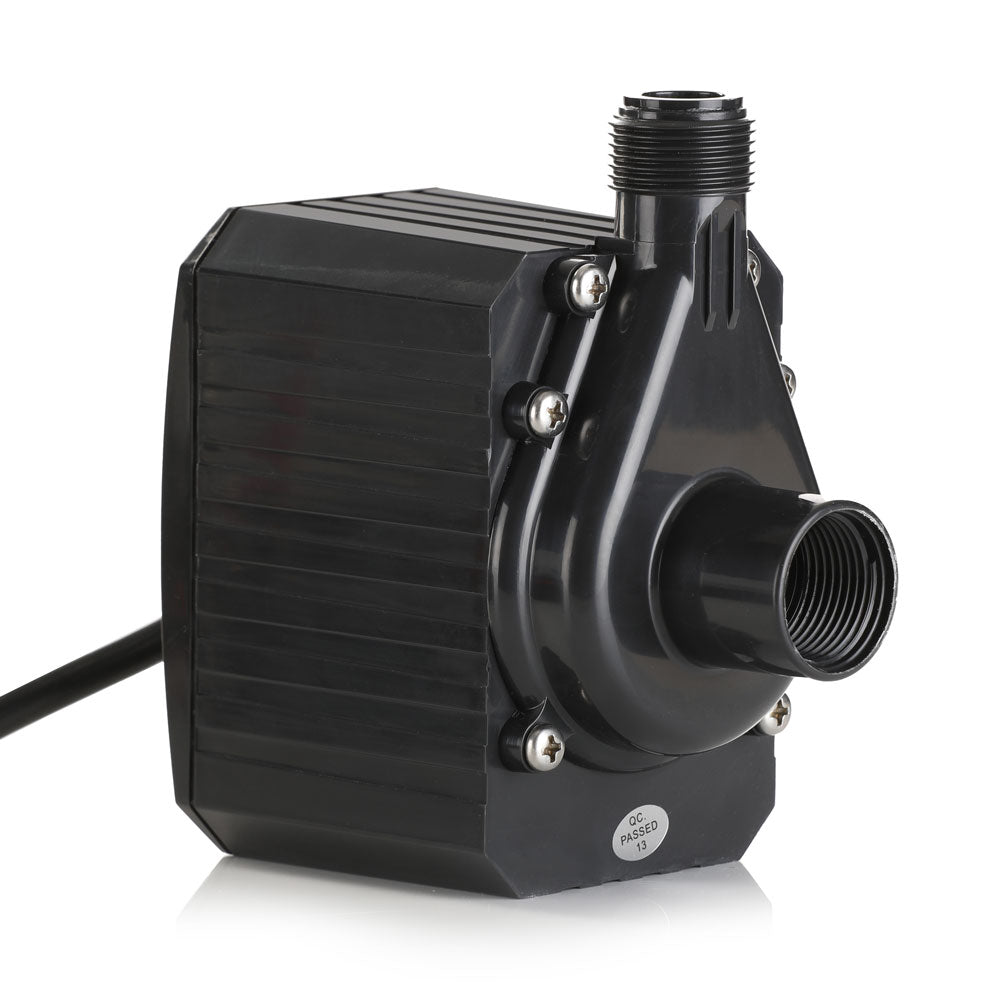
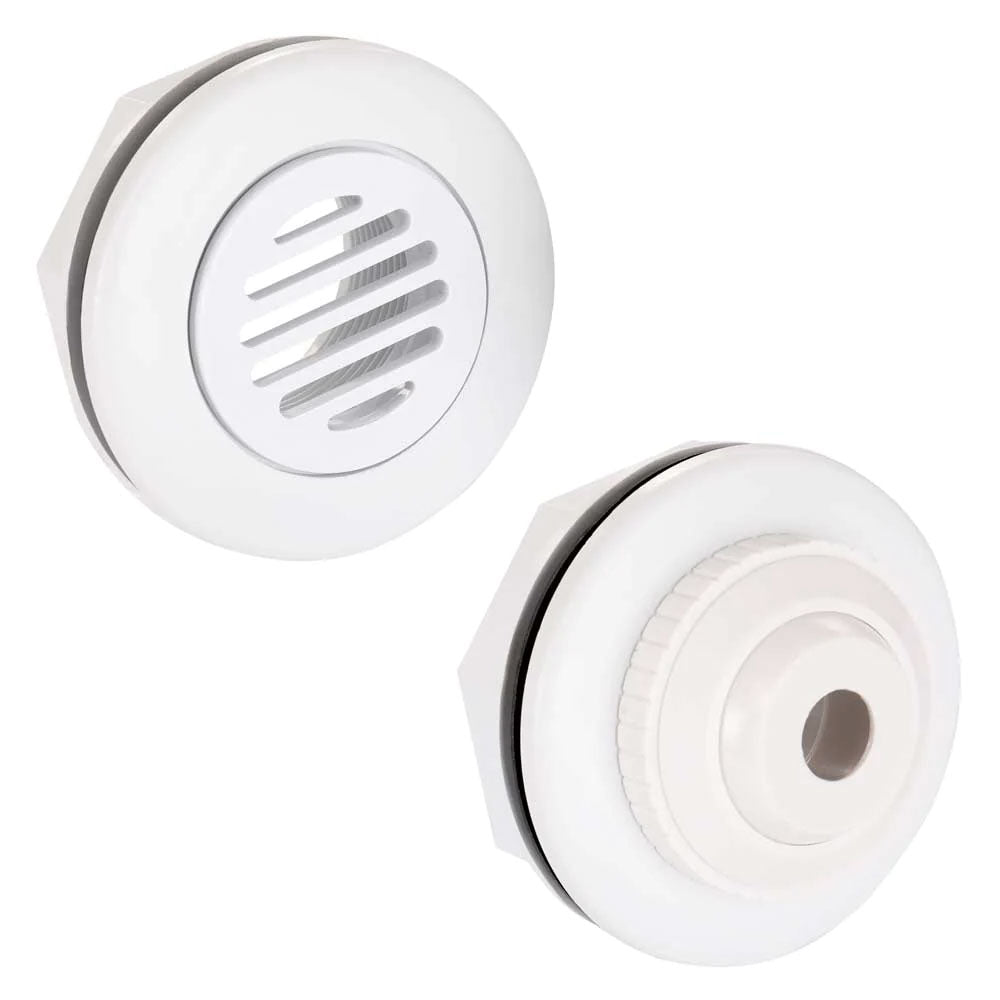
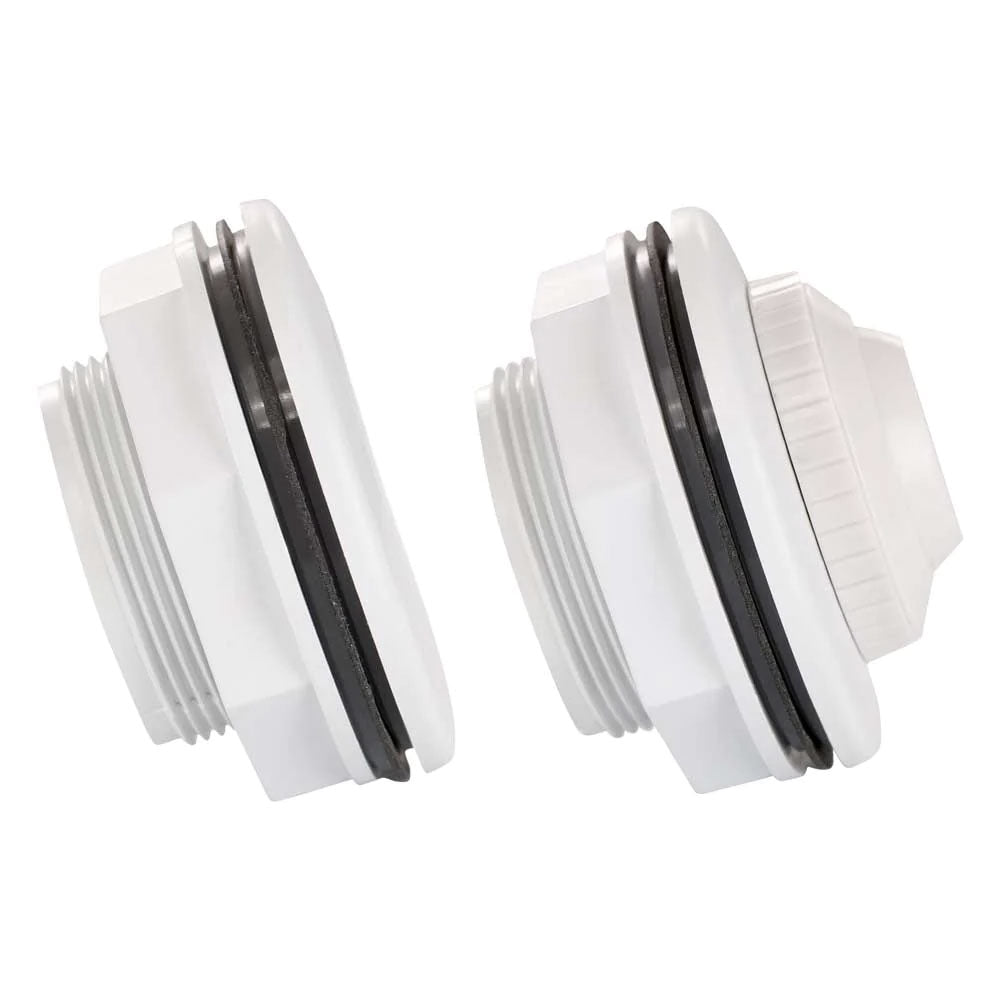
These were the first items I installed in what will be a very cool setup. Pieces arrived very fast and the video was very helpful. Thank you!
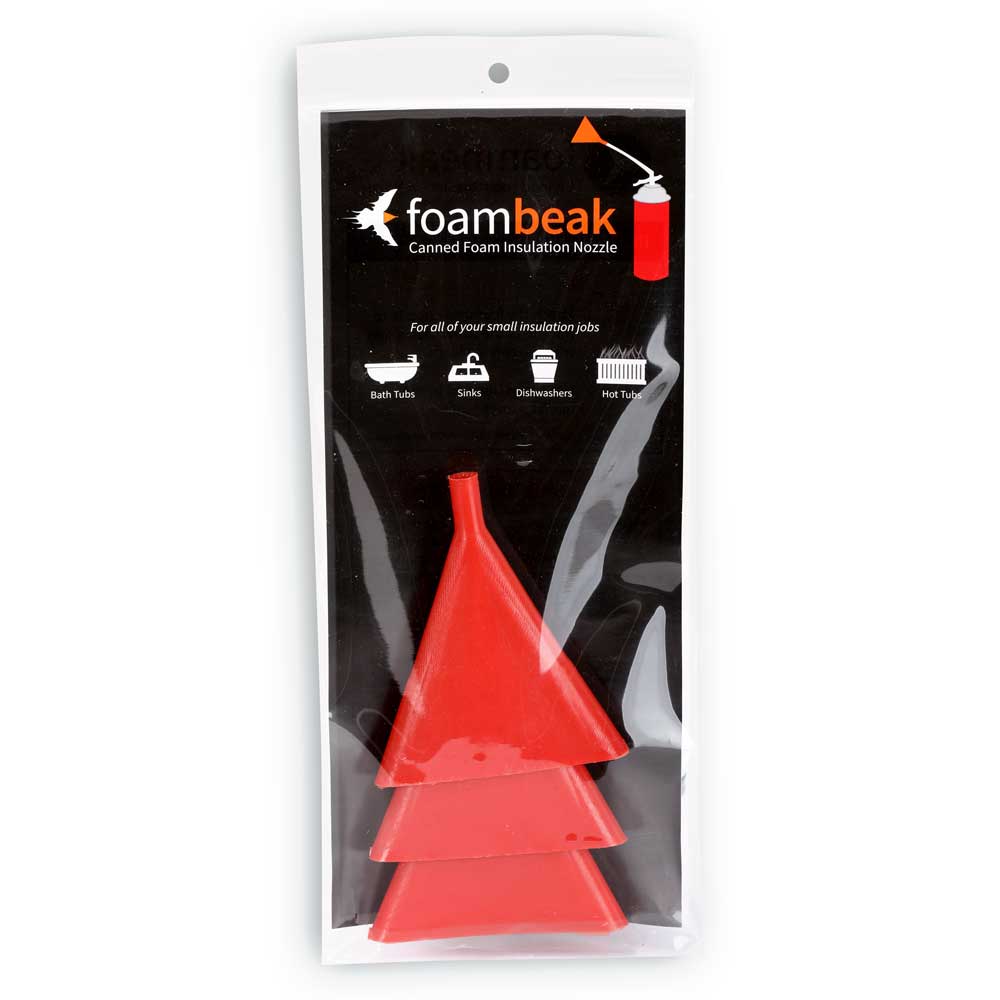
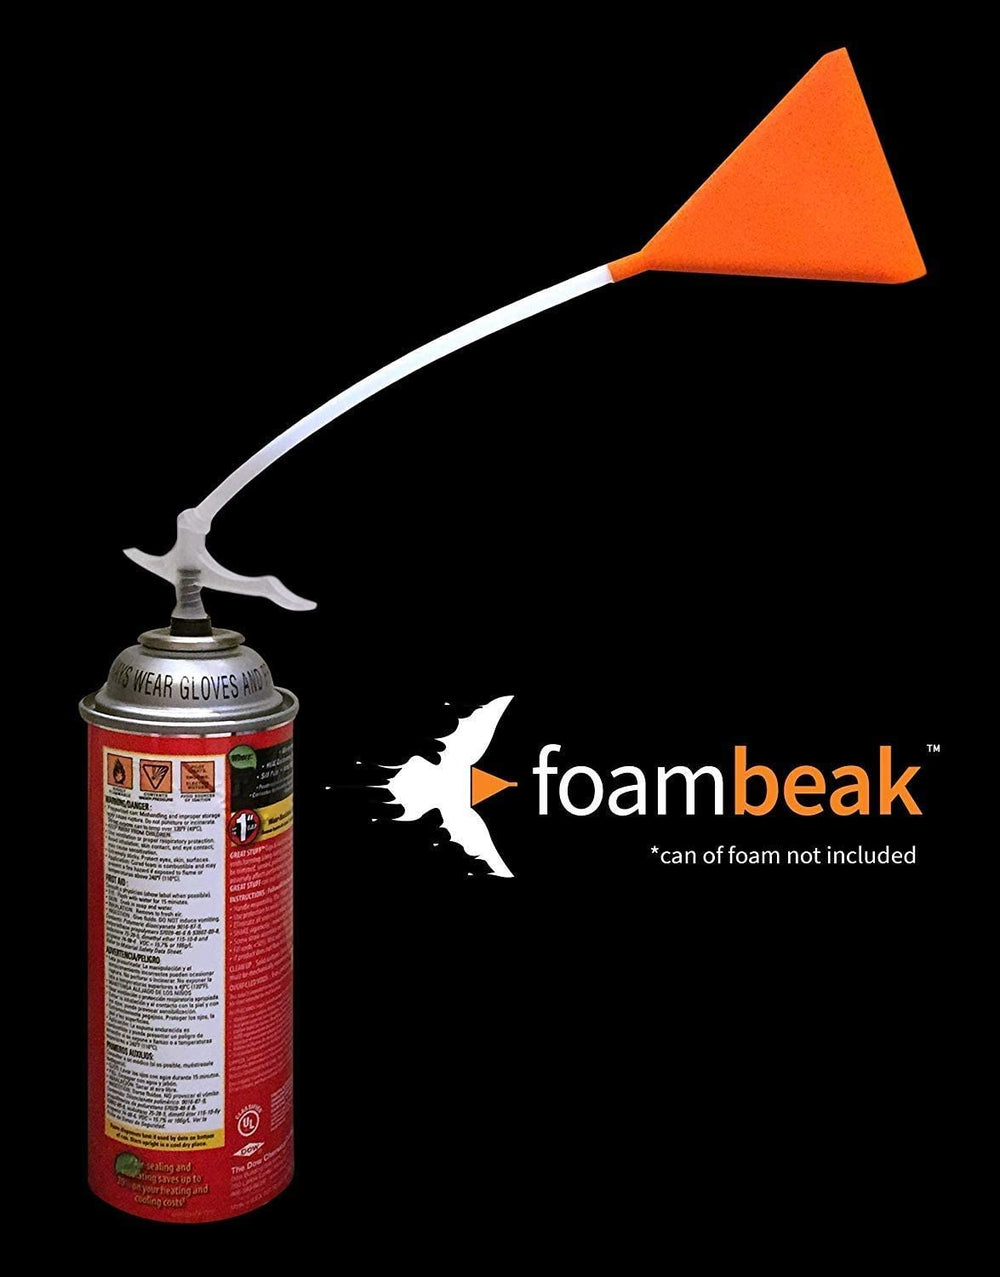
Works well with 3/4" spa tube. Used a heat gun to soften tubing and get a snug fit.
Well thought out products and advice for setting up your own cold plunge. Wonderful YouTube channel that gives all the information you could need. I LOVE my cold plunge set-up.
Perfect for the DIY cold plunge setup! Brilliant YouTube videos
I'd recommend getting what you can through DIY cold plunge. The information provided on YouTube was comprehensive and allowed my installation to go smoothly. Wonderful company and products
Joe makes this so easy for you. And he also makes himself available to answer all your questions. If you are considering tackling this project, do it. Don't hesitate. You won't regret it.
These plans are awesome and the videos are super helpful. I recommend watching all the videos before you start and then again along the way.
This cover was exactly what I needed to finalize my DIY build. It is well insulated and I am very impressed with the quality. This cover fit my 100 gal stock tub perfect. It also came with clips that have locks integrated with keys.
Another great plan from, Joe. Looks nice next to the DIY cold plunge as a bonus.
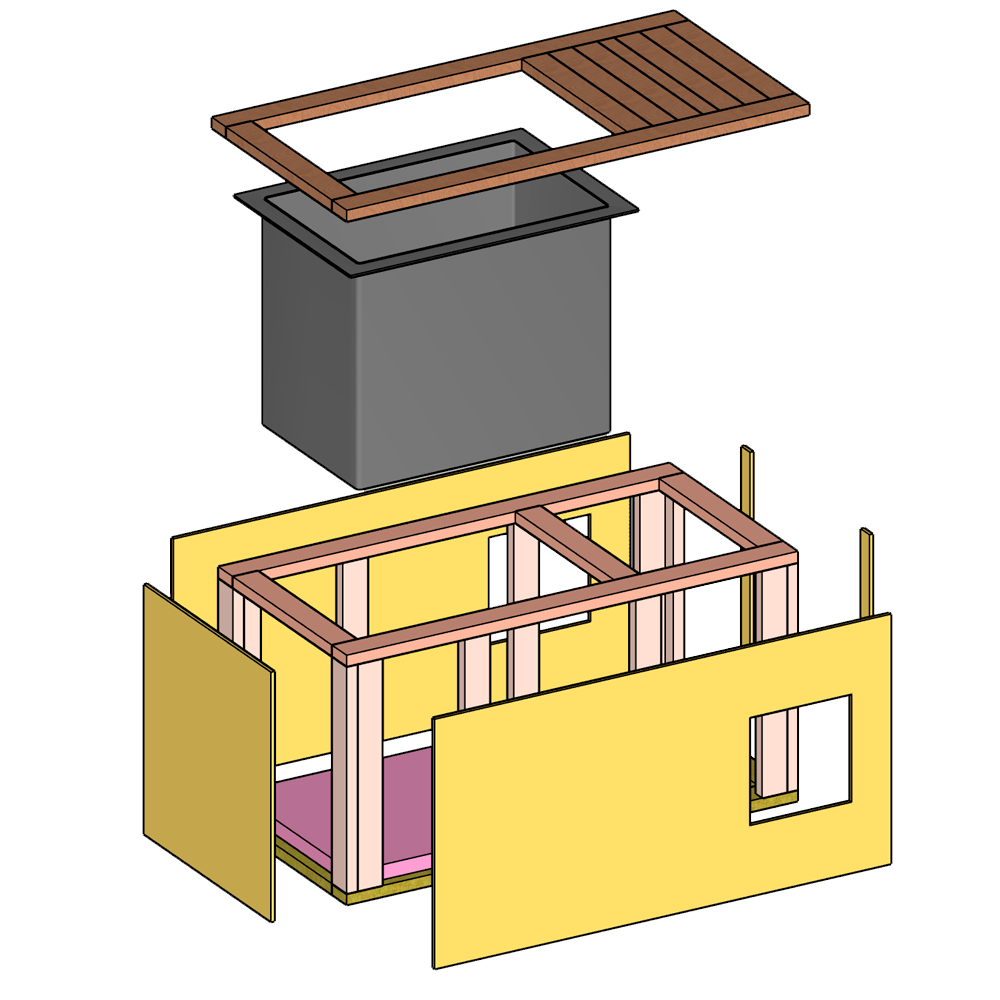
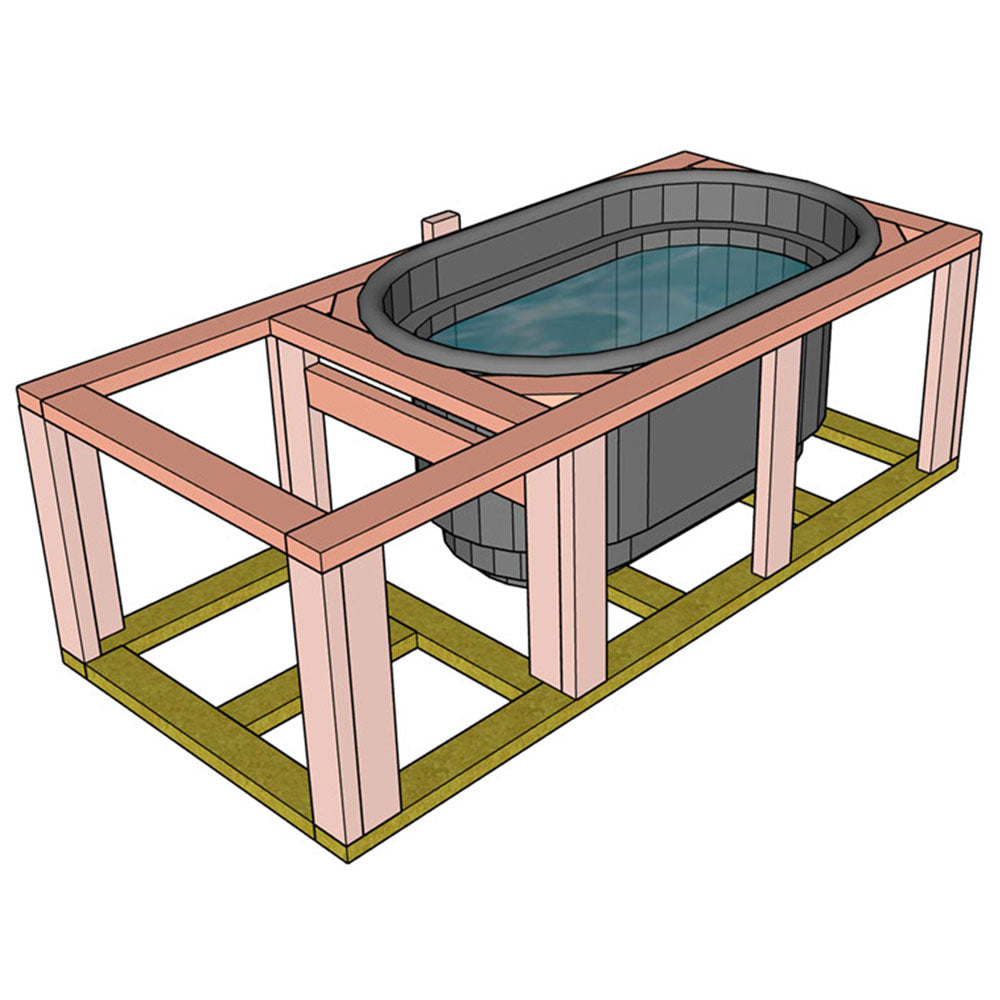
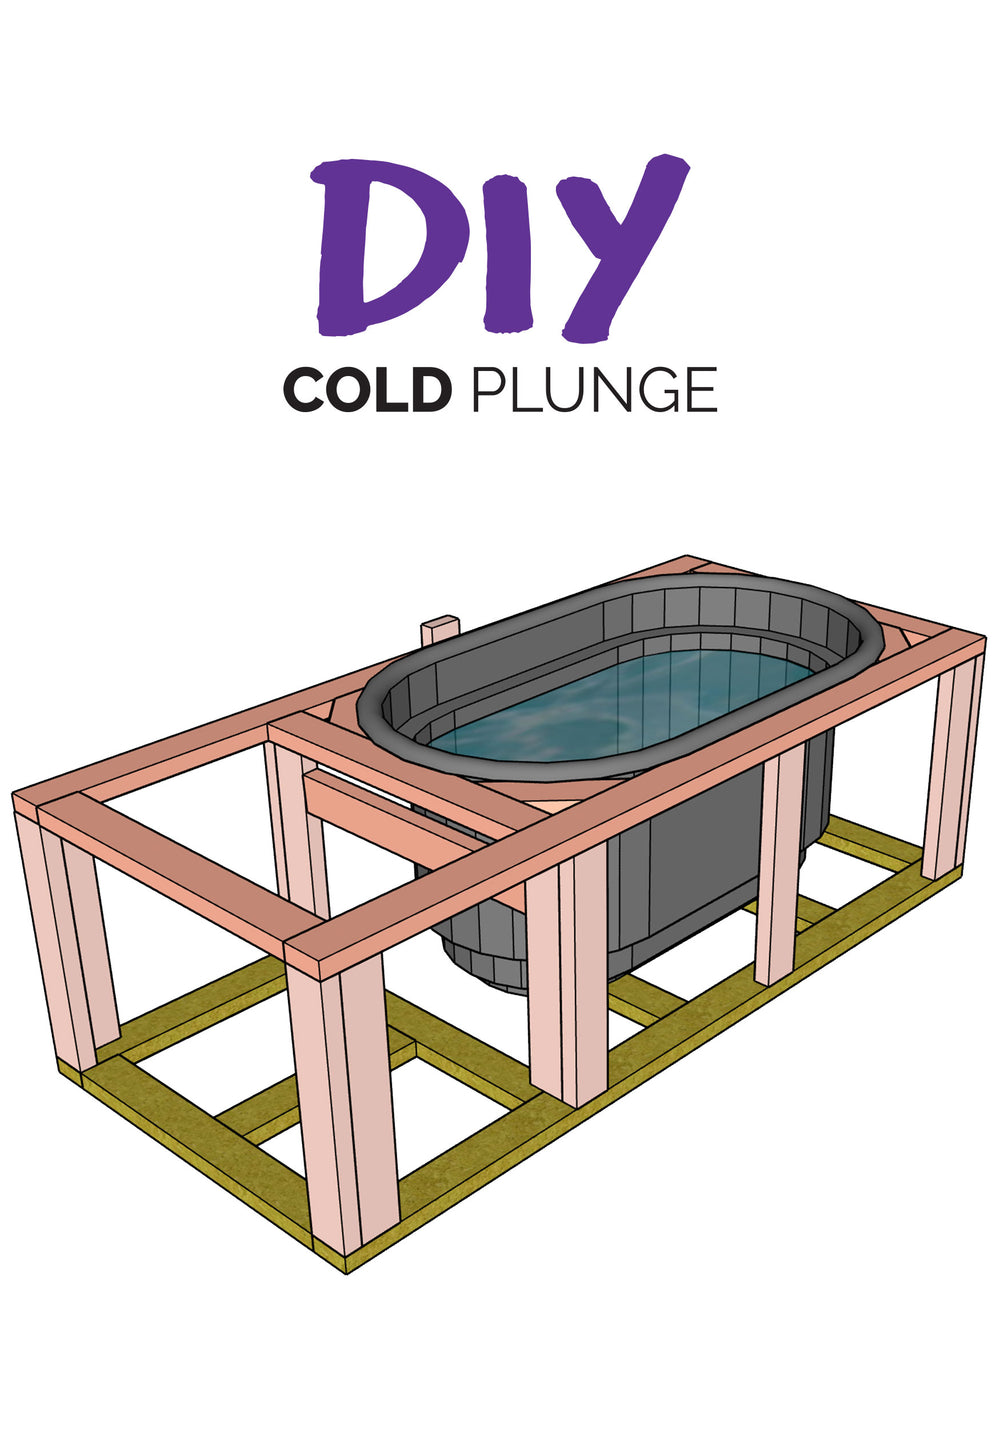
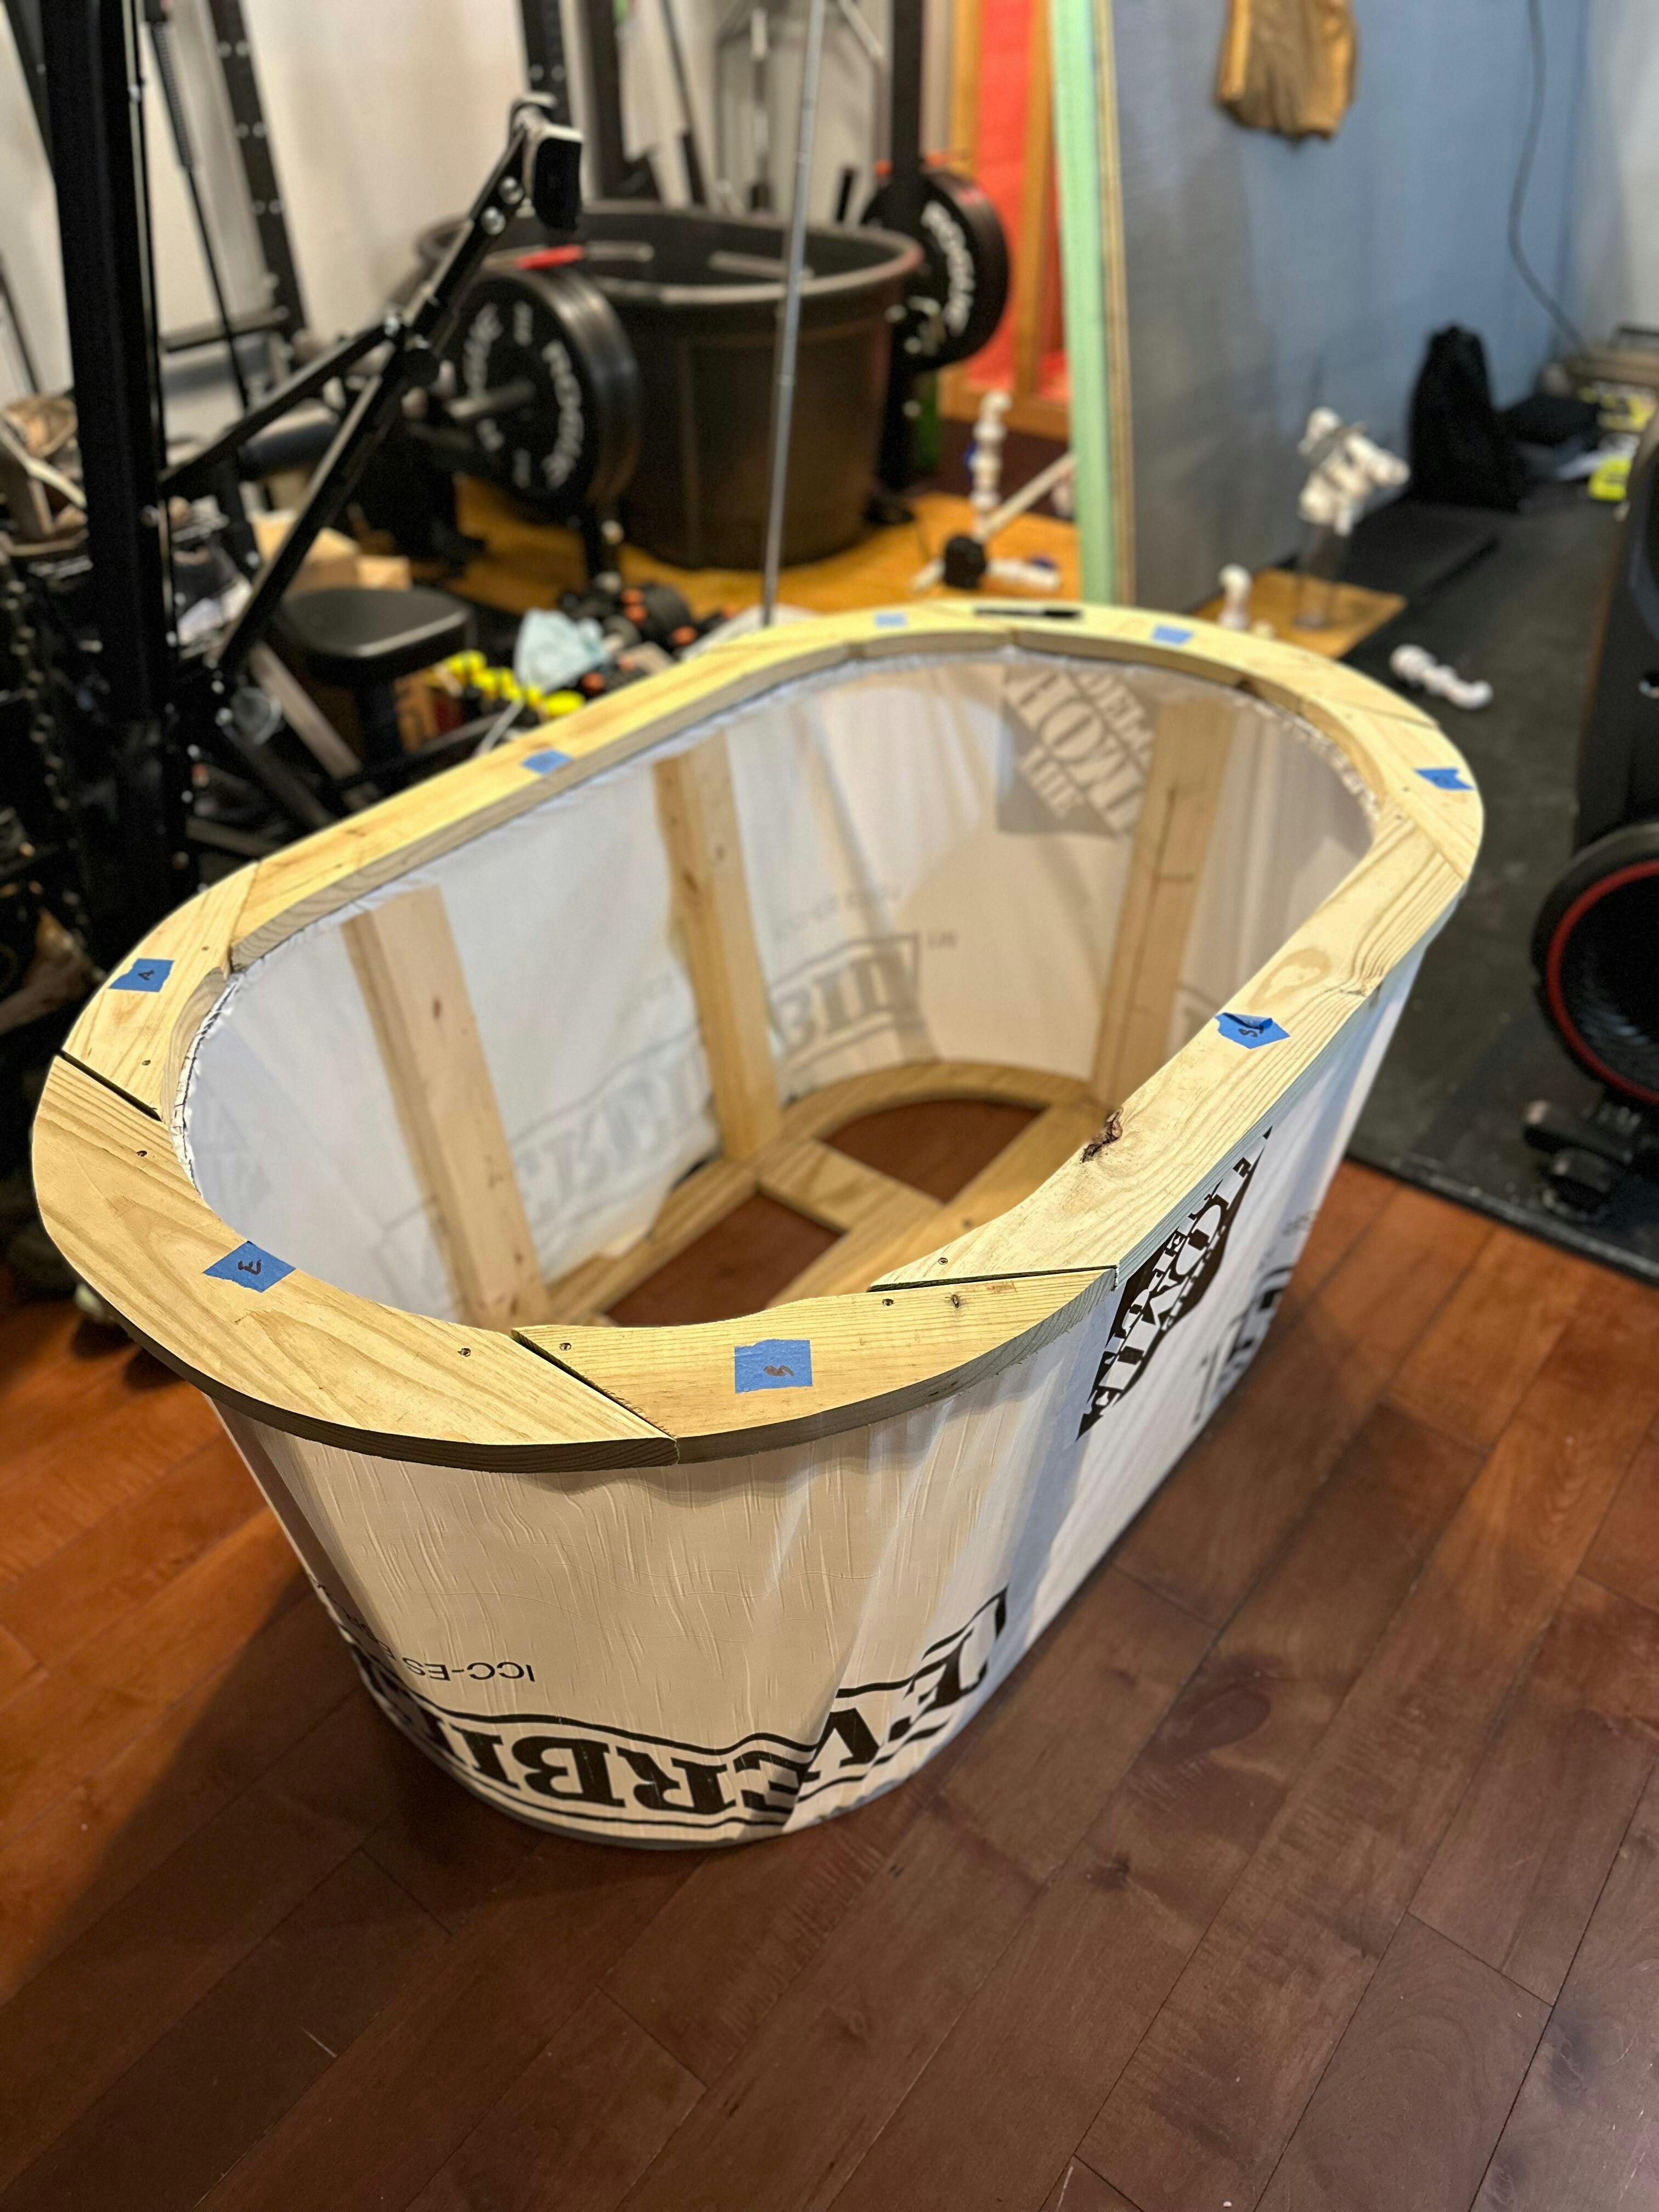
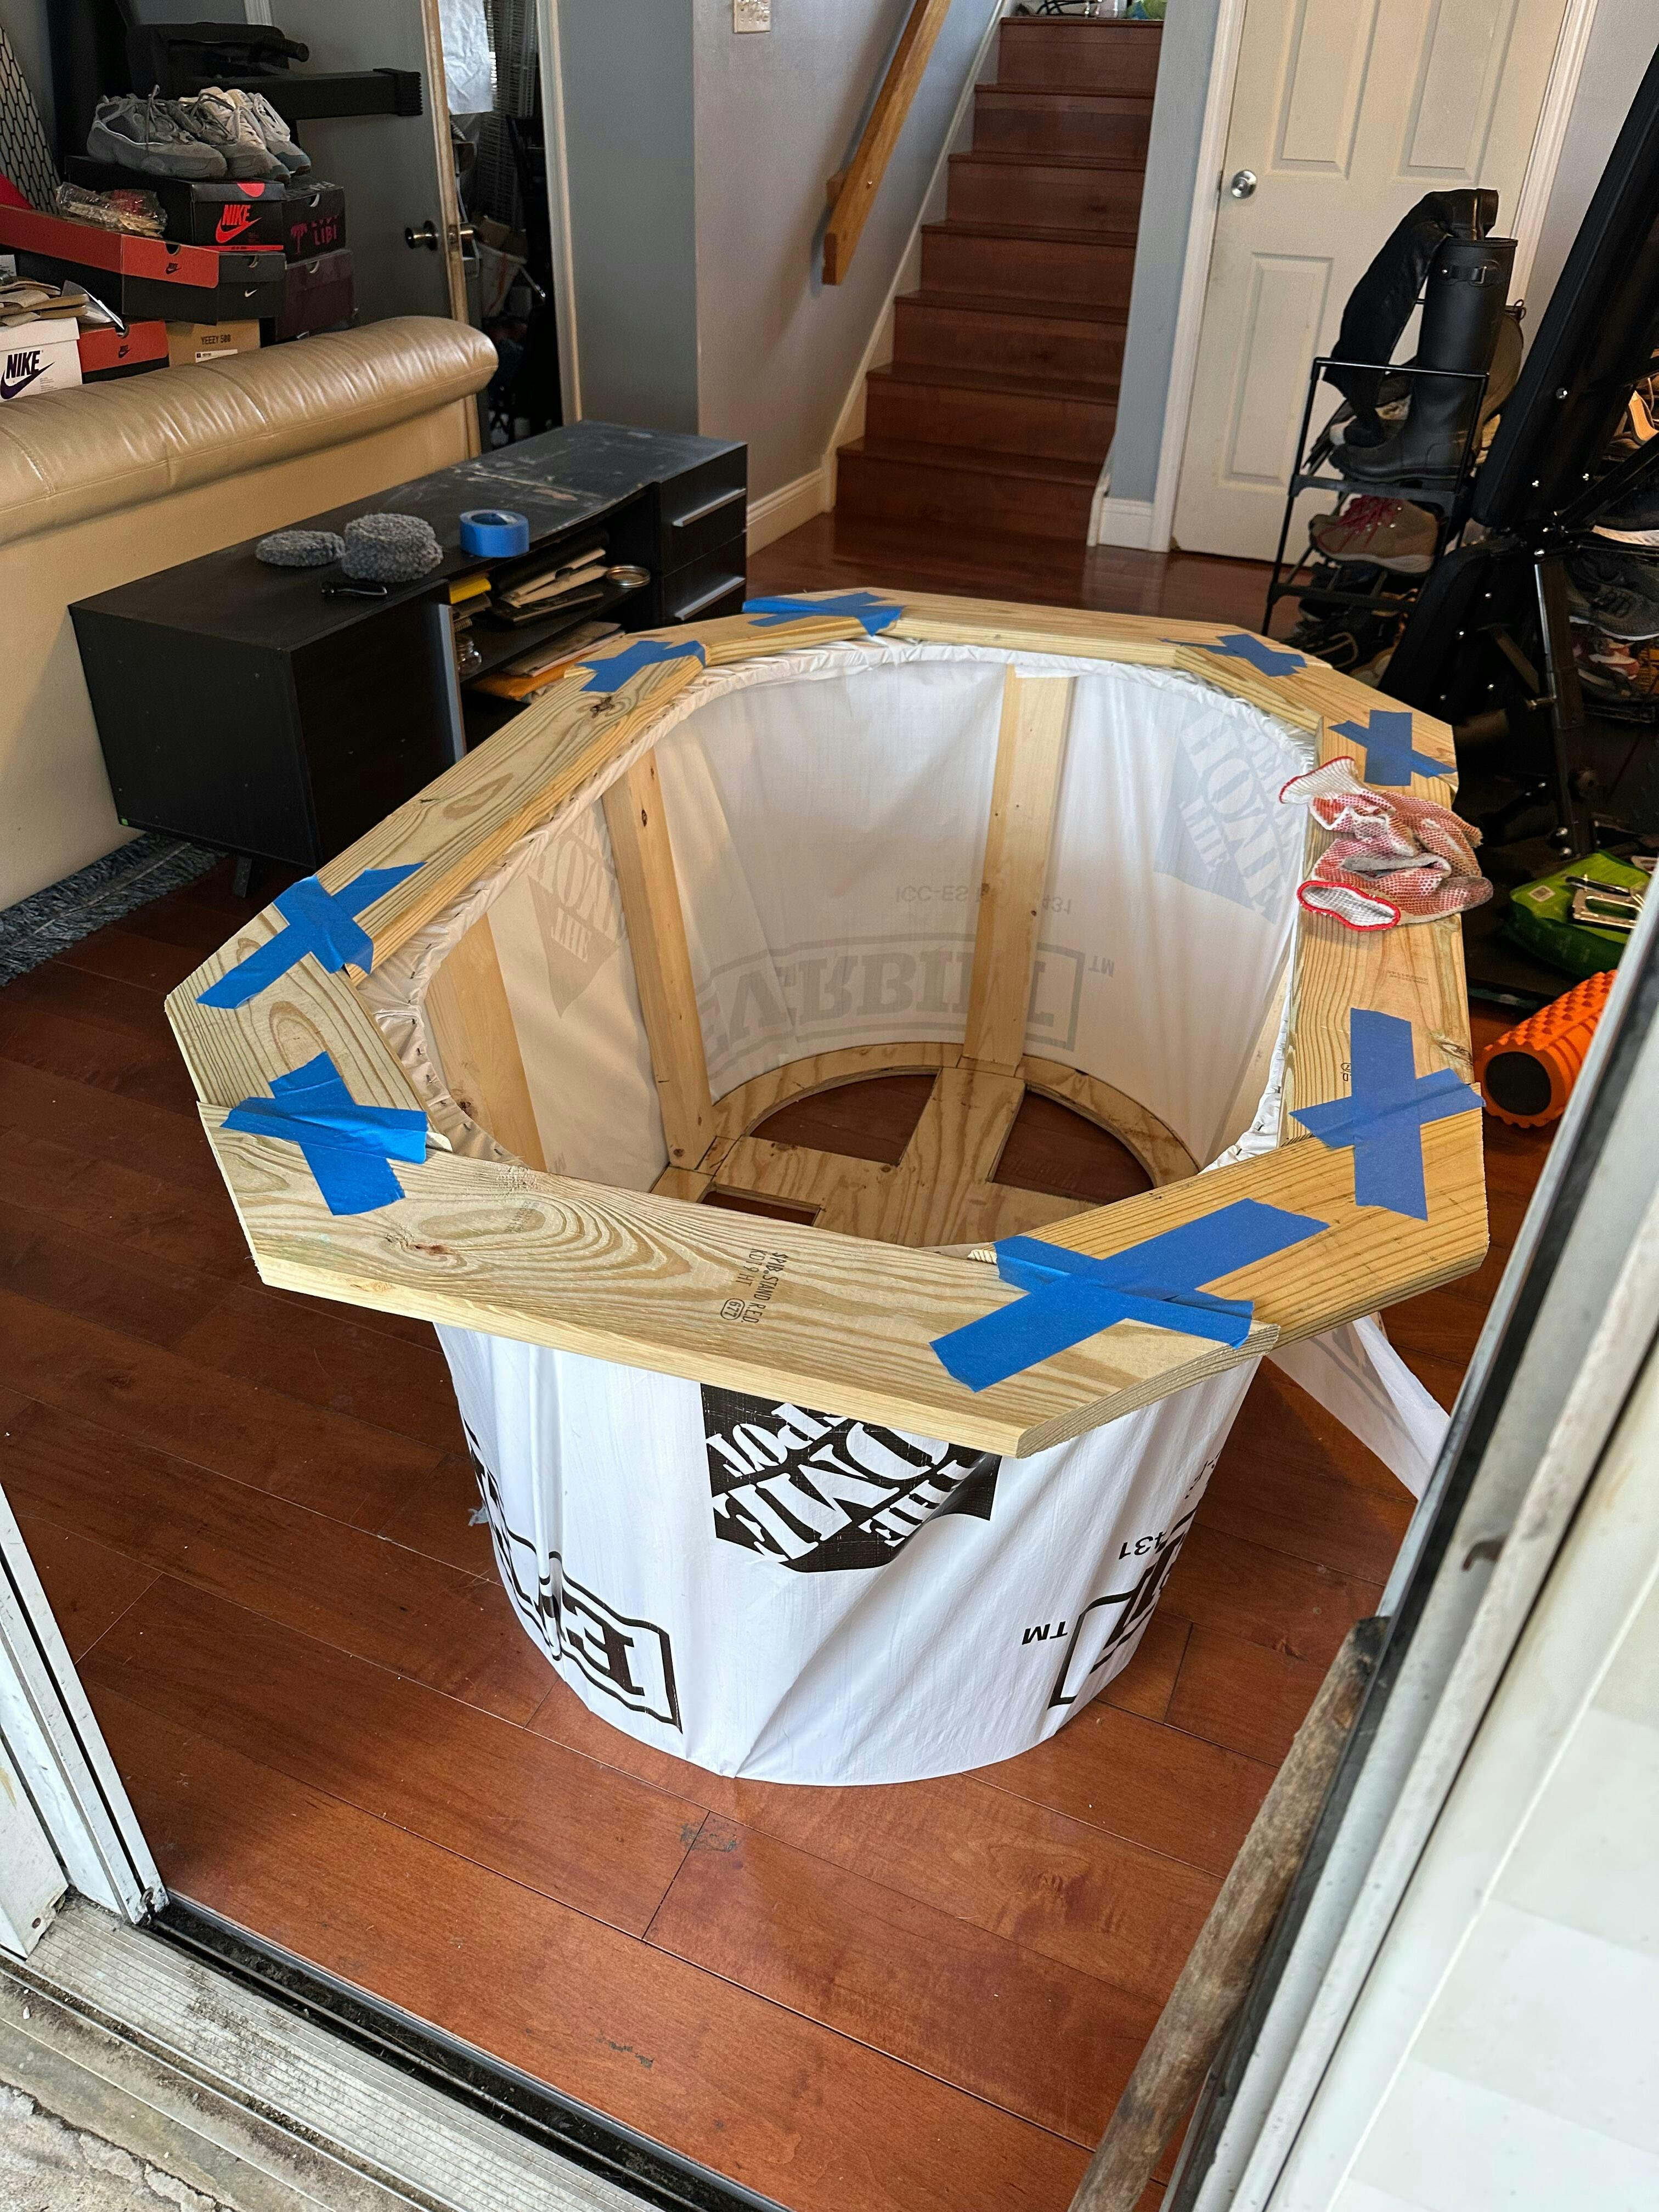
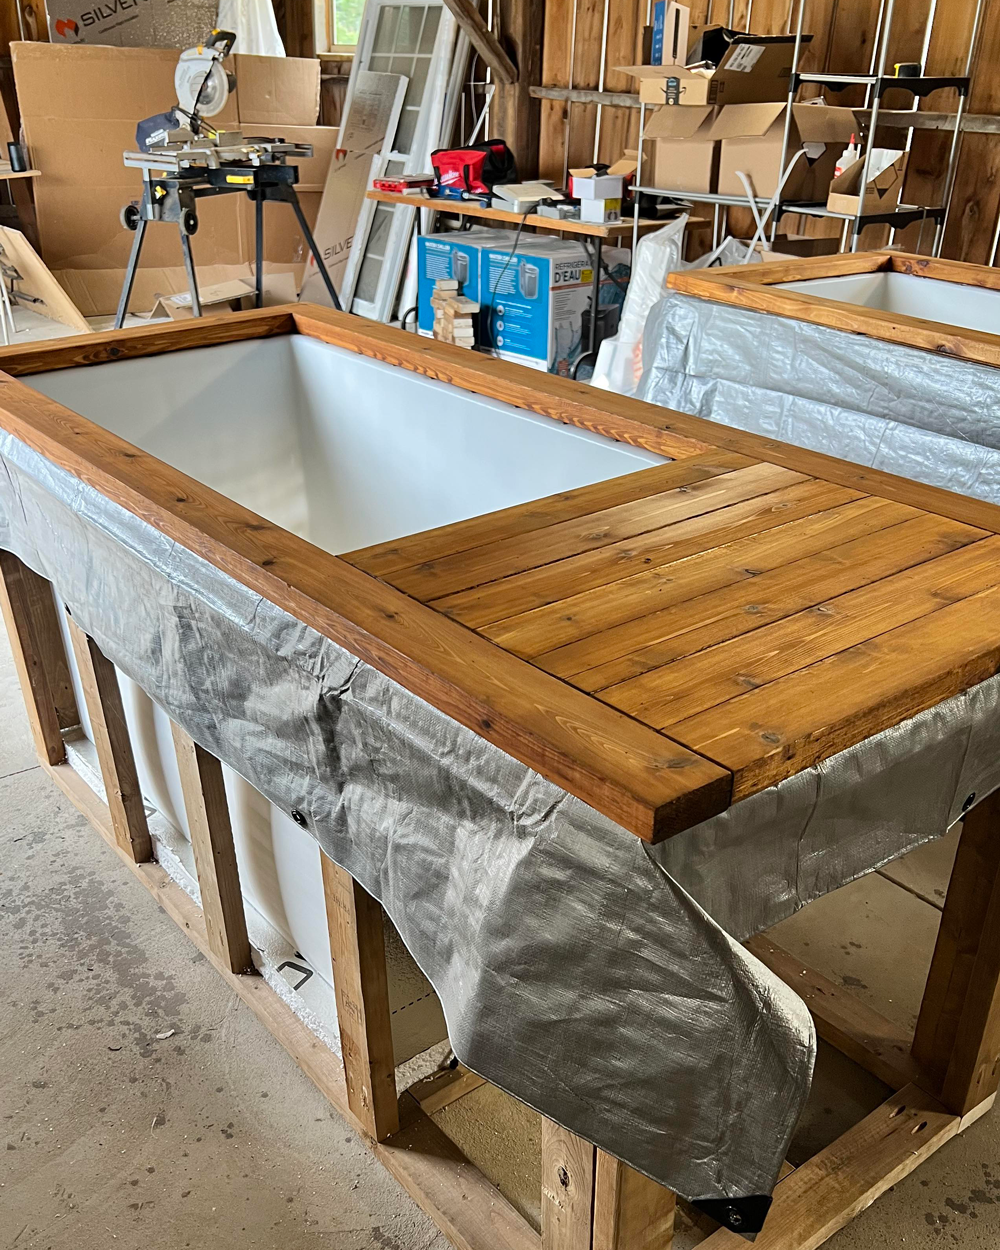
Don't know where to start? I have plans that will walk you through every step of the way. Everything from framing, plumbing to finishing.


I’ll be honest—I was hesitant to spend nearly $200 on a DIY plan when the whole point of doing it yourself is to save money. But after nearly completing my build, I can confidently say this was one of the best decisions I made. Nothing is more valuable than time, and this guide takes all the guesswork out of the process, making it an enjoyable project rather than a frustrating one. The $190 price tag is easily justified by how streamlined and stress-free the experience was.
The parts list, detailed step-by-step PDF, and video tutorials are incredibly well-organized and easy to follow. On top of that, the quick and friendly email support whenever I had a question made a huge difference. It’s clear that a lot of thought and effort went into making this guide accessible for anyone, regardless of skill level.
Before this build, I was using a stock tank with ice and could barely get my water below 50°F. Even after adding a chiller last summer, keeping temps down during hot days was a constant battle. With this design and proper insulation, my chiller now works efficiently—I poured in room temp water, and it hit my target temperature within hours and stays there with no problem.
Another huge win is the filtration and sanitation setup. I used to waste over 80 gallons of water every week because it would get nasty fast. Now, I don’t have to worry about constant water changes—this system keeps everything clean and fresh.
Overall, I’m beyond satisfied. This guide doesn’t just help you build a cold plunge—it saves you time, frustration, and ongoing costs. I’m even tempted to grab the DIY sauna plans next (even though I already own an infrared one). If you’re on the fence like I was, trust me—this is well worth it.
The spa light really adds to the cold plunge experience. It was super easy to install in the stock rubbermaid container. Shipping was very fast and easy.
This is a well designed and constructed insulated cover for a rubbermaid stock tank. I am very happy with it after using it for several months. Shipping was very quick and everything was easy to use out of the box.
These were the first items I installed in what will be a very cool setup. Pieces arrived very fast and the video was very helpful. Thank you!