THANK YOU for submitting all these questions—it's helped me fine-tune the final version of the build. I'm super excited to launch this plan on 3.14.25!
Let’s get into EVERY question you’ve asked about my DIY Sauna... If you're considering building your own sauna, this guide will clear everything up. 👍
Quick Disclaimer
Before we dive in, a quick reminder: This sauna design meets MY specific needs.
✅ Small Footprint
✅ Low Cost
✅ Easy Build
✅ High Heat
Sure, a $10,000 traditional sauna would be amazing—but given my space and budget, this DIY version is the next best thing.
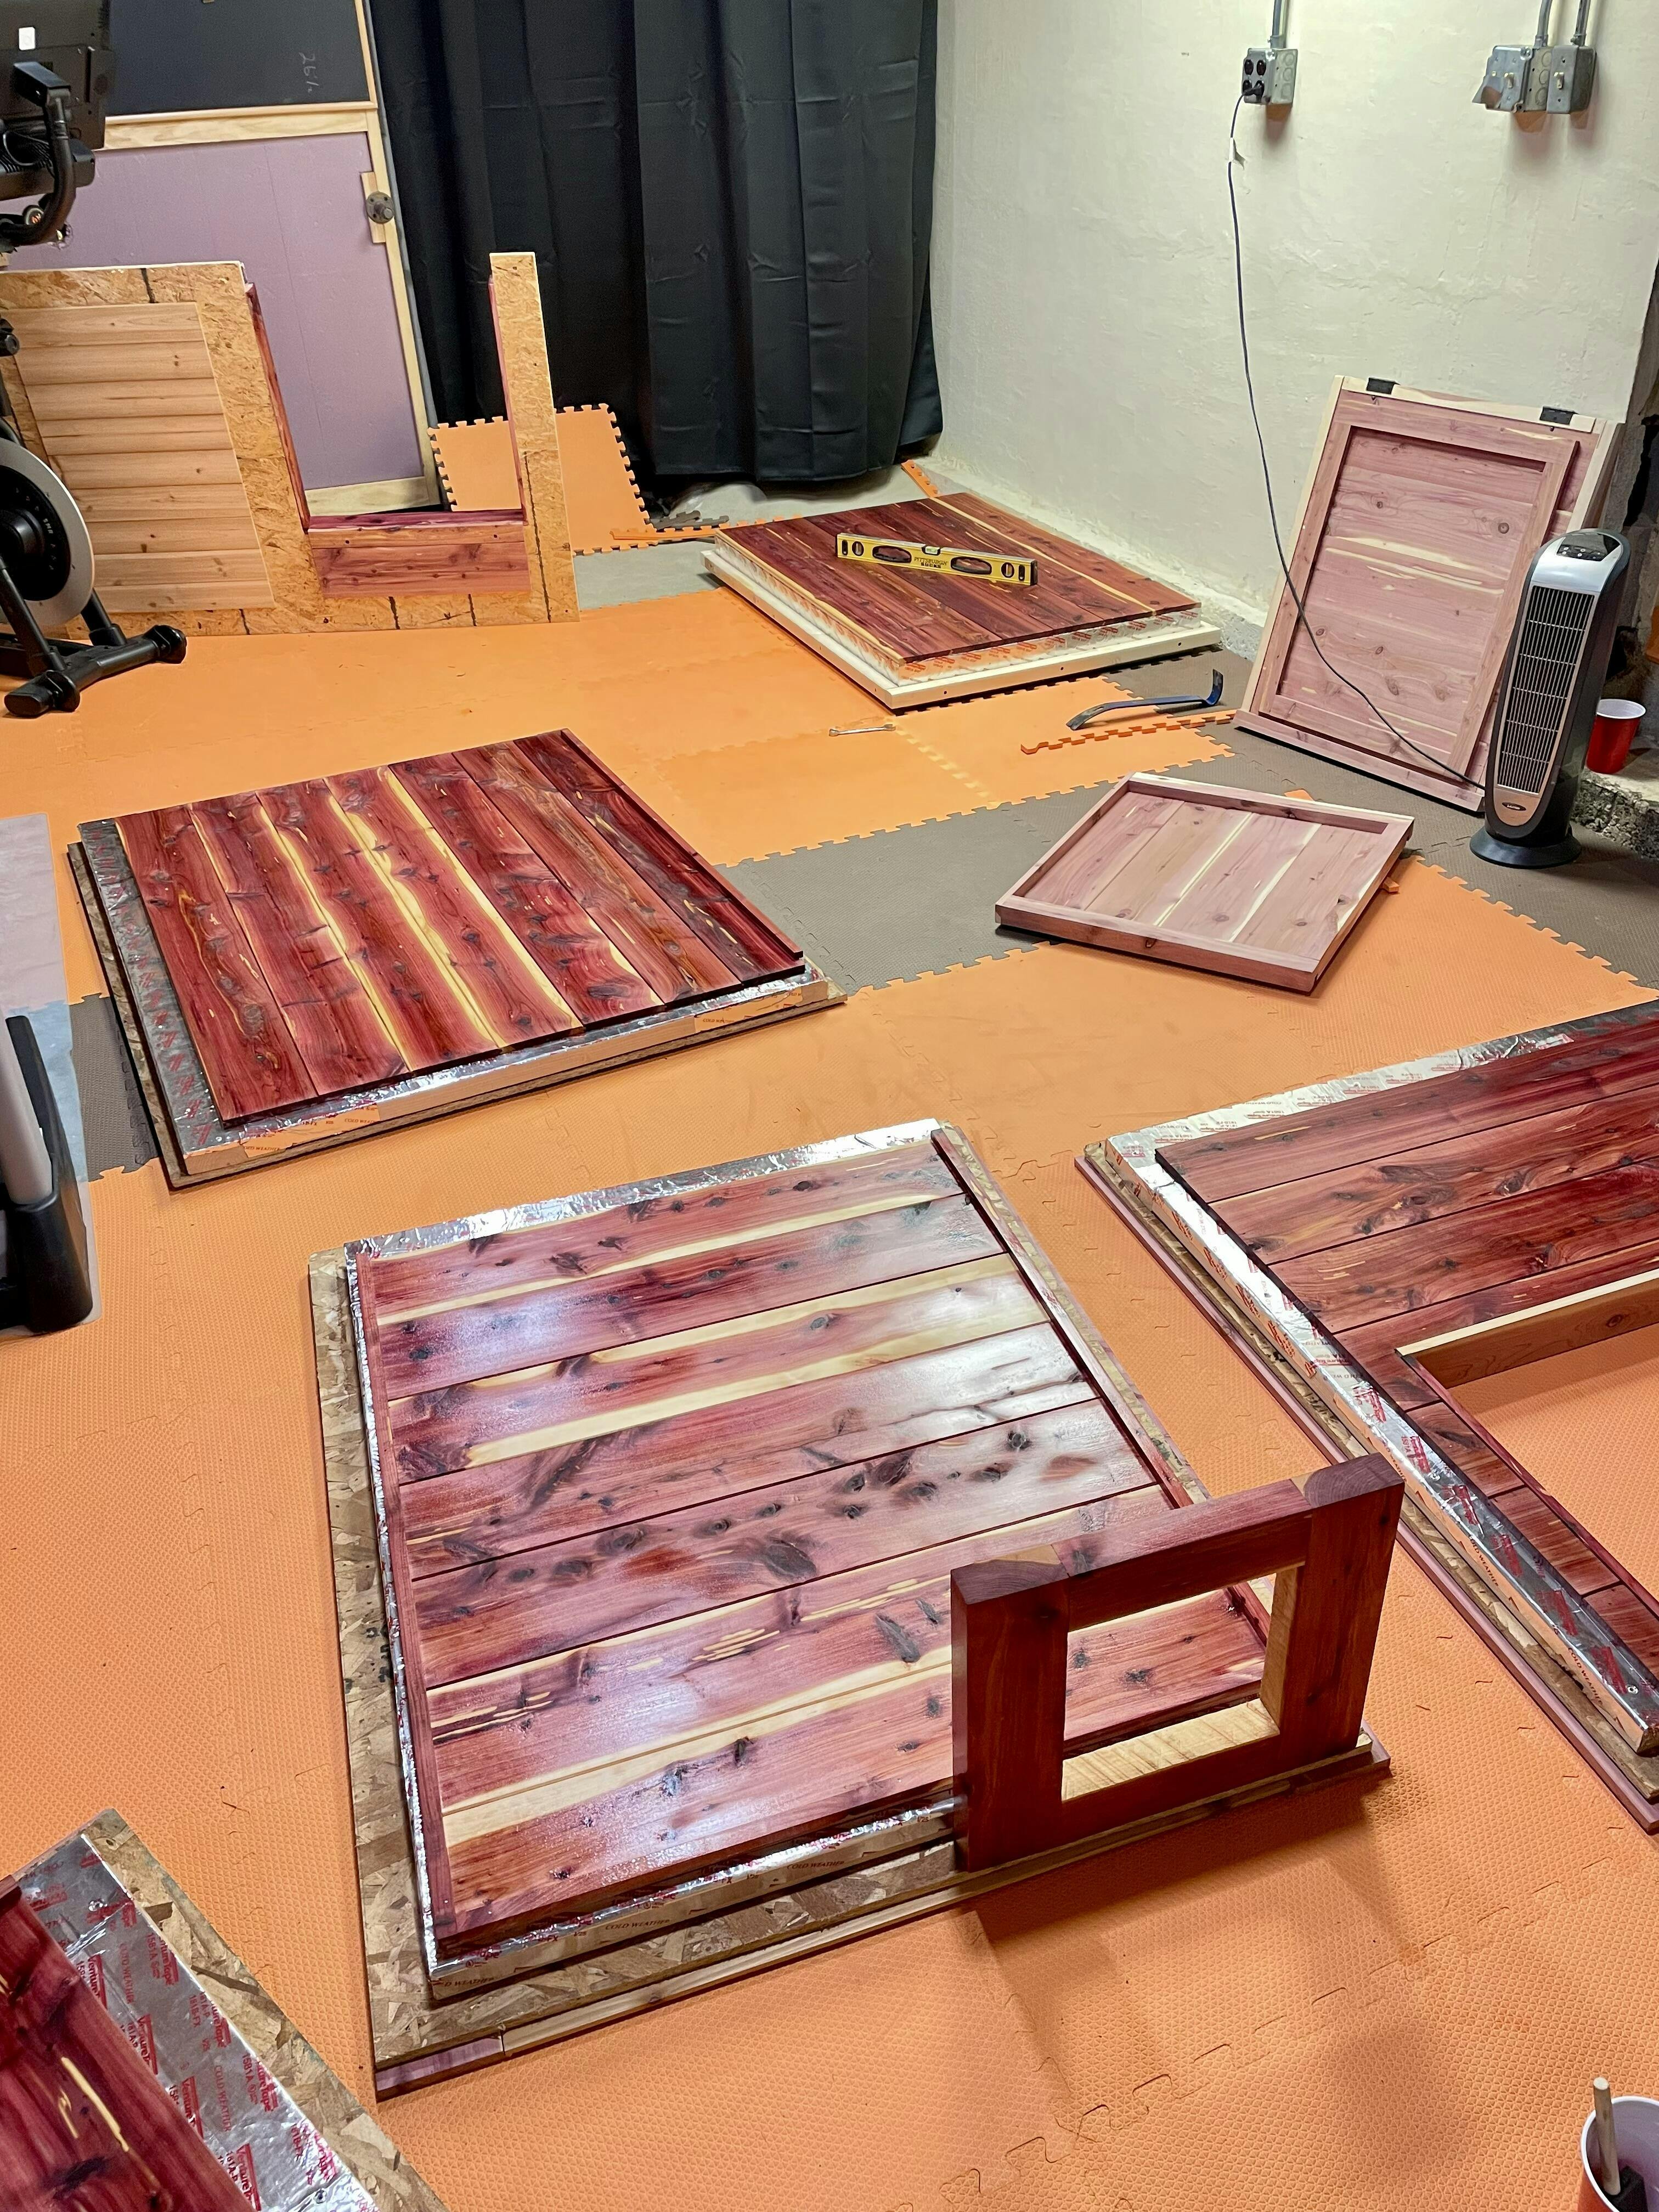
Dimensions & Capacity
FAQ #1 – What are the dimensions?
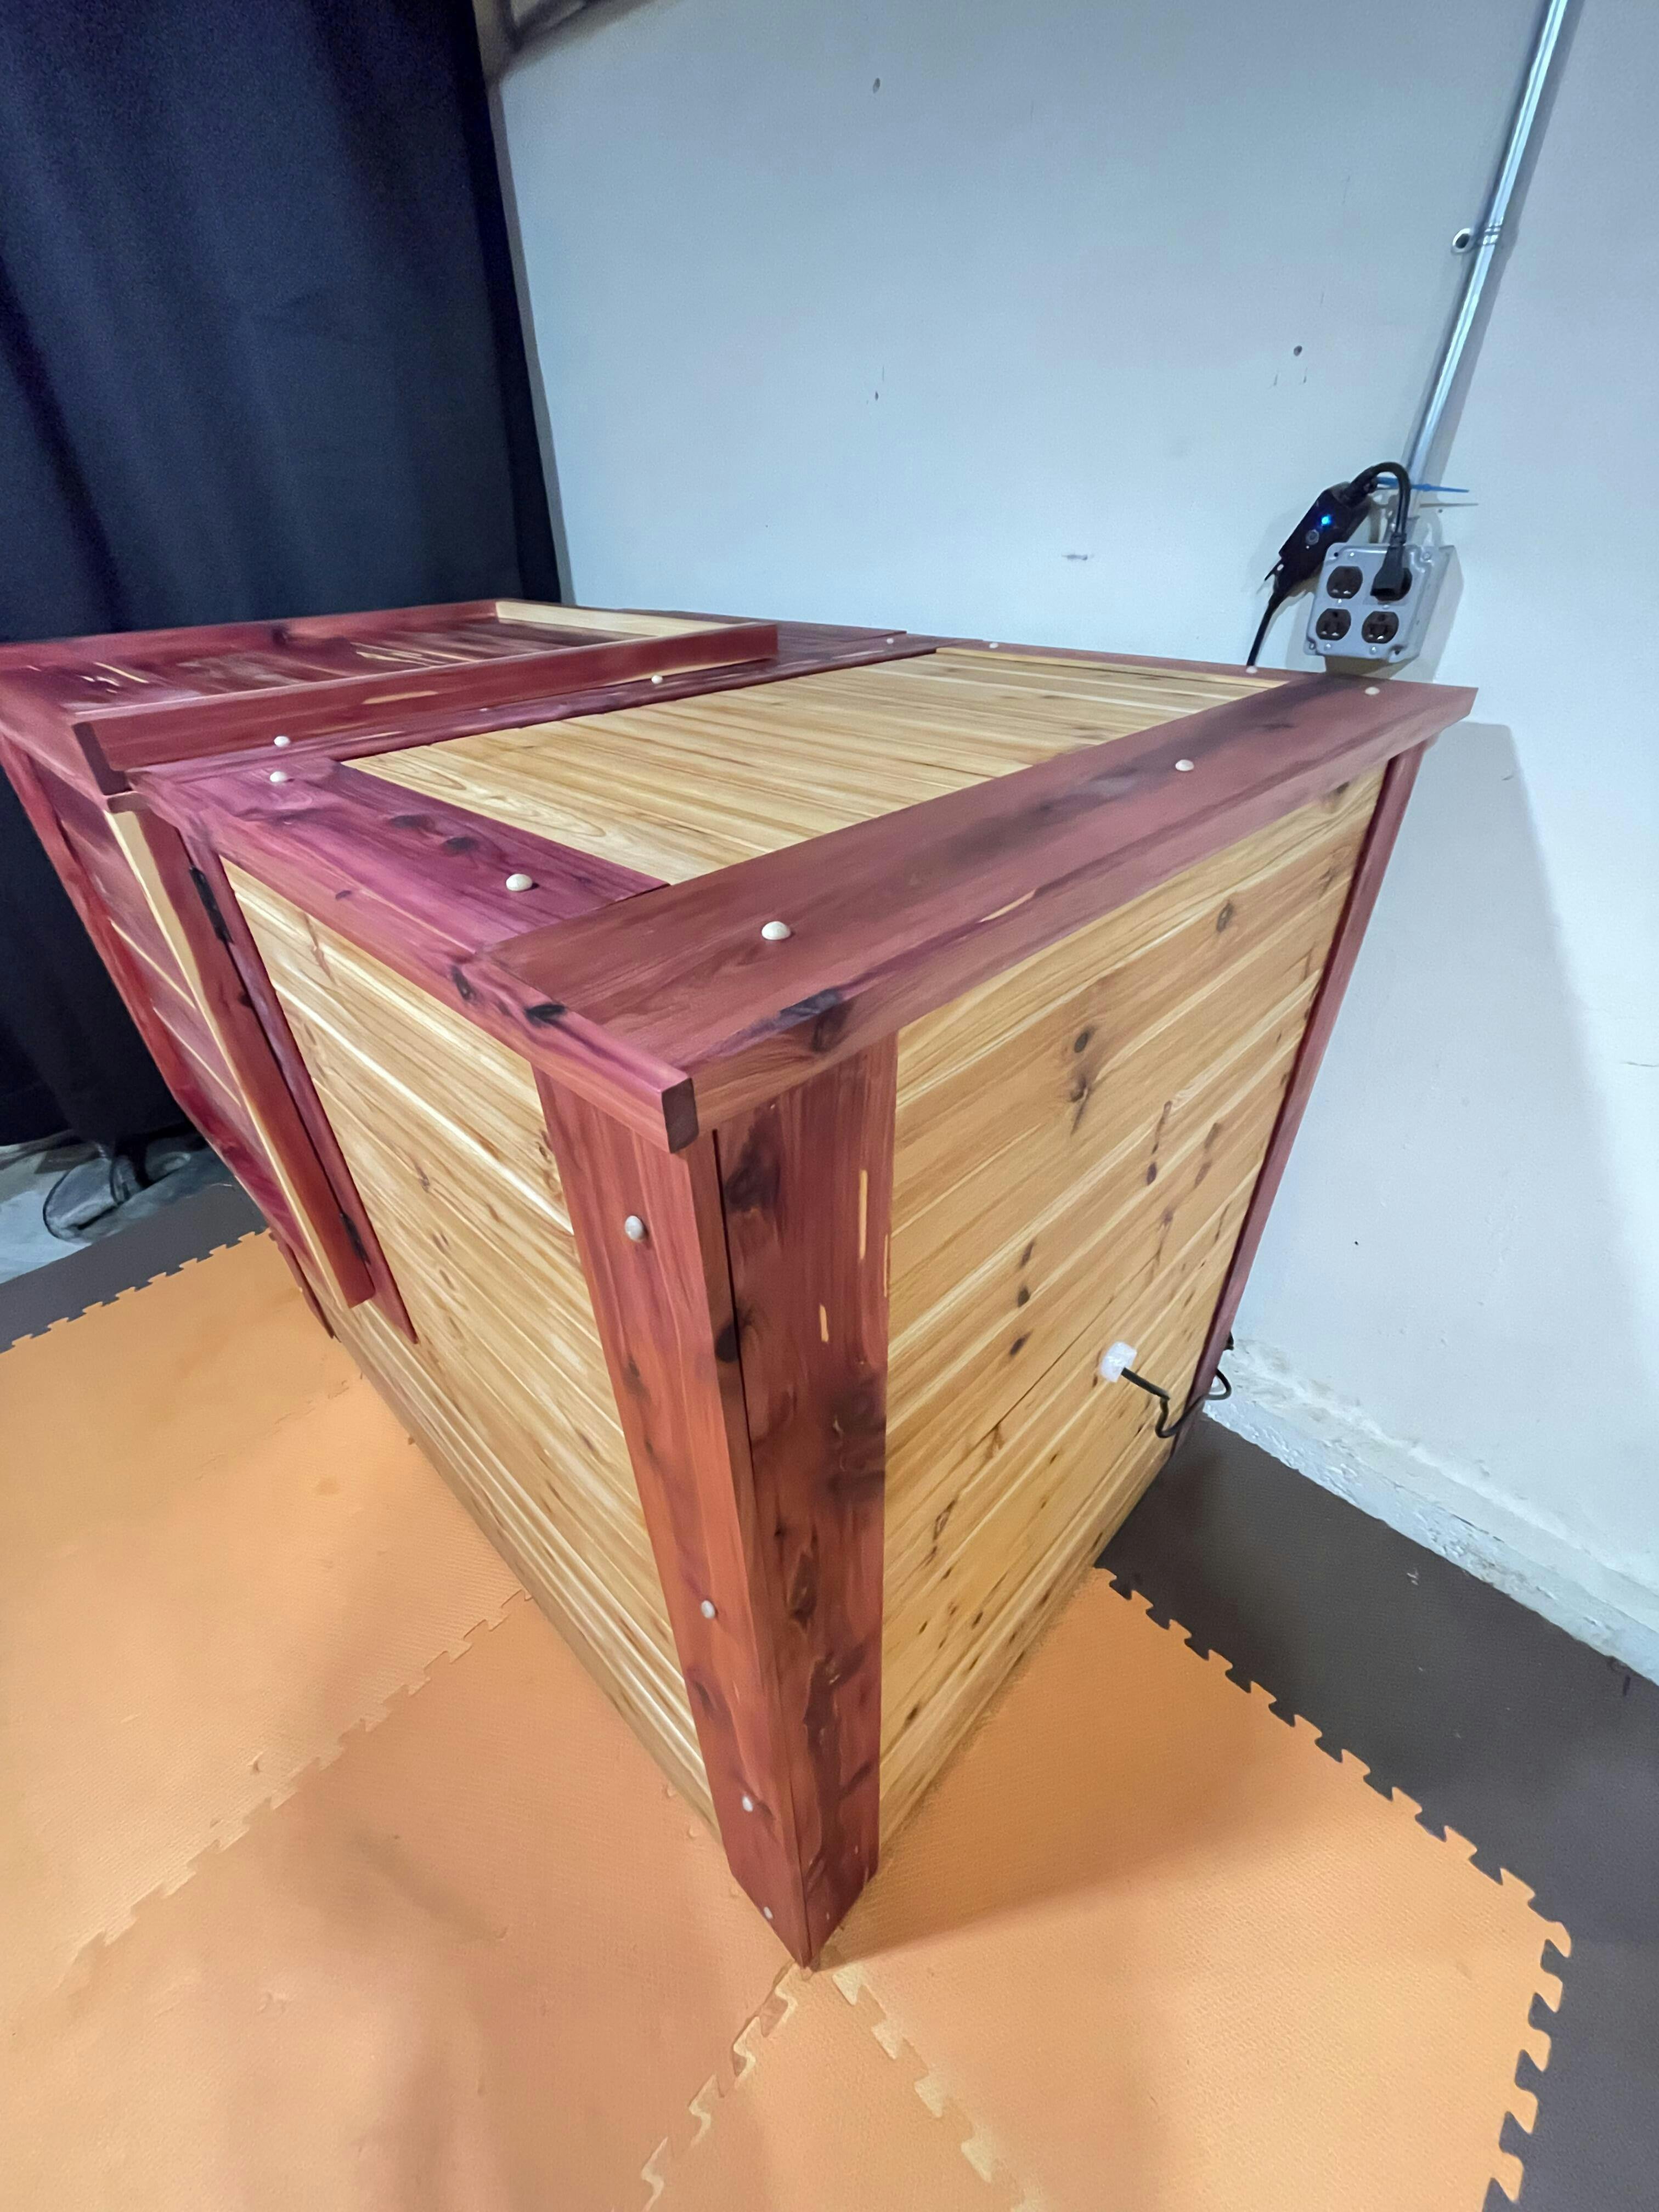
The DIY Sauna measures approximately 54” L x 31.5” W x 46” H. Interior dimensions are ~40" x ~27" x ~49"
It’s designed with efficiency in mind:
- Space efficiency (small footprint)
- Material efficiency (minimal scrap/waste)
- Heating efficiency (200°F+)
This gives you the most bang for your buck.
FAQ #2 – Can I build it bigger?
Absolutely! You can customize the dimensions.
Keep in mind, there will be a small trade-off in space and heating efficiency. The prototype I built was bigger than the final version, and I noticed a 5-10°F per hour difference in preheating time.
Is this a deal breaker? No.
Would I build it so big that I could lay down in it? Also no.
Bottom line: I'm 5'10", 200 lbs, and it's comfortable for me to sit in. If you’re taller, bigger, or just don’t love tight spaces, you can modify it slightly to fit your needs. I just wouldn’t go overboard.
Cost & Pricing
FAQ #3 – What’s the total cost?
Expect to spend $1,000 to $1,300, depending on material prices in your area.
Most builds will likely land around $1,200, but you can save money by using alternative materials, skipping wheels, etc. I’ll cover those options in the plan overview.
Cost Breakdown:
- Framing lumber, cedar, exterior siding → $400-$450
- Screws, nails, hardware → $60-$70
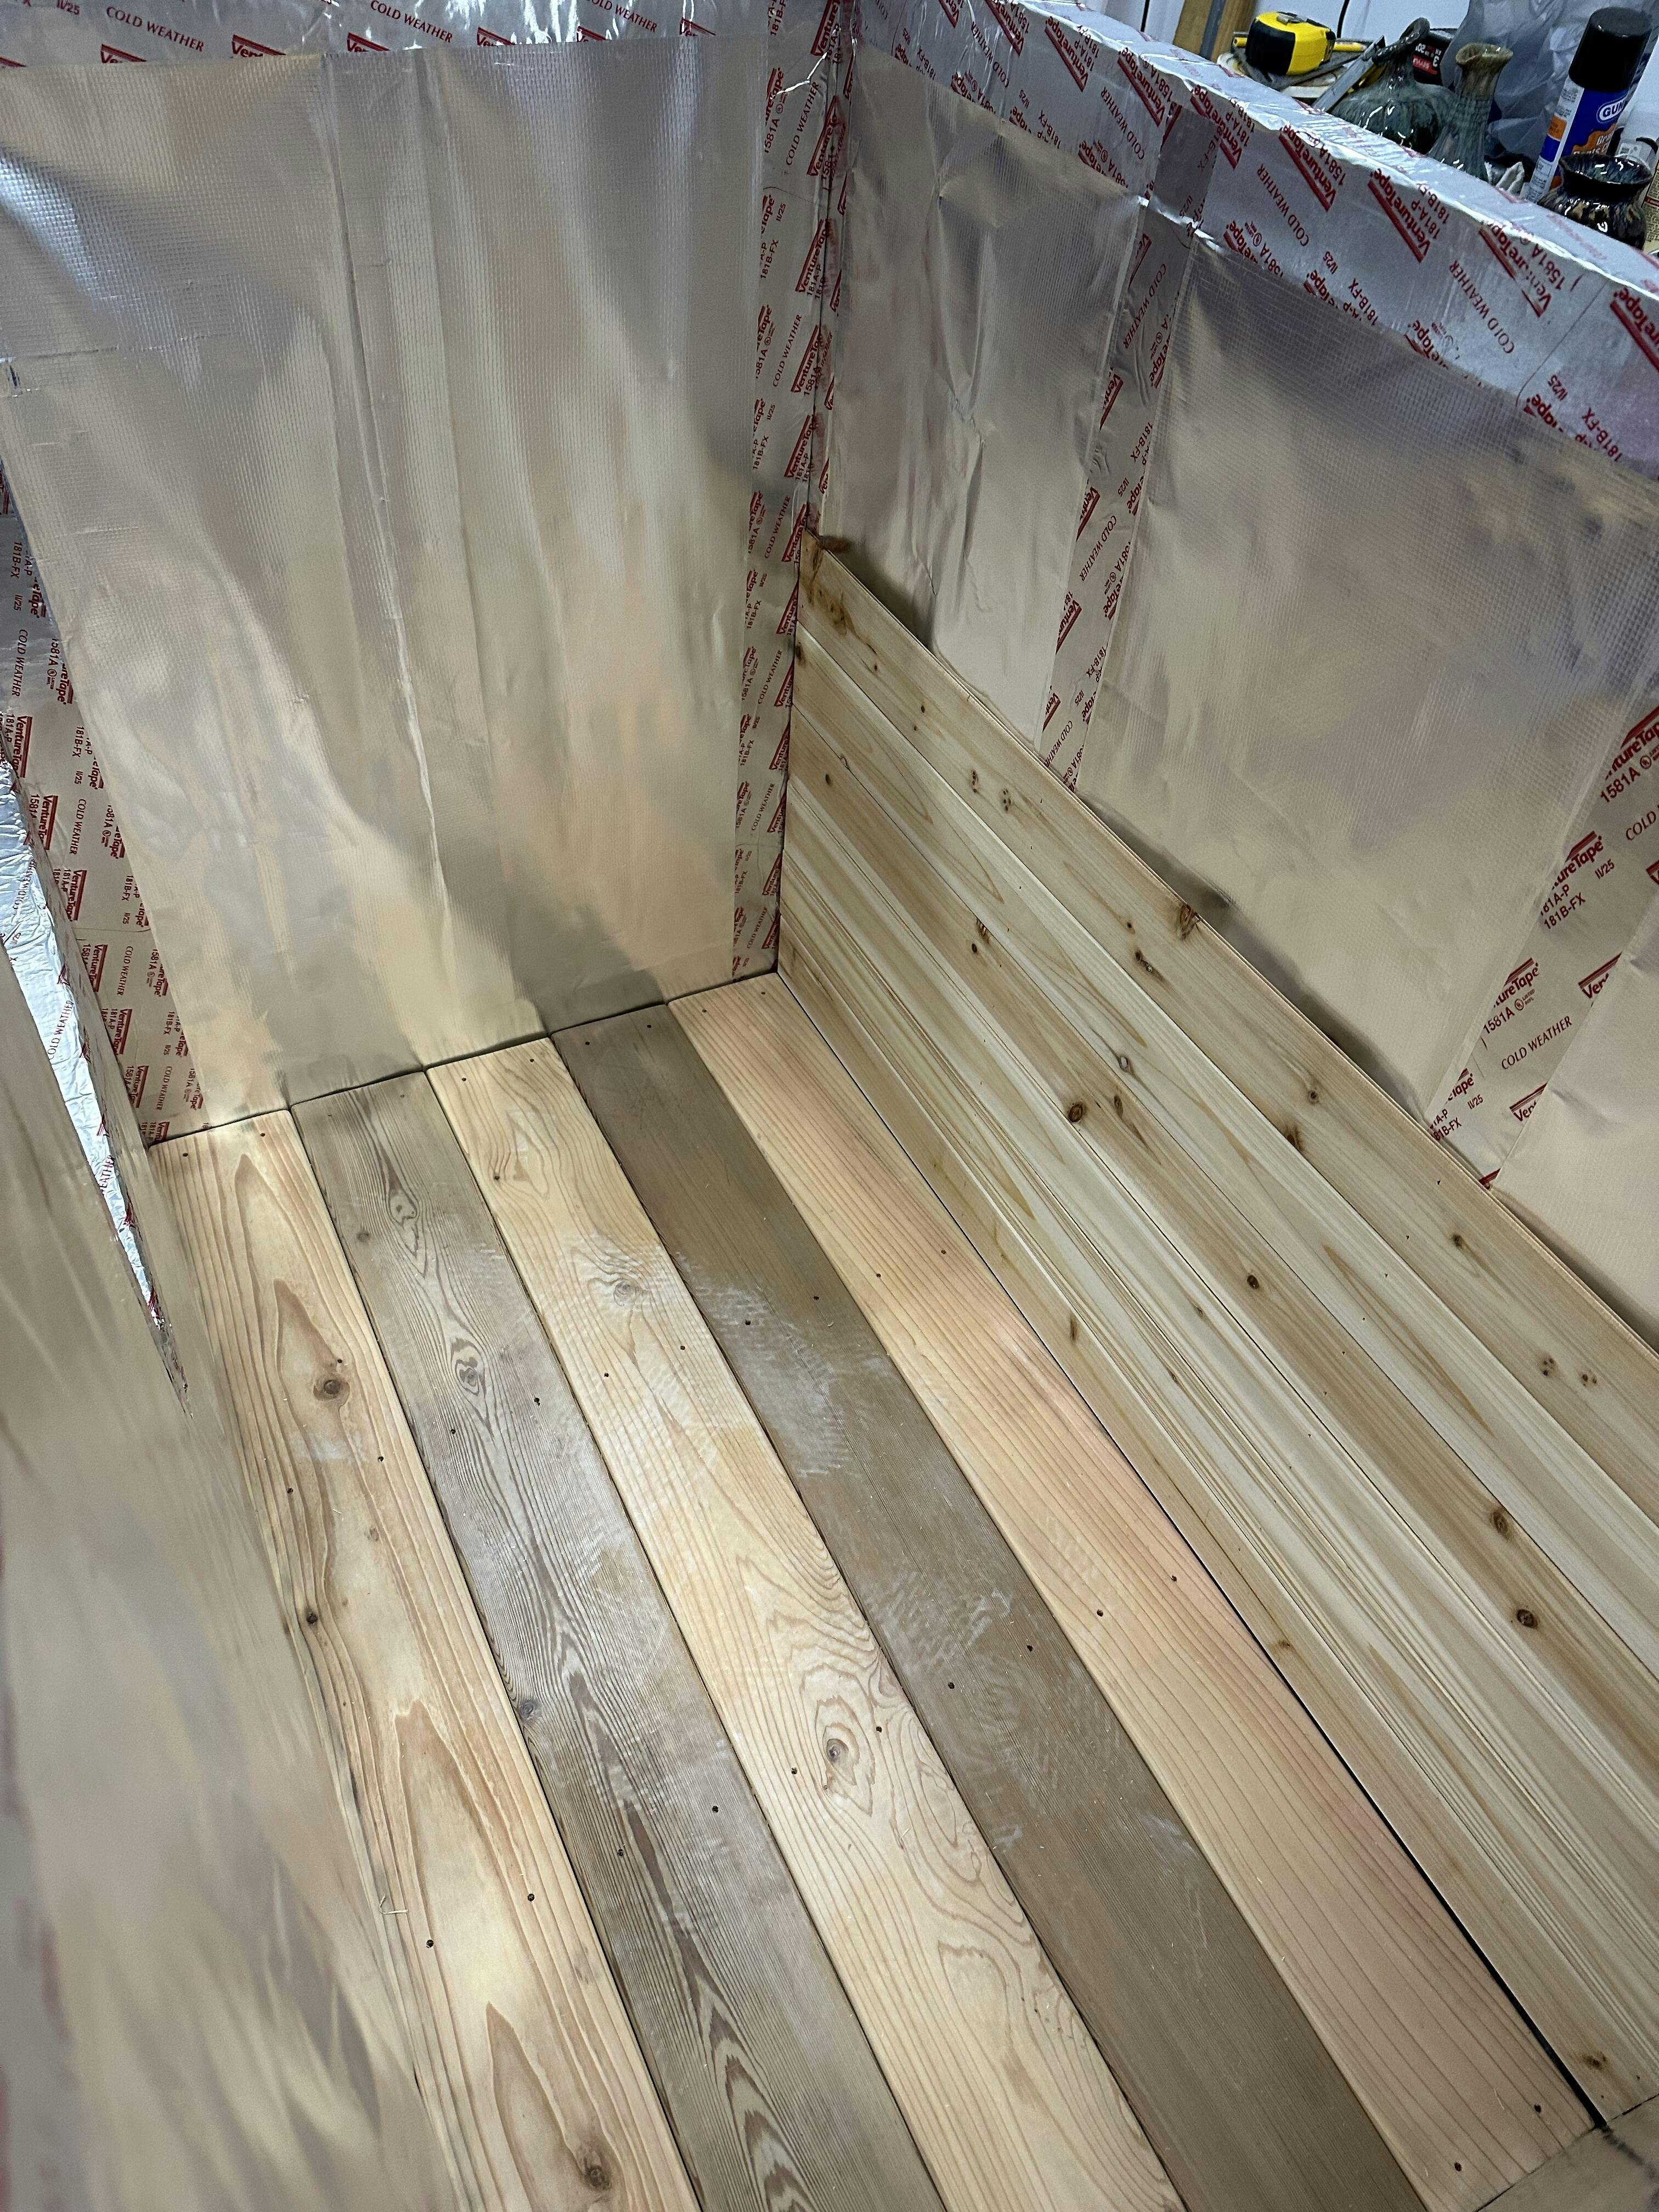
- Casters, hinges → $40-$50
- Insulation & foil barrier → $130-$150
- Finishing materials (paint, stain, oil) → $30-$40
Heater Options:
- 🔥 DIY Heater Kit → ~$500 (Pre-order discount available!)
- Etsy options → ~$550-$650
- SaunaSpace → ~$1,500

I've tested and detailed multiple heater options in the plan so you can choose what works best for your budget and needs.
🔥 Plan launches 3/14/25 with a special 25% discount! 🔥
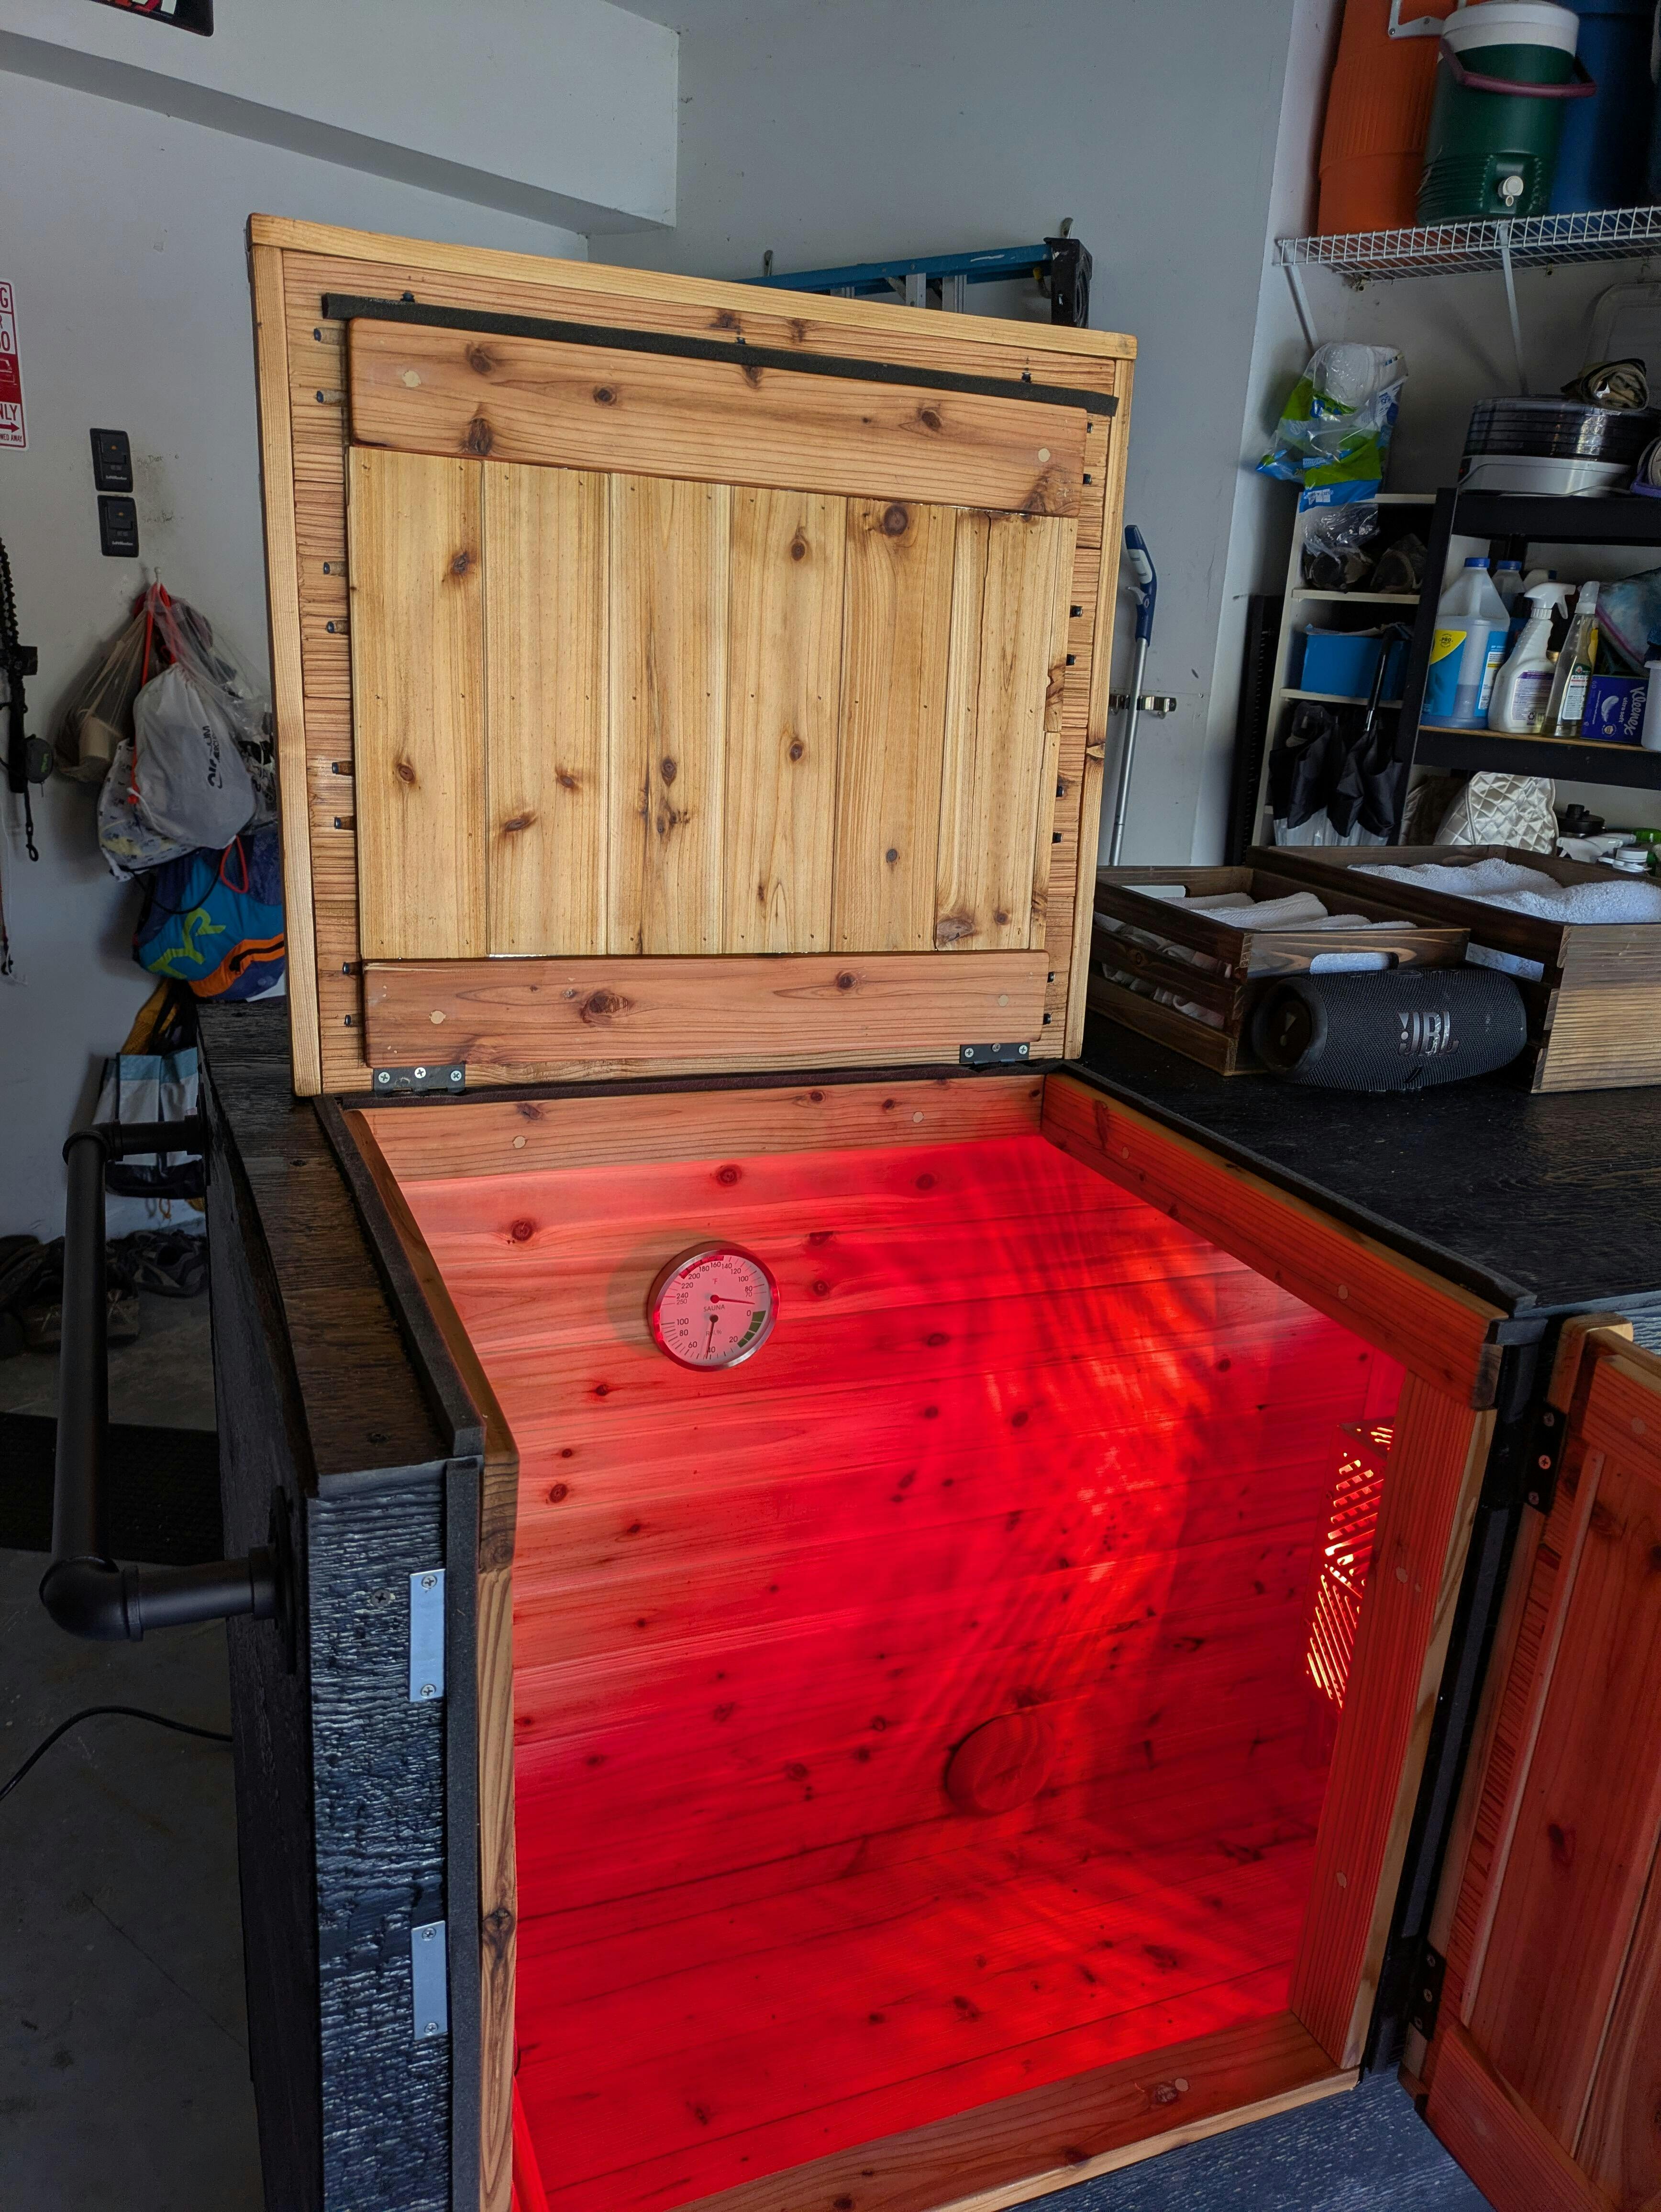
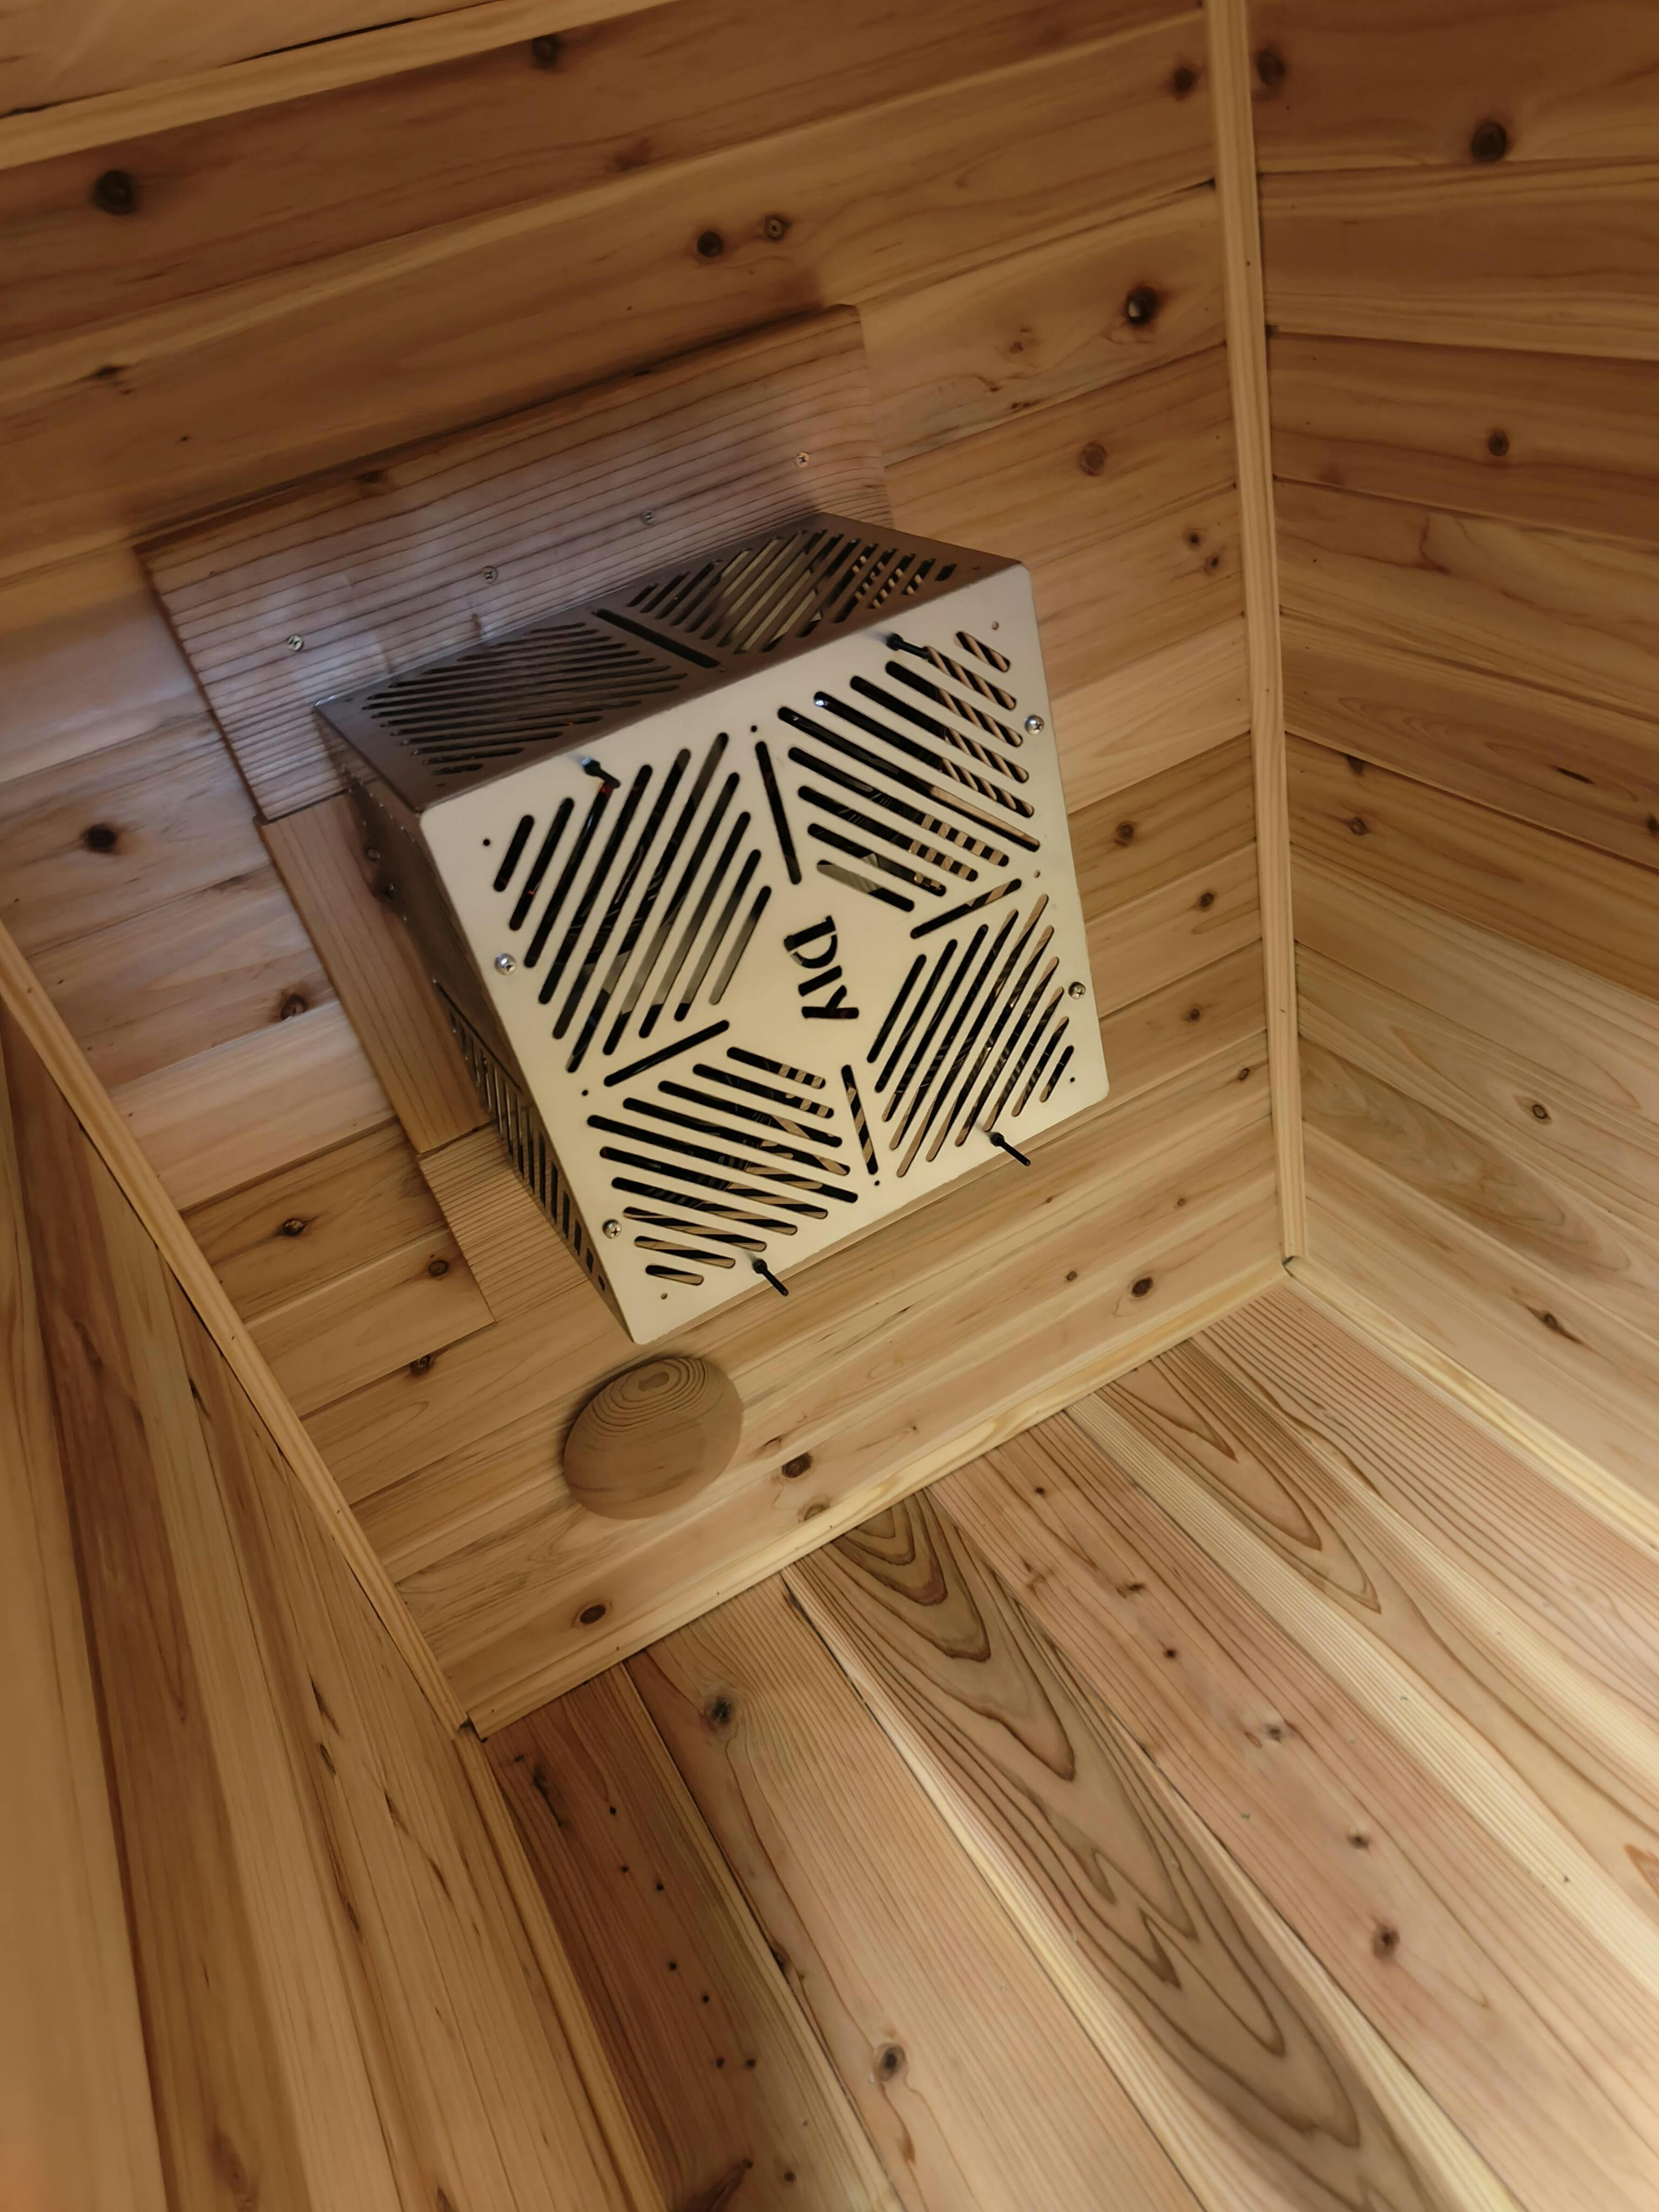
Heat Source & Performance
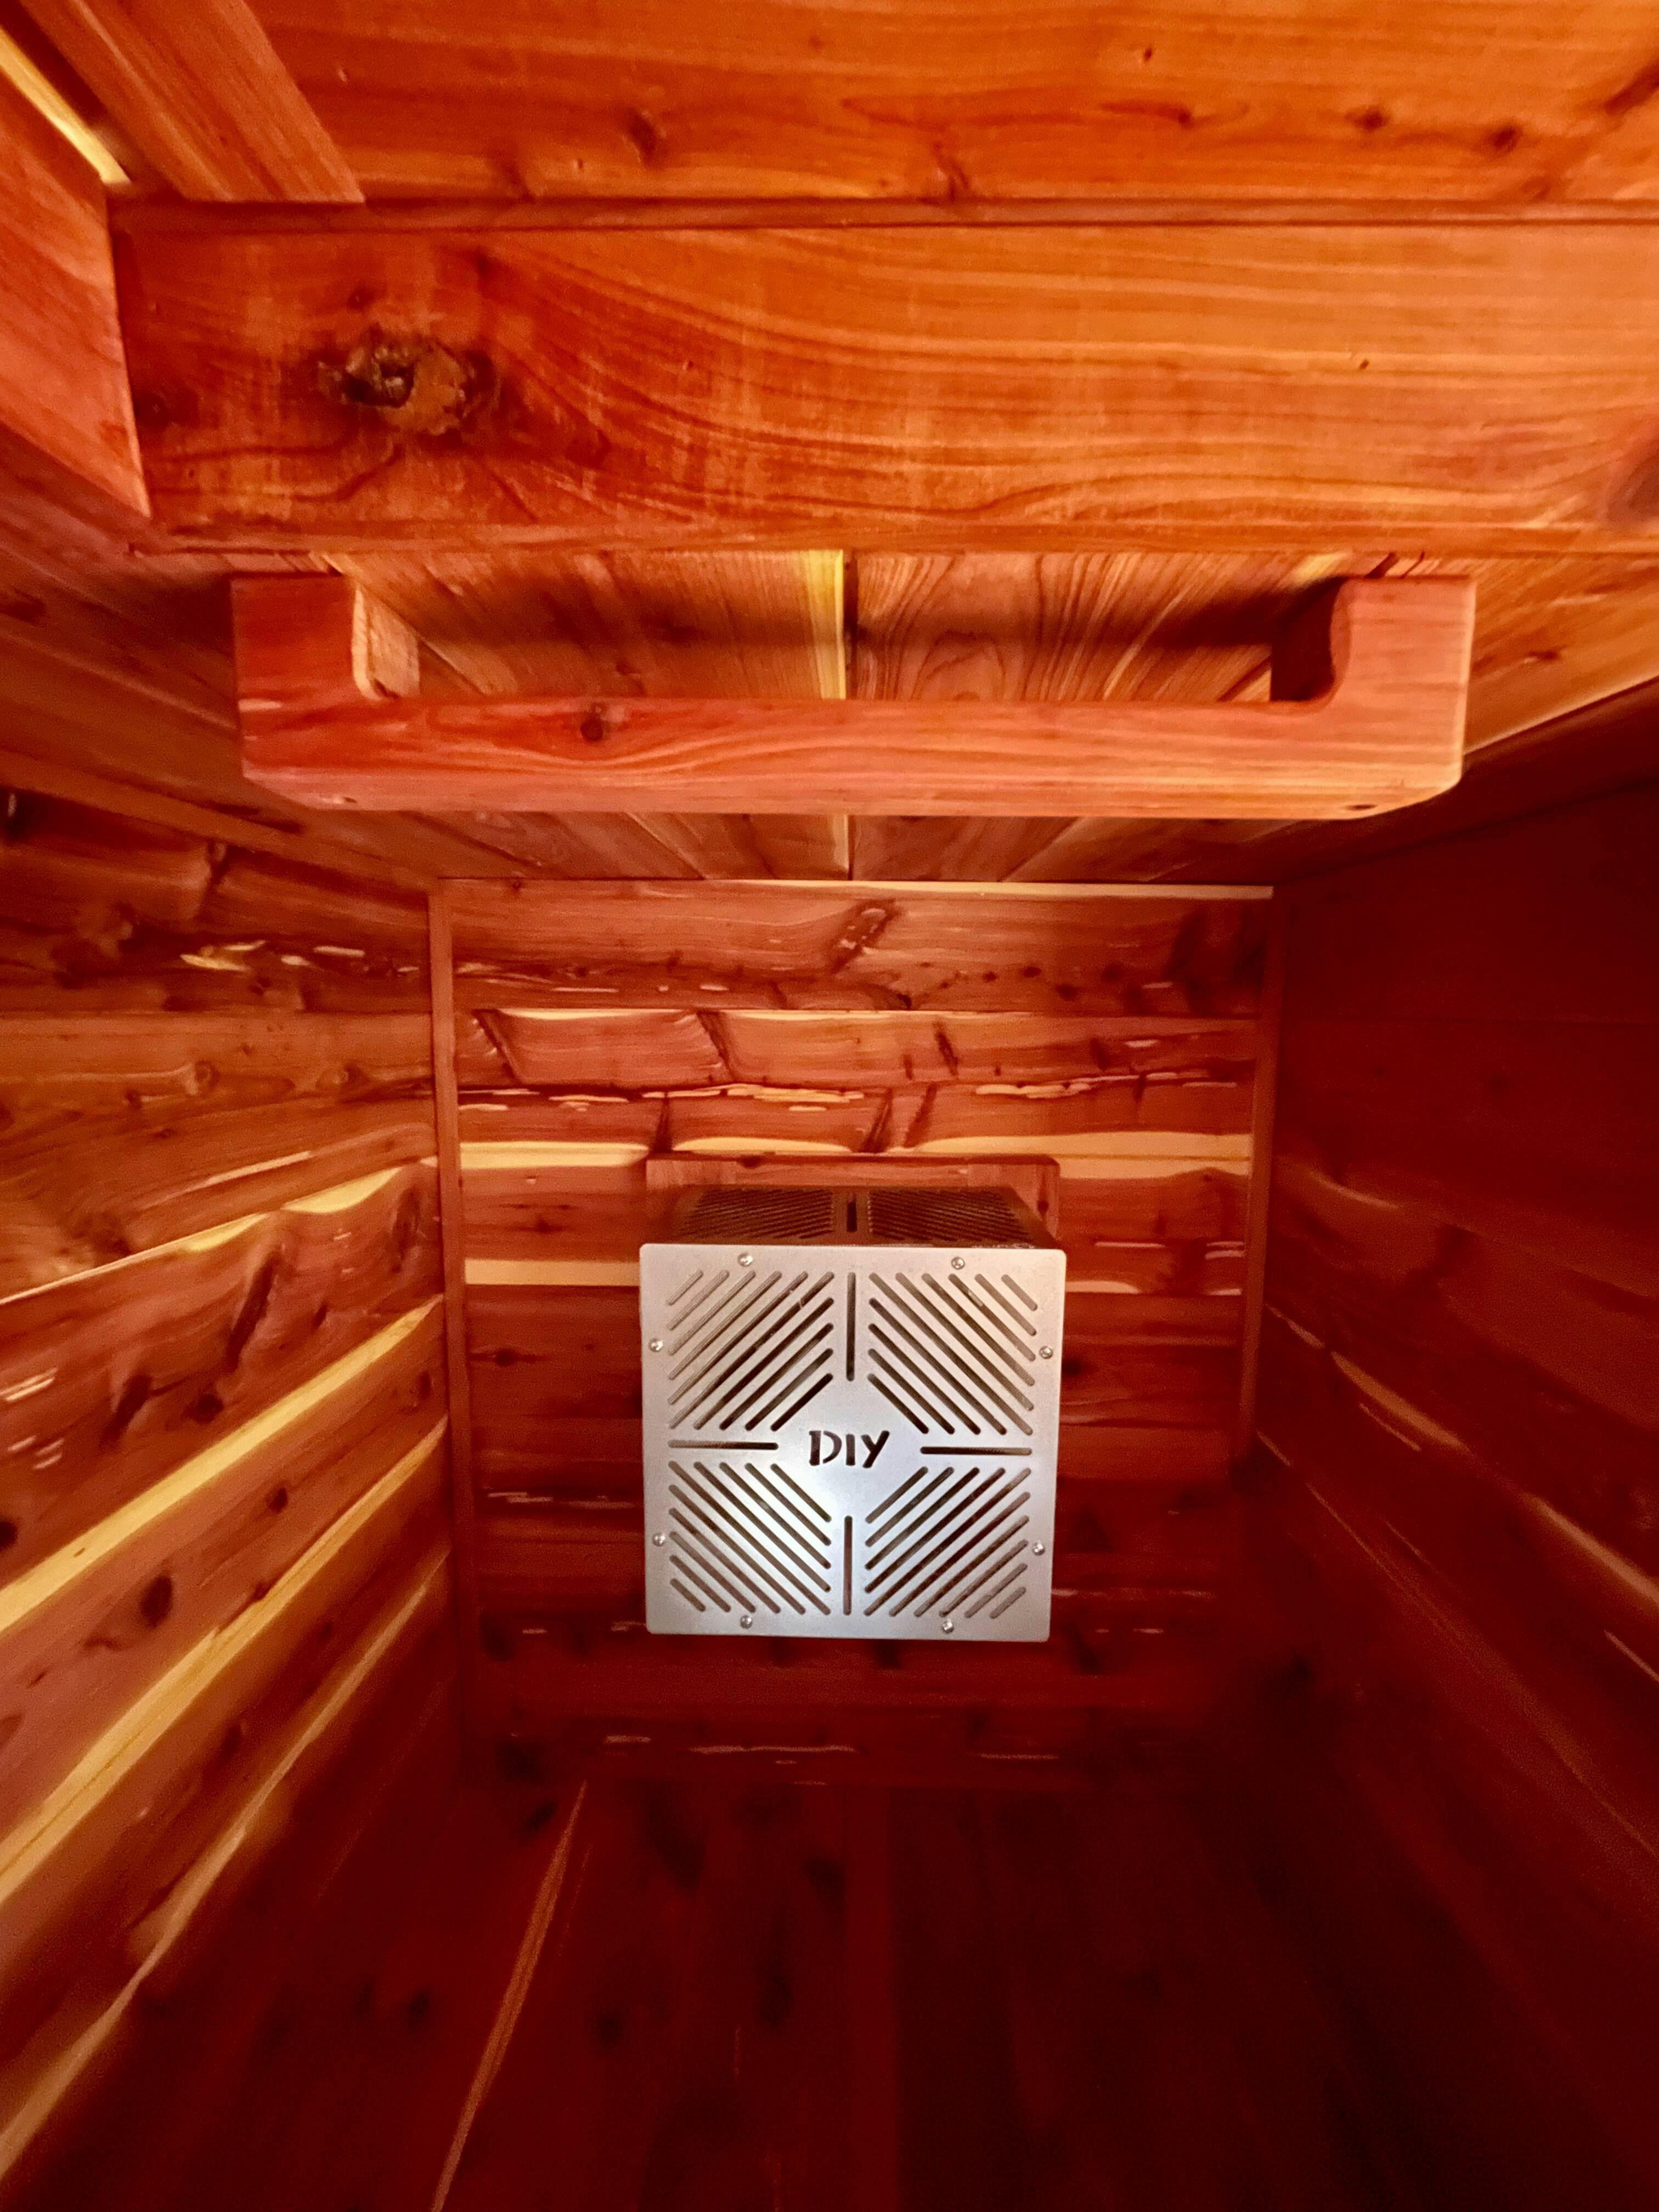
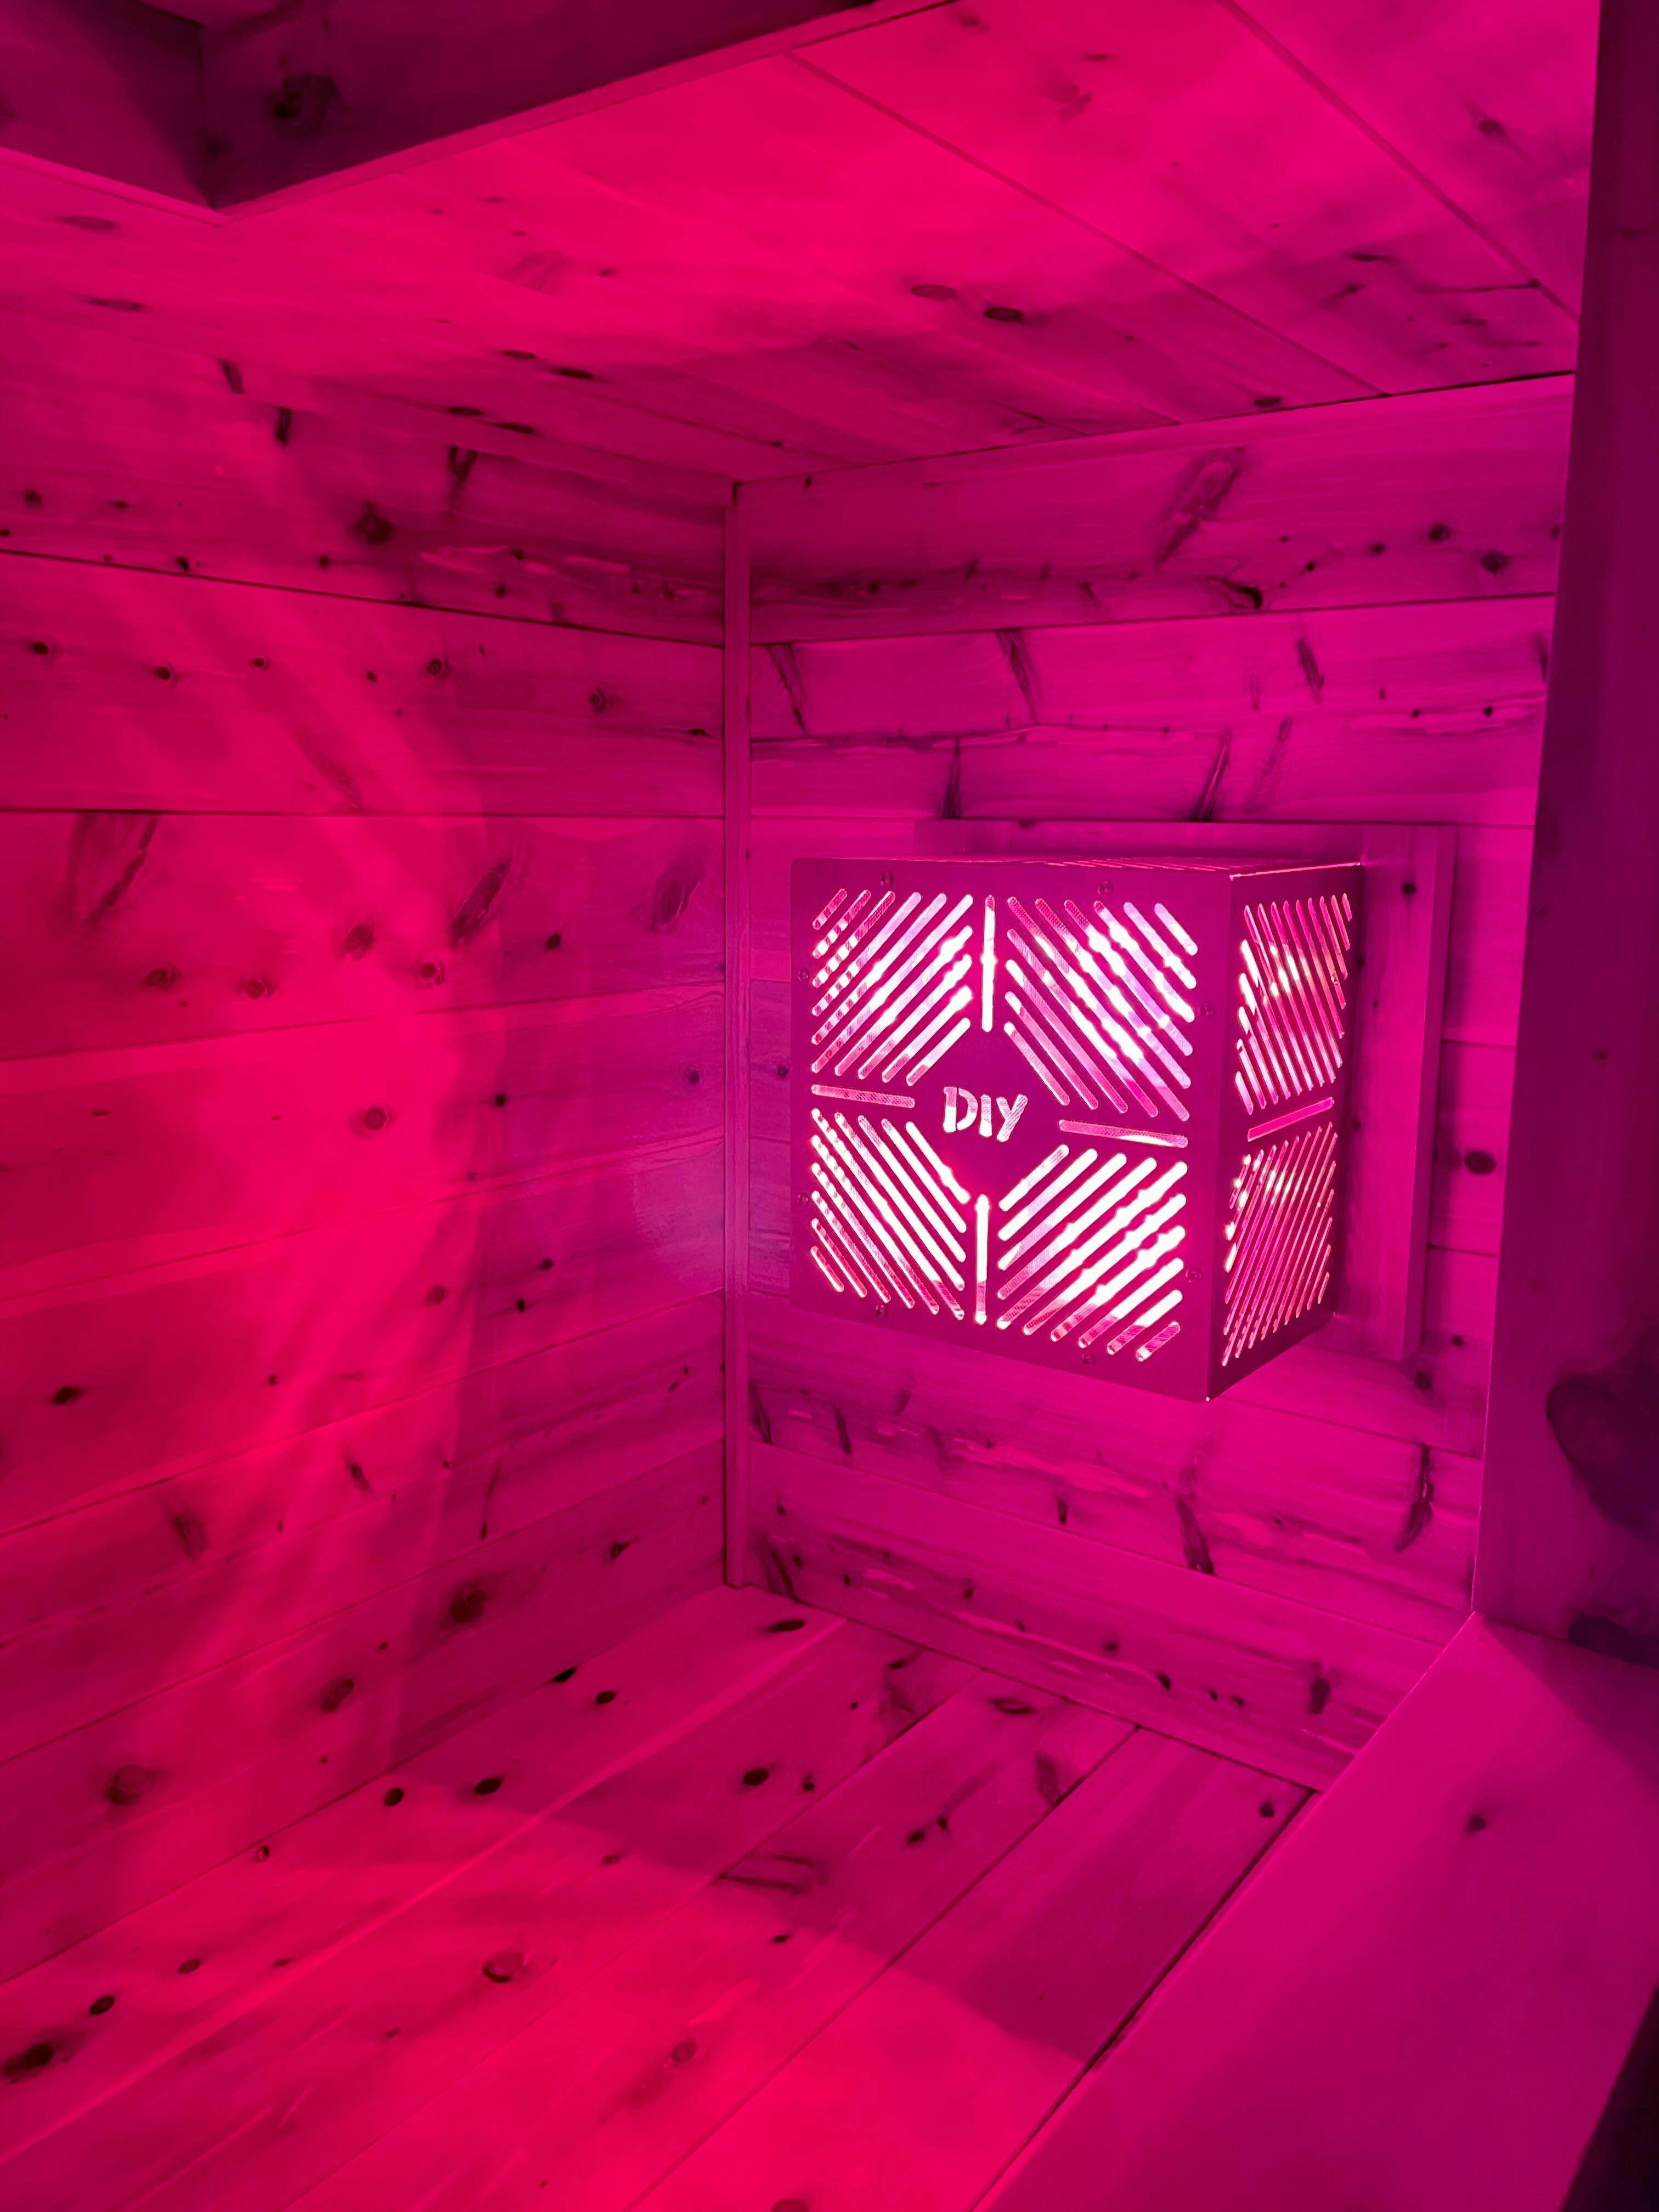
FAQ #4 – What’s the heater setup?
The DIY Sauna runs on four near-infrared bulbs and reaches 200°F+ easily in my ~55°F garage.
And yes, that’s true ambient temperature—not just a "feels-like" situation.
FAQ #5 – How does it perform?
- Operates on a standard 110V outlet—no electrician needed! Just plug it in. (This was a HUGE deal for me!)
- Estimated annual electricity cost: ~$100, even with heavy daily use.
Heat-Up Times:
- 1-hour preheat → ~180°F
- 2-hour preheat → ~200-205°F
- 3-hour preheat → ~215-220°F+
Recovery time after entry (heat loss) is surprisingly quick—it takes 2-3 minutes to regain lost heat.
I'll have a video on this soon 👉 Subscribe on YouTube to catch it.
🔥 DIY Heater Kit comes with a WiFi Plug so you can control your sauna from your phone! 🤯

Customization & Building
FAQ #6 – How can it be customized?
Like any DIY project, you can tweak it to fit your style.
I personally love the black and cedar aesthetic, but you can customize however you like.
Want a window? You can definitely add one! I’ll be working on that for future plan updates.
Tag me on IG/FB when you build yours! 👍
FAQ #7 – What tools will I need?
- Miter saw OR circular saw w/square
- Pocket hole jig & drill
- Brad nailer
- Sander
- Hammer
- Tape measure & pencil
- Scissors & utility knife
FAQ #8 – Hardest part of the build?
Honestly… waiting for the stain to dry.
This is a beginner-friendly build—just like my cold plunge plans, it's detailed, step-by-step, and saves a ton of time.
You could build this in a weekend. The drying time was the hardest part for me!
Installation & Placement
FAQ #9 – Can this sauna go outdoors?
I recommend keeping it indoors.
It’s built with outdoor-grade materials, but if you place it outside, make sure it’s protected from the elements.
FAQ #10 – Is it easy to move?
Yes!
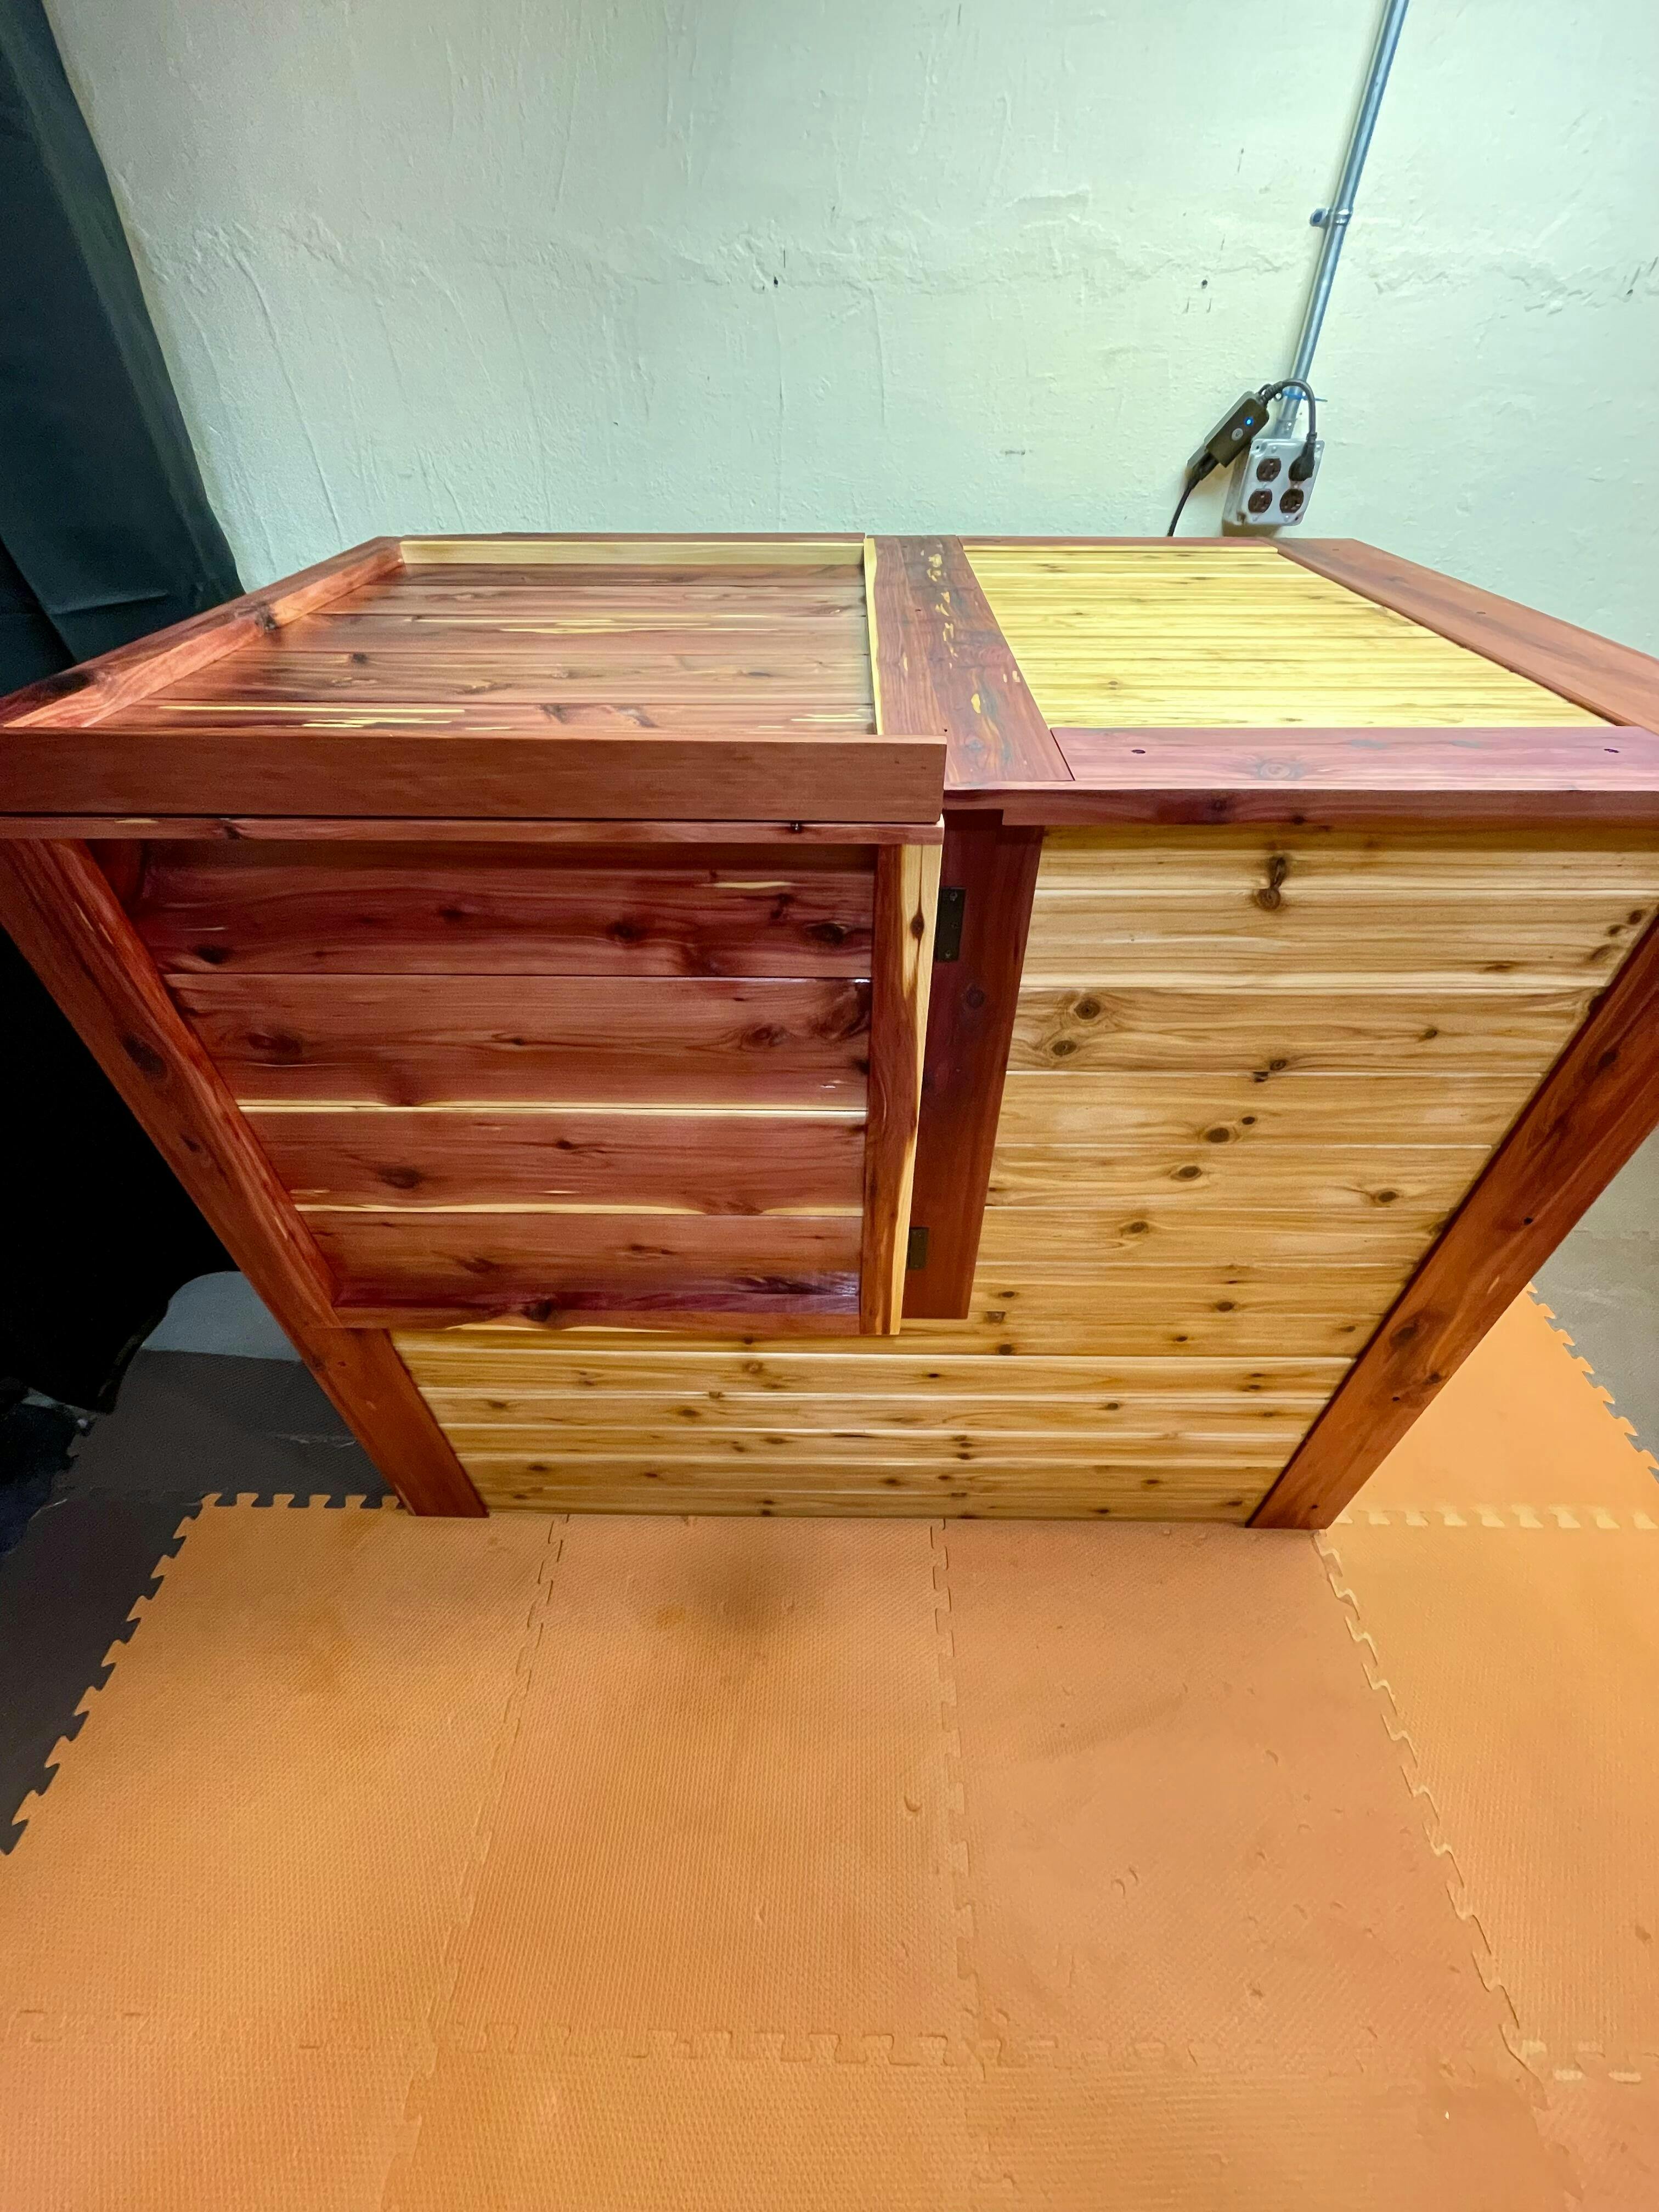
✅ Breaks down flat for easy transport
✅ Built on casters for mobility
Ventilation & Safety
I've tested VOC, EMF, and CO2 levels in the DIY Sauna, a steam tent sauna and 2-3 Person Infrared Saunas.
Here's what I've found:
VOC (Volatile Organic Compounds):
For the DIY Sauna, measurements were in the healthy range at max heat.
| Sauna Type | Temp | HCHO | TVOC |
|---|---|---|---|
| Steam Sauna (Saunabox brand) | ~120°F | 0.26 | 0.89 |
| 2-3 Person IR Sauna | ~140°F | 0.11 | 0.52 |
| DIY Sauna | ~215°F | 0.07 | 0.33 |
Takeaway: Being able to choose exactly what goes into your sauna build is a big deal, and both the DIY and 2-3 Person were much safer than the steam tent.
EMF:
I didn't test against the Saunabox for this one, and the 2-3 Person Infrared was kind of all over the place with the EMF reader. Not completely surprising... there are a bunch of heater panels, wires, etc. in the walls & seats of these units.
I've got two heater options that register Zero EMF included in the plan. The DIY Heater Kit is has a built-in faraday cage to combat EMFs and the other option is from SaunaSpace.
Then there's CO2 & Venting....
Every compact & infrared sauna I've seen does not have any venting and they don’t talk about CO2 levels at all... So I honestly didn’t even think about it - it’s this FAQ that brought it to my attention (I love this community!).
I've used my sauna almost daily for over 2 months, with 20 minute sessions on average. I don't have dedicated ventilation and I haven't experienced any issues or thought that it was a concern.
But, I bought a CO2 sensor and here’s what I found.
| Sauna Type | 10 Min | 15 Min | 20 Min |
|---|---|---|---|
| DIY Sauna (no venting) | 3200 ppm | 3600 ppm | 4000 ppm |
| 2-3 Person IR Sauna | 2300 ppm | 2600 ppm | 3200 ppm |
| Saunabox | 3500 ppm | 5000+ ppm | 5000+ ppm |
As with all small spaces, CO2 quickly rises as soon as you get in. At first I was kind of alarmed (I'm not anymore). And FYI - sorting this out was a factor that delayed the plan launch and got me testing against different sauna options.
The 2-3 Person Infrared scored best... but if you throw another body or two in there (it was just me) I have a feeling it would be a much closer race.
The obvious learn/takeaway: CO2 levels rise quickly in small spaces... and even at it's worst all of these options stay in a range I am *personally* comfortable with given what *I've* learned.
I would rather trade the benefits of high heat exposure for some short, moderately elevated CO2 exposure... But I didn't want to put this plan out there just with that.

What can be done to address this?
I've done a BUNCH of tinkering and I made some modifications to the prototype that I am happy with. Is it perfect, like breathing fresh air? No, but it makes a noticeable difference.
First Option– Using the door as a vent...
The simplest way I learned to manage CO2 levels was to open the side door about half-way for 3-5 seconds every 5 minutes.
Here's the difference that made:
- 5 Min: ~2500ppm
- 10 Min: ~2800ppm
- 15 Min: ~2900ppm
- 20 Min: ~3400ppm
This scored much closer to the 2-3 Person Infrared Sauna test. I maintained heat above 200°F the entire time, and was breathing pretty heavily at the end with the sweat I was getting.
Second Option– Adding venting...
I've definitely learned some things here! If you simply add venting, you will experience a lot of heat loss. We don't want this.
I came up with a mechanical downdraft ventilation setup that works pretty well and will be adding that to the plan. In my prototype, it keeps levels around 1500-2000ppm without any opening/closing of the door. Temperature started around 207°F and dropped to about 185°F at the end of the 20 minute session (vents wide open).
There is definitely some heat loss with this and there is some additional work that goes into the build, but you still get a great sweat and during your session you will have the ability to adjust the vents as desired.
It'll be up to you which route to go... I personally think the door option works well and that most won't want the sauna as hot as I've tested it at so the door may be cracked anyway.
Again... This whole CO2 thing, paired with a full week of sick kids at home is what pushed out the launch date for this plan.
I have a few updates that will hit after the initial launch for completely finishing this ventilation system, but I wanted to make it available so everyone could decide what they personally want to do with their build.
The ventilation can be added after the build is completed in it's original design.
Again… sauna companies don’t seem to address this at all... whether it’s the super compact units, steam tents or the infrared options out there and I just want to be completely transparent with what I'm finding.
Sorry, that got lengthy…
FAQ #11 – Eye Protection?
It depends on your bulb choice.
Personally, I don’t wear eye protection in my sauna (I also don't look directly at the bulbs…) but check your bulb’s safety recommendations and take whatever precautions you feel comfortable with.
Maintenance & Use
Best Practices:
- Natural fibers are your friend
- Bring a cotton towel to sit on, you want to avoid developing puddles of sweat and the cedar gets HOT
- Wear minimal clothing (most clothes have synthetic fabrics/chemicals that can increase VOCs).
- Wipe everything down after each use with a towel.
- Occasionally reapply MCT oil to the cedar.
Reminder!
🔥 Plan Launches March 14, 2025 (with special launch pricing!)
🔥 DIY Heater Kit pre-orders coming soon—shipping late March to early April.