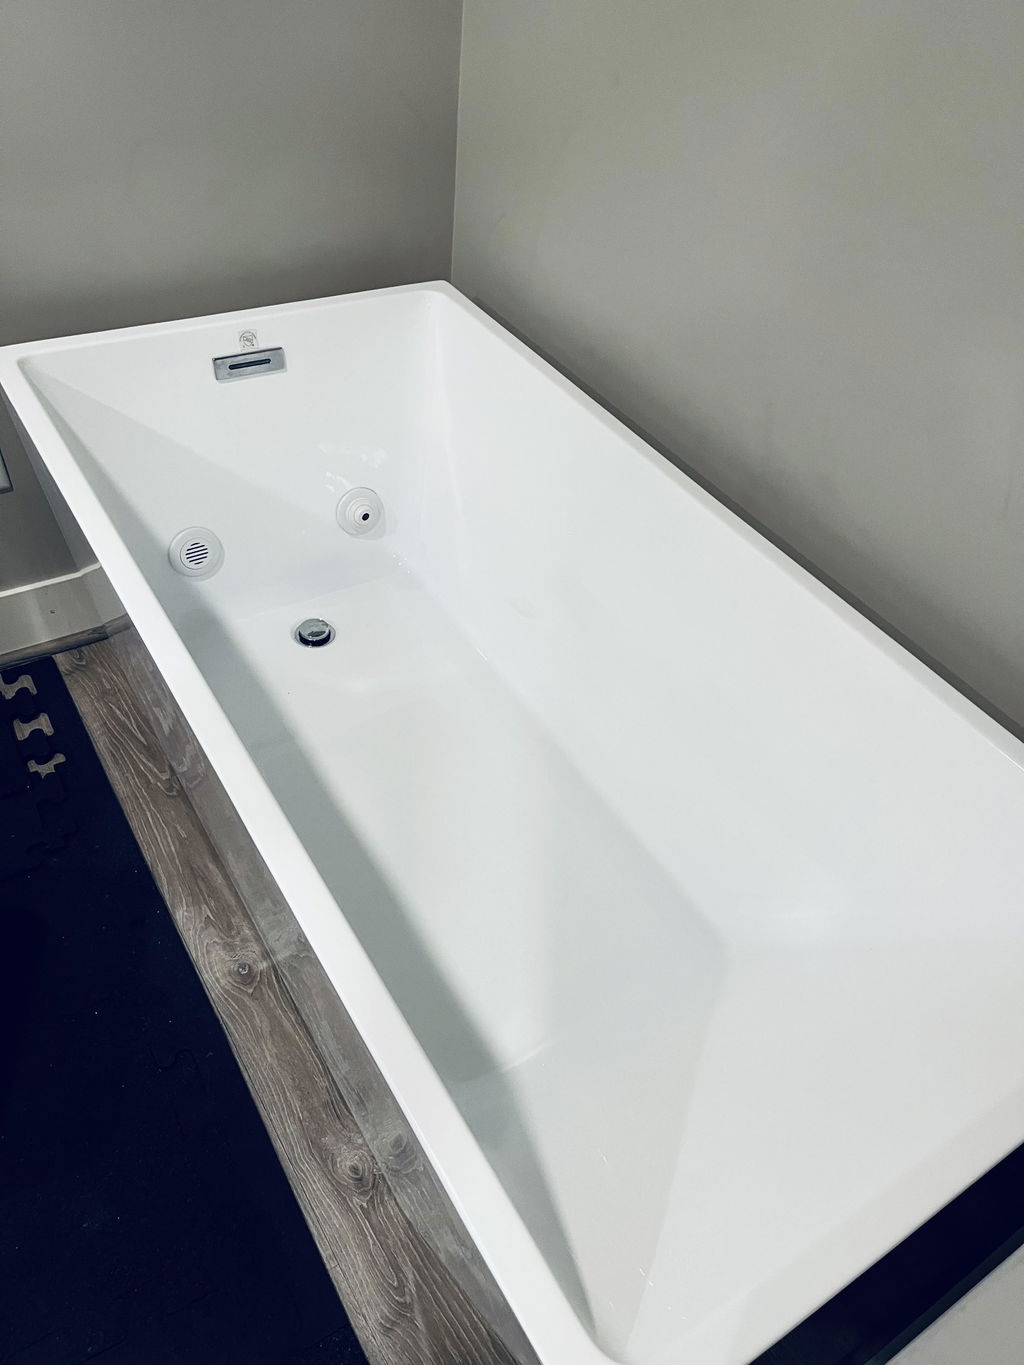
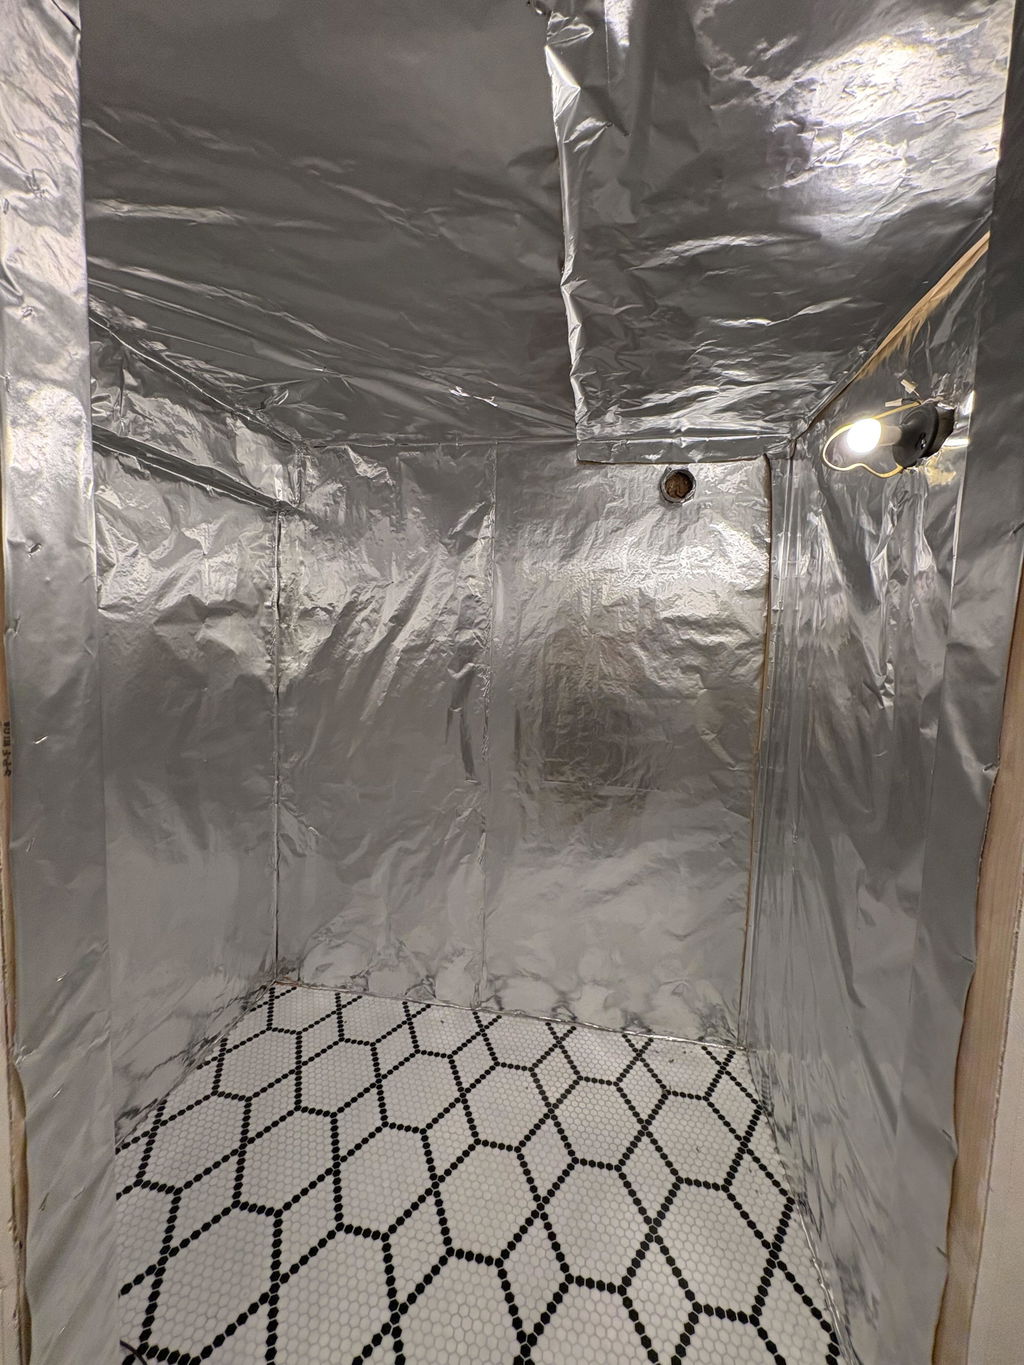
Couldn't load pickup availability
1-1/2" (FIP) Threaded Inlet & Outlet Fittings with locknut and gasket (Pair).
These are the exact fittings used on my Luxury DIY Cold Plunge and the Bathtub Cold Plunge Conversion and the new Stock Tank Plan.
About this Item:
Includes:
Worked Great! - Joe's awesome to work with, and I'd recommend him to anyone!
They work perfectly!
Great look and quality. Only gripe is that the threads aren’t opposite for tightening the bulkhead on the tub. They slightly loosened when I inserted my fittings to connect my hoses so I had to retighten them which was a little difficult so to their size and location on my tub.
These were the first items I installed in what will be a very cool setup. Pieces arrived very fast and the video was very helpful. Thank you!
As described, great quality.
The short version:
Hi! I'm Joe, and I've helped thousands of people save thousands of dollars by building DIY Cold Plunges and Saunas.
I've got proven, beginner friendly plans and products to bring home BIG health benefits.
Questions? Don't hesitate to reach out 👍
Awesome product! Straightforward plans, easy to follow, no BS. Will update when I actually build it.
I purchased the sauna plan after building a cold plunge last year. Both plans are very detailed, easy to follow, and include videos. So now I have both a sauna and a plunge for less than what others are selling one for. I have a great shop, but even without one this build can be easily
done with rudimentary tools and woodworking skills. The build is complete, waiting on the preorder heaters to ship.
I’m a hobbyist woodworker. Overall, I’m very happy with this build! I think it’s my most complex woodworking project to date. The materials list was great, the diagrams were clear, and the videos very helpful. Joe was quickly responsive when I emailed him with questions. I had a good time making this, and I’m impressed with the end-product. I’m proud that I built this, and I’m so excited for daily sauna sessions!
A couple things I would do different if I made this again: I would not use dimensional 2x4 and 2x6 fir lumber as it was thicker than the other framing wood that I bought, or I would plane it down to be the same thickness as the other wood. This caused my framing to bulge wherever it was used, and I didn’t realize it would be an issue until it was too late. This made fitting the siding to each panel difficult, and I wound up with some gaps and overhangs in some areas. I installed some trim to go along each edge to hide the imperfections at the seams. The jet black Varithane stain that Joe used wasn’t taking to my siding, so I had to buy black exterior paint instead.
Finding some of the materials was also a little difficult. Nobody had 5/4” cedar planks, and I drove all over to find decent 1x6 clear cedar, and it was pretty expensive at a specialty wood store. Finding the R15 value Rockwool at my Home Depot was pure luck… they don’t carry that anymore, but someone had recently returned one package, and there it was waiting for me.
I don’t think the materials list calls out a 1 ½” hole saw, so I had to go out and buy that right before I needed it. Not everyone has a nail gun, but luckily my friend let me borrow his.
My receipts came out to $1826.86, which is 50% more than the ~ $1200 stated, but I noticed items like the bulbs, cedar TNG, backrest, grommet cover, sauna oil, paint, and some misc supplies and tools were left out of his calculation. Plus things cost more in California. This still costs 1/3 of similar-style commercial infrared saunas. I would definitely recommend this project for someone who is good with tools and building stuff.
My friends are all asking me about my new sauna! It’s attention-getting for sure.
Great plans and instruction. Project went together very well and works better than advertised. I struggled cutting and attaching the outside panels and would probably use a router and panel cutter bit to get a better fit.