Couldn't load pickup availability
This is the step-by-step PDF plan to build an in-line sanitation & filtration system for your DIY cold plunge. Make sure to check measurements of your parts before starting your build.
Included in this download:
**I do have a similar step-by-step tutorial on YouTube for this project**
My YouTube Channel will be a great resource in addition to this PDF. Make sure to follow me there, on TikTok & Instagram - @DIYCOLDPLUNGE
I would also recommend joining my private group on Facebook, we have thousands of people learning and experimenting with different set-ups.
All digital download orders are final and non-refundable.
Very particular and indepth
Built V1 a couple years ago, prior to finding this site. 100 Gal stock tank, filter, pump, ozone gen all from Amazon. re purposed an old chiller. Found DIY Cold plunge and ordered the 150 gal plans, lid and filter kit. Major upgrade.
Way better setup than intex filter system. I can keep the pump running without a timer and keep the water filtered with this pretty looking setup! Thanks Joe!
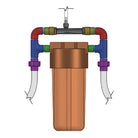
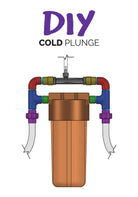
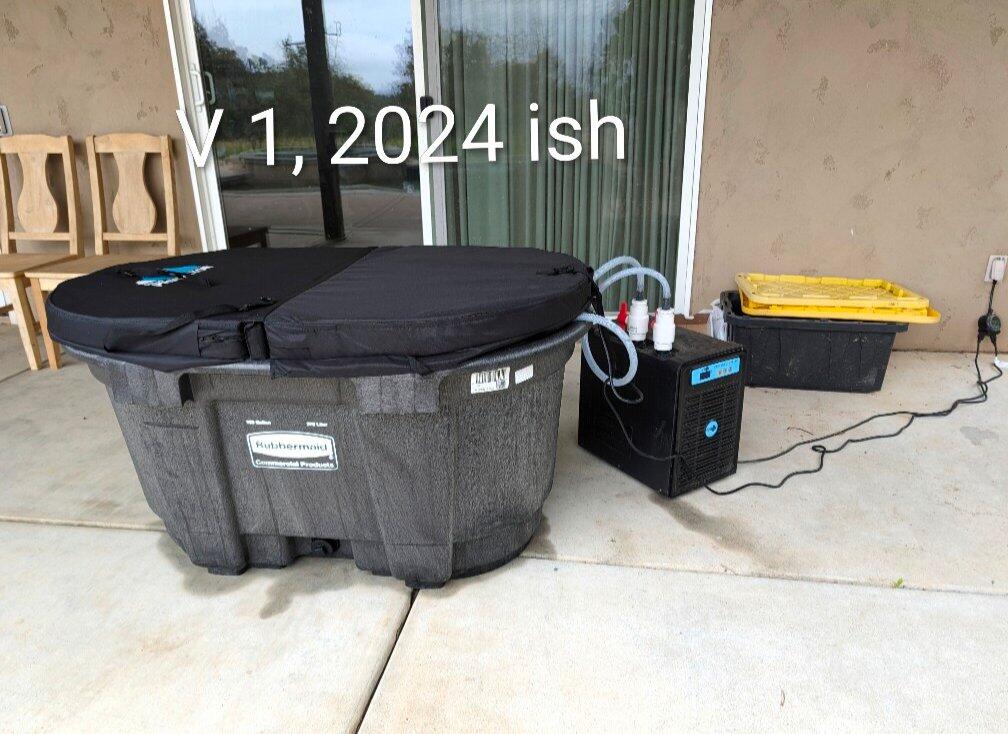
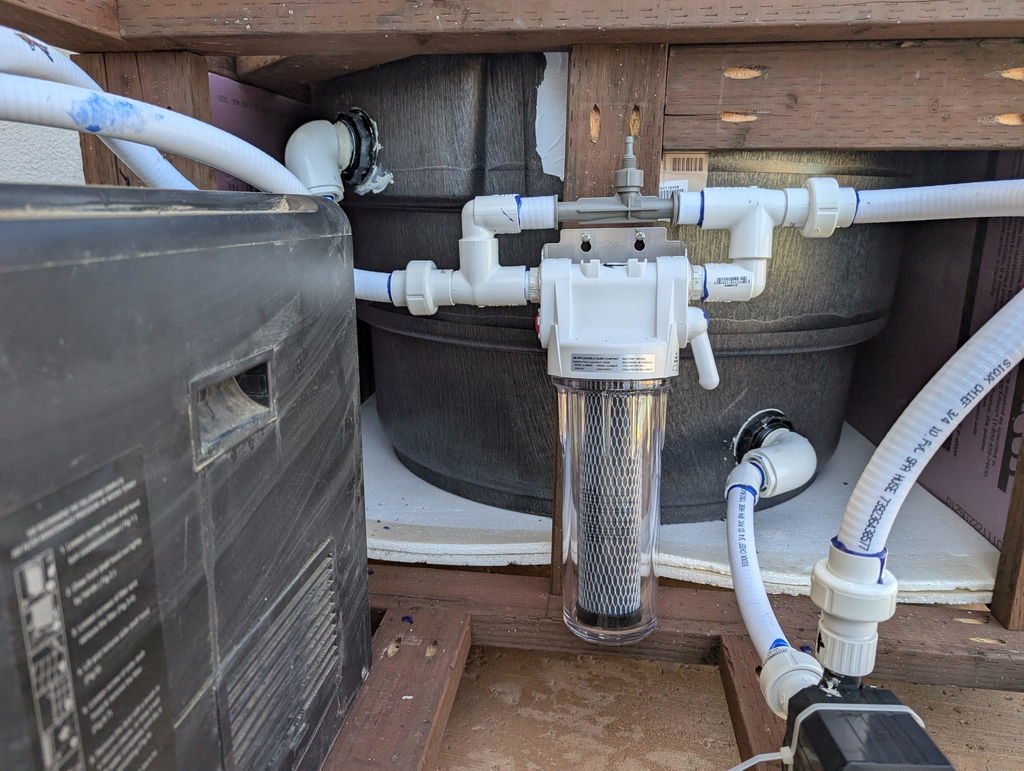
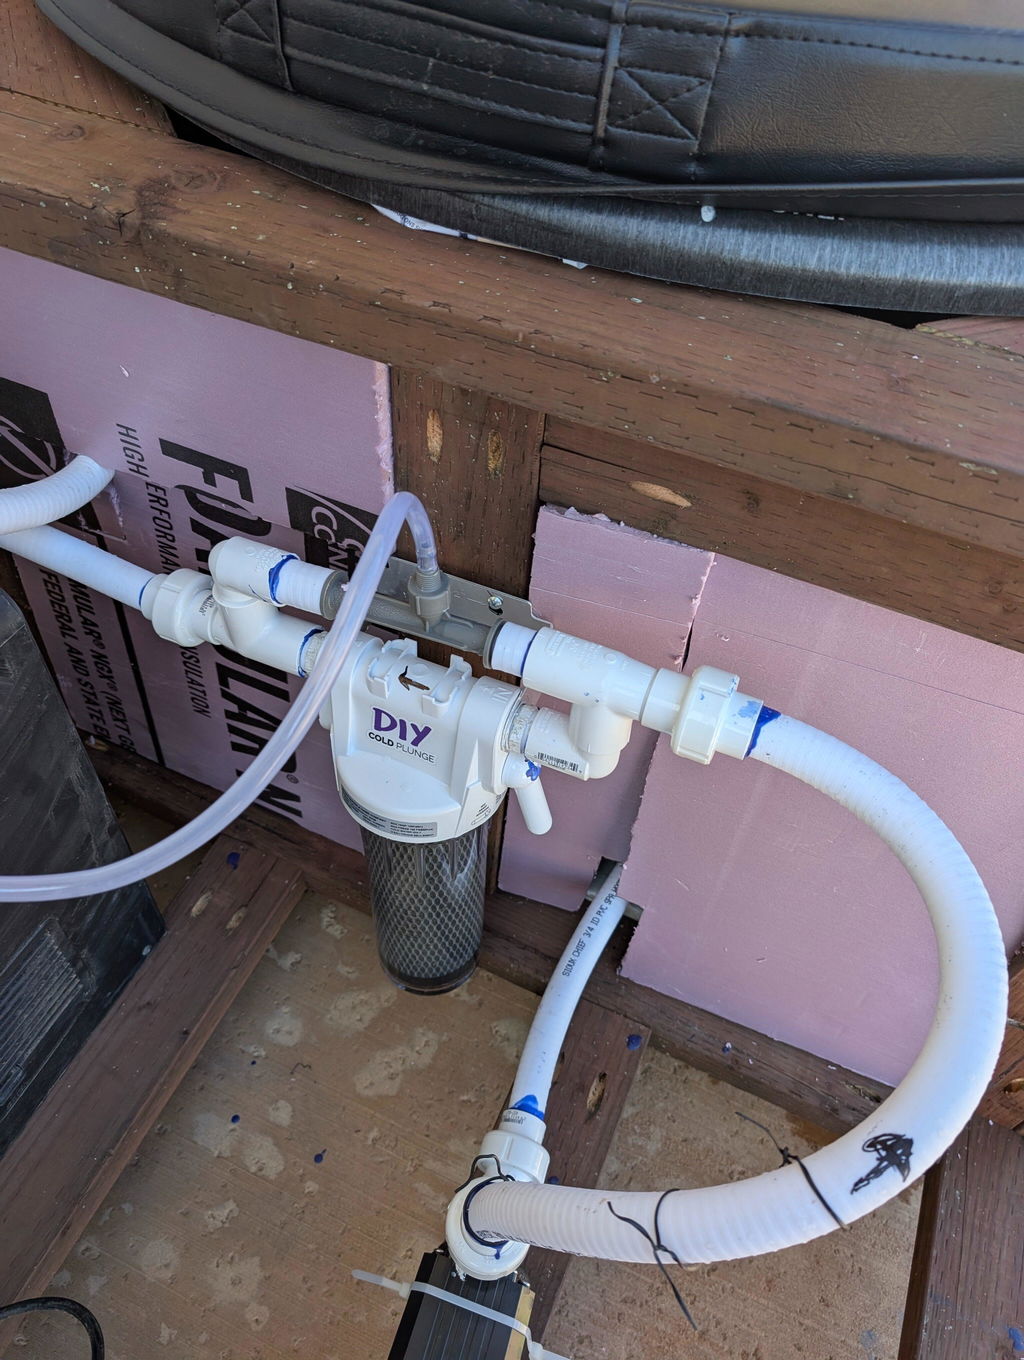
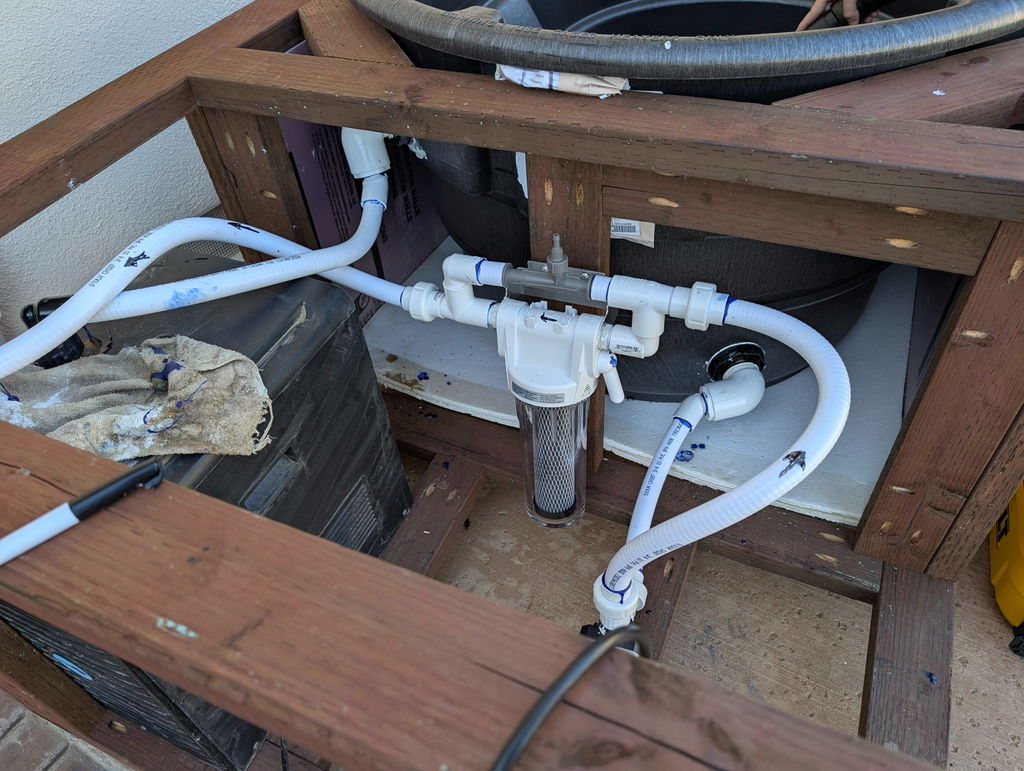
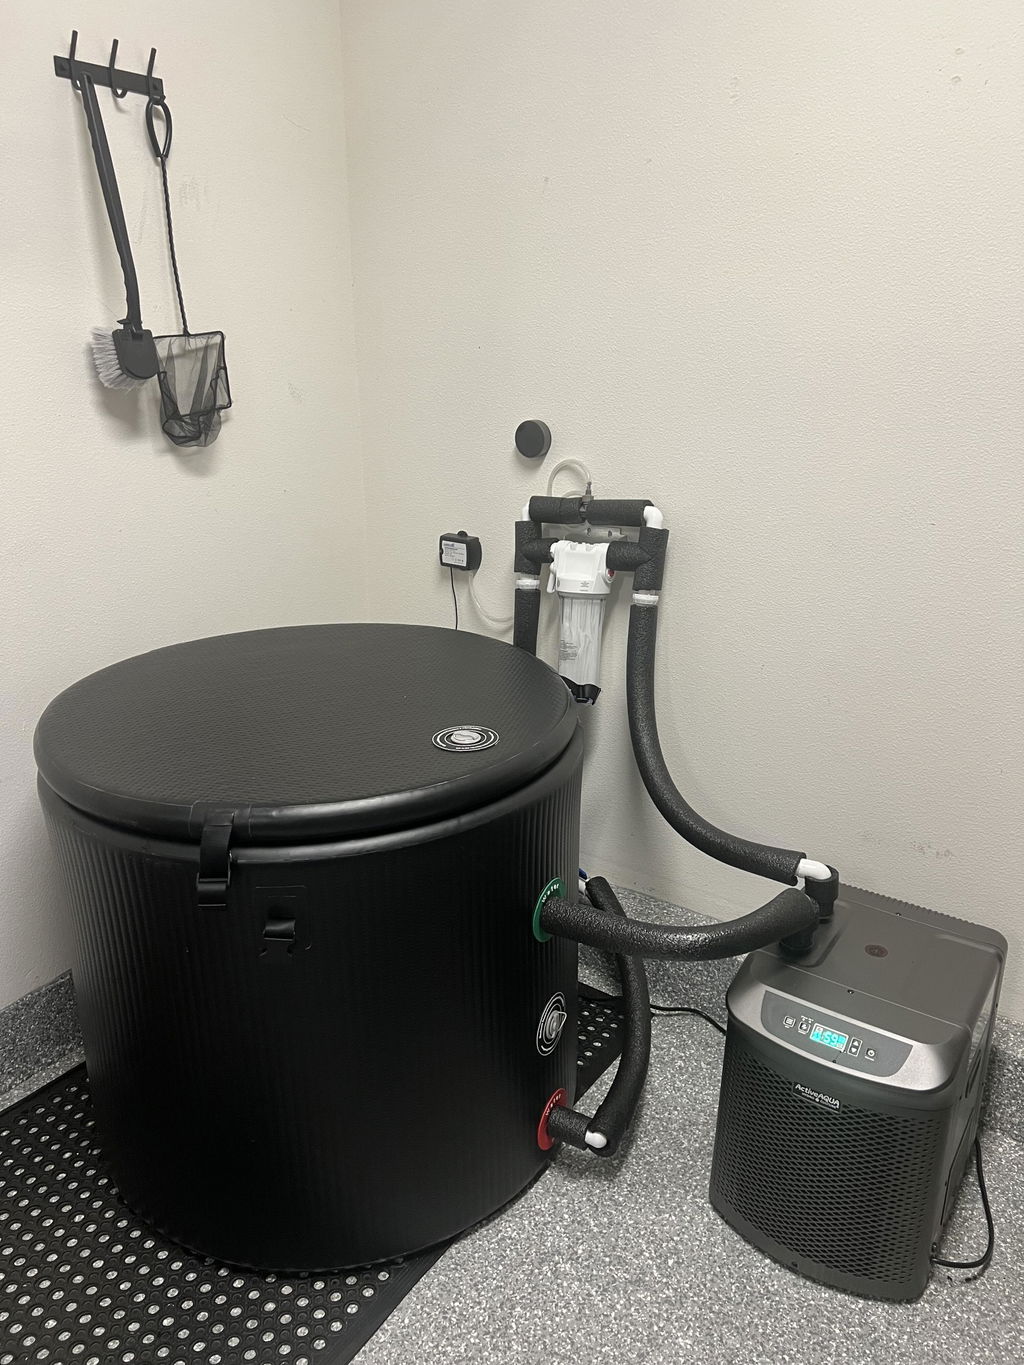
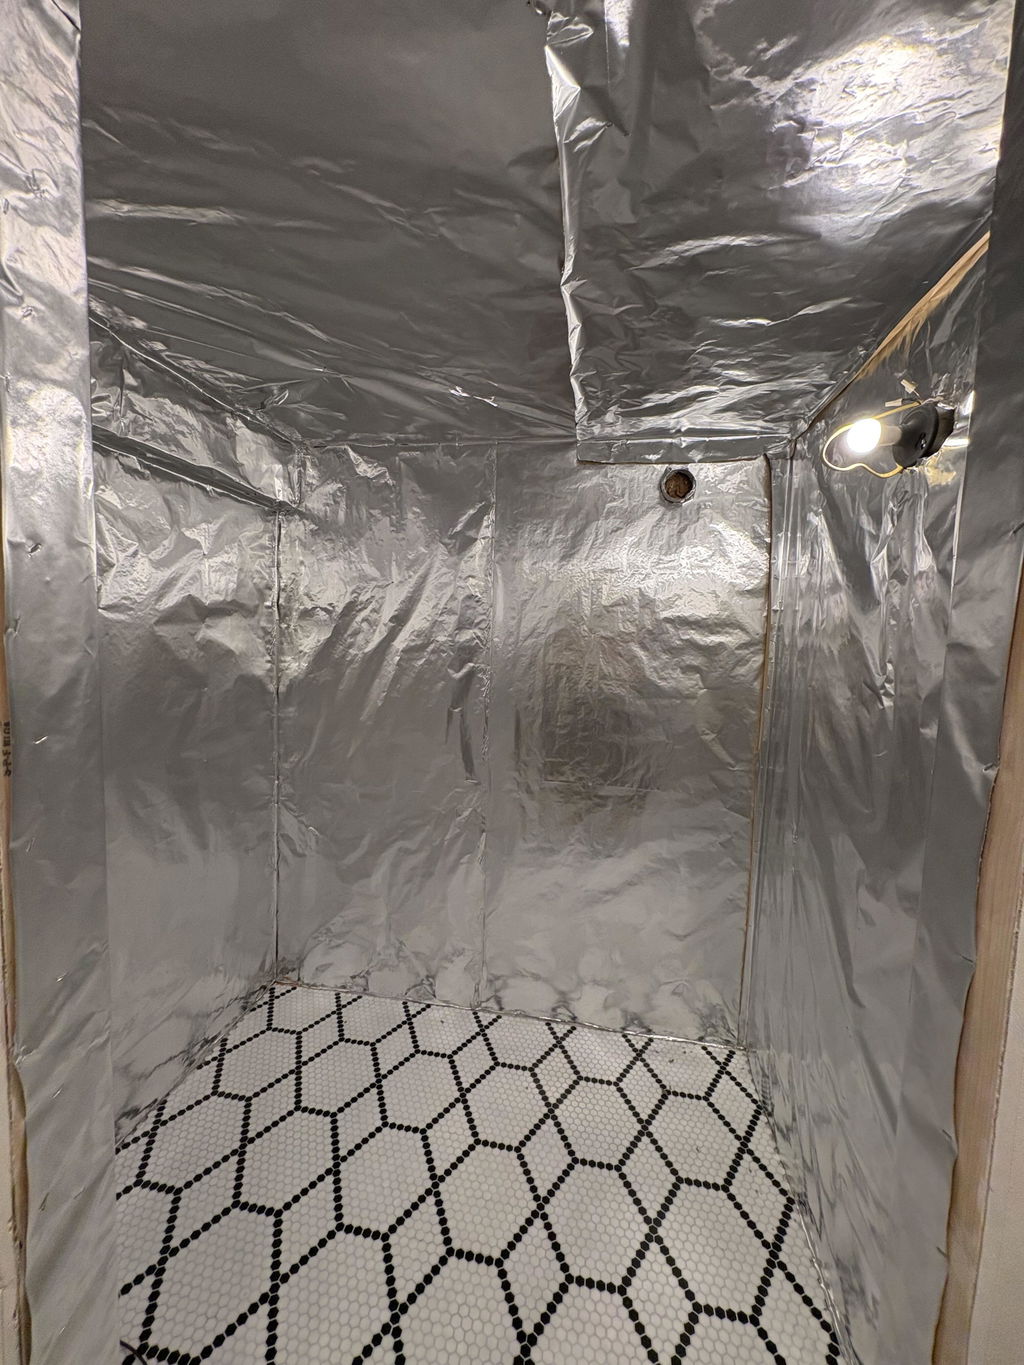
I highly recommend this plan if you are building a cold tub. Typically, I would not spend money on plans like this and would instead binge hours and hours of content to figure out each piece and step for free.
I am so glad I didn’t waste the time because these plans are fantastic. With every part of the plan that I felt like I should deviate from to have better results, I quickly found out why Joe did it the way he did or with the parts he used. He has put in the work already, so why reinvent the wheel!
This plan paid for itself over and over again. It saved me hours of research time, time I would have otherwise lost from trial and error, multiple trips to the hardware store and dealing with returns. With this plan, I had all the right parts and layout completely set up ahead of time. As soon as my chiller arrived, I spent a few hours connecting it all together and we were chilling! Joe’s done all the trial error, learning from mistakes and figuring out how best to lay everything out so you don’t have to! Not buying this plan is like driving an hour out of your way to save $0.02 a gallon on gas.
The short version:
Hi! I'm Joe, and I've helped thousands of people save thousands of dollars by building DIY Cold Plunges and Saunas.
I've got proven, beginner friendly plans and products to bring home BIG health benefits.
Questions? Don't hesitate to reach out 👍
I used it for the 1st time today, it works but I think I want to upgrade to some better bulbs i was able to get it to 150°. The only reason it hasn't gotten 5 stars is I haven't gotten it to 200°. The cut plan was laid out well a couple of the videos were for the smaller version, but I was able to power through it. I'll update my review once I upgrade my bulbs to the rubylux or the hot box bulbs
This took longer than expected but the instructions and video were very detailed and thorough. Glad i stumbled upon this product and this sauna will be with me for a very long time. Thanks again
Incredibly detailed instructions on the entire build from start to finish! I’ve had my eye on similar saunas but they cost thousands. I’m so happy I found diy sauna, built from ground up solo with no issues.If your in the market for a similar setup, definitely give this a look!
First, these plans and the video are outstanding! So well organized, there was never a moment wheee I was confused. Color coated cut plan, links in the cut plan for purchase, notes, tips, and videos all work together flawlessly. I haven’t used the sauna yet but the build was great and it turned out awesome. Anywhere there are slight flaws, I would attribute to my lack of ability to get things perfectly square…or slightly warped wood from Home Depot! All this AND Joe was highly responsive to all my emails!
I built the XL version and the cost was more of course.
I recently built a garage sauna using these DIY plans, and the whole experience exceeded my expectations. The instructions are exceptionally clear and beginner-friendly, with detailed step-by-step guidance, accurate cut lists, plenty of helpful photos and video, and measurements, no guesswork or advanced skills required. As someone with just basic tools and average DIY experience, I never felt overwhelmed or out of my depth. The finished sauna is outstanding: it heats up quickly, easily reaches 195–205°F (noticeably hotter and more consistent than any commercial sauna I’ve used), holds temperature beautifully, and delivers fantastic cedar aroma. For the effort and cost, it’s a high-quality, high-performance result that feels like a luxury upgrade—hands down one of the best projects I’ve ever tackled.