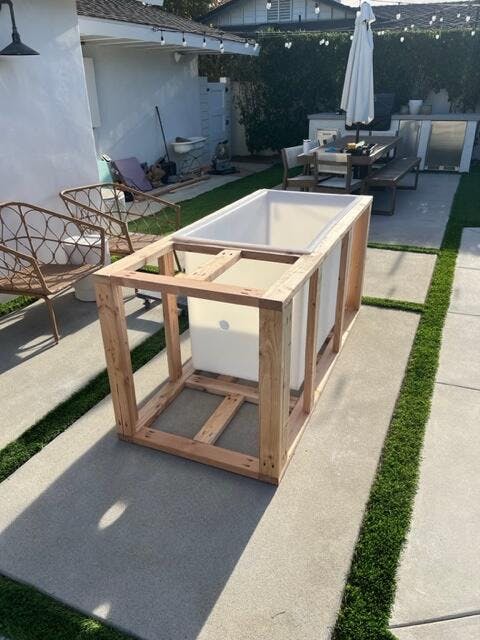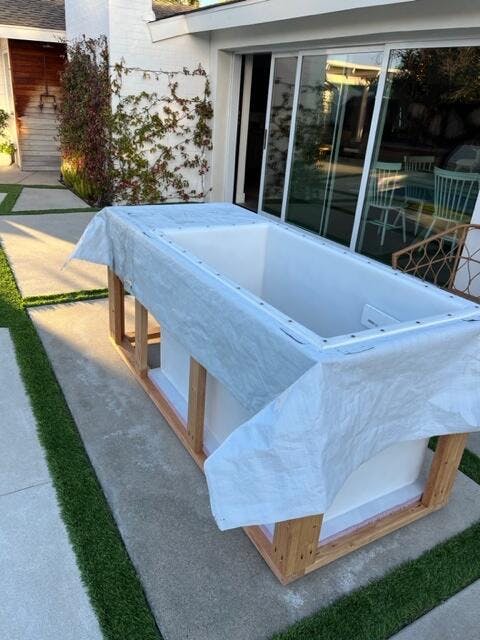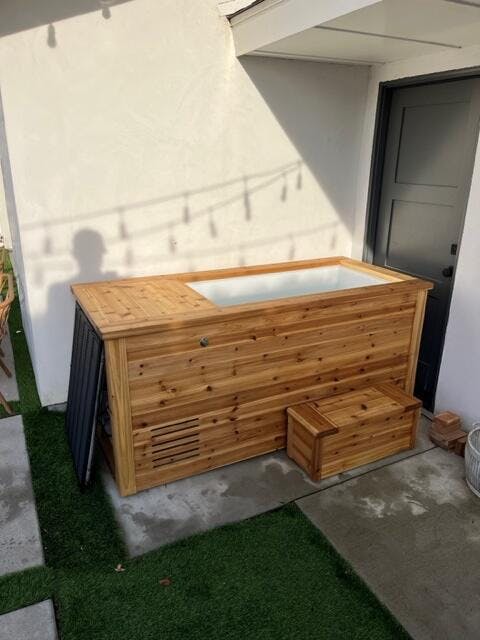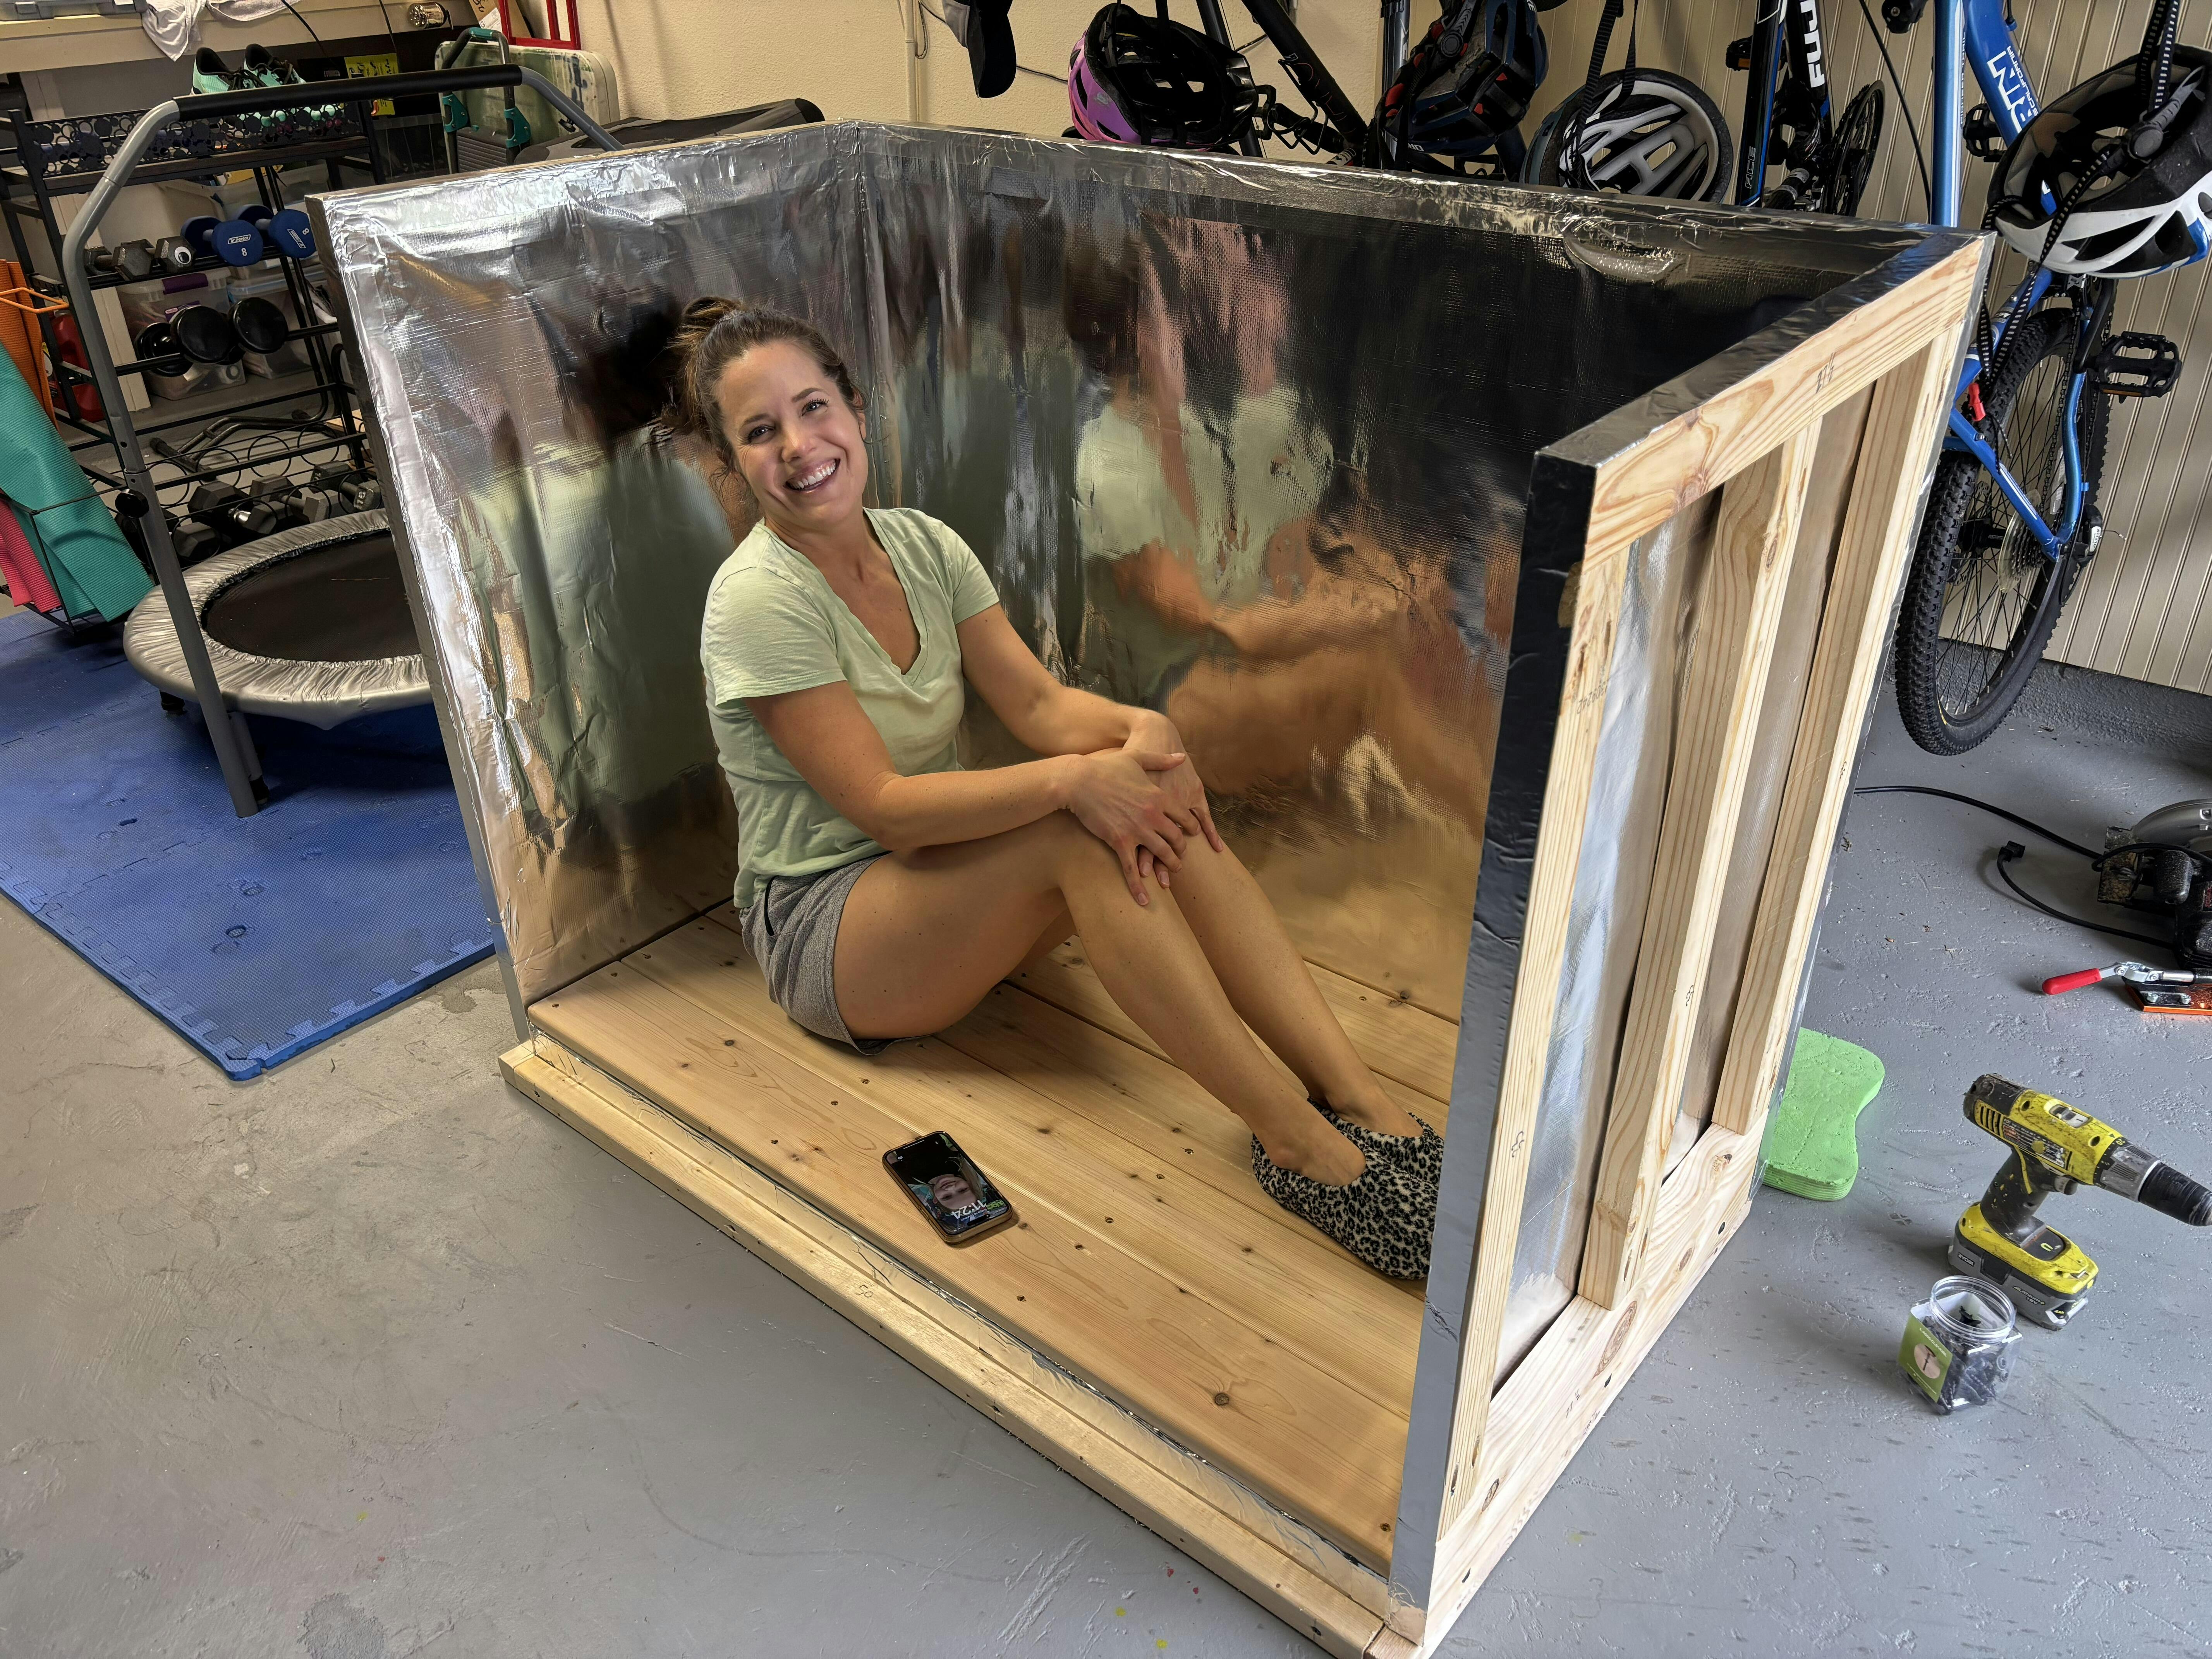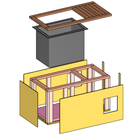
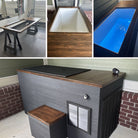
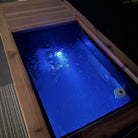
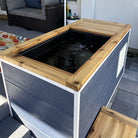
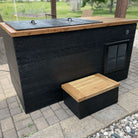
Luxury DIY Cold Plunge Plans
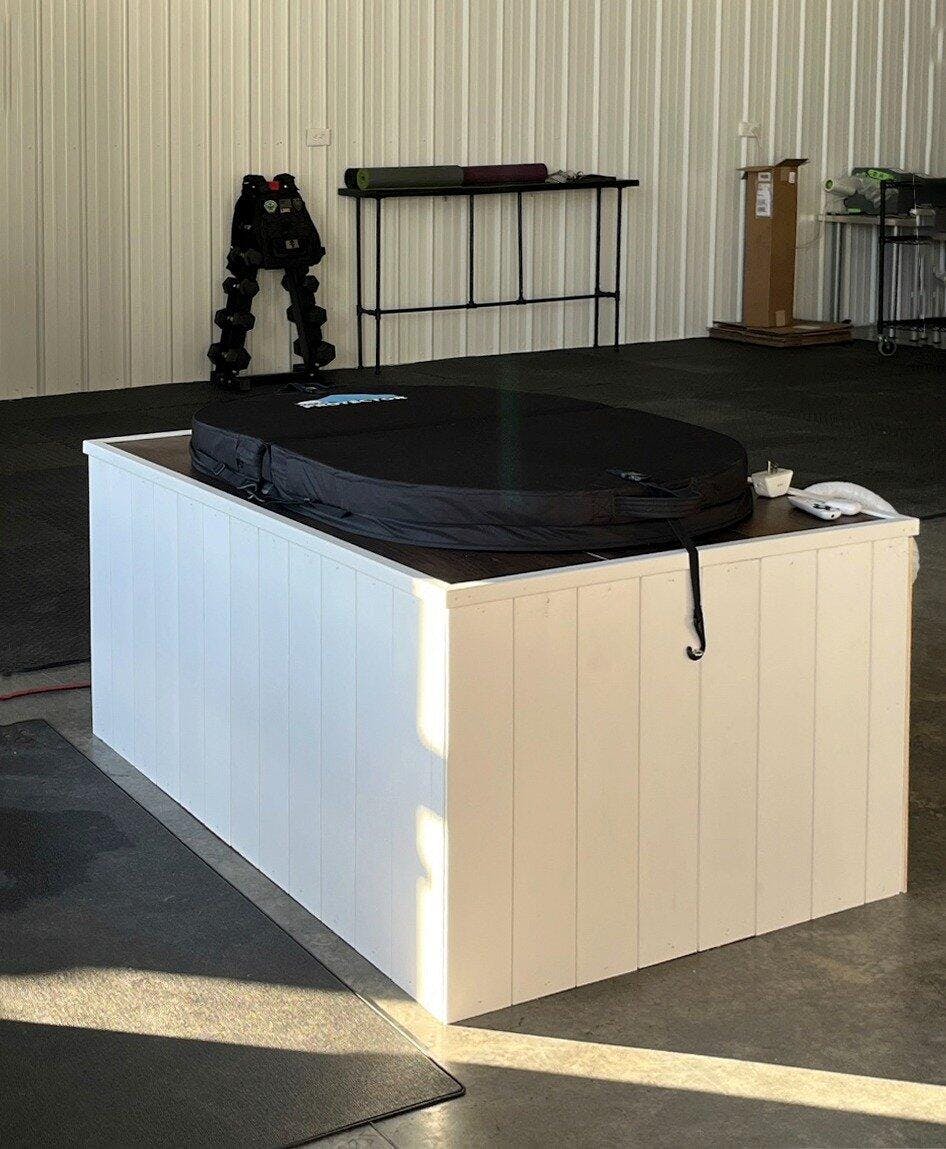
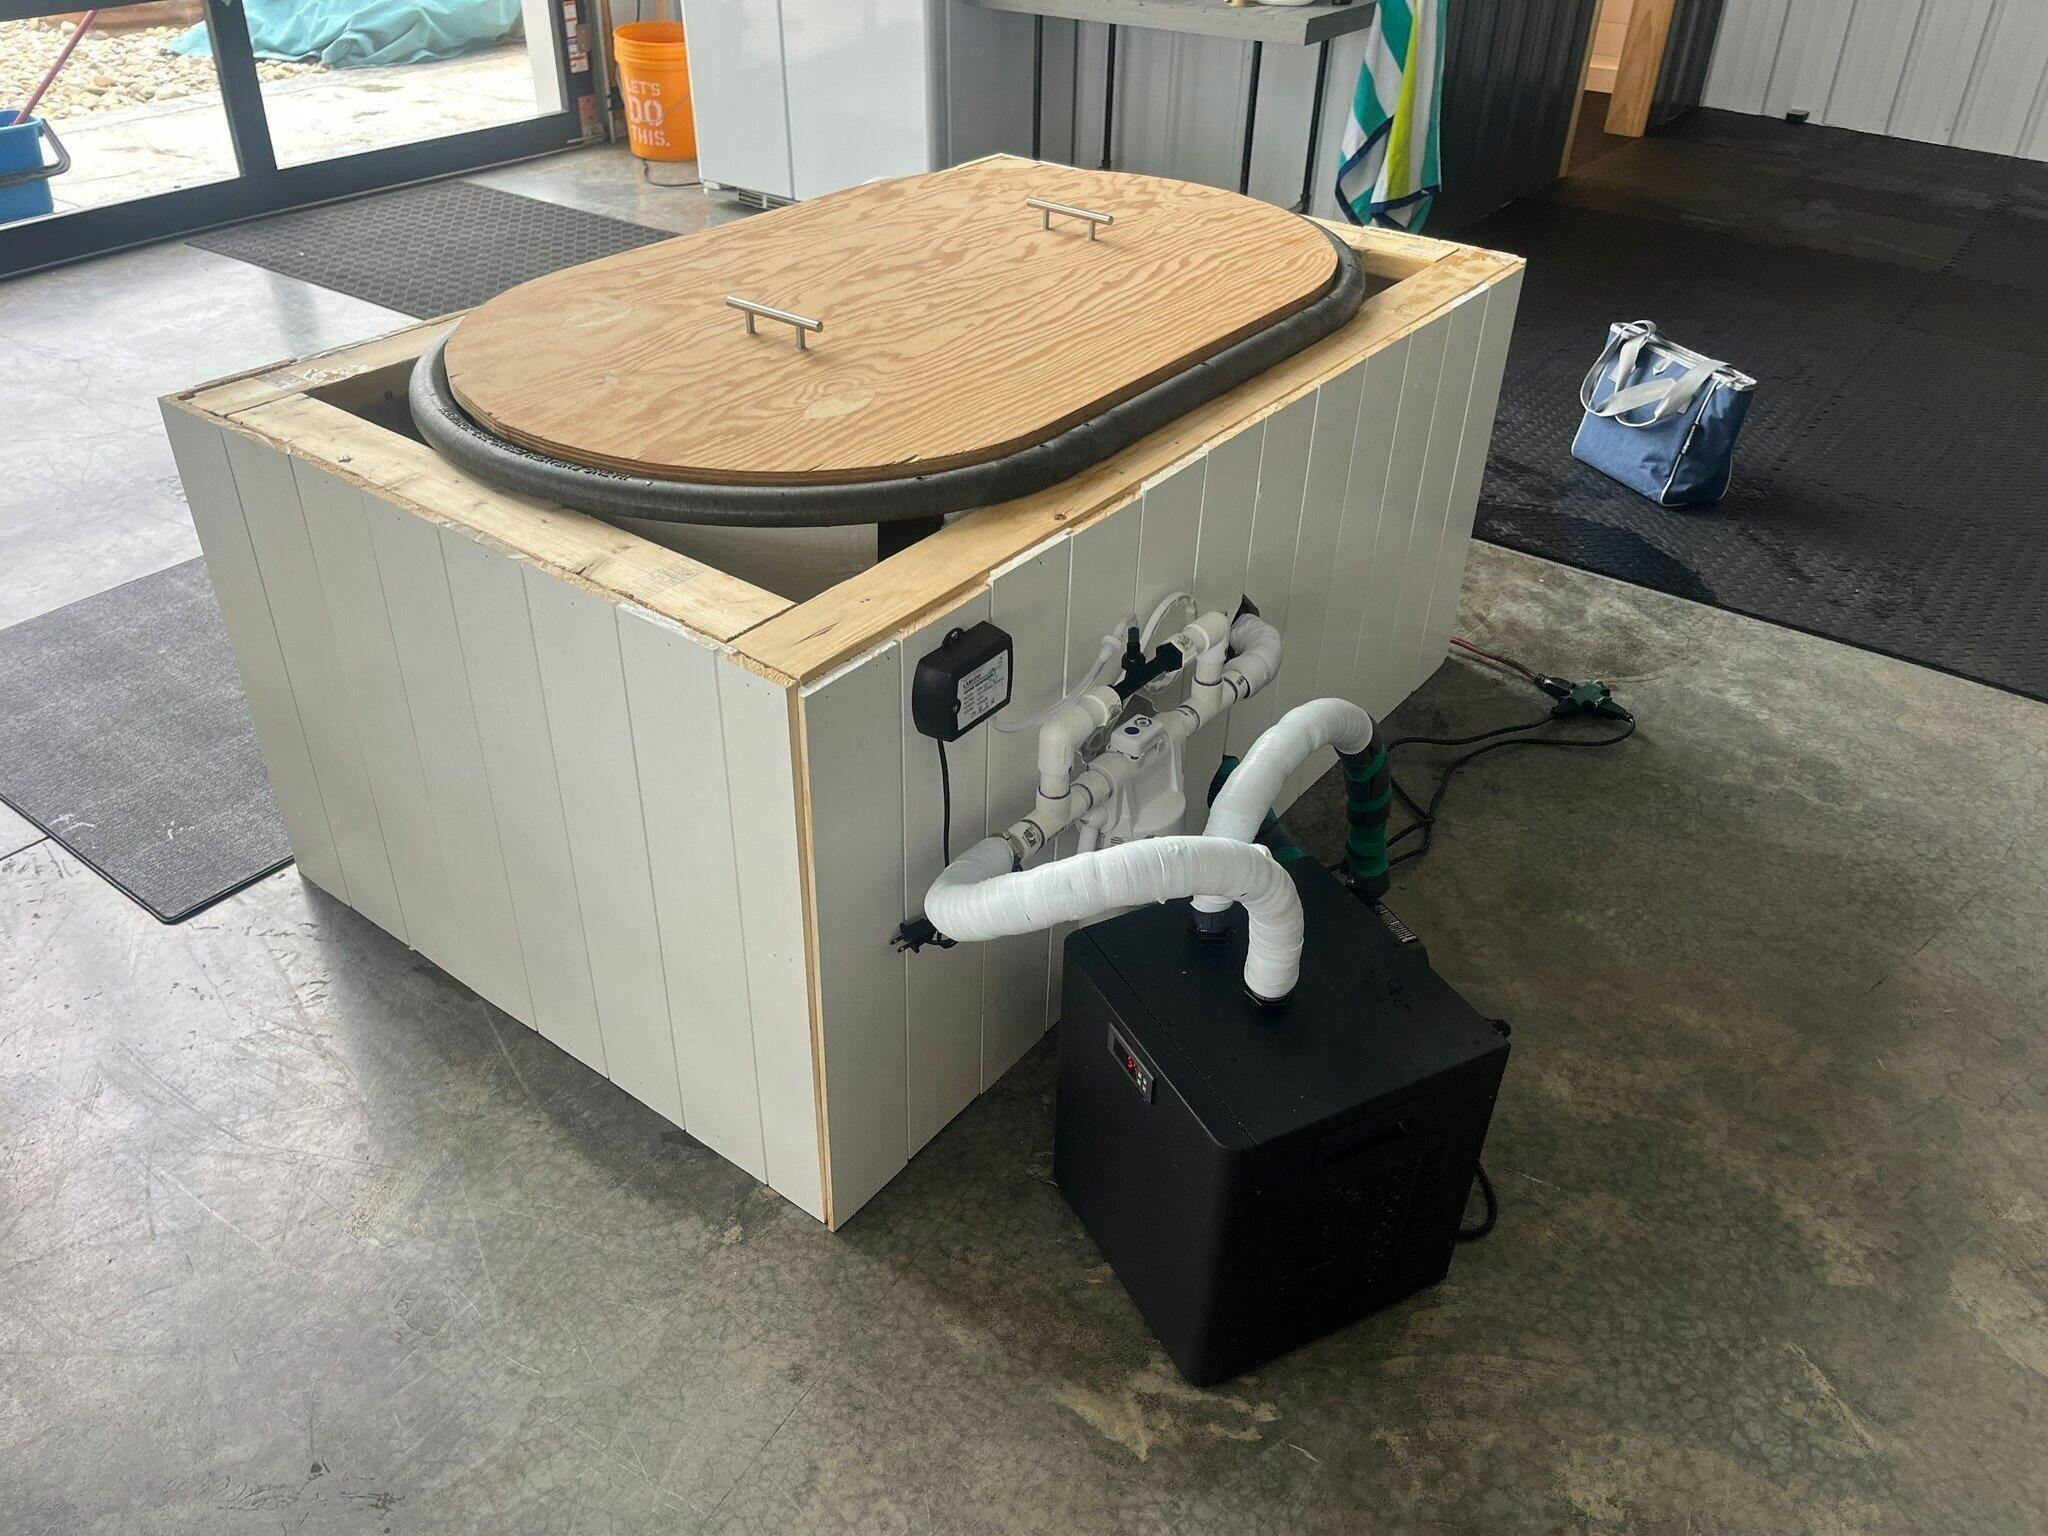
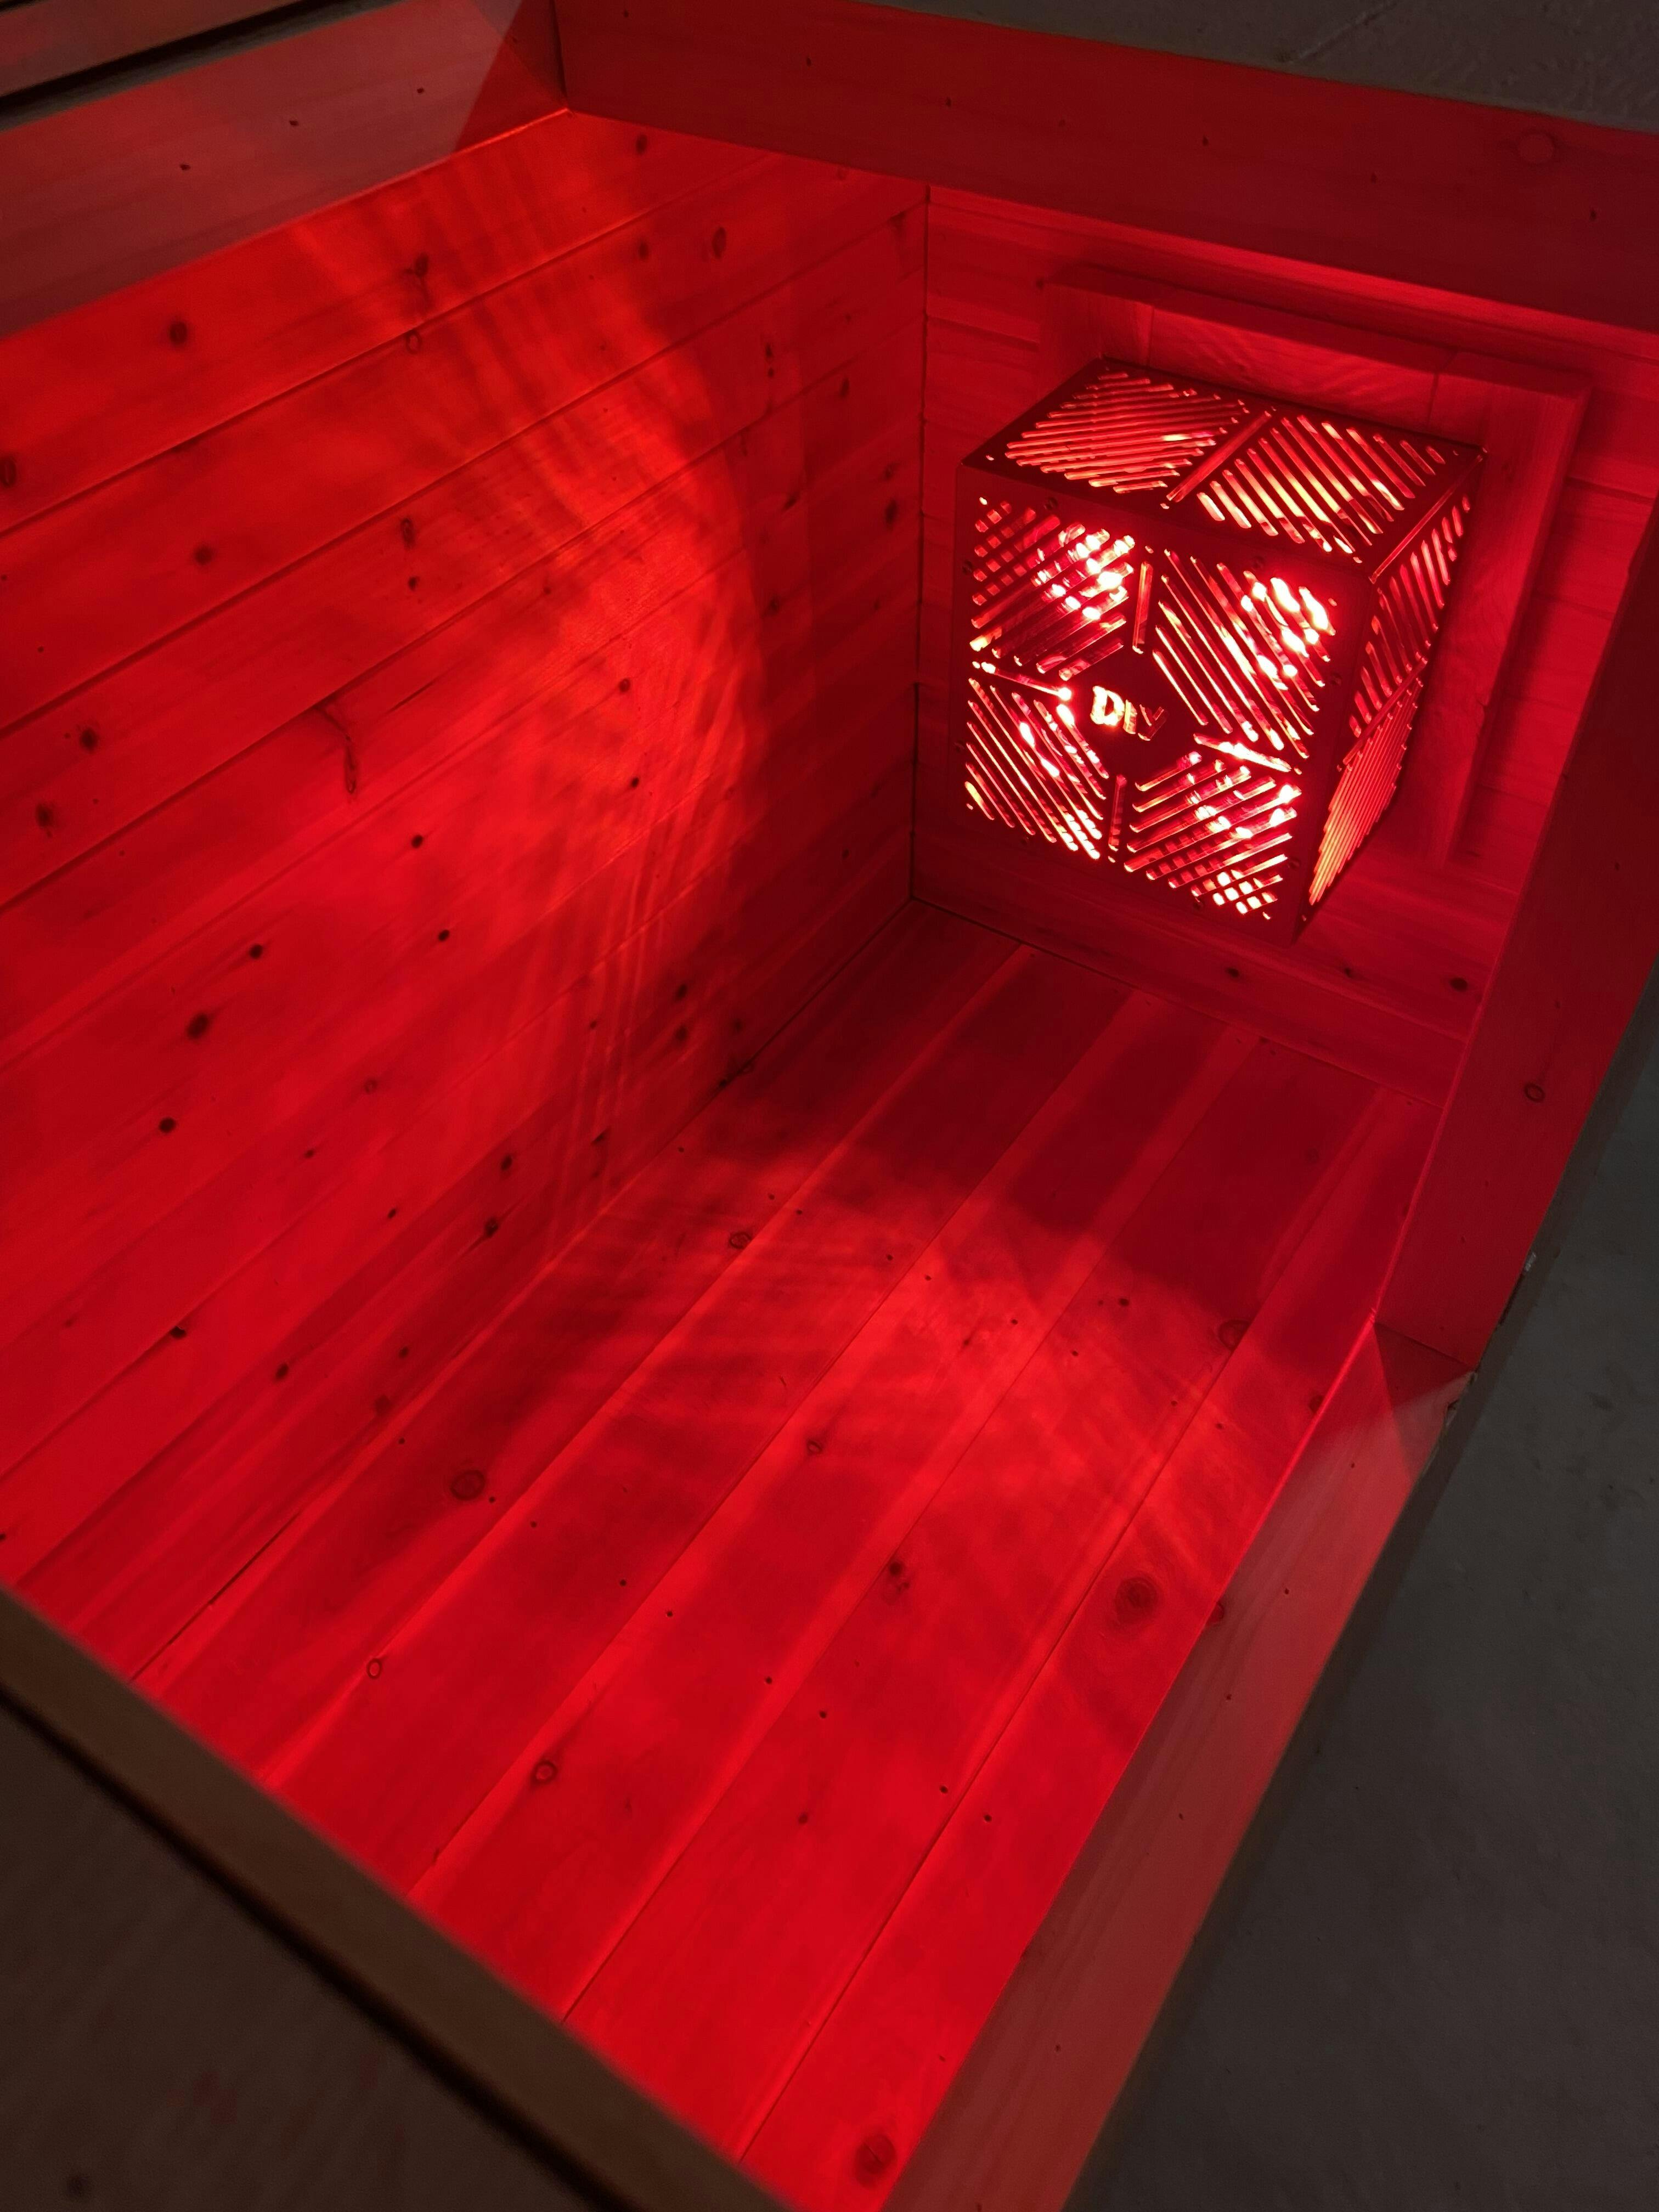
This thing is awesome ! Made a few personal mods but man, I’ve used this thing for 6 days straight. To be honest , only takes 50 min to get to a temp that I can tolerate for 20 min. Any hotter and it’s very uncomfortable. Instructions were SUPER clear and helpful. If you are thinking about do this, pull the trigger!
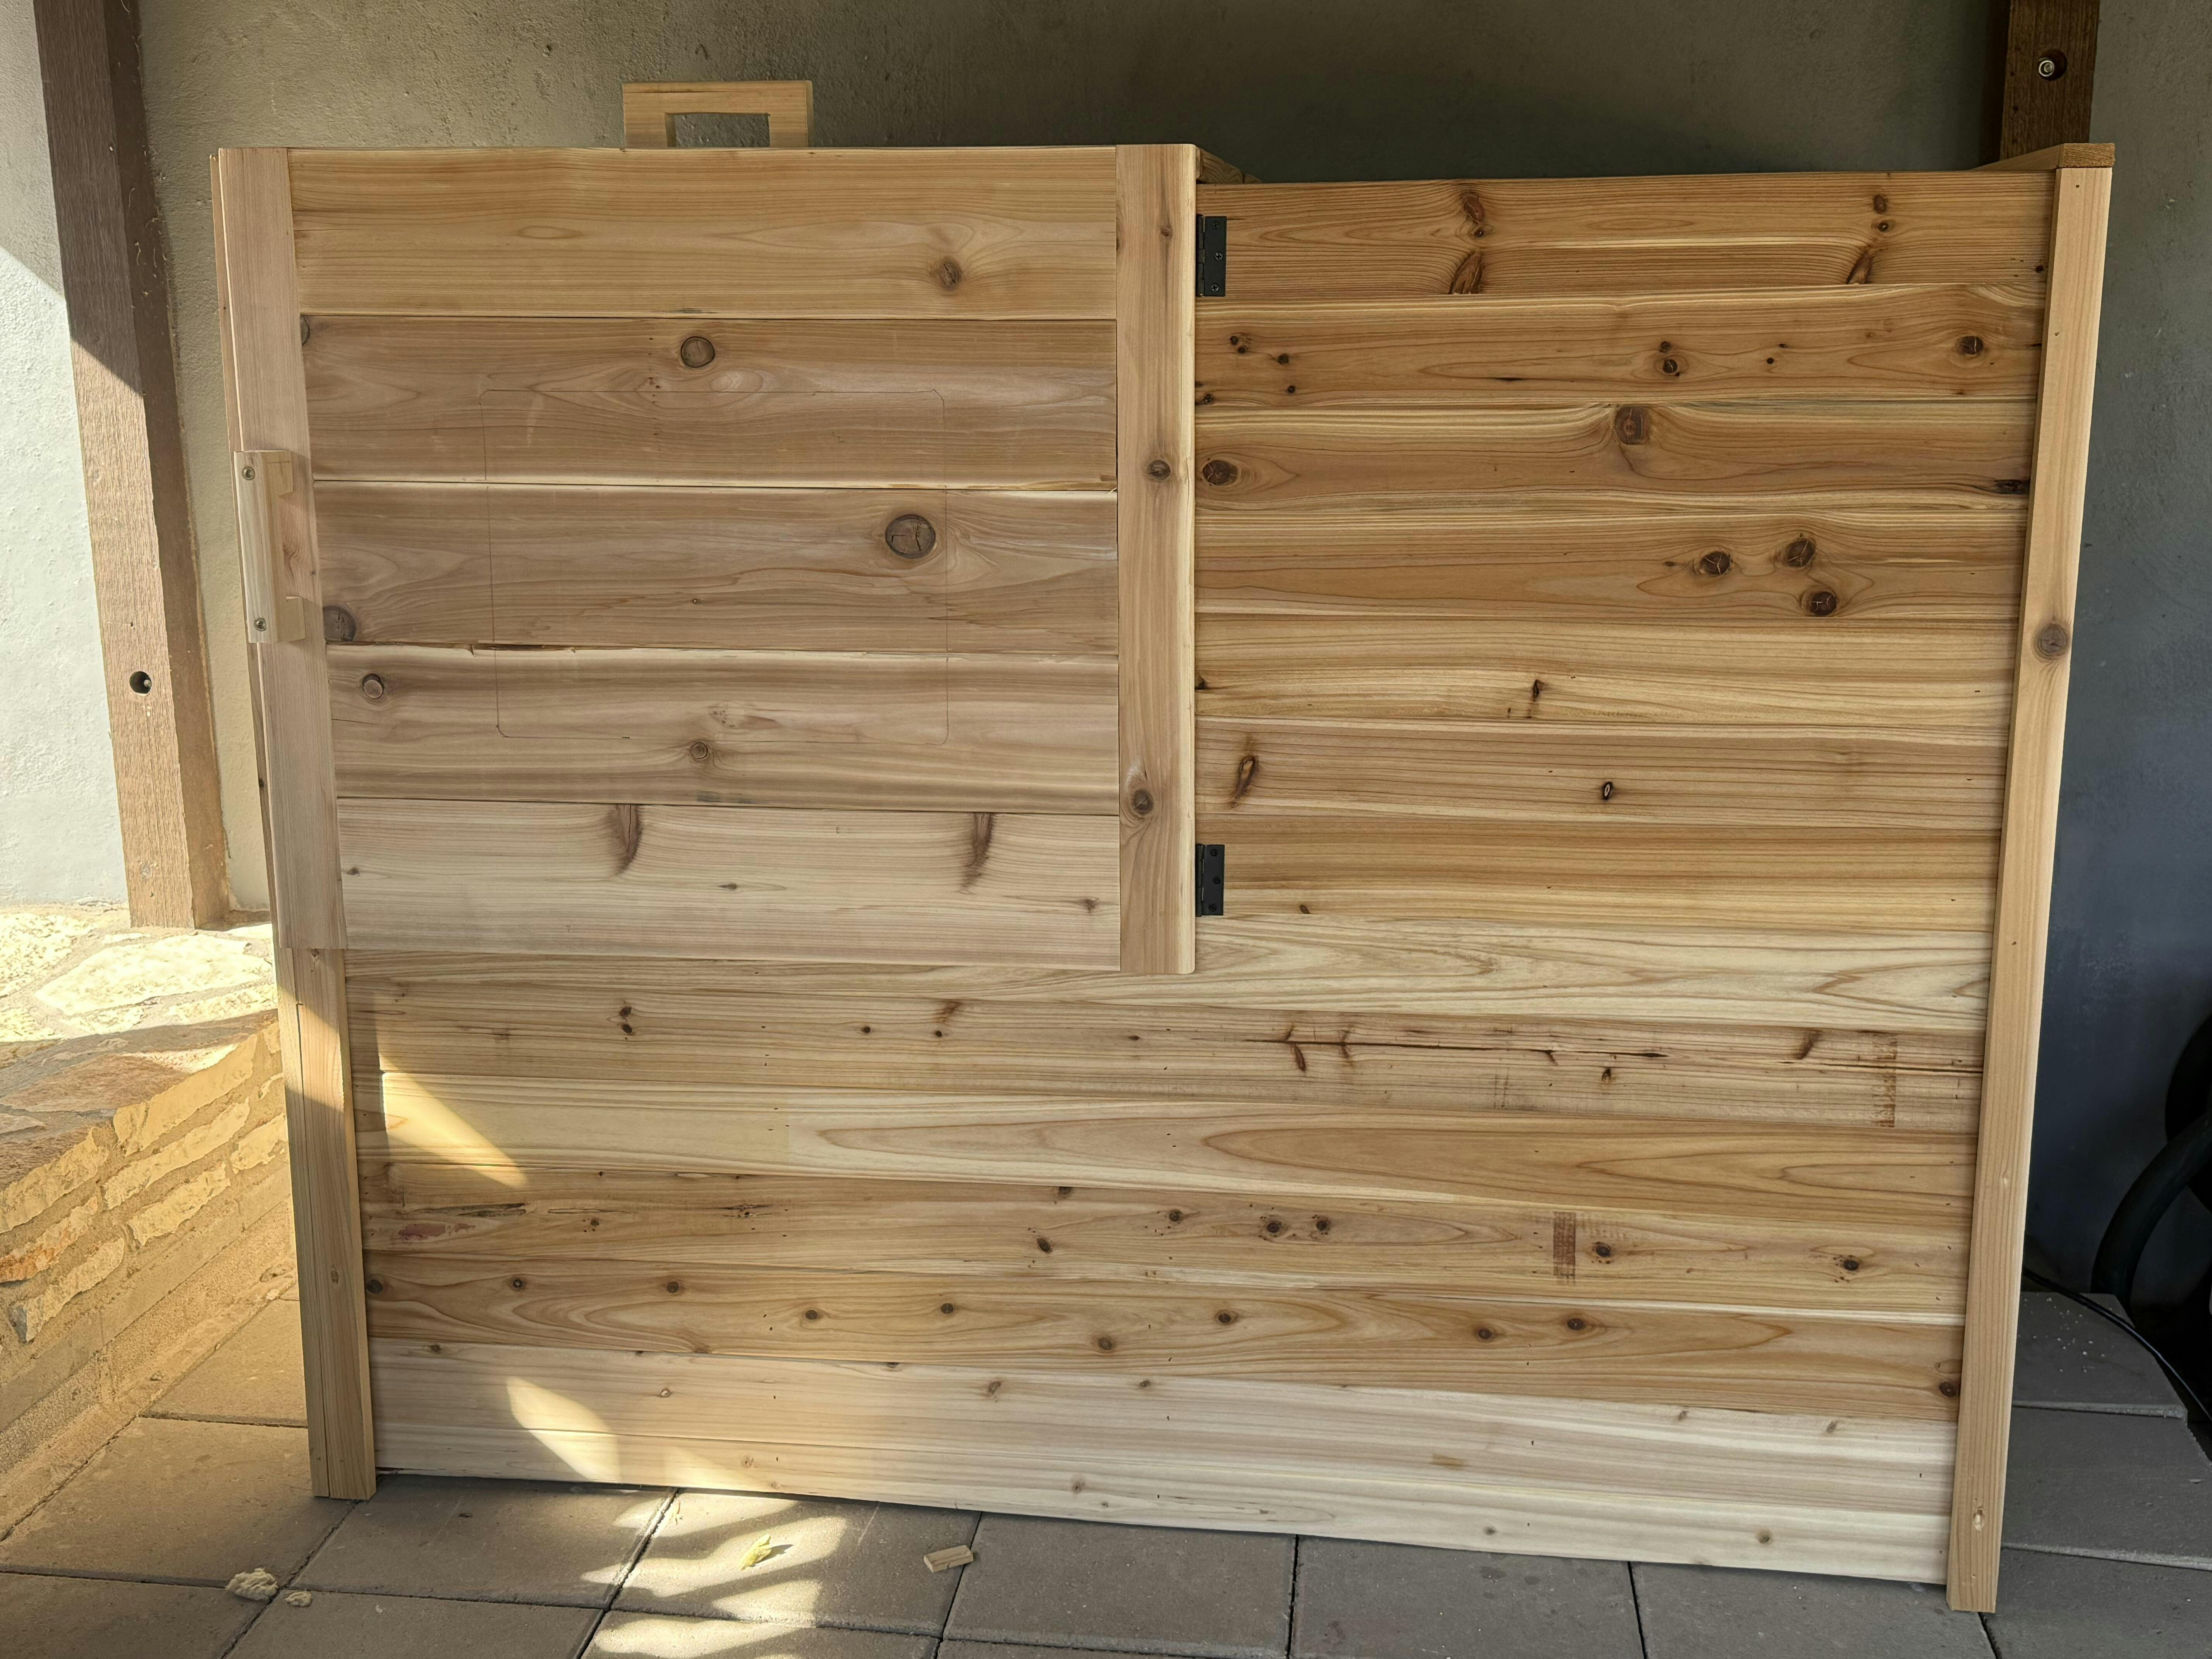
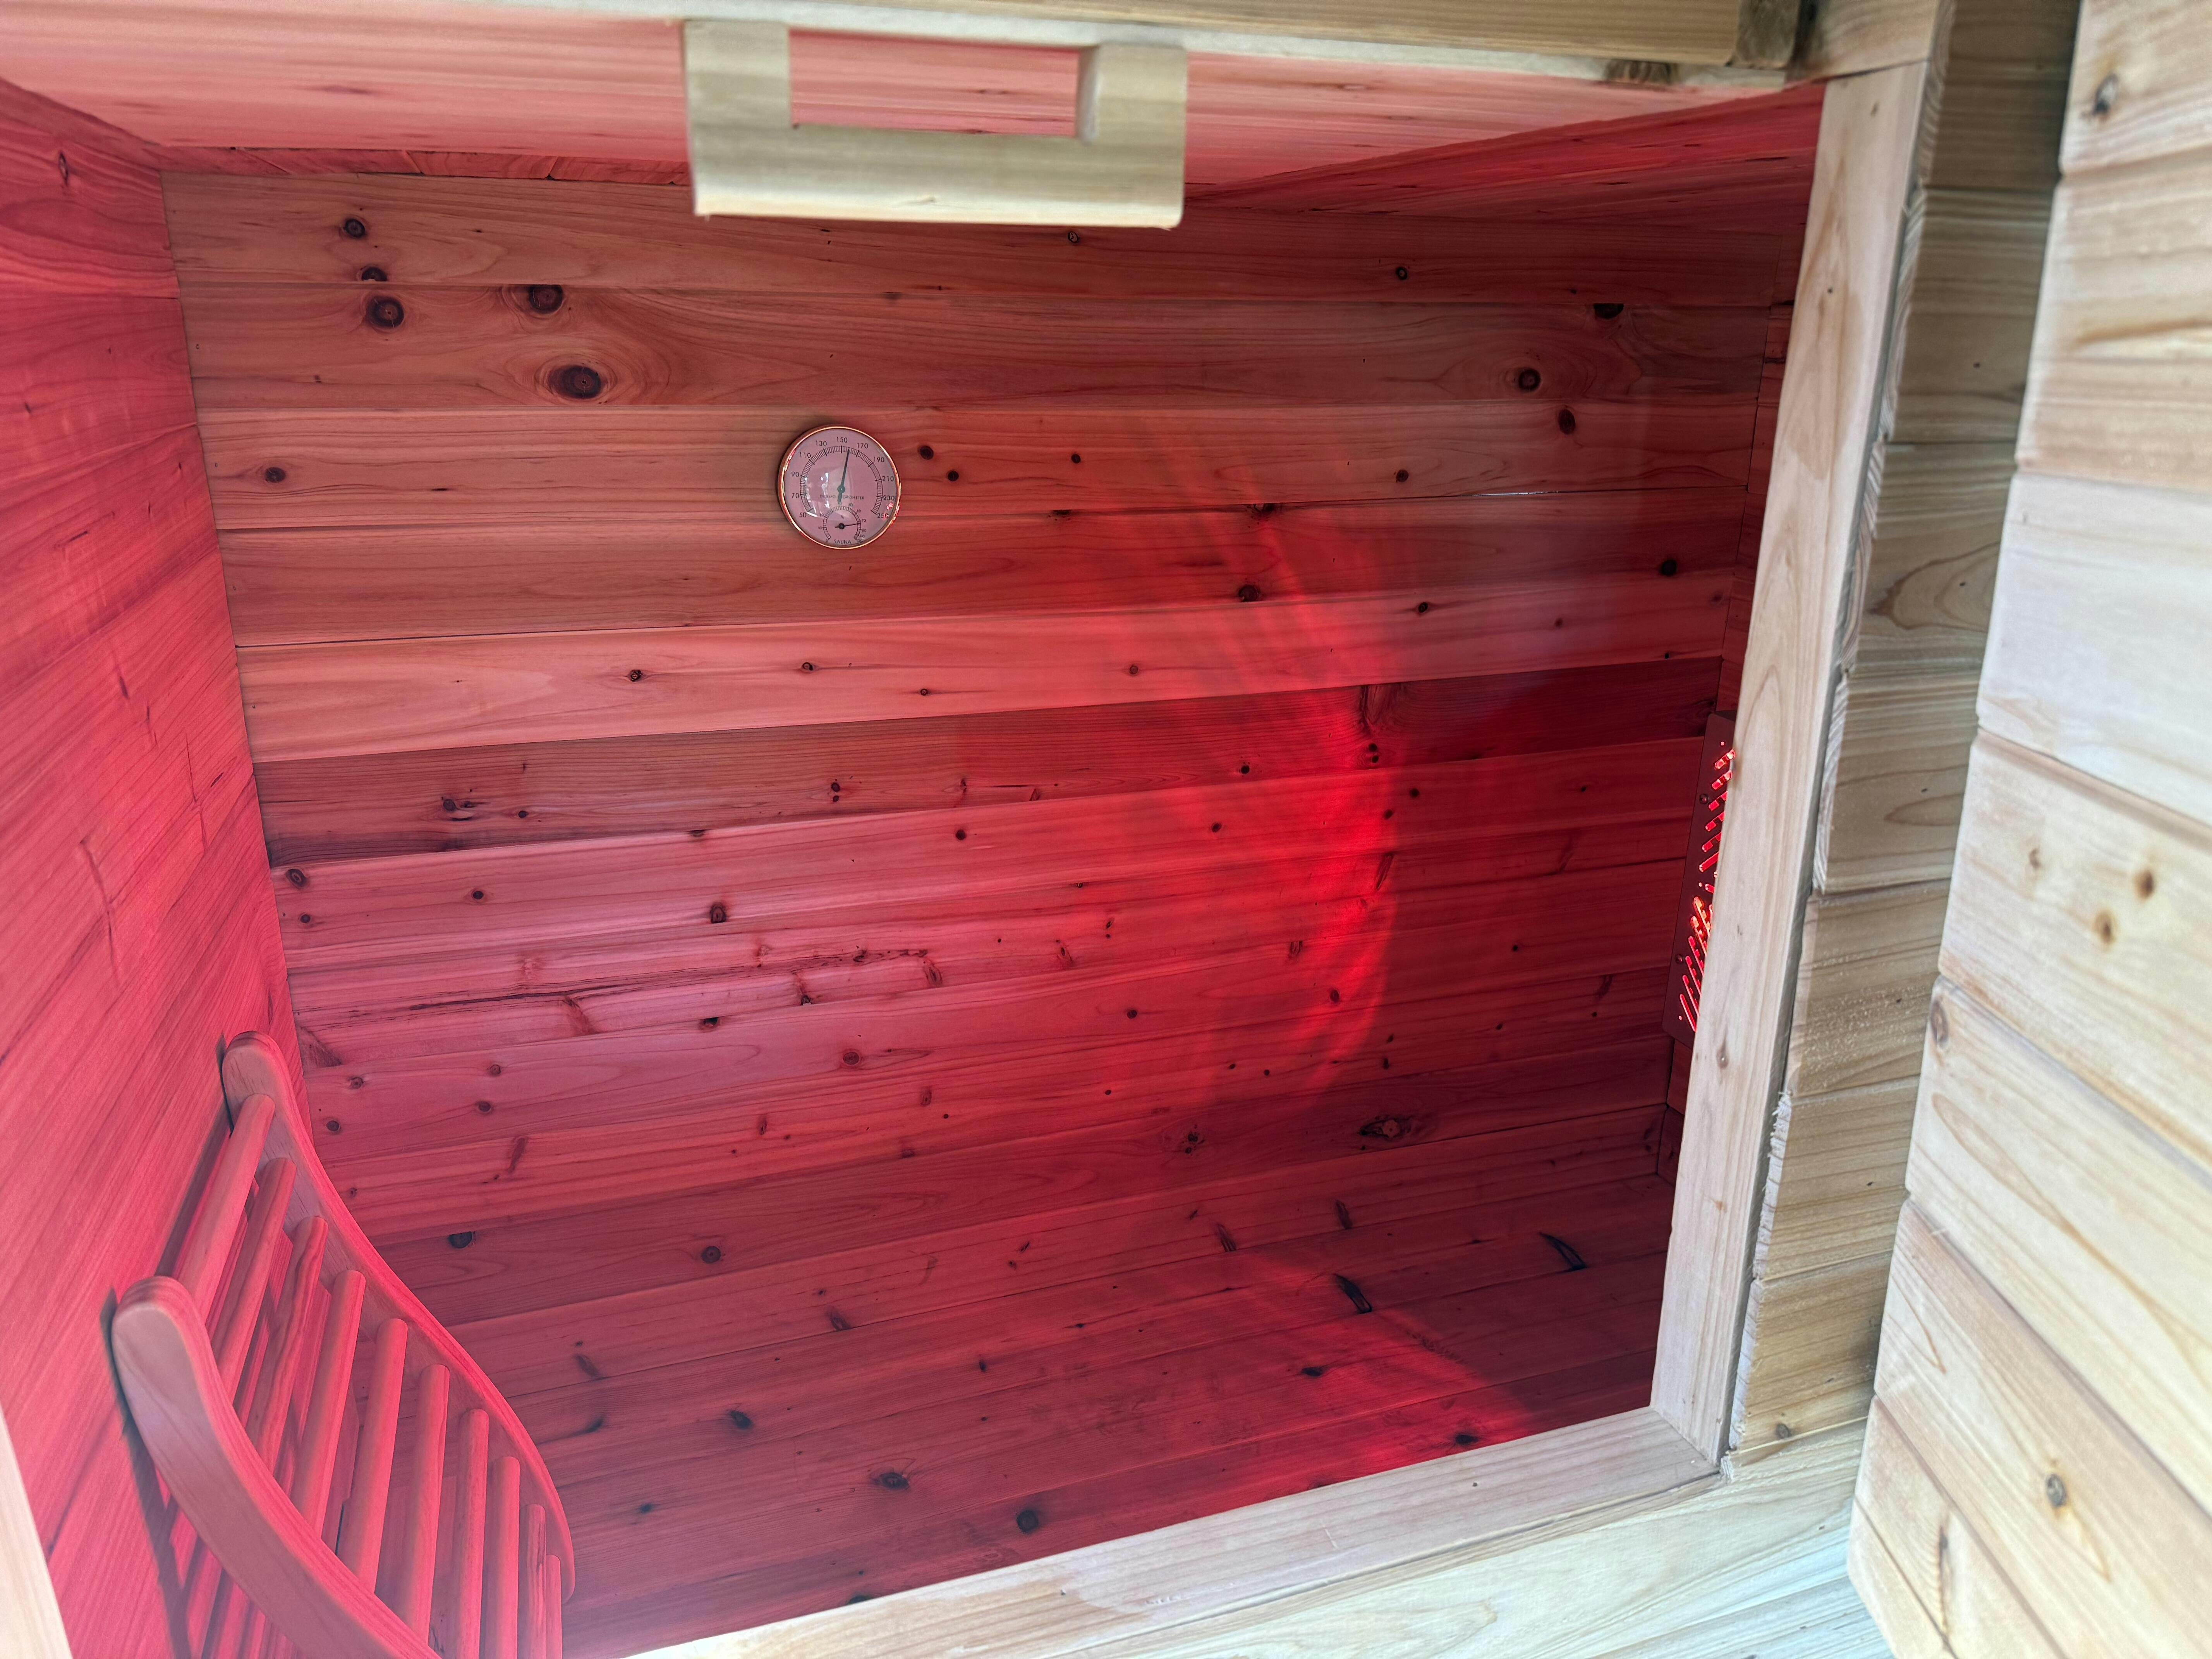
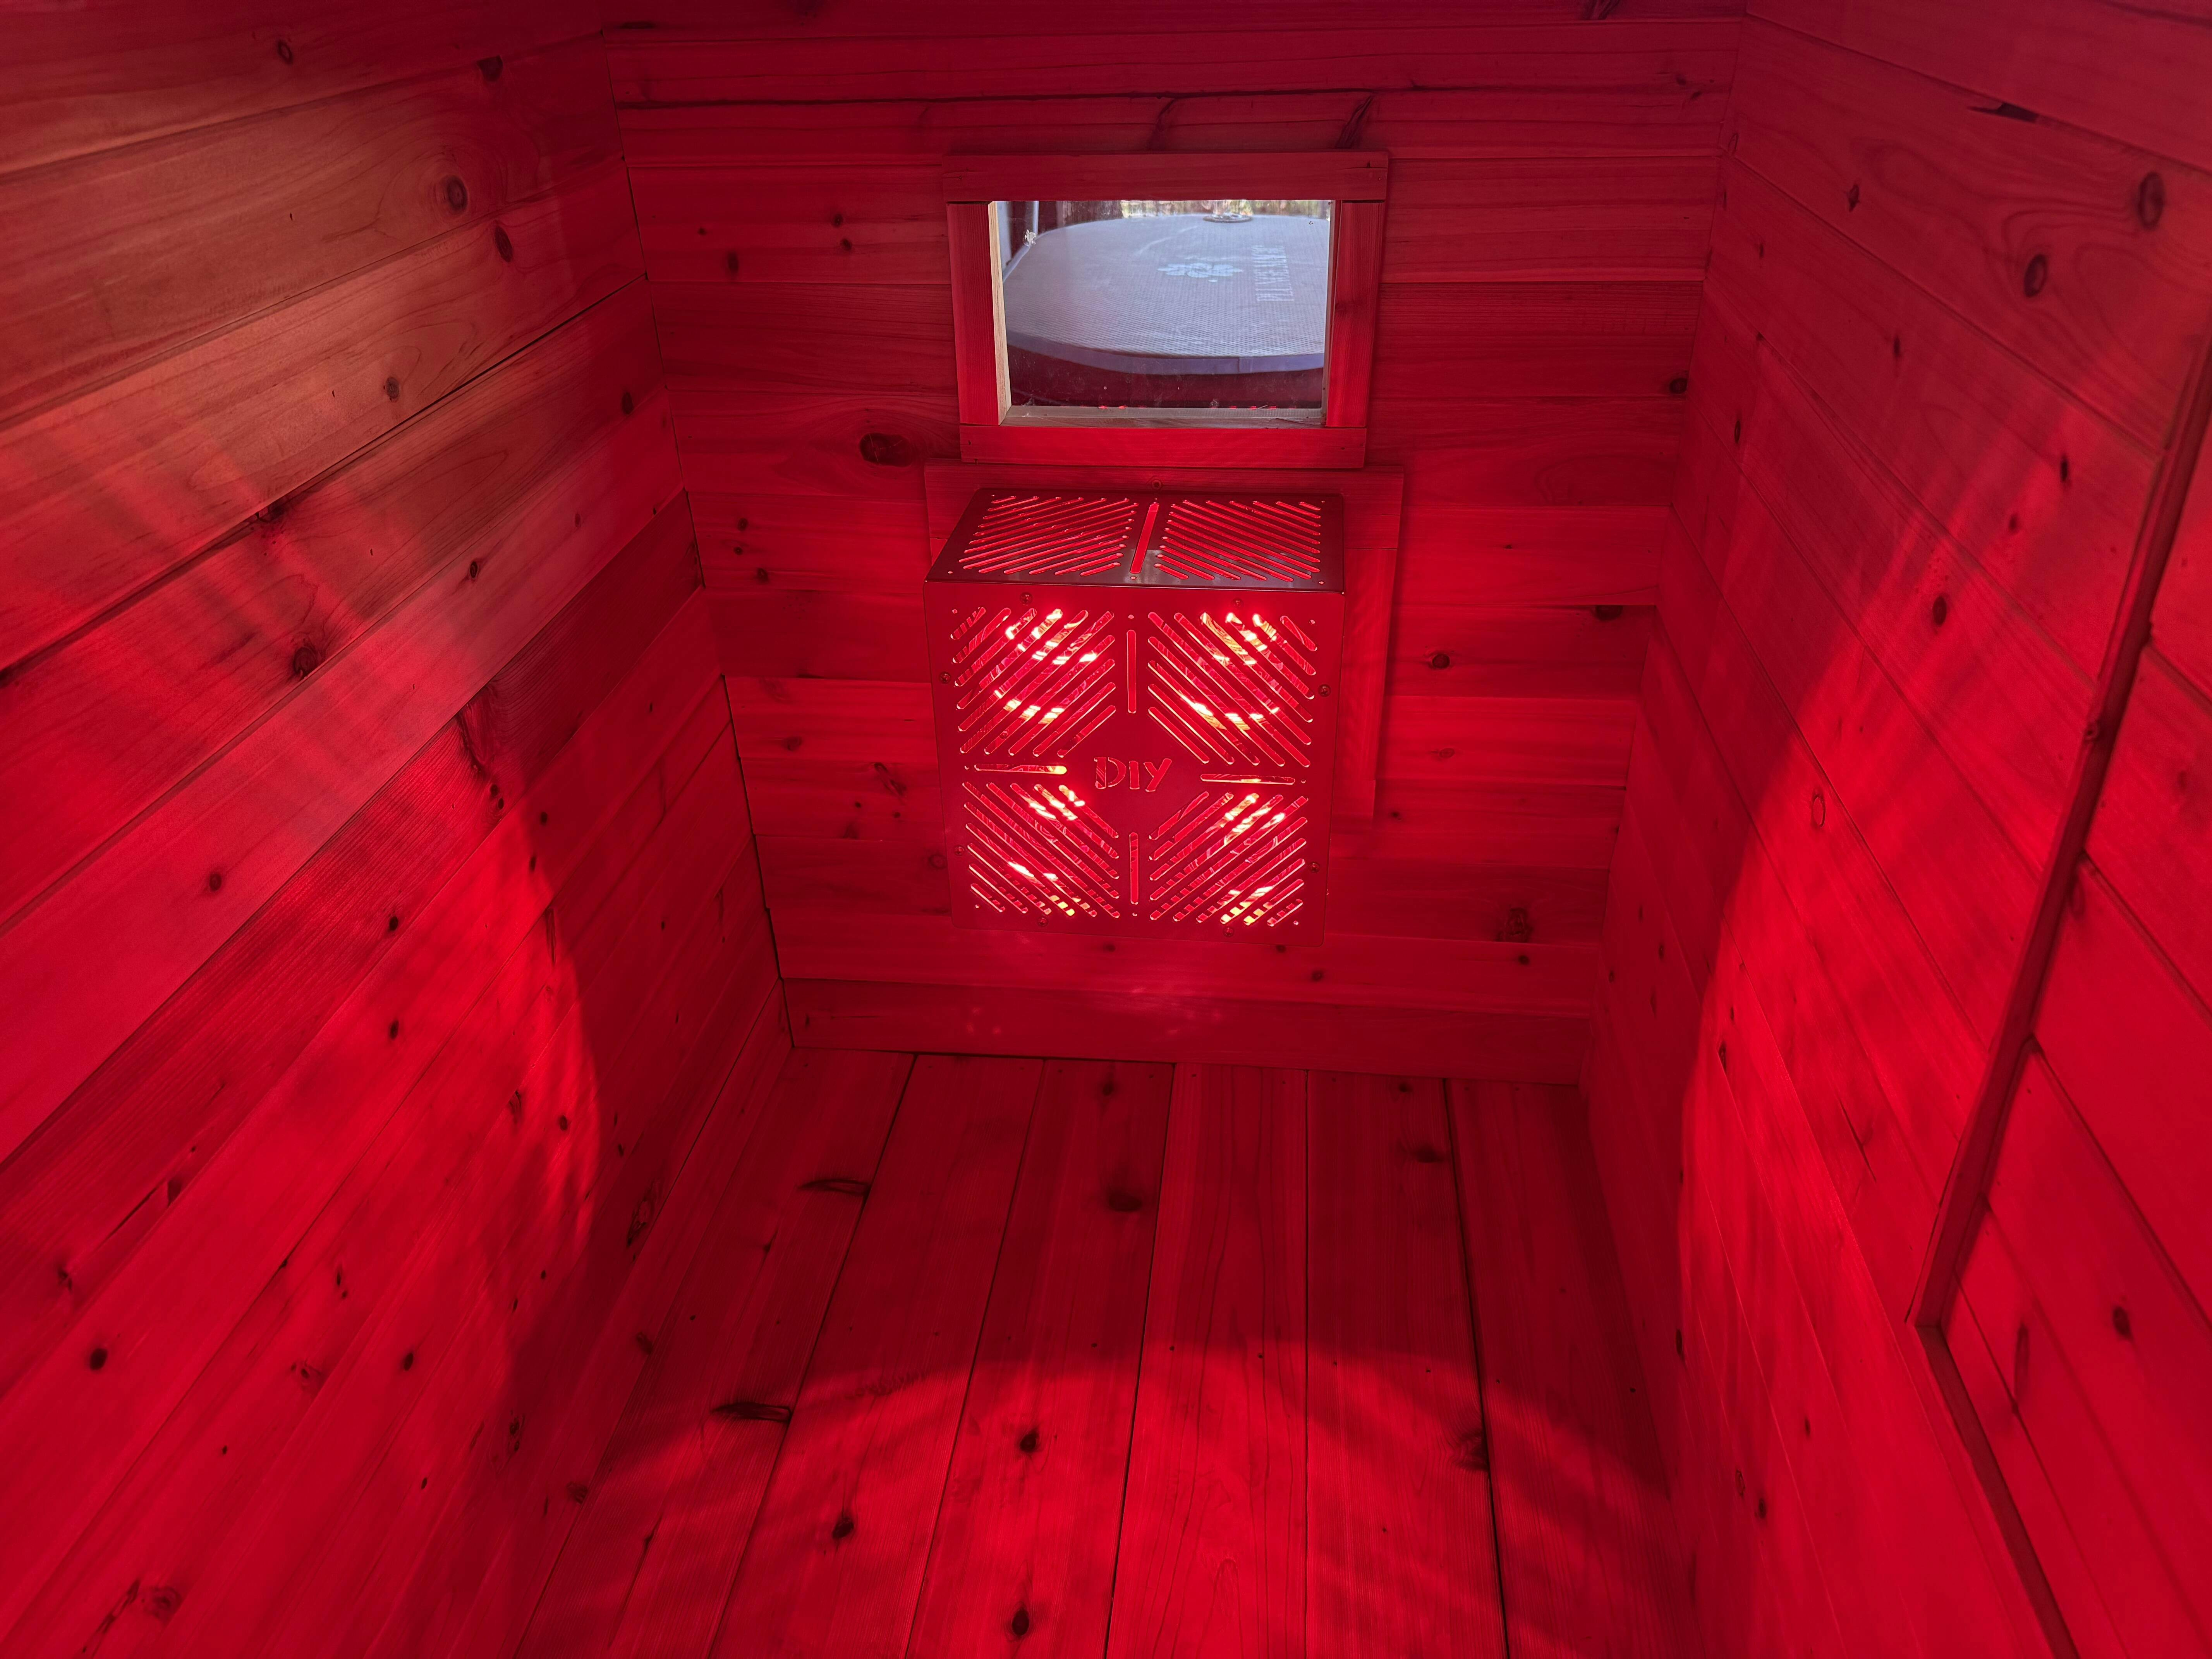
Very happy with my sauna works exactly as described. I reached out now a couple of times during the build process his response was second to none. In most cases he was back to me within hours. On top of the the video instruction he does is extremely well thought out not leaving out any detail. 10 out of 10 would recommend to anyone looking for a budget sauna that reaches high temps.
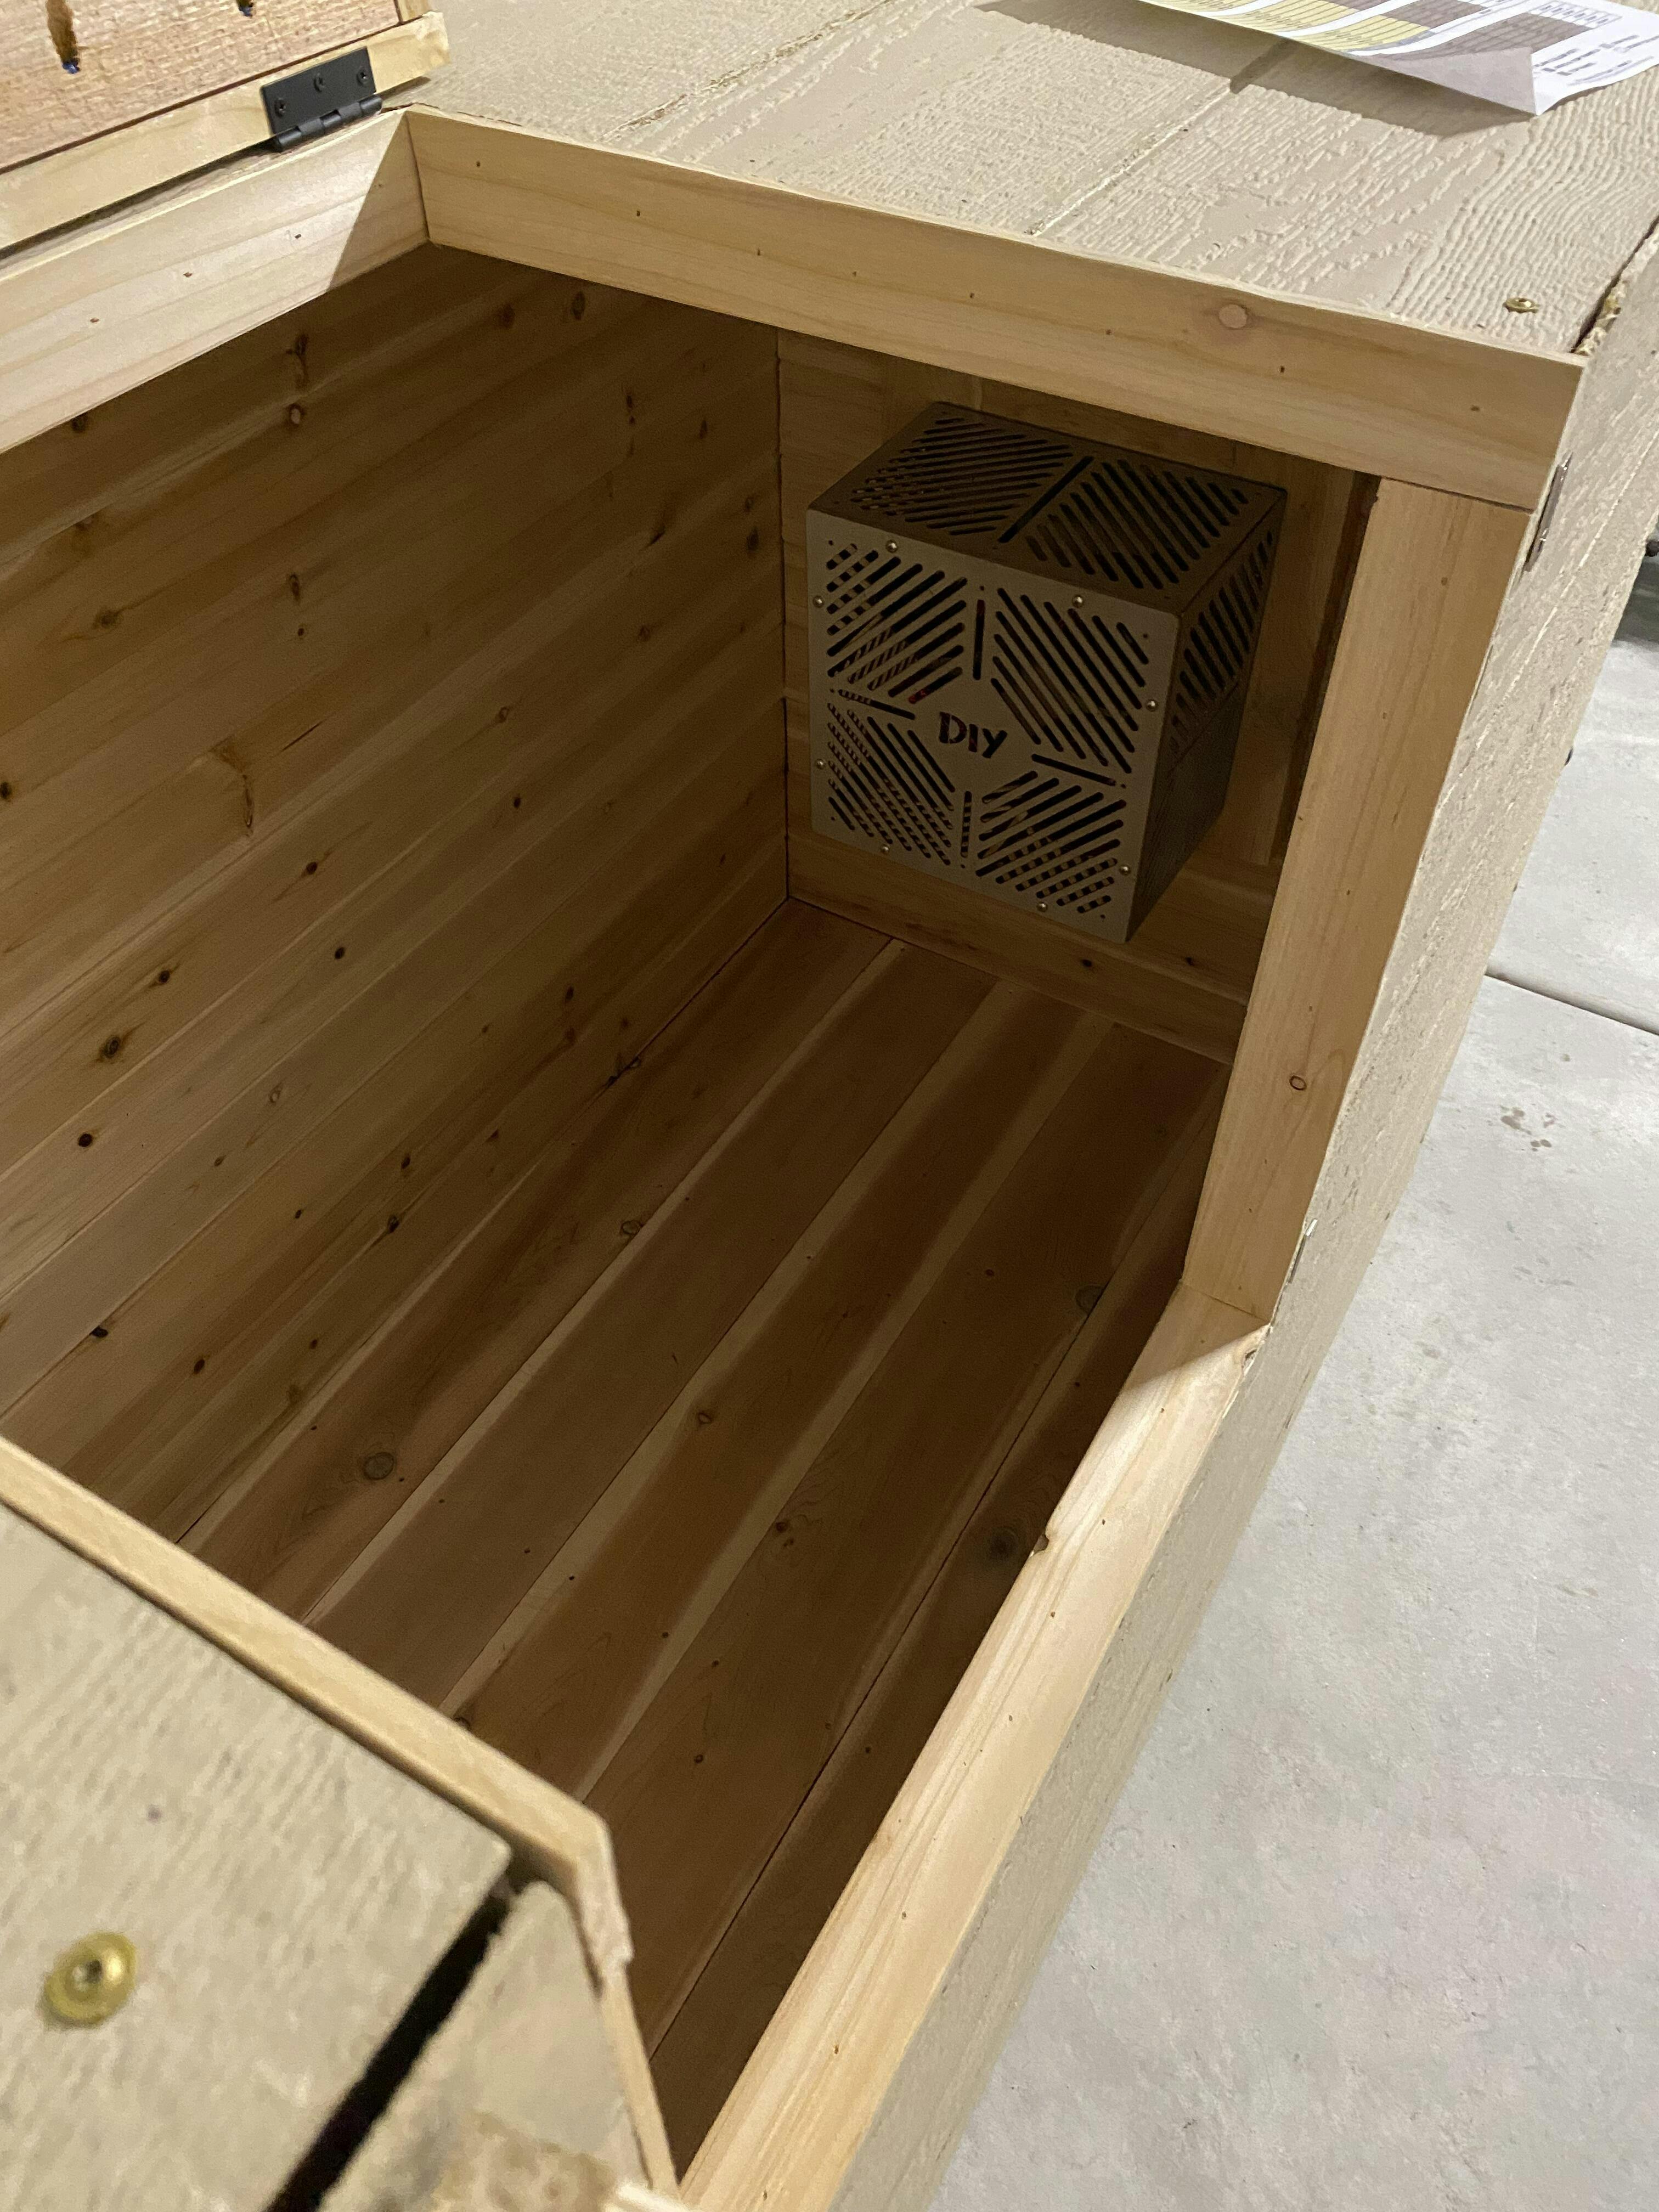
A great addition to the Sauna. Joe’s instructions were clear and easy to follow.
Great plans, the videos are especially helpful to follow along with.This sauna is a beast!!! So sturdy and well designed.