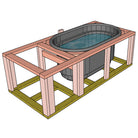
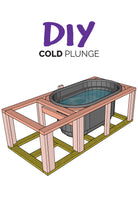
Couldn't load pickup availability
Please note - this plan is for either the 100 gallon Rubbermaid Stock Tank or the 150 gallon Rubbermaid Stock Tank (I got mine at Tractor Supply).
This is the step-by-step plan to build a frame for your tank that includes a mechanical area designed for a Penguin 1/2 HP HE Chiller, Pump, Ozone & Filtration System. Make sure to check measurements of your equipment before starting your build.
**I do have a full step-by-step tutorial on YouTube for this framing project**
My YouTube Channel will be a great resource in addition to this PDF. Make sure to follow me there, on TikTok & Instagram - @DIYCOLDPLUNGE
I would also recommend joining my private group on Facebook, we have thousands of people learning and experimenting with different set-ups.
Rough Footprint:
Worked great.
Thought it was plans to build the whole cold plunge from start to finish. Didn’t realize it was plans to build a wooden box.
Warning: the link to the pressure treated lumber is wrong and will lead you to purchase the incorrect material.
Joe has done a fantastic job of designing and detailing what I consider to be one of the best DIY cold plunges. I have had my cold plunge for nearly two years now and it is still running strong. I get so many compliments on Joe’s design. I am about to build a second unit for another location. I have done a lot of research on buying a premade unit this time around, but nothing that I have found can match the design and functionality of Joe’s DIY. I’m a happy customer the second time around!
I struggle a lot with anxiety. One of the things that I’ve learned that helps, especially when panic starts to set in, is sticking my face in cold water. But sometimes a big bowl of ice water isn’t enough. A 100 gallon stock tank will go a long way to help me when I need to chill out. I’m so grateful for Joe and these plans. He makes it easy, And even when you don’t understand all those easy steps that he lays out, you can email him, and he will respond quickly and thoroughly to help you with anything that you need. I can’t say enough about these plans, but mostly about Joe in all the support he gives you during your build. If you’re thinking about doing this, just do it and I promise you it will turn out better than you ever imagined.
The short version:
Hi! I'm Joe, and I've helped thousands of people save thousands of dollars by building DIY Cold Plunges and Saunas.
I've got proven, beginner friendly plans and products to bring home BIG health benefits.
Questions? Don't hesitate to reach out 👍
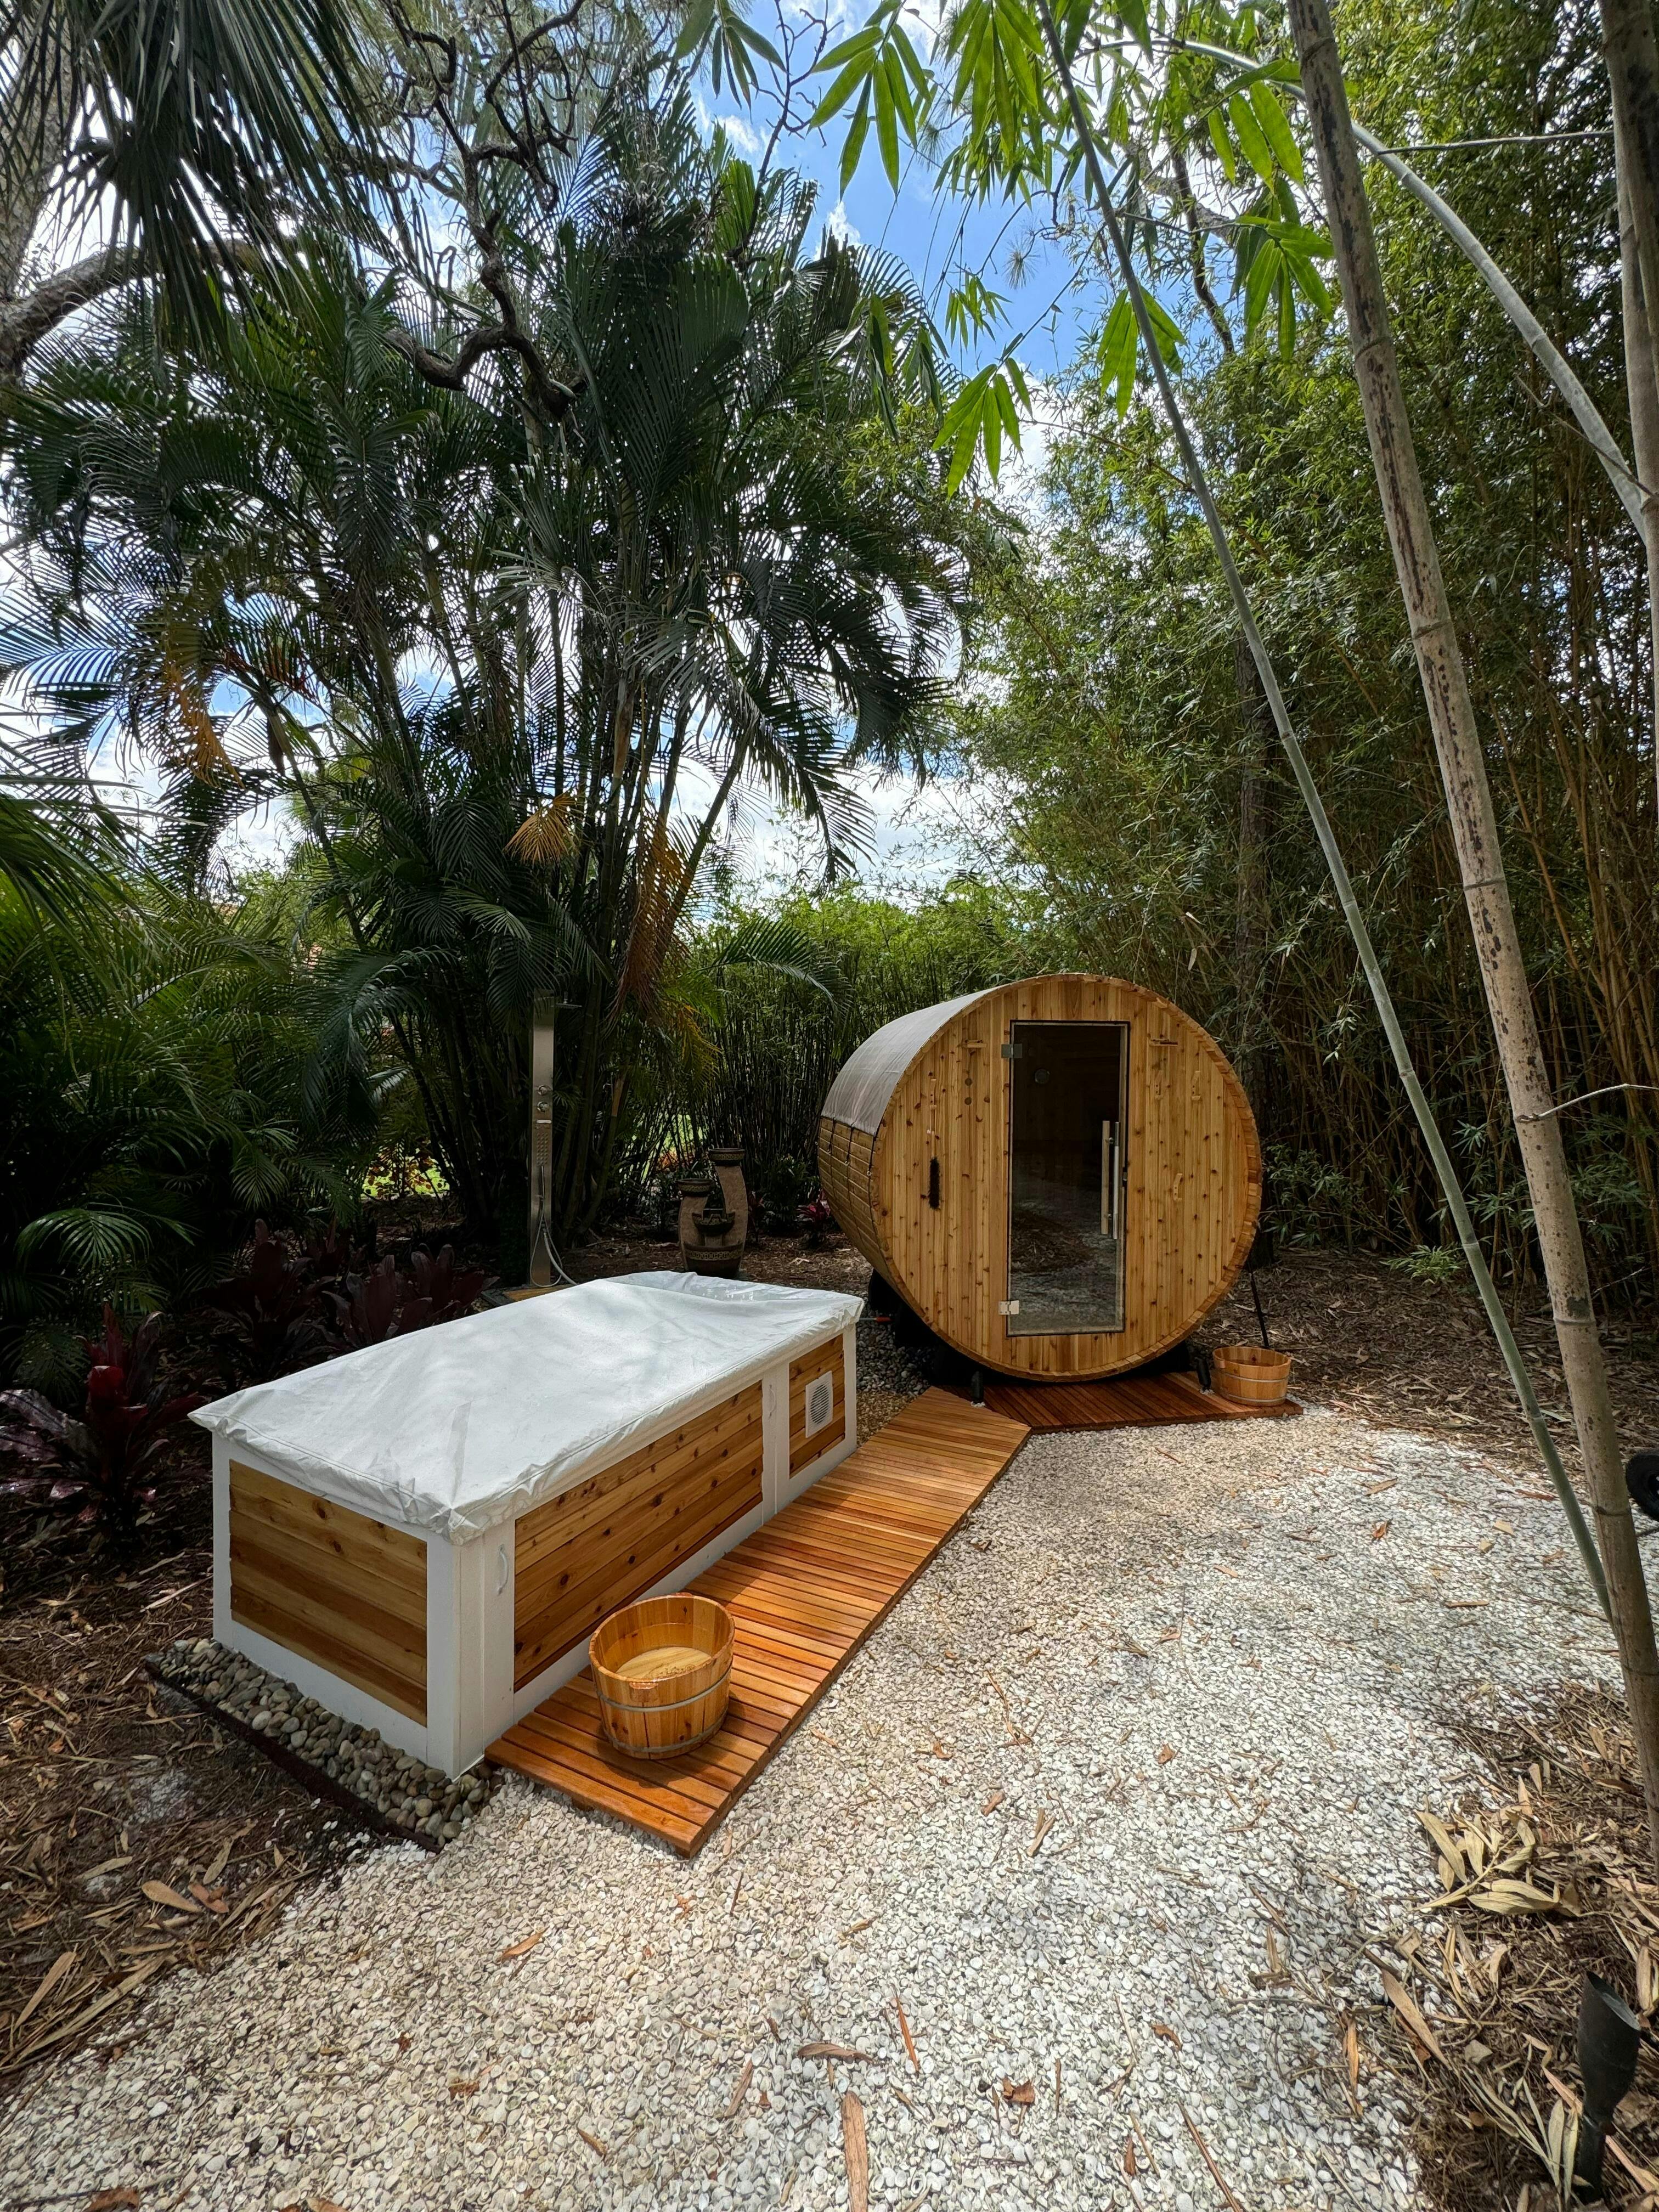
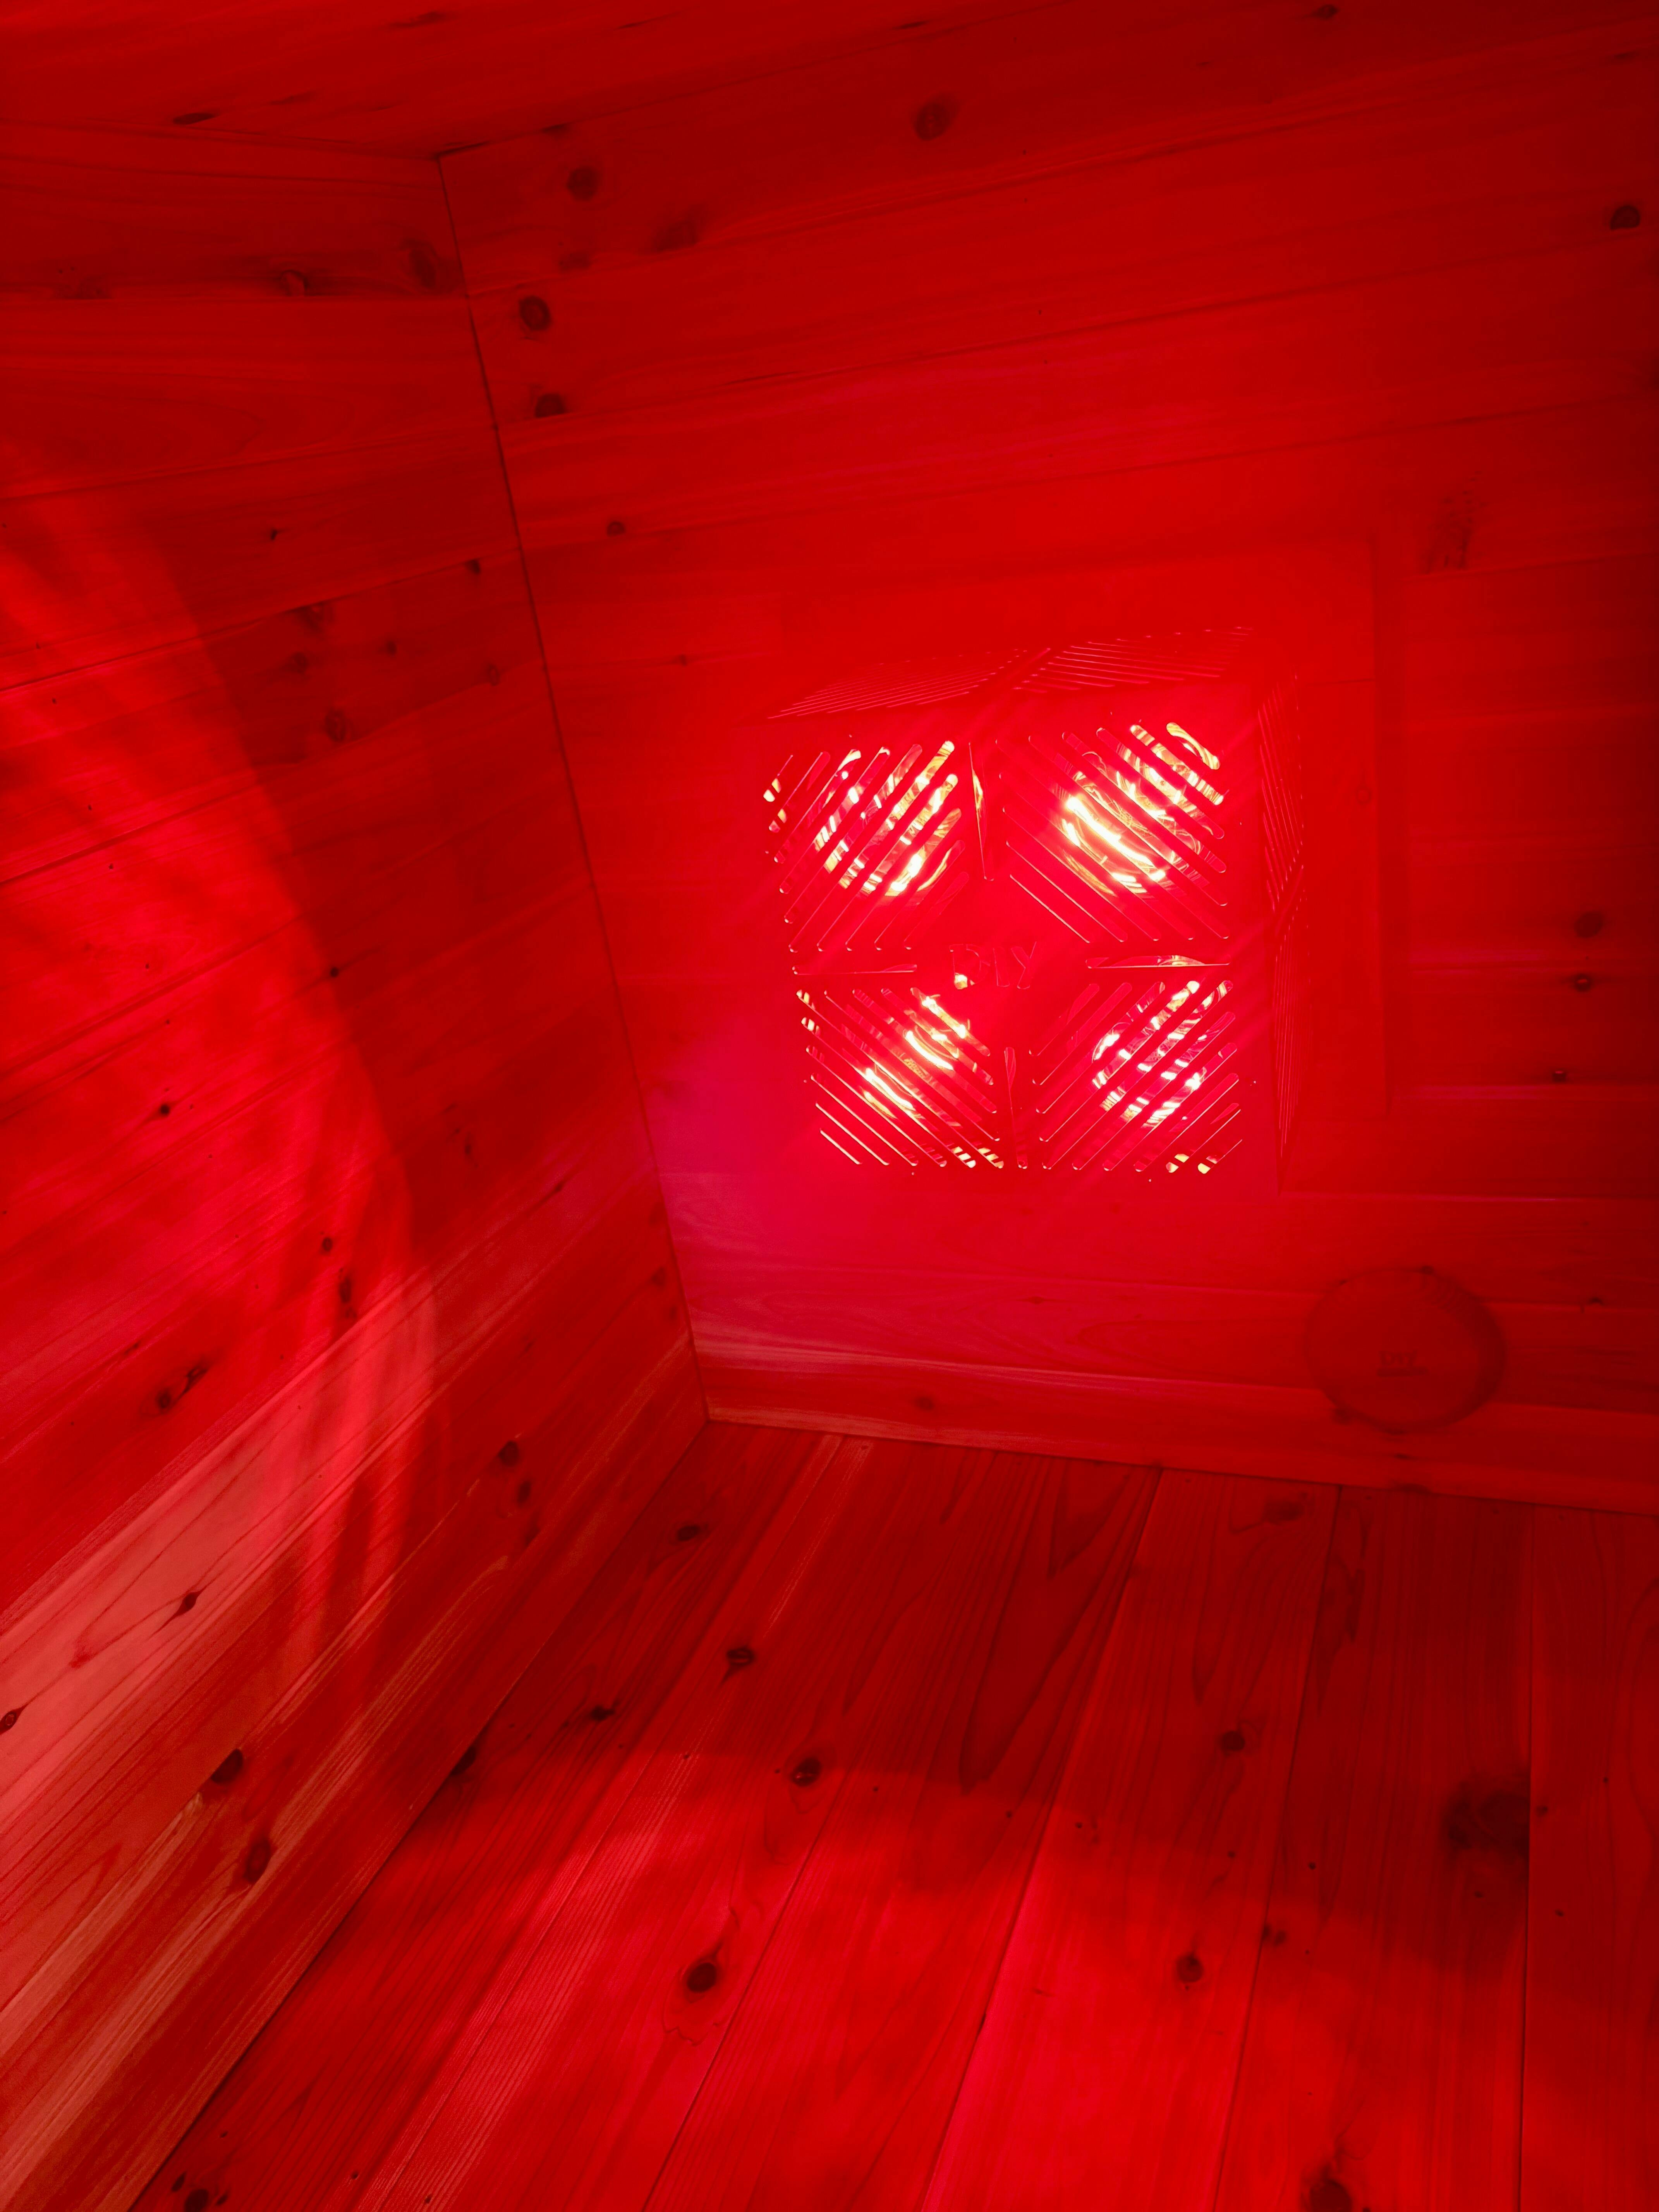
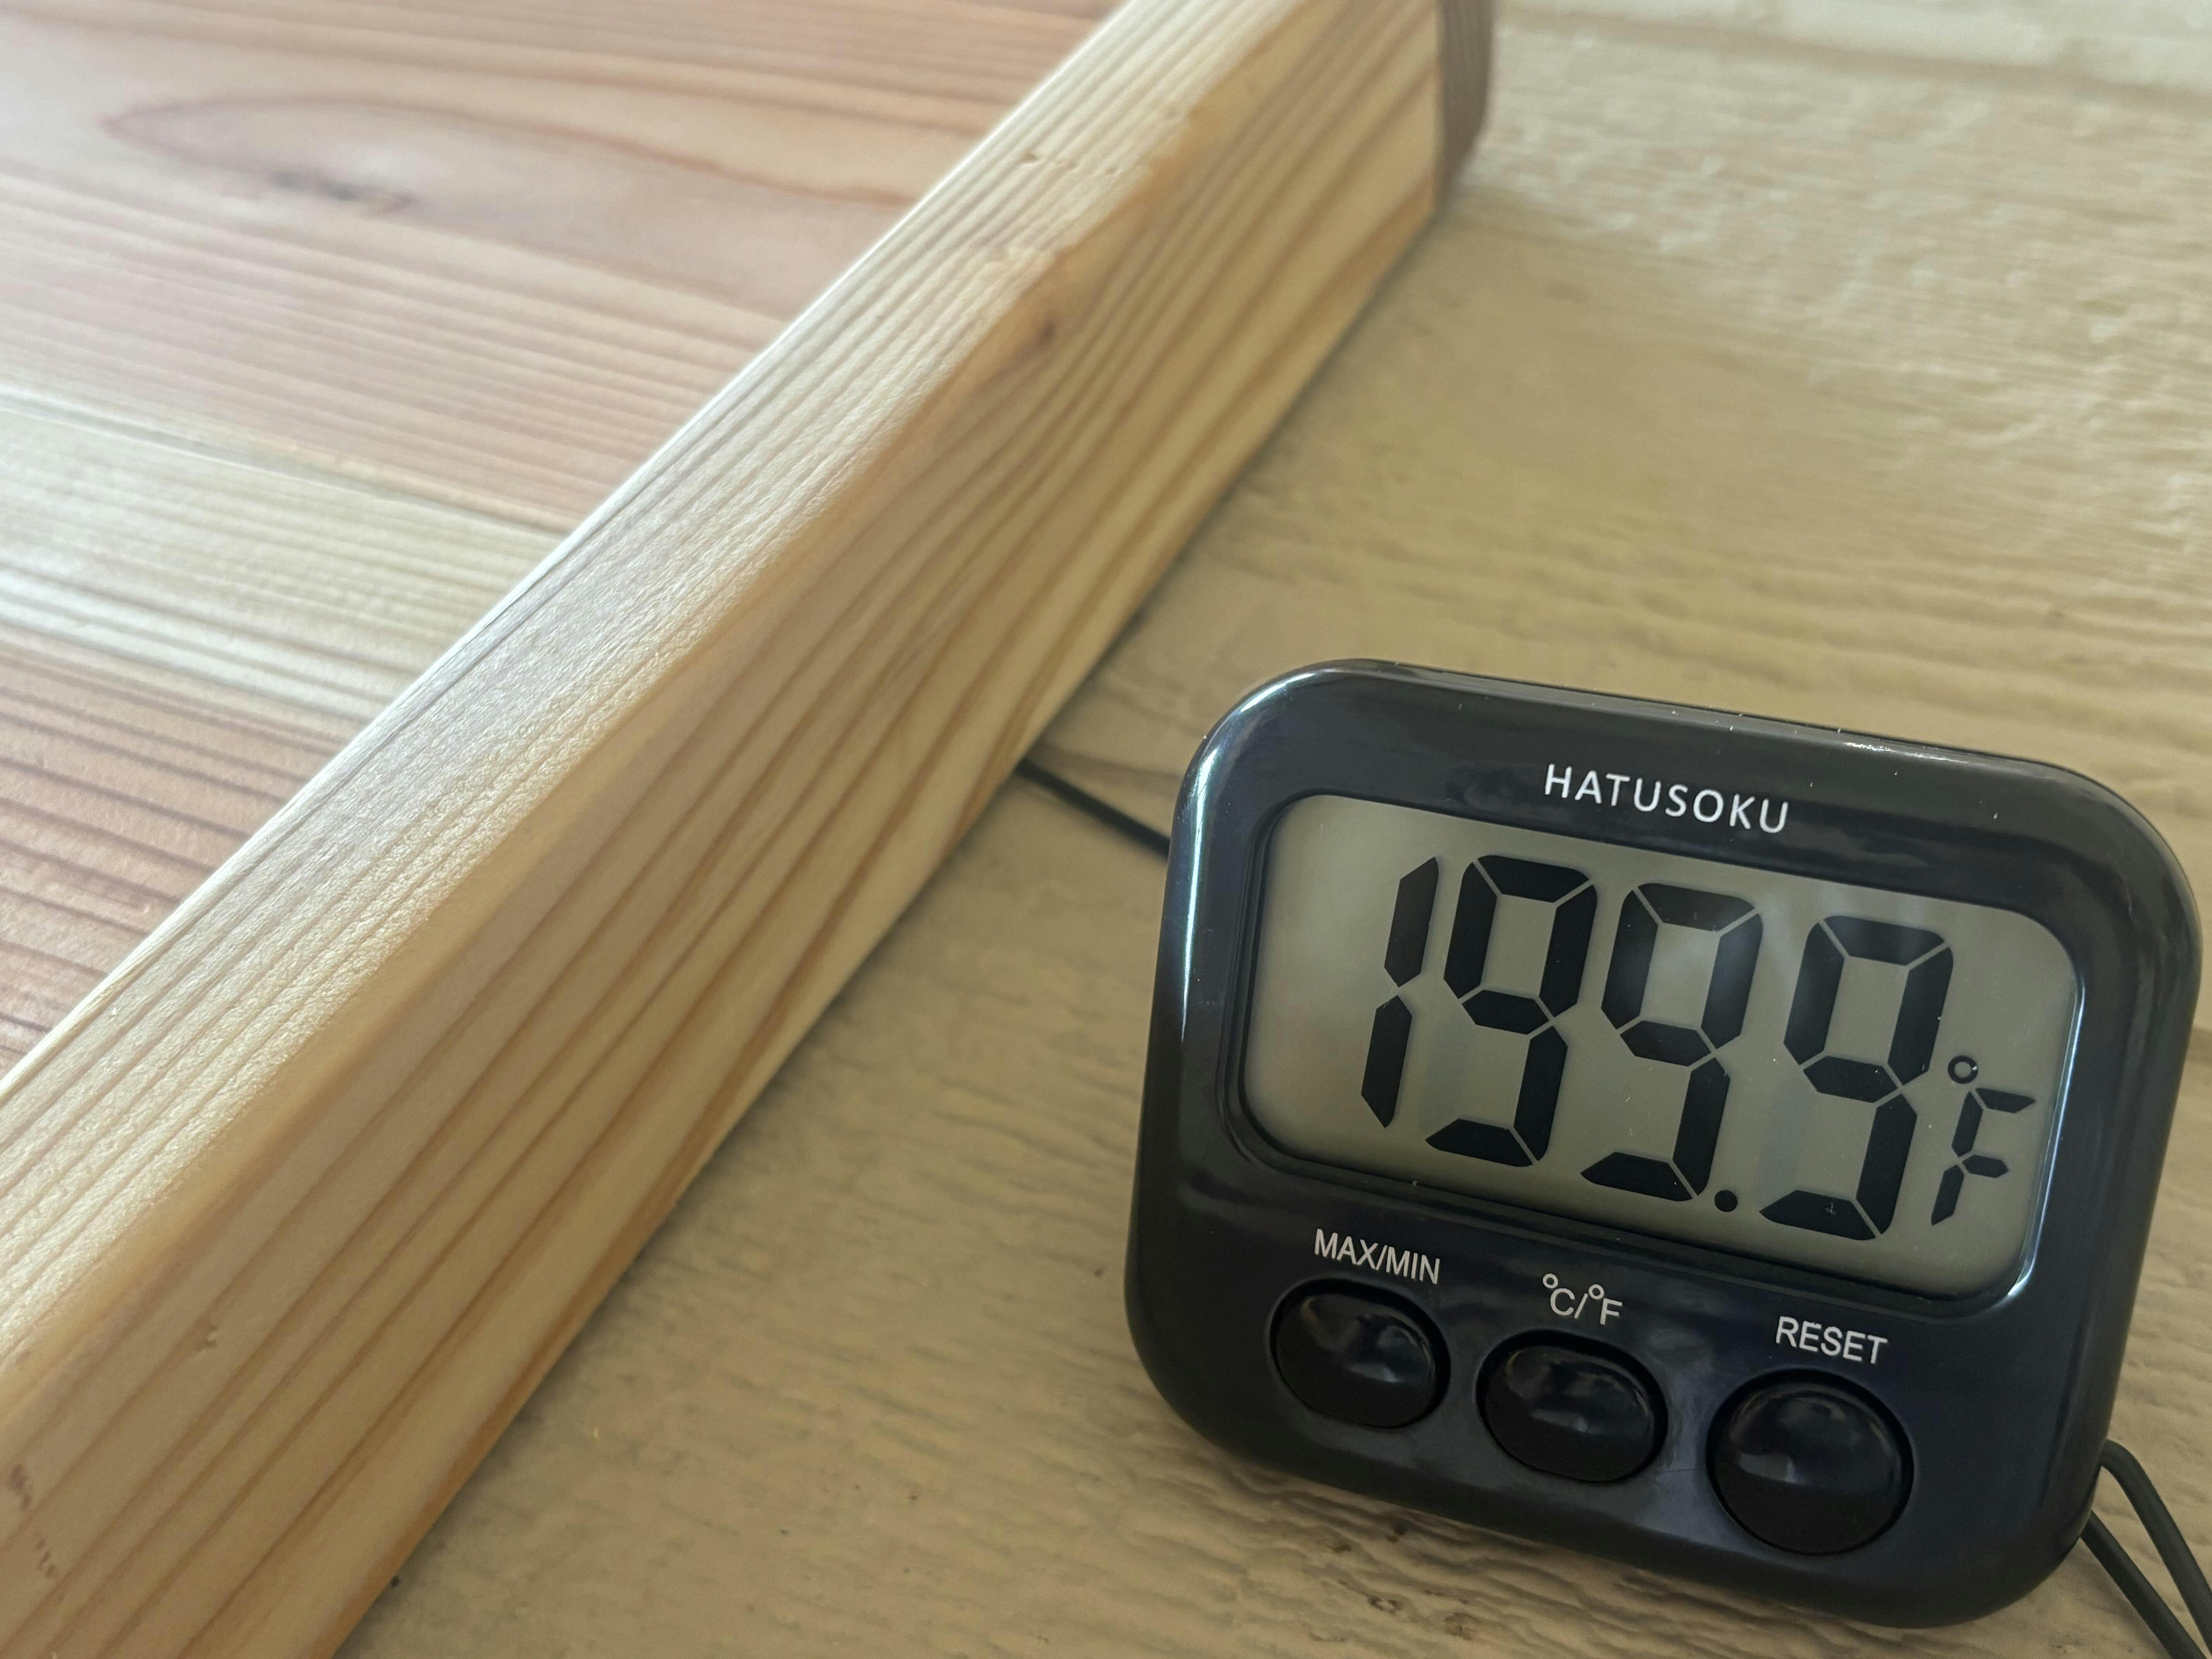
Thank you DIY Cold Plunge and Sauna. This review is for the sauna build which was very fun to put together with my son. We had our first run tonight and it was HOT. We feel great.
Instructions are easy to follow. Can’t recommend this enough.
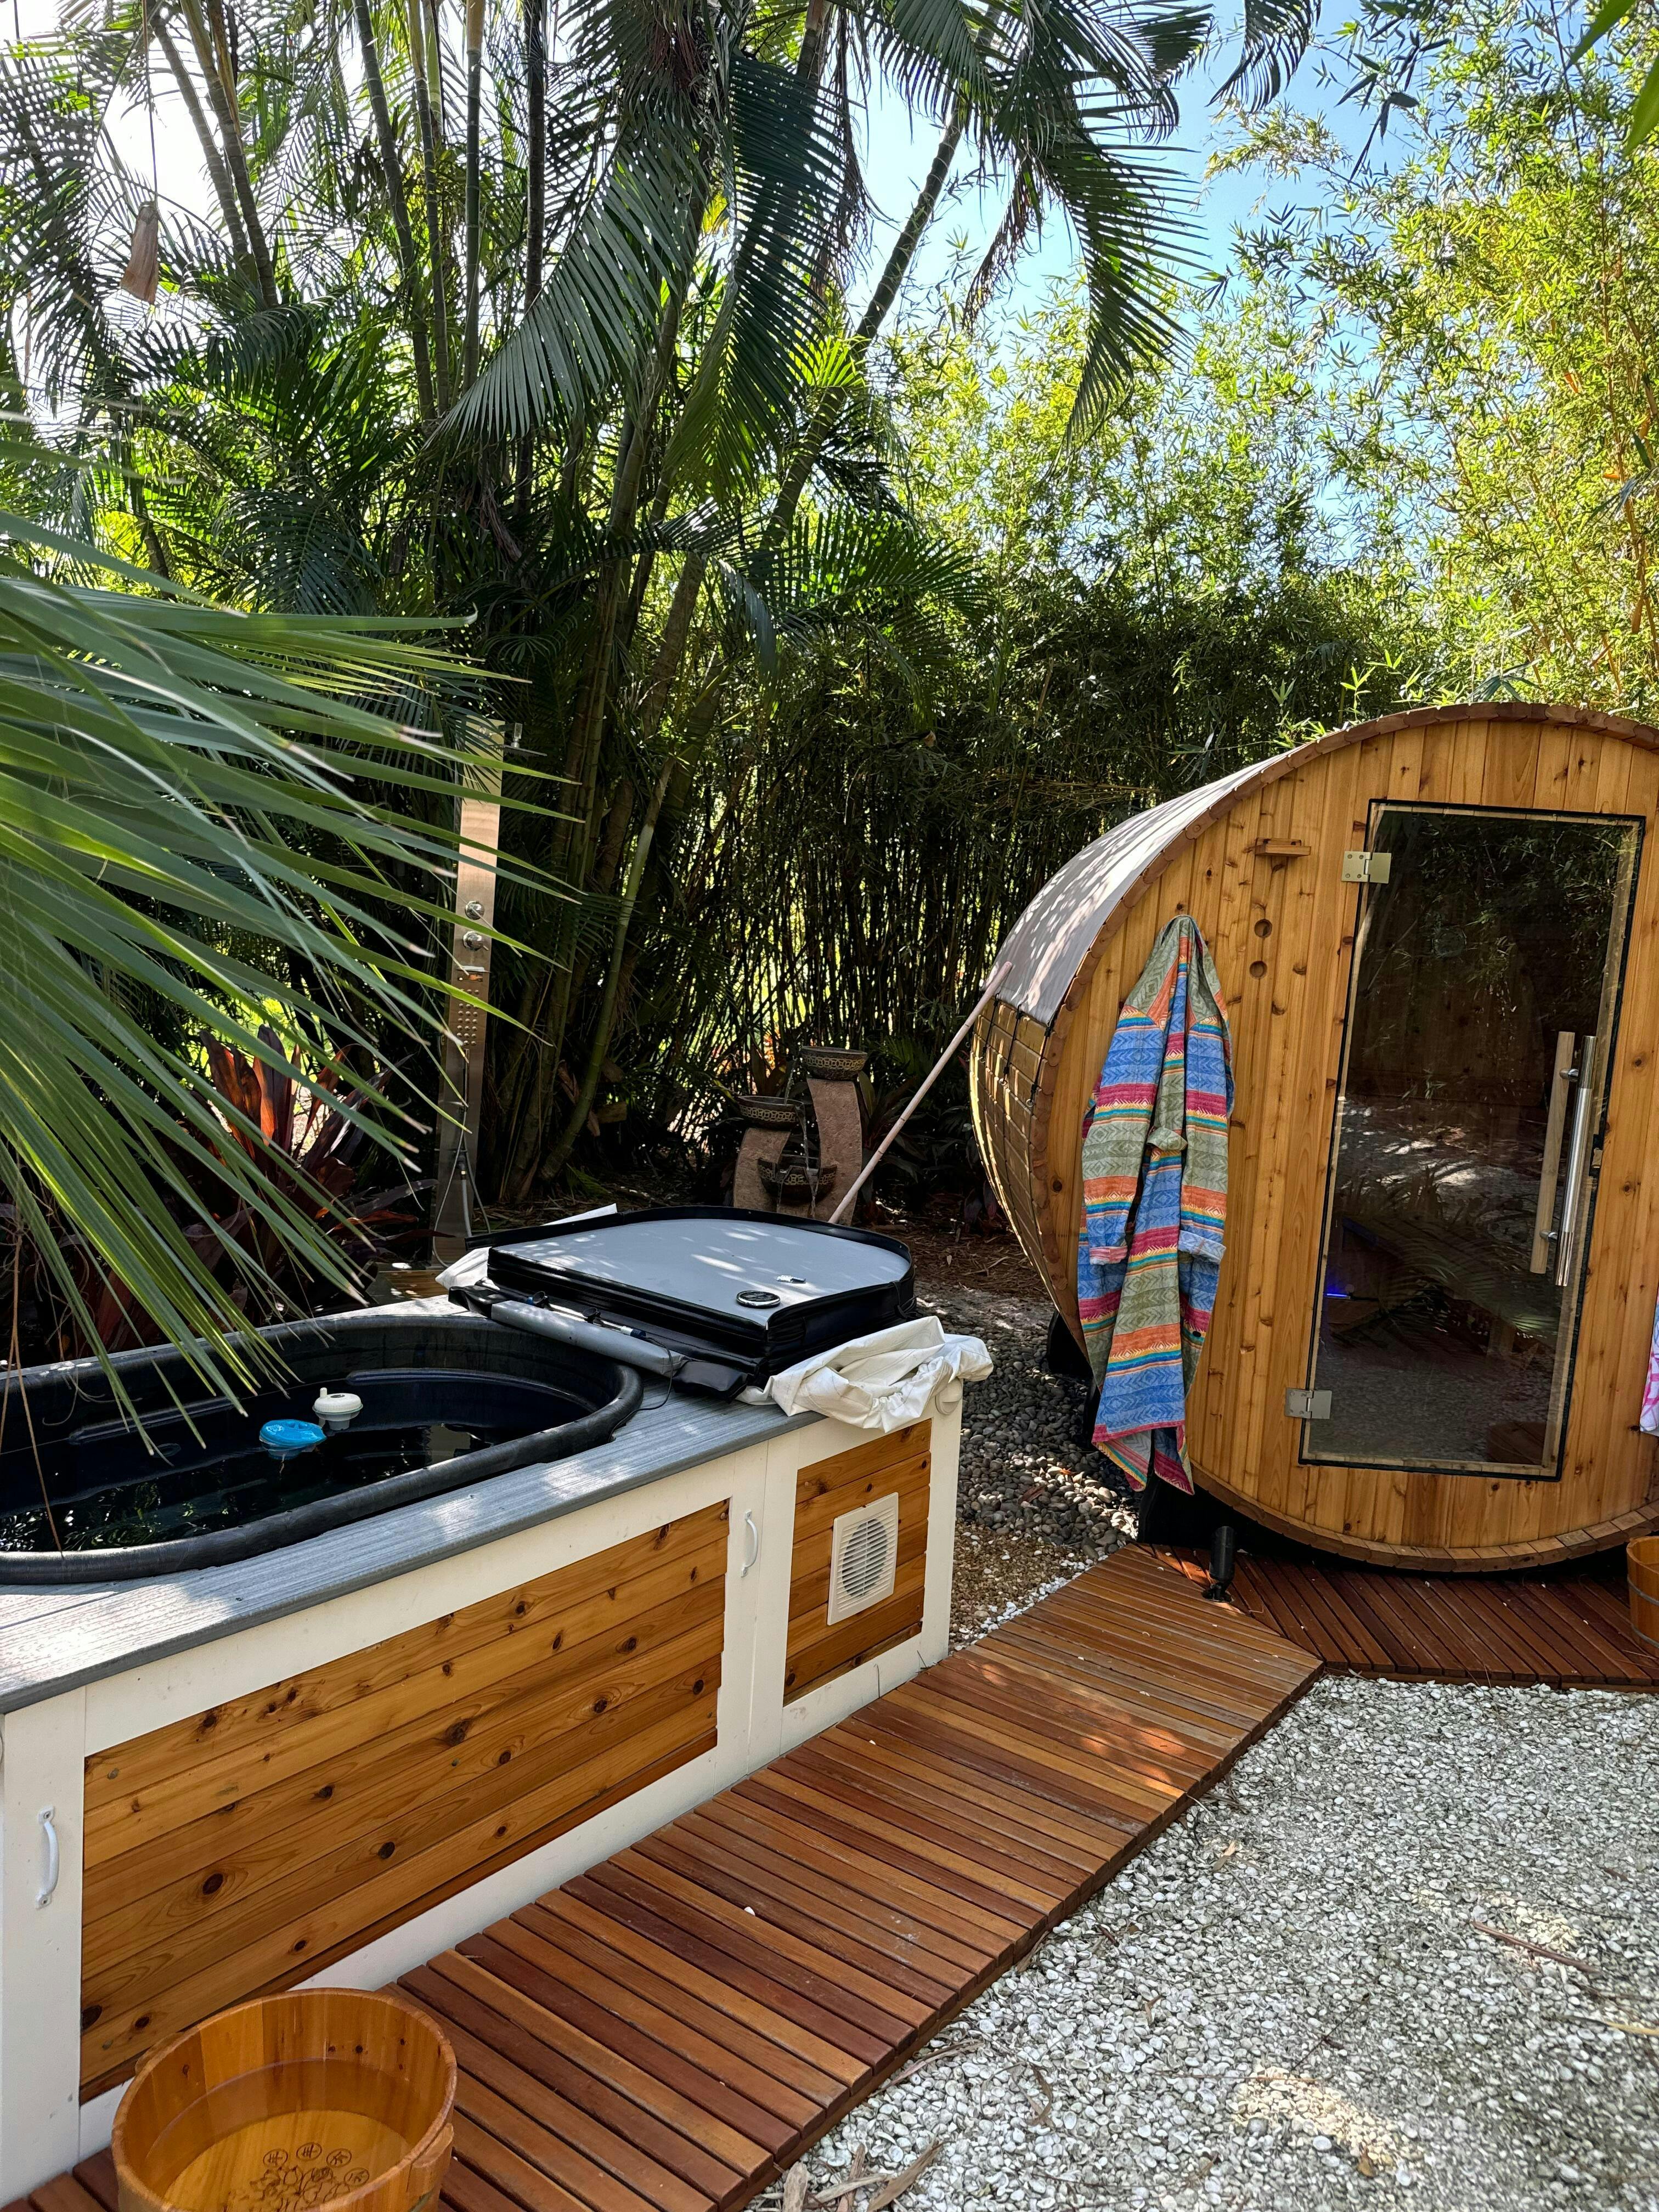
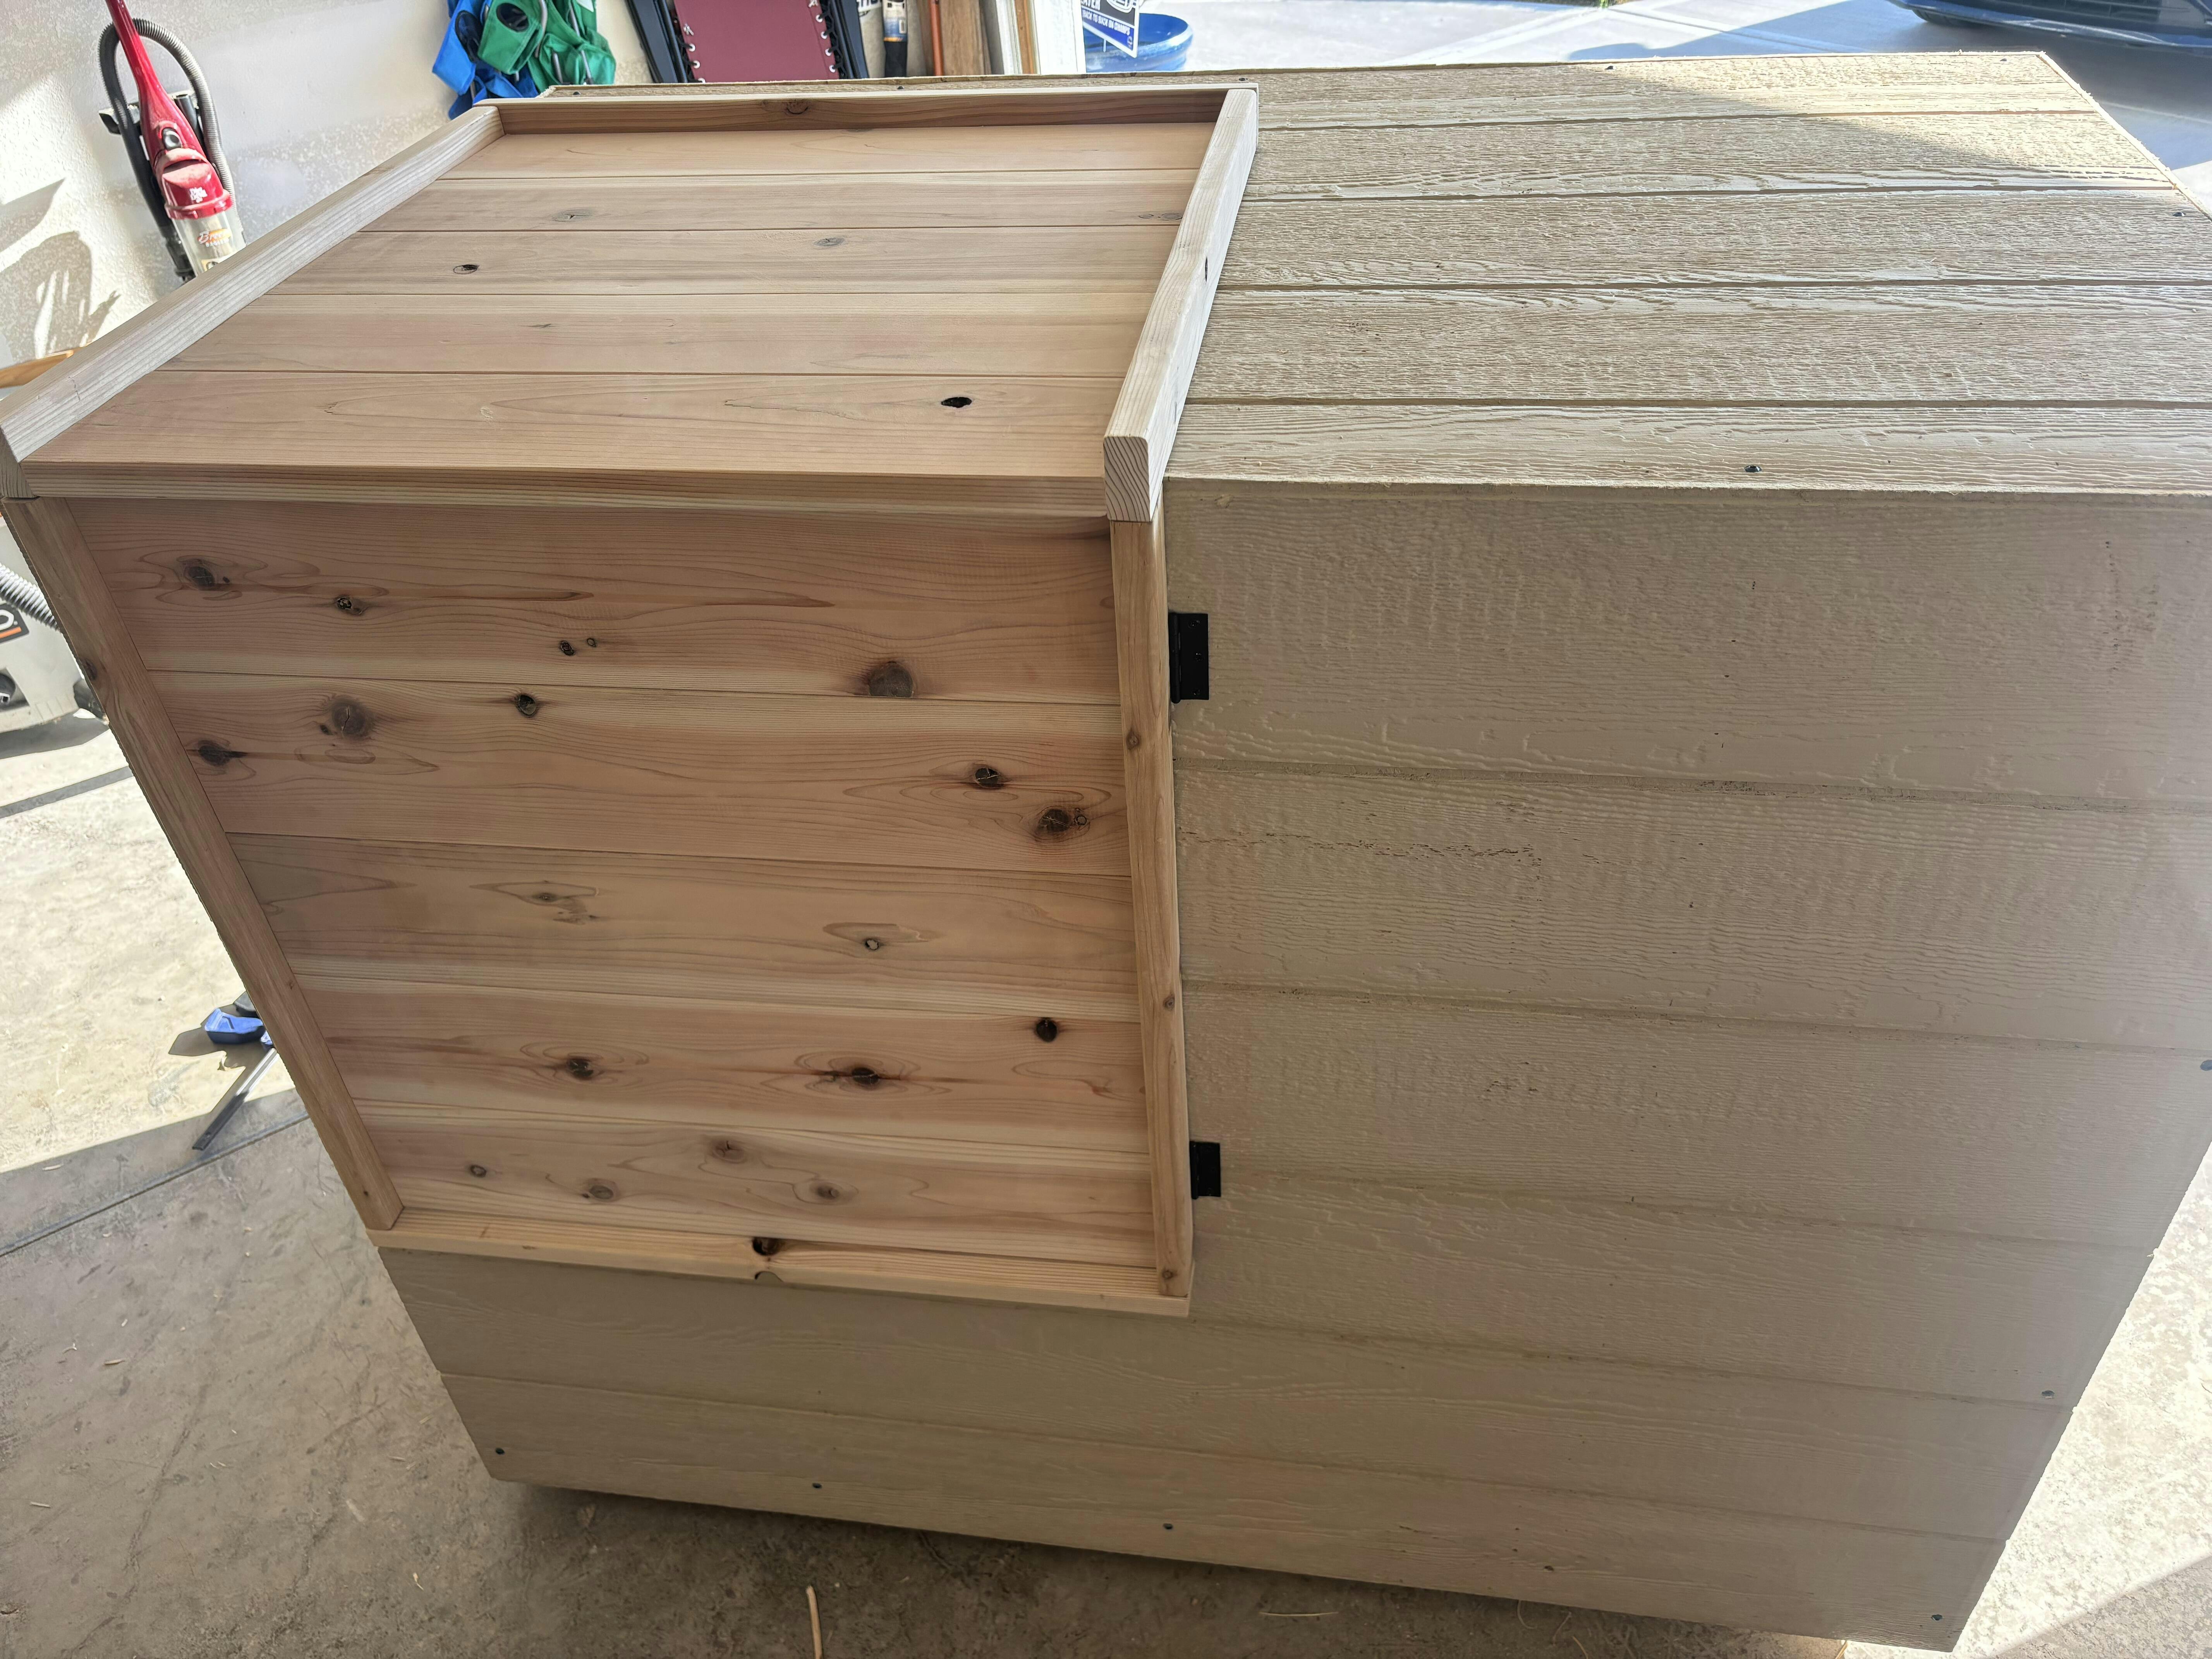
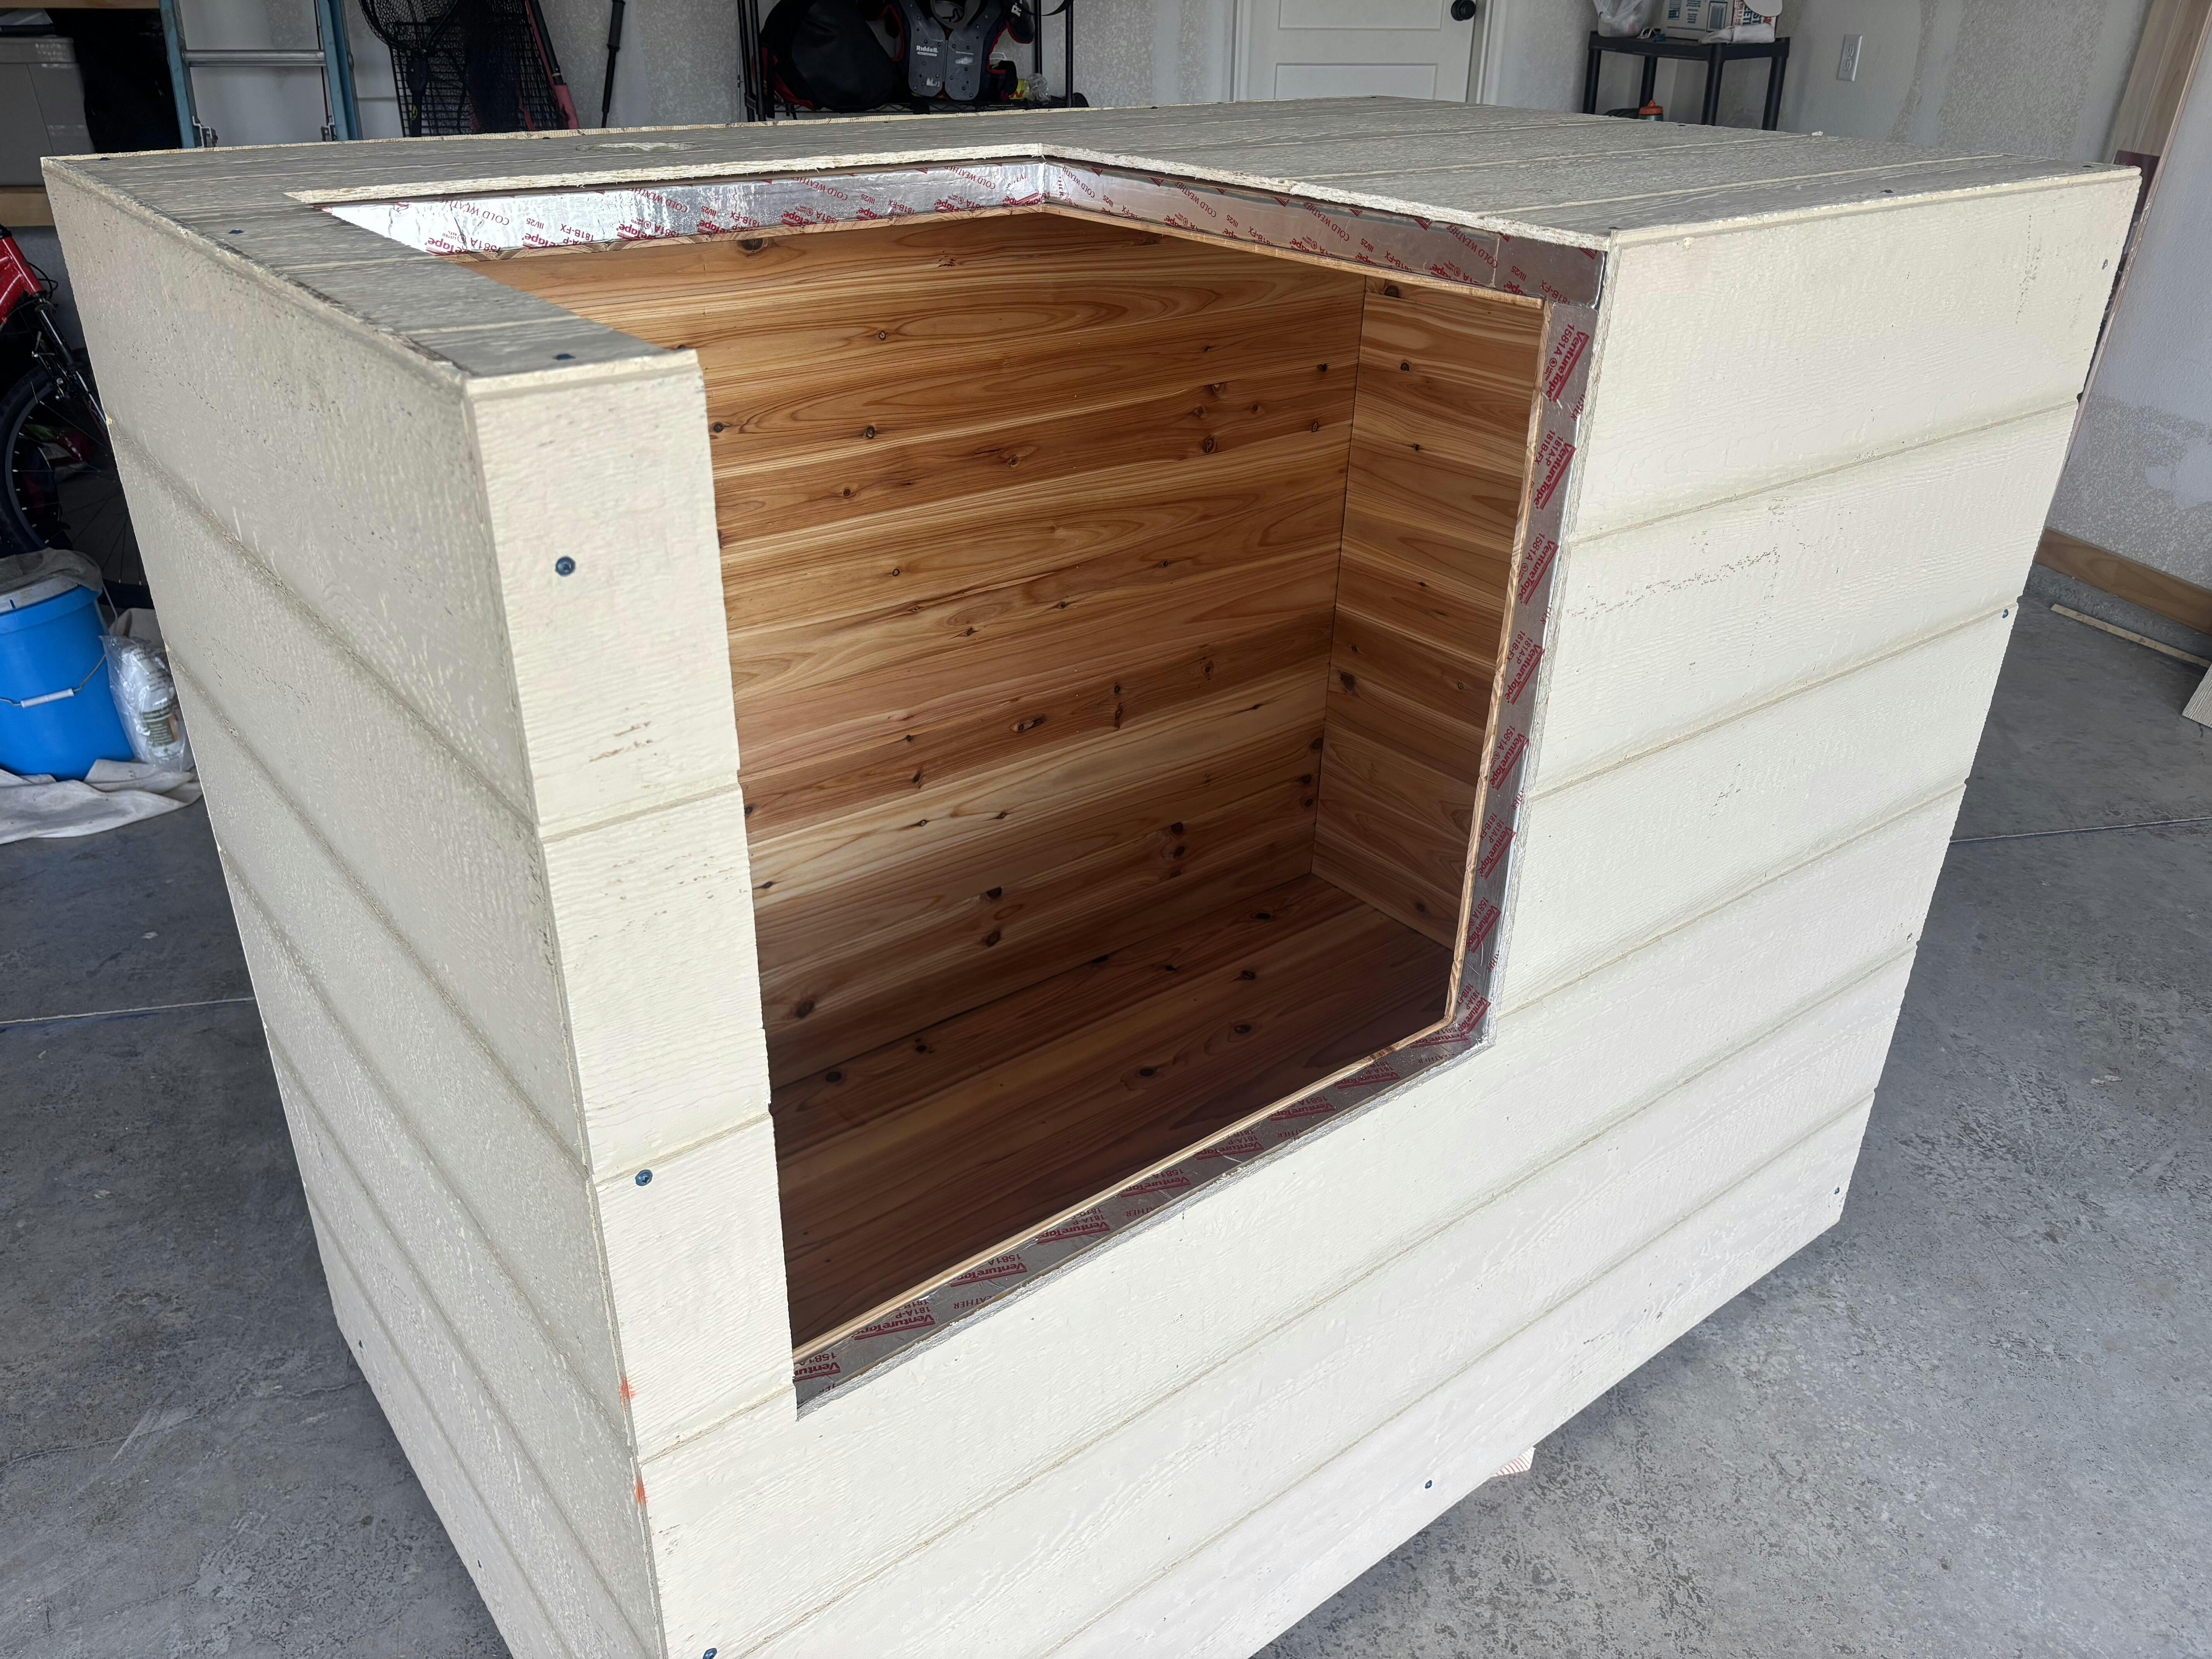
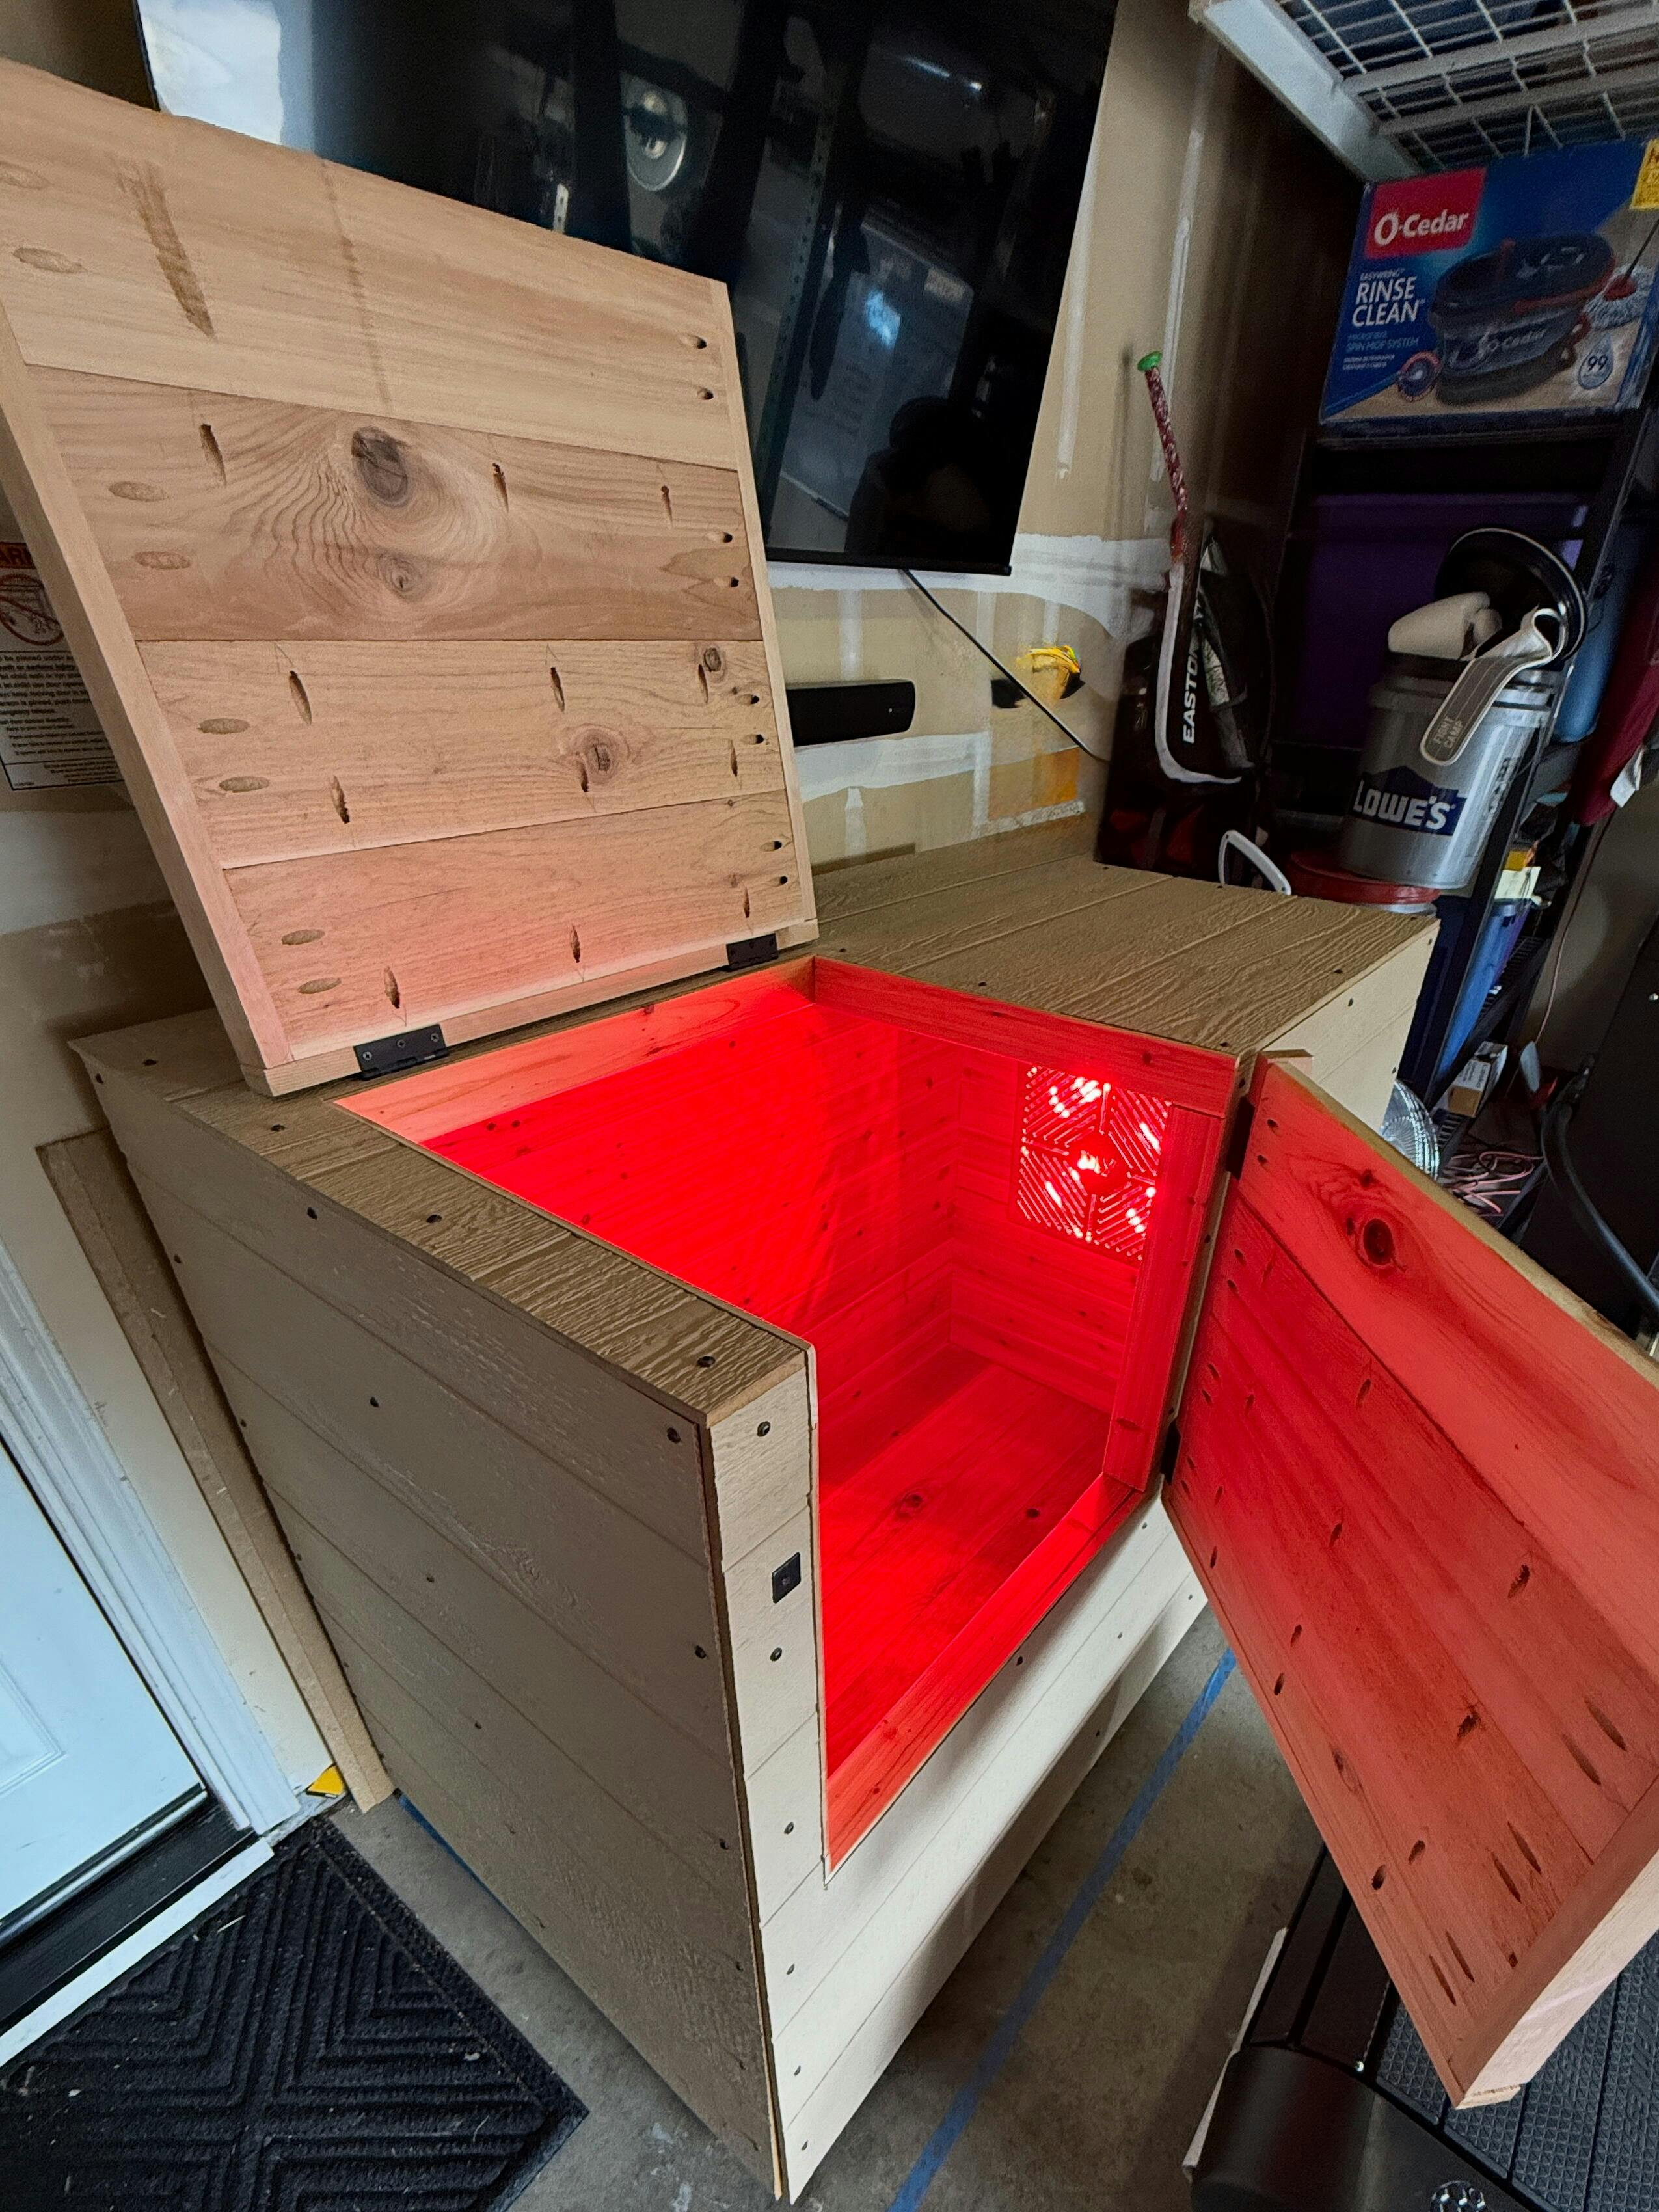
Perfect DIY option! The plans and heater kit met all expectations and Joe’s customer service with quick replies completely exceeded all expectations. Greatly appreciate the shopping list and easy to follow instructions. Went with the XL version and love the extra space. Heater kit with wifi outlet works flawlessly reaching the advertised temperatures. On a few occasions (all were minor) the XL plans seemed to be an afterthought to the standard instructions and could have used more details specific to the XL version.
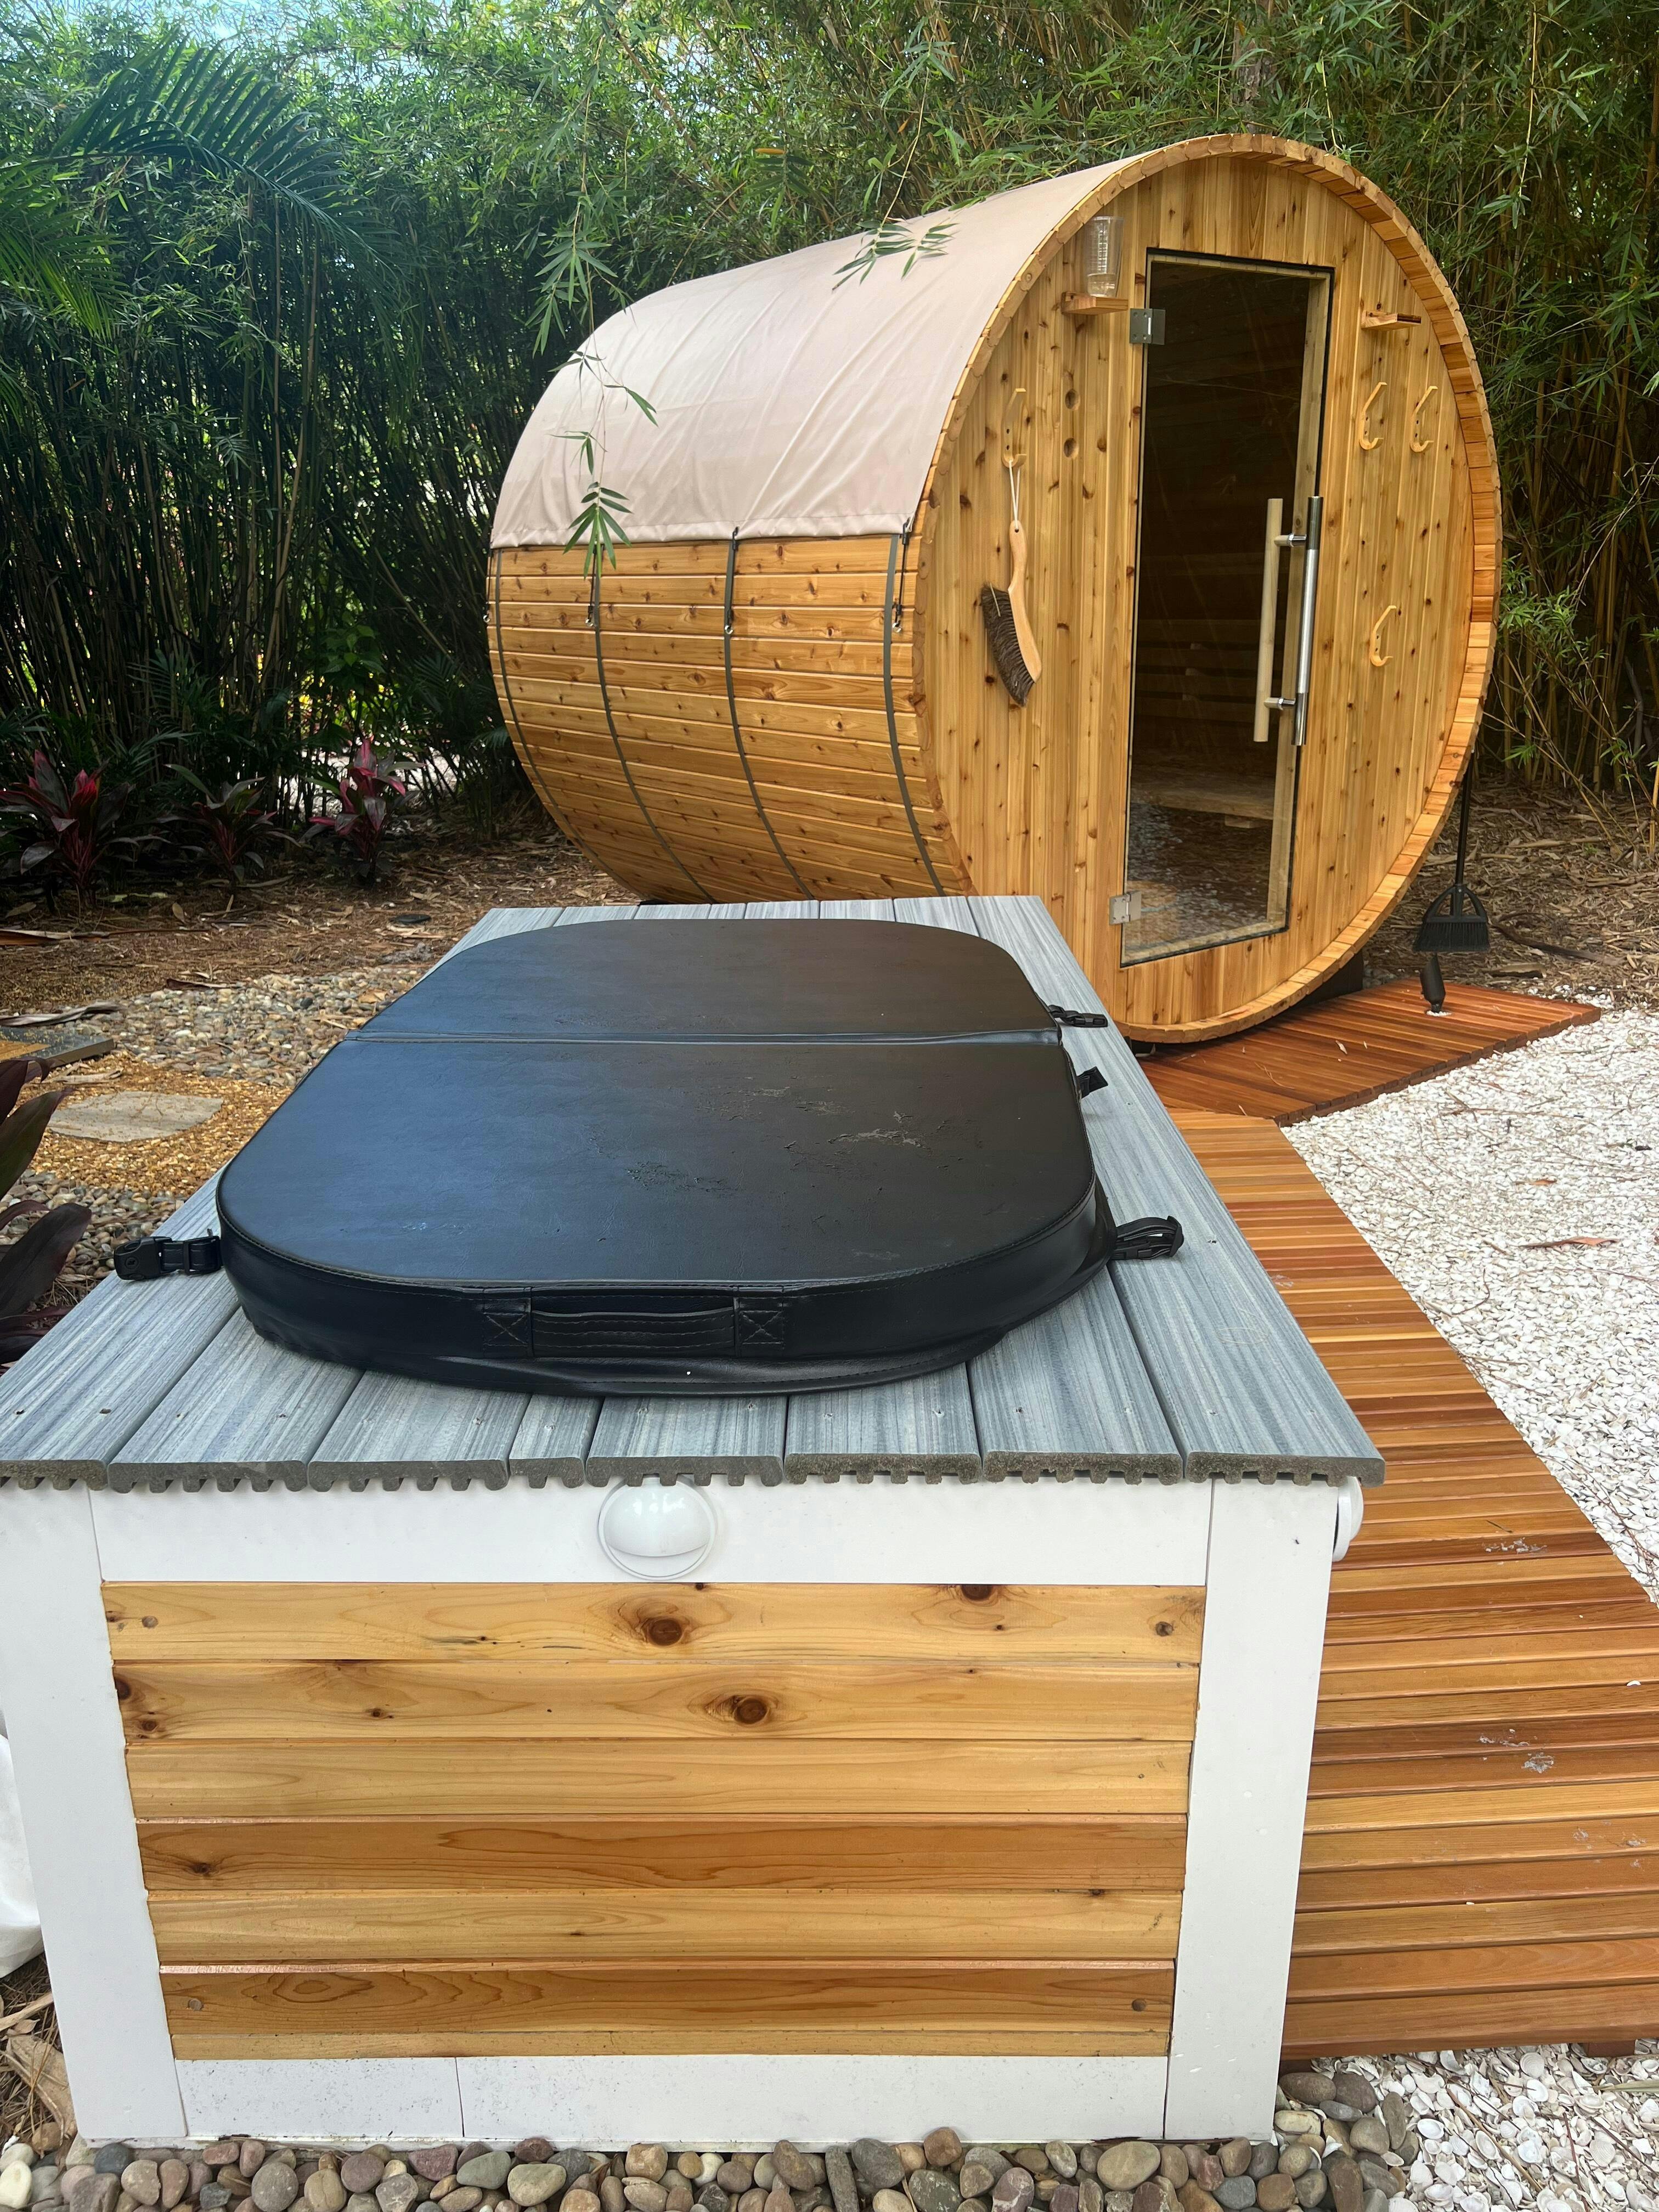
I received a filter and ozone with all the pieces toput it together for my plunge . There were times when i needed to clarify the building process and Joe was very helpful.
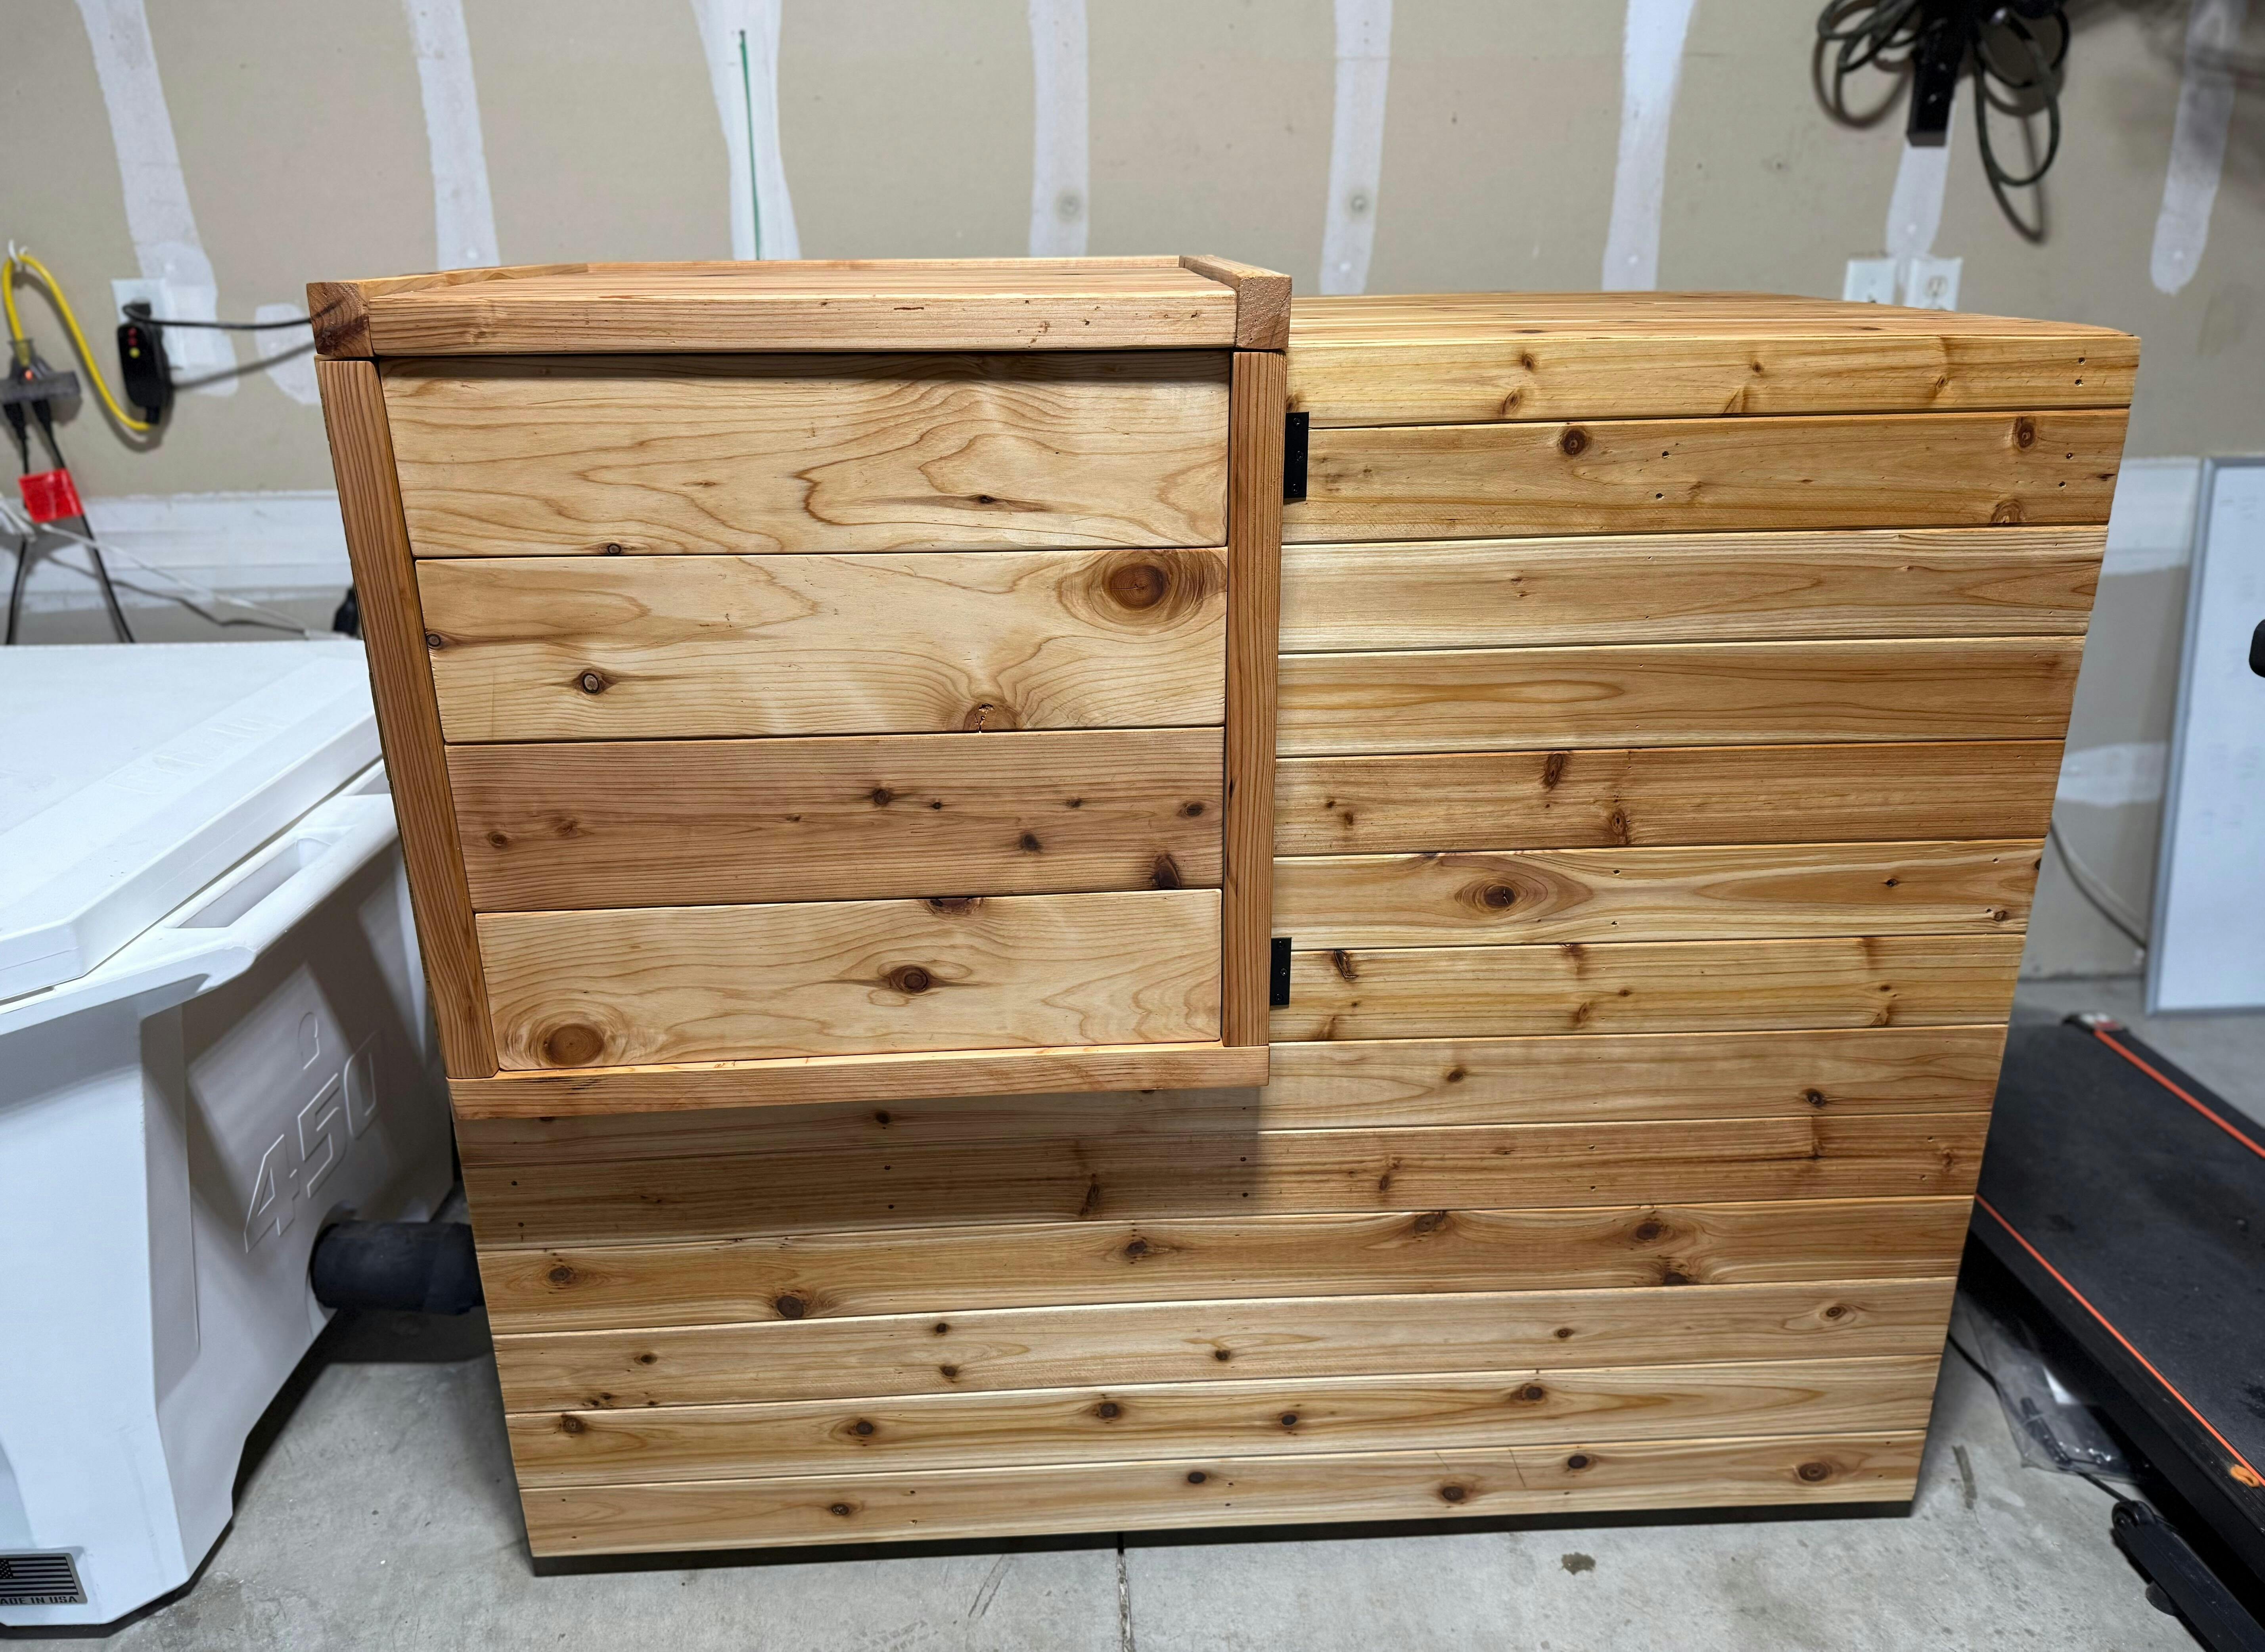
These plans were great. Super easy. Put together in a day once I got all the materials.