Let customers speak for us

Everything is going together perfectly. I appreciate the planning you put together to make it easy to build.

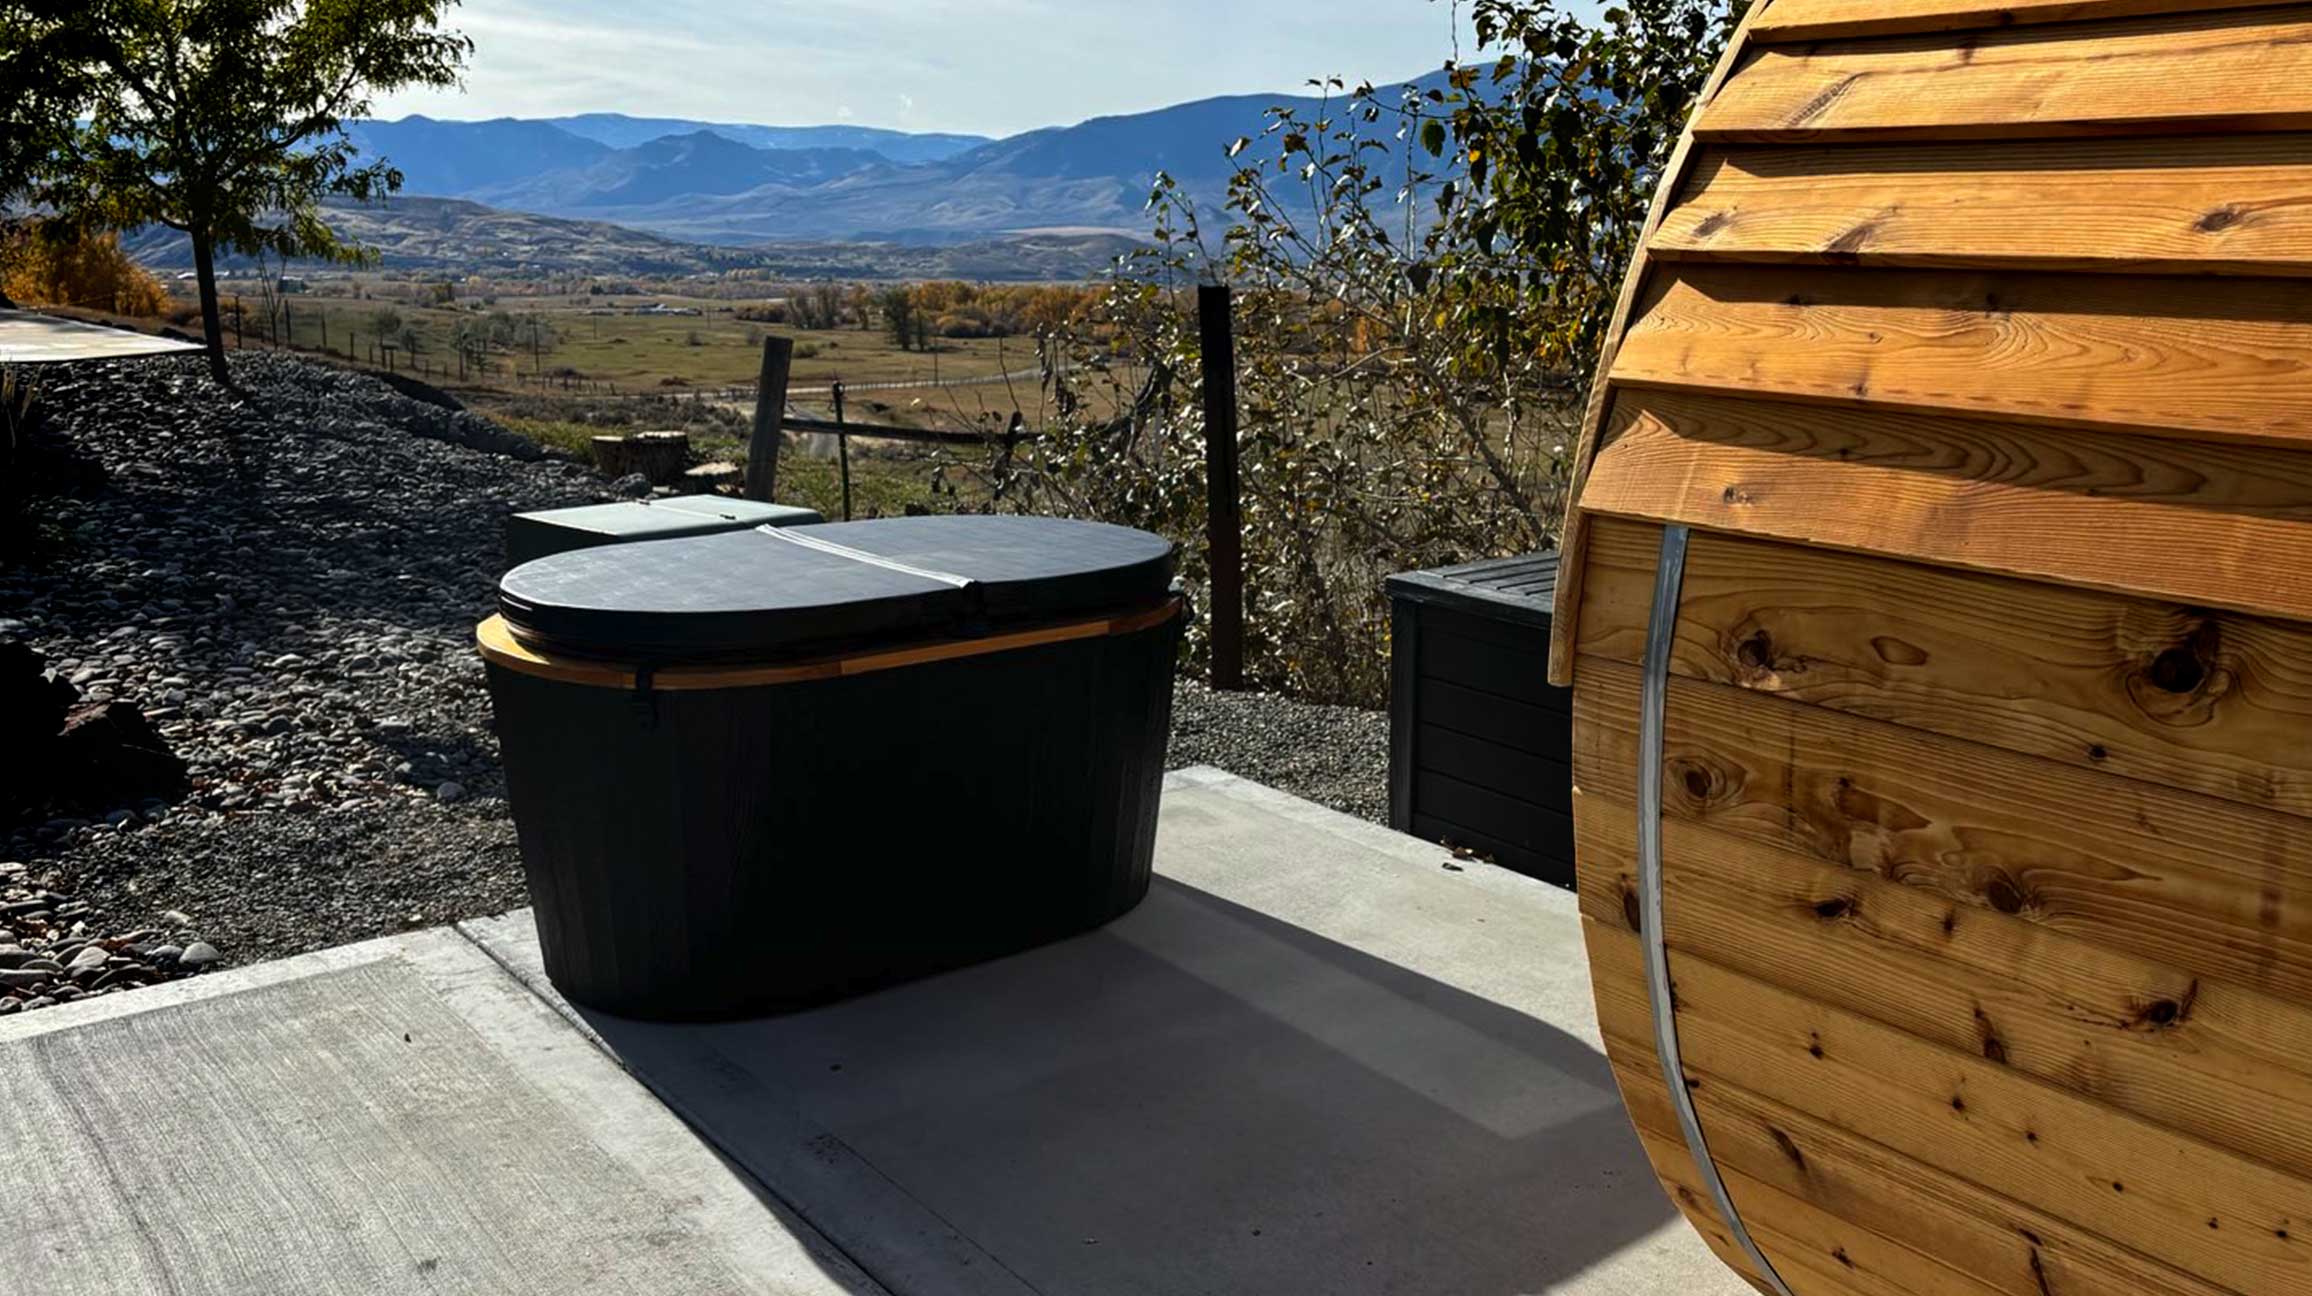
I’ve been following Joe from his first DiY Cold Plunge. Because he is trustworthy, through, helpful and knowledgeable I decided to purchase the DiY Sauna and Heater Kit. It is 100% as advertised! It checks all of the boxes on what I (and so many others) was looking for. Easy to build, 200+ degrees, small footprint, red light therapy, etc. This plan checks all of those boxes.
If you are on the fence… Do it! You will not be disappointed. Side note… Joe is super helpful and quick to answer questions as needed. Cold Plunge Next!
I know where my skills lie and its not in wood working. I opted to trade some car detailing with my contractor for him to help me with the build and it turned out great!
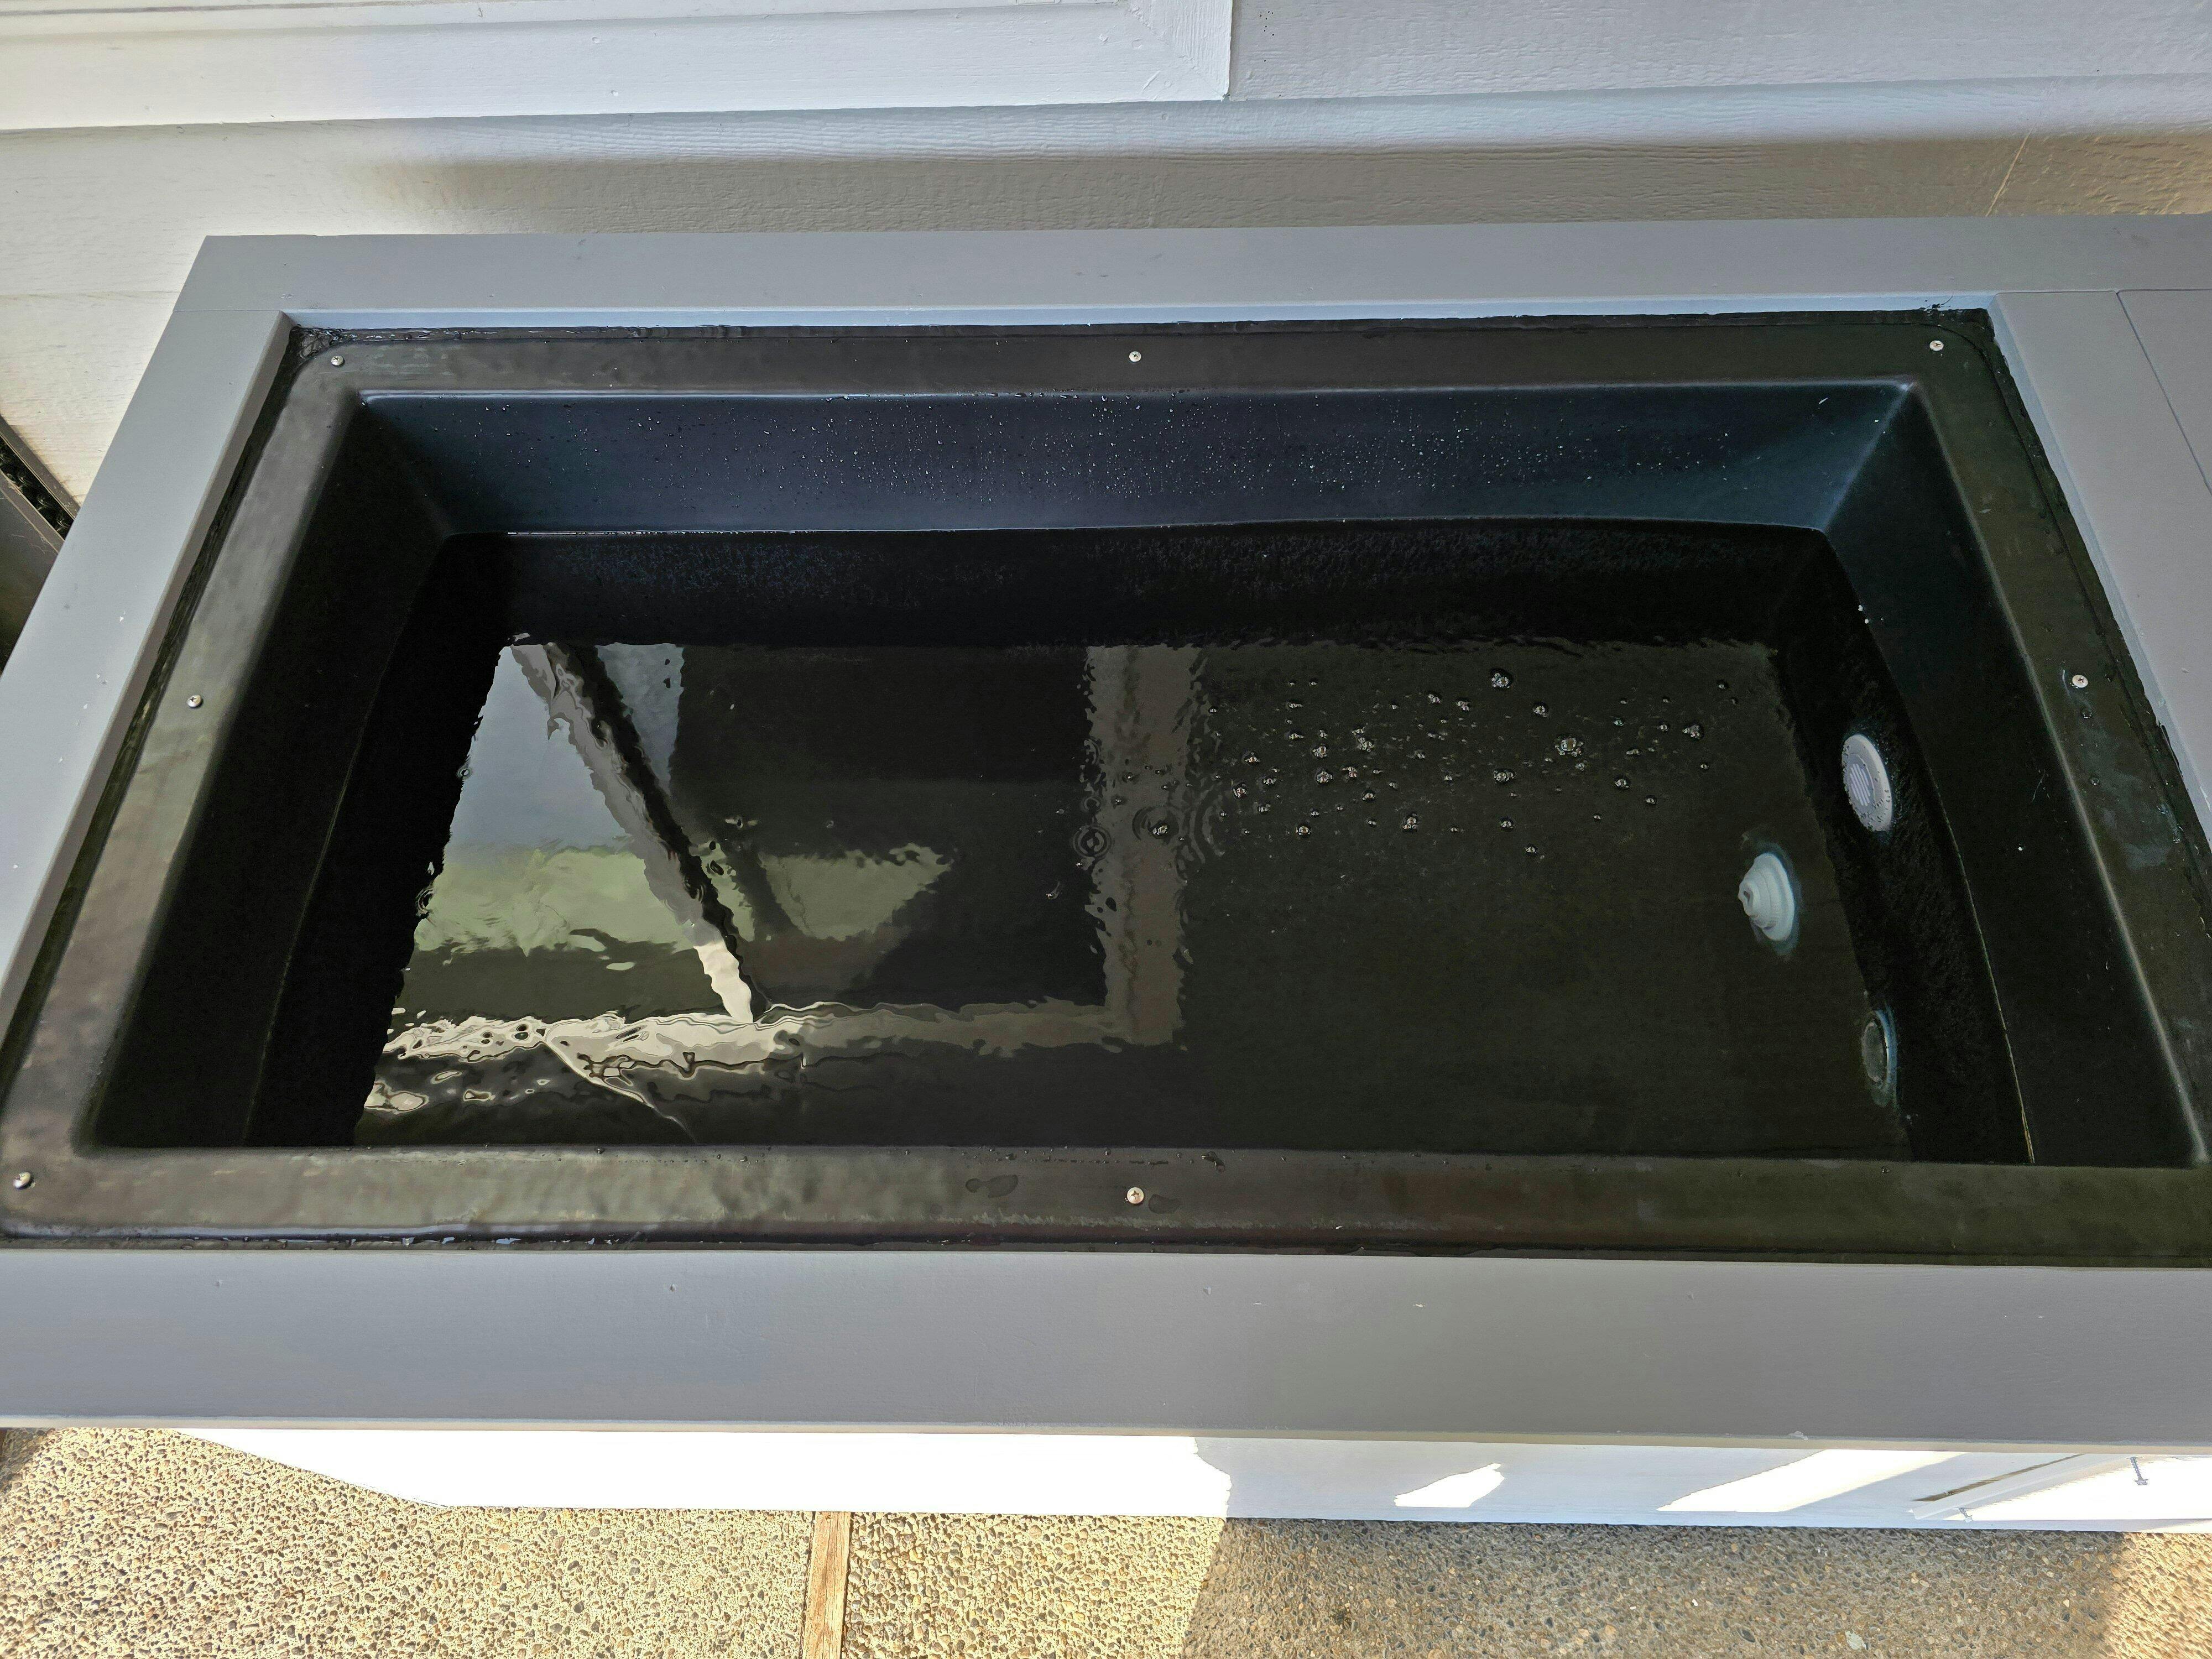
I opted for the larger 48" length tank since I'm 6'4". Gives me plenty of room over the 100 gallon rubbermaid stock tank I was using before. One heads up I would give anyone looking to order the rectangle tanks of either size is that the shipping of the tank will be a couple hundred bucks depending on where in the U.S. you live so keep that in mind while.pricing your build out.
Also, one initial mistake I made thinking I was going to filter more stuff was buy a non-pleated 5 micron filter. This was essentially choking the flow of my system down making my pump pulse instead of flowing freely. Joe made me aware of this so once I changed the filter to a pleated 30 micron one, everything flowed smoothly.
I'd also like to thank Jow for being so responsive throughout my build. Not sure how many emails he gets on a regular basis but of the 3 or so emails I sent, I dont think a response took longer than a day, so thanks Joe!

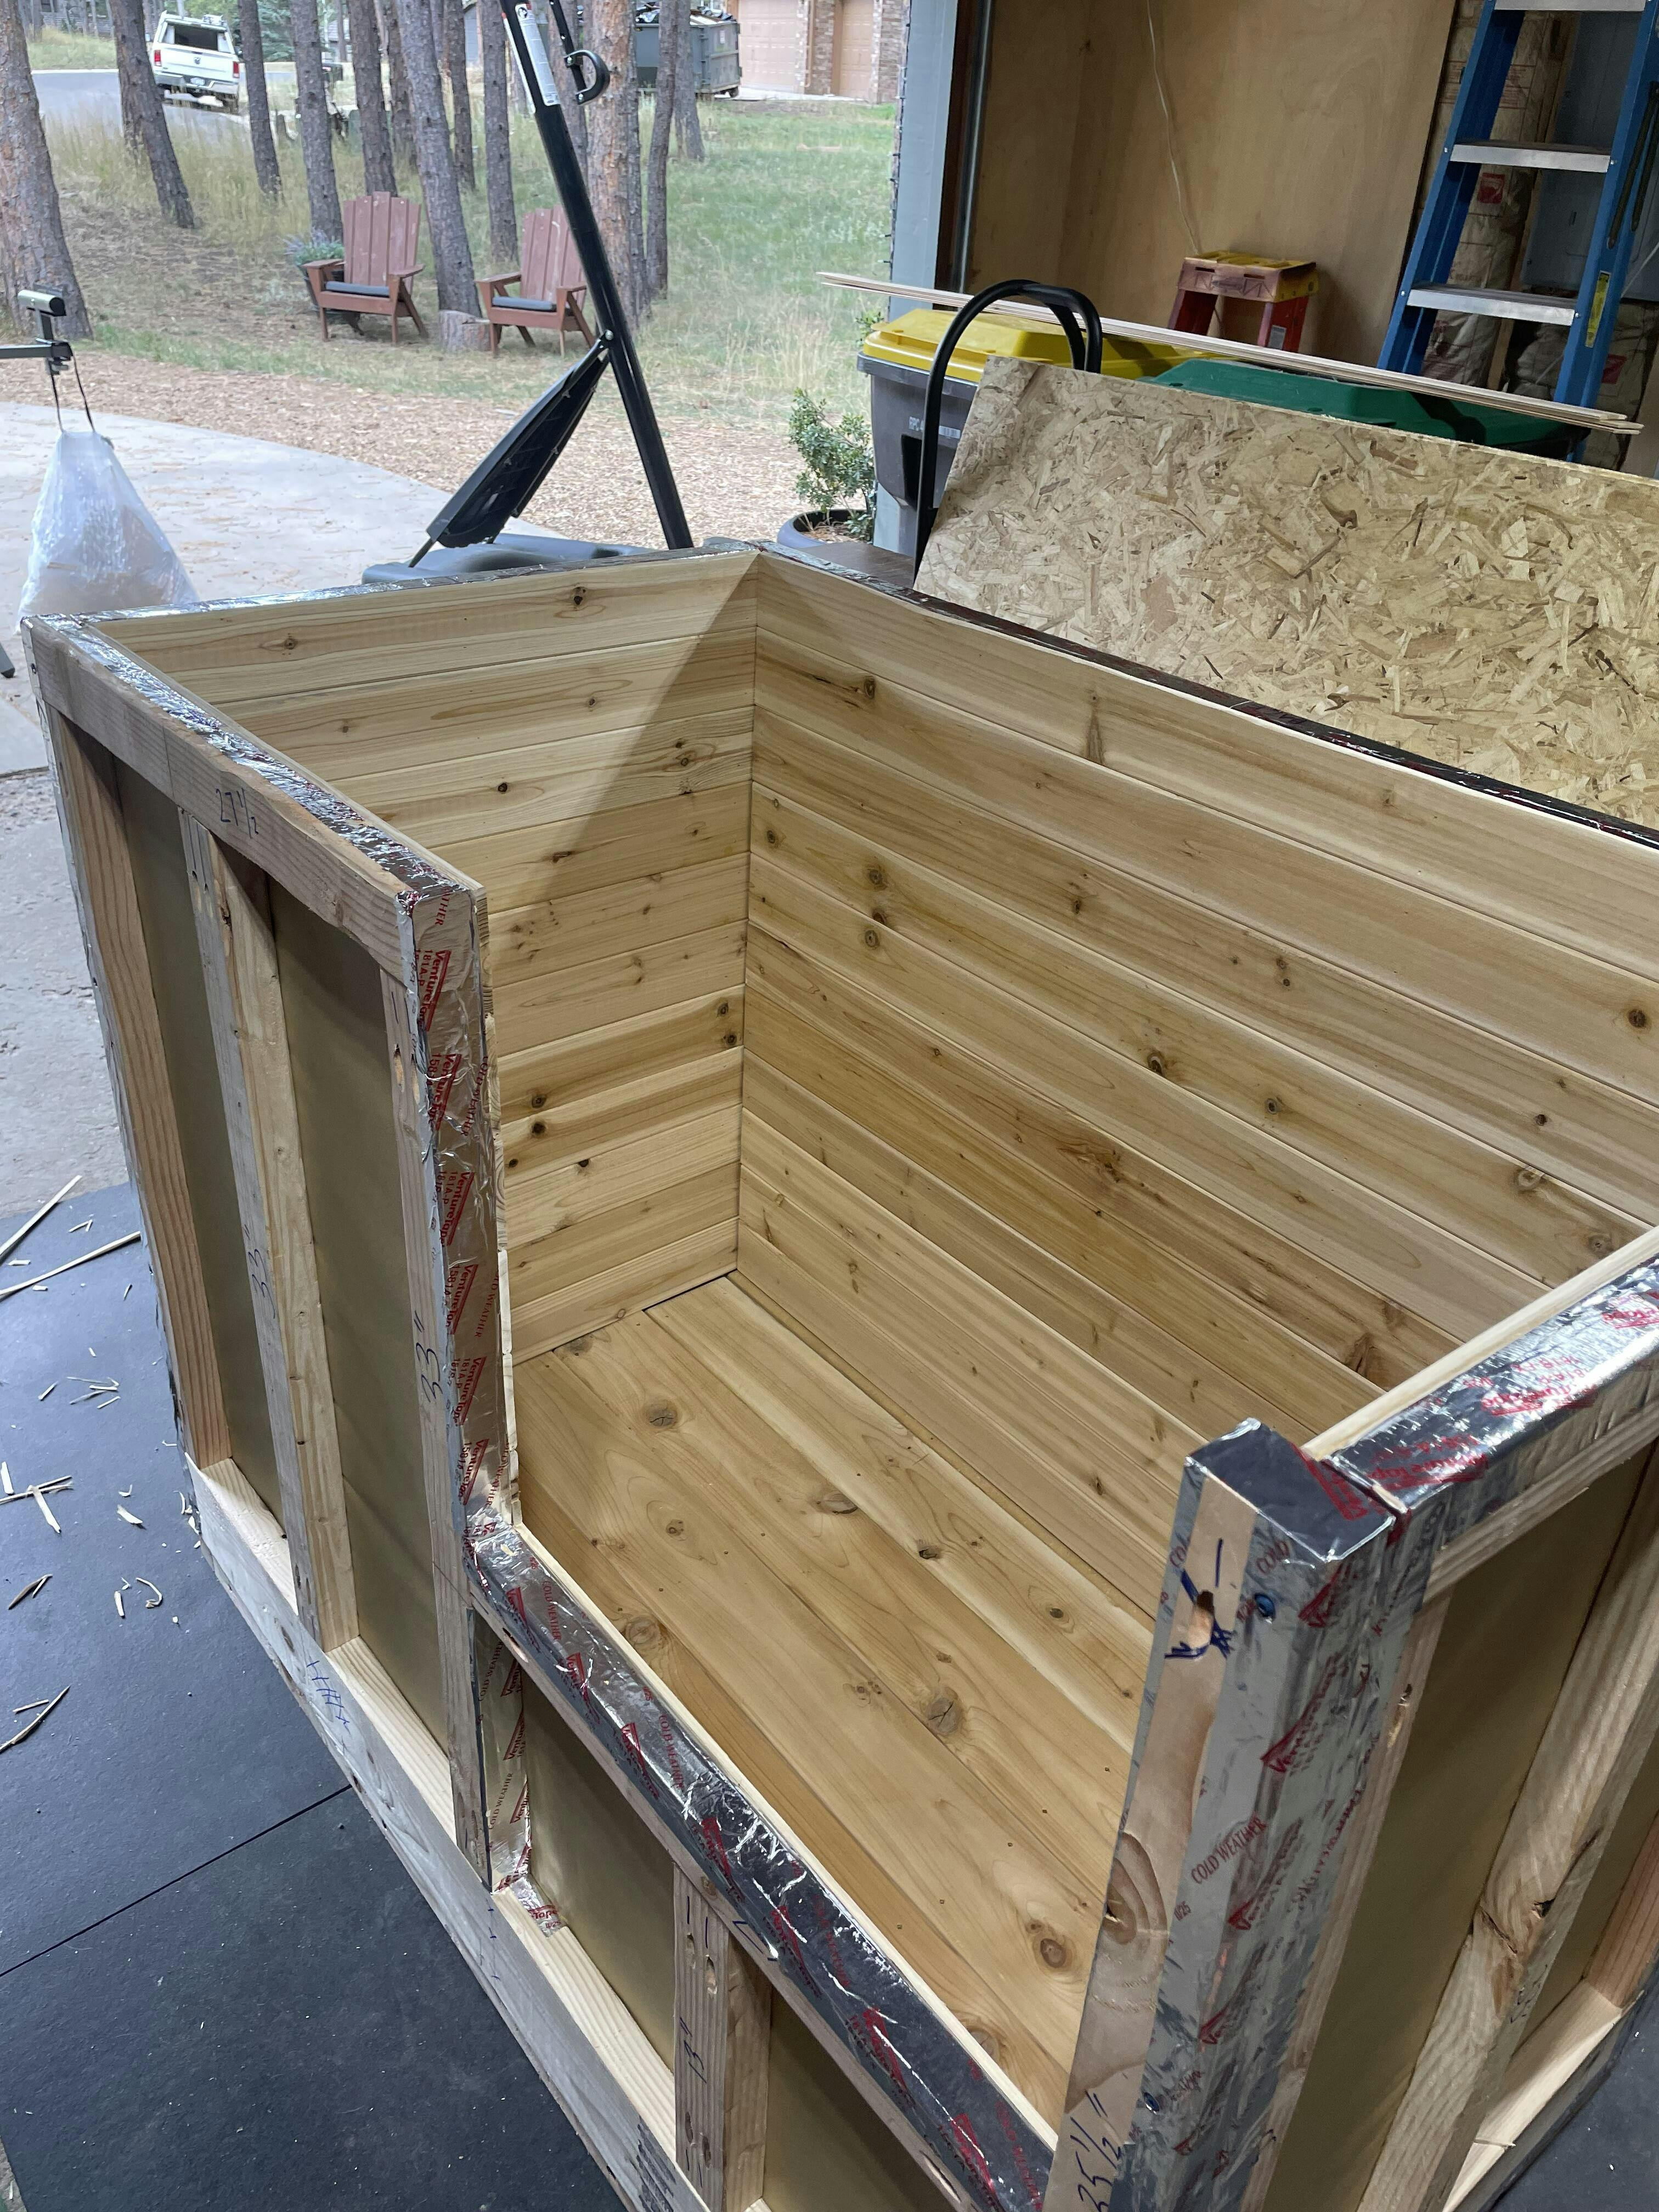
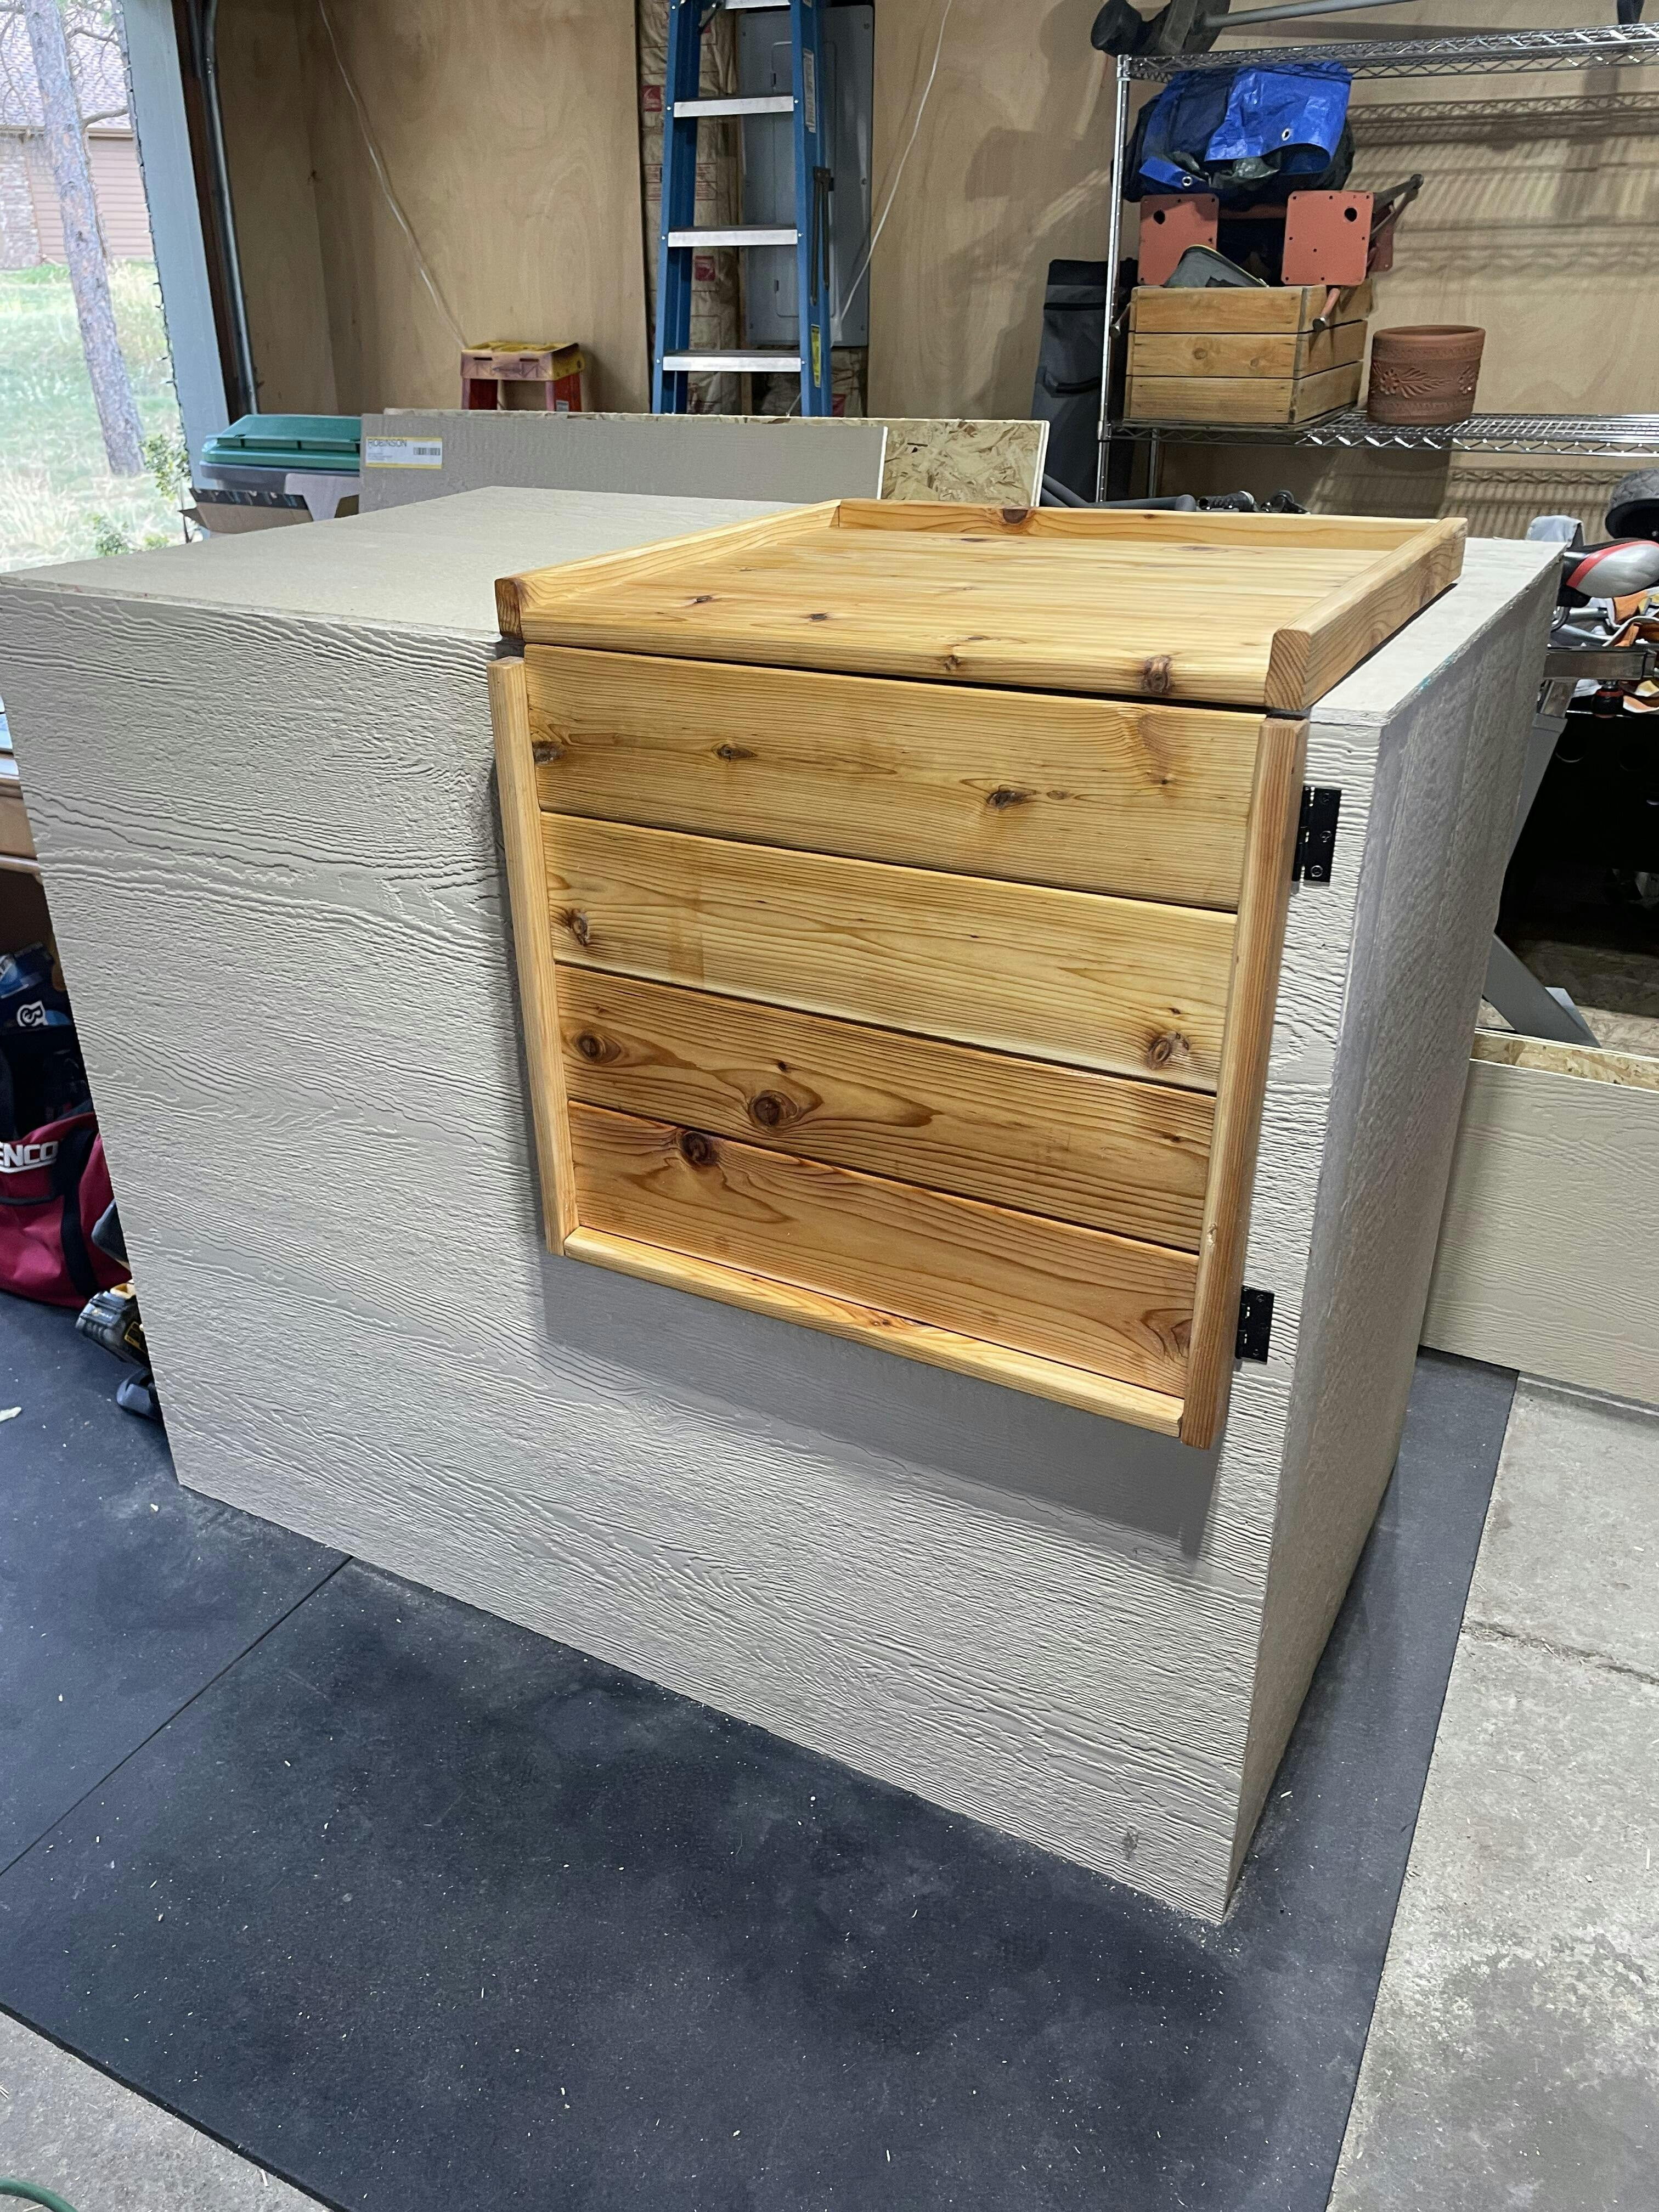
I have wanted to add a sauna to my home gym for years, but price of entry and space were limiting factors for me. After finding Joe's design I finally pulled the trigger and am so glad I did. After sourcing materials, I was able to complete the build in a weekend. I had a lot of left over cedar tongue and grove left after lining the inside and was able to cover the exterior in cedar with an additional 4-5 packs of T&G (which was less then plywood at my HD). It requires more time and cuts but I really love the look. Joe's plans are worth it, very detailed, easy to follow and the videos are great when more detail is needed. Someone with no carpentry experience should be able to easily complete this build, the plans are that good.
The performance of the sauna has been just as described; my XL heats up to around 180 in 1 hour. I have used it daily since completing it, my wife enjoys it as well. Totally worth it!
Just a quick review with video of my mostly completed XL build. I wont go into the pros and cons of the building process itself because at this point I'm over it. This will just focus on the product itself.
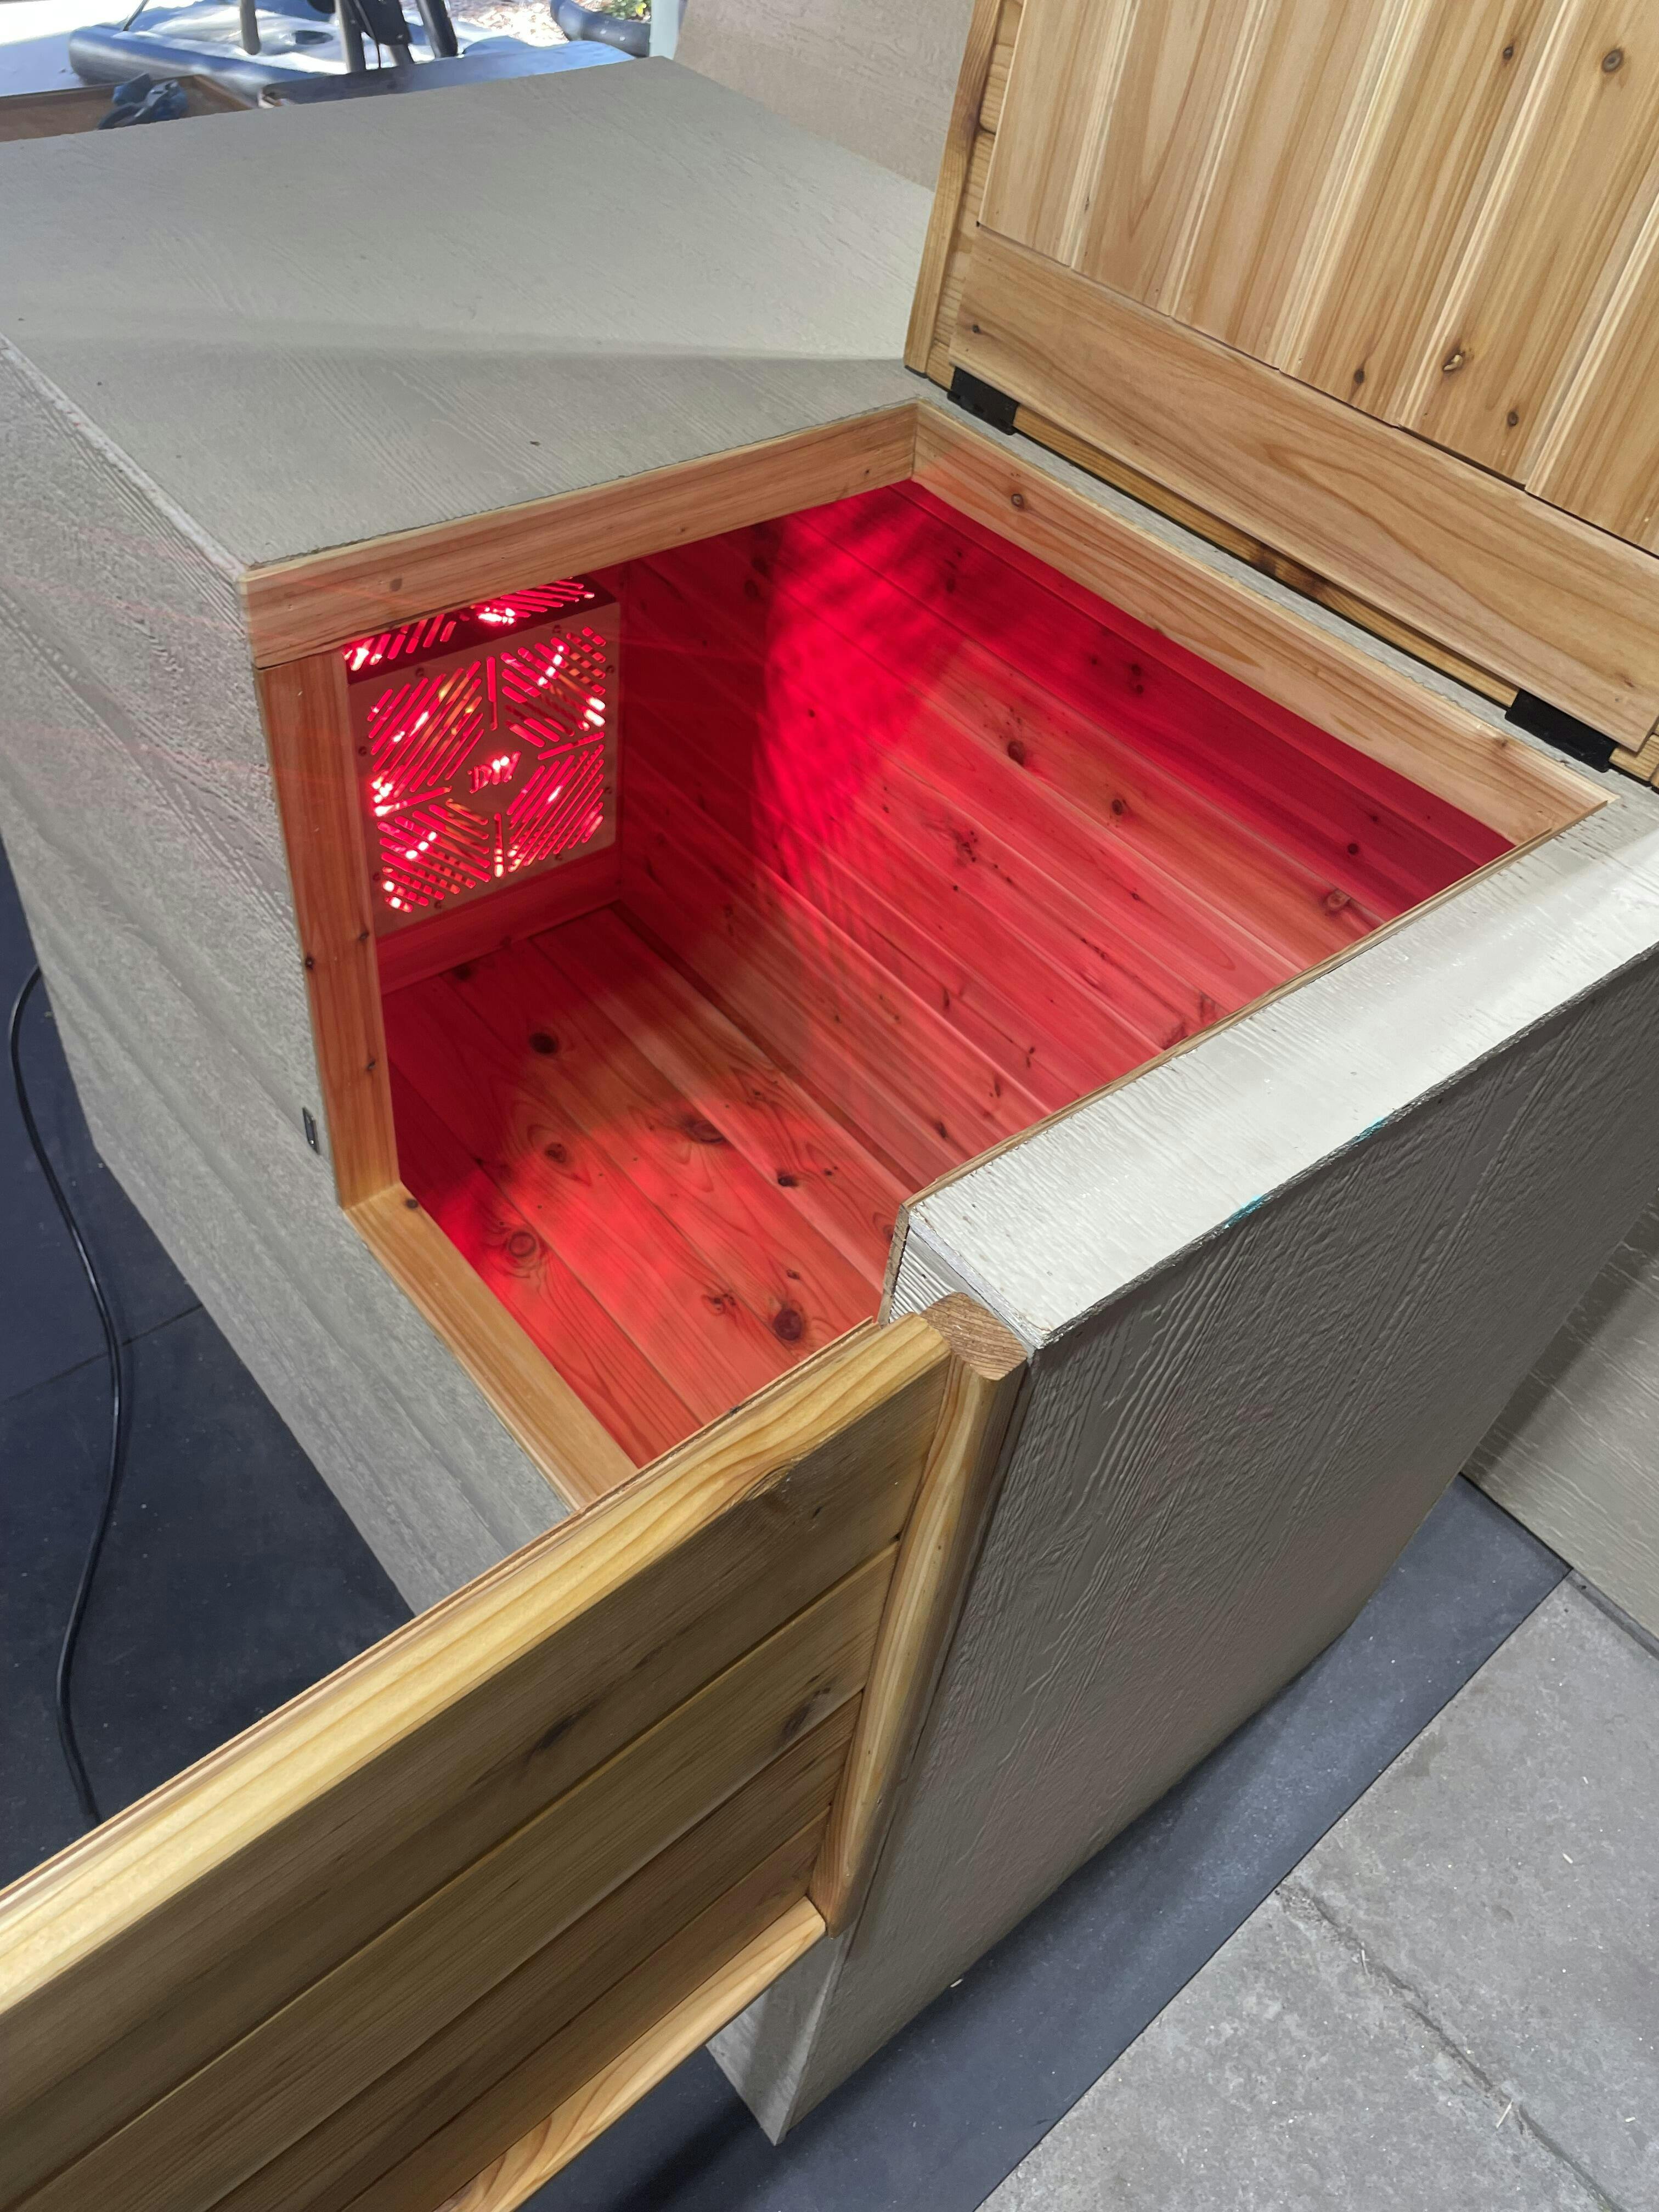
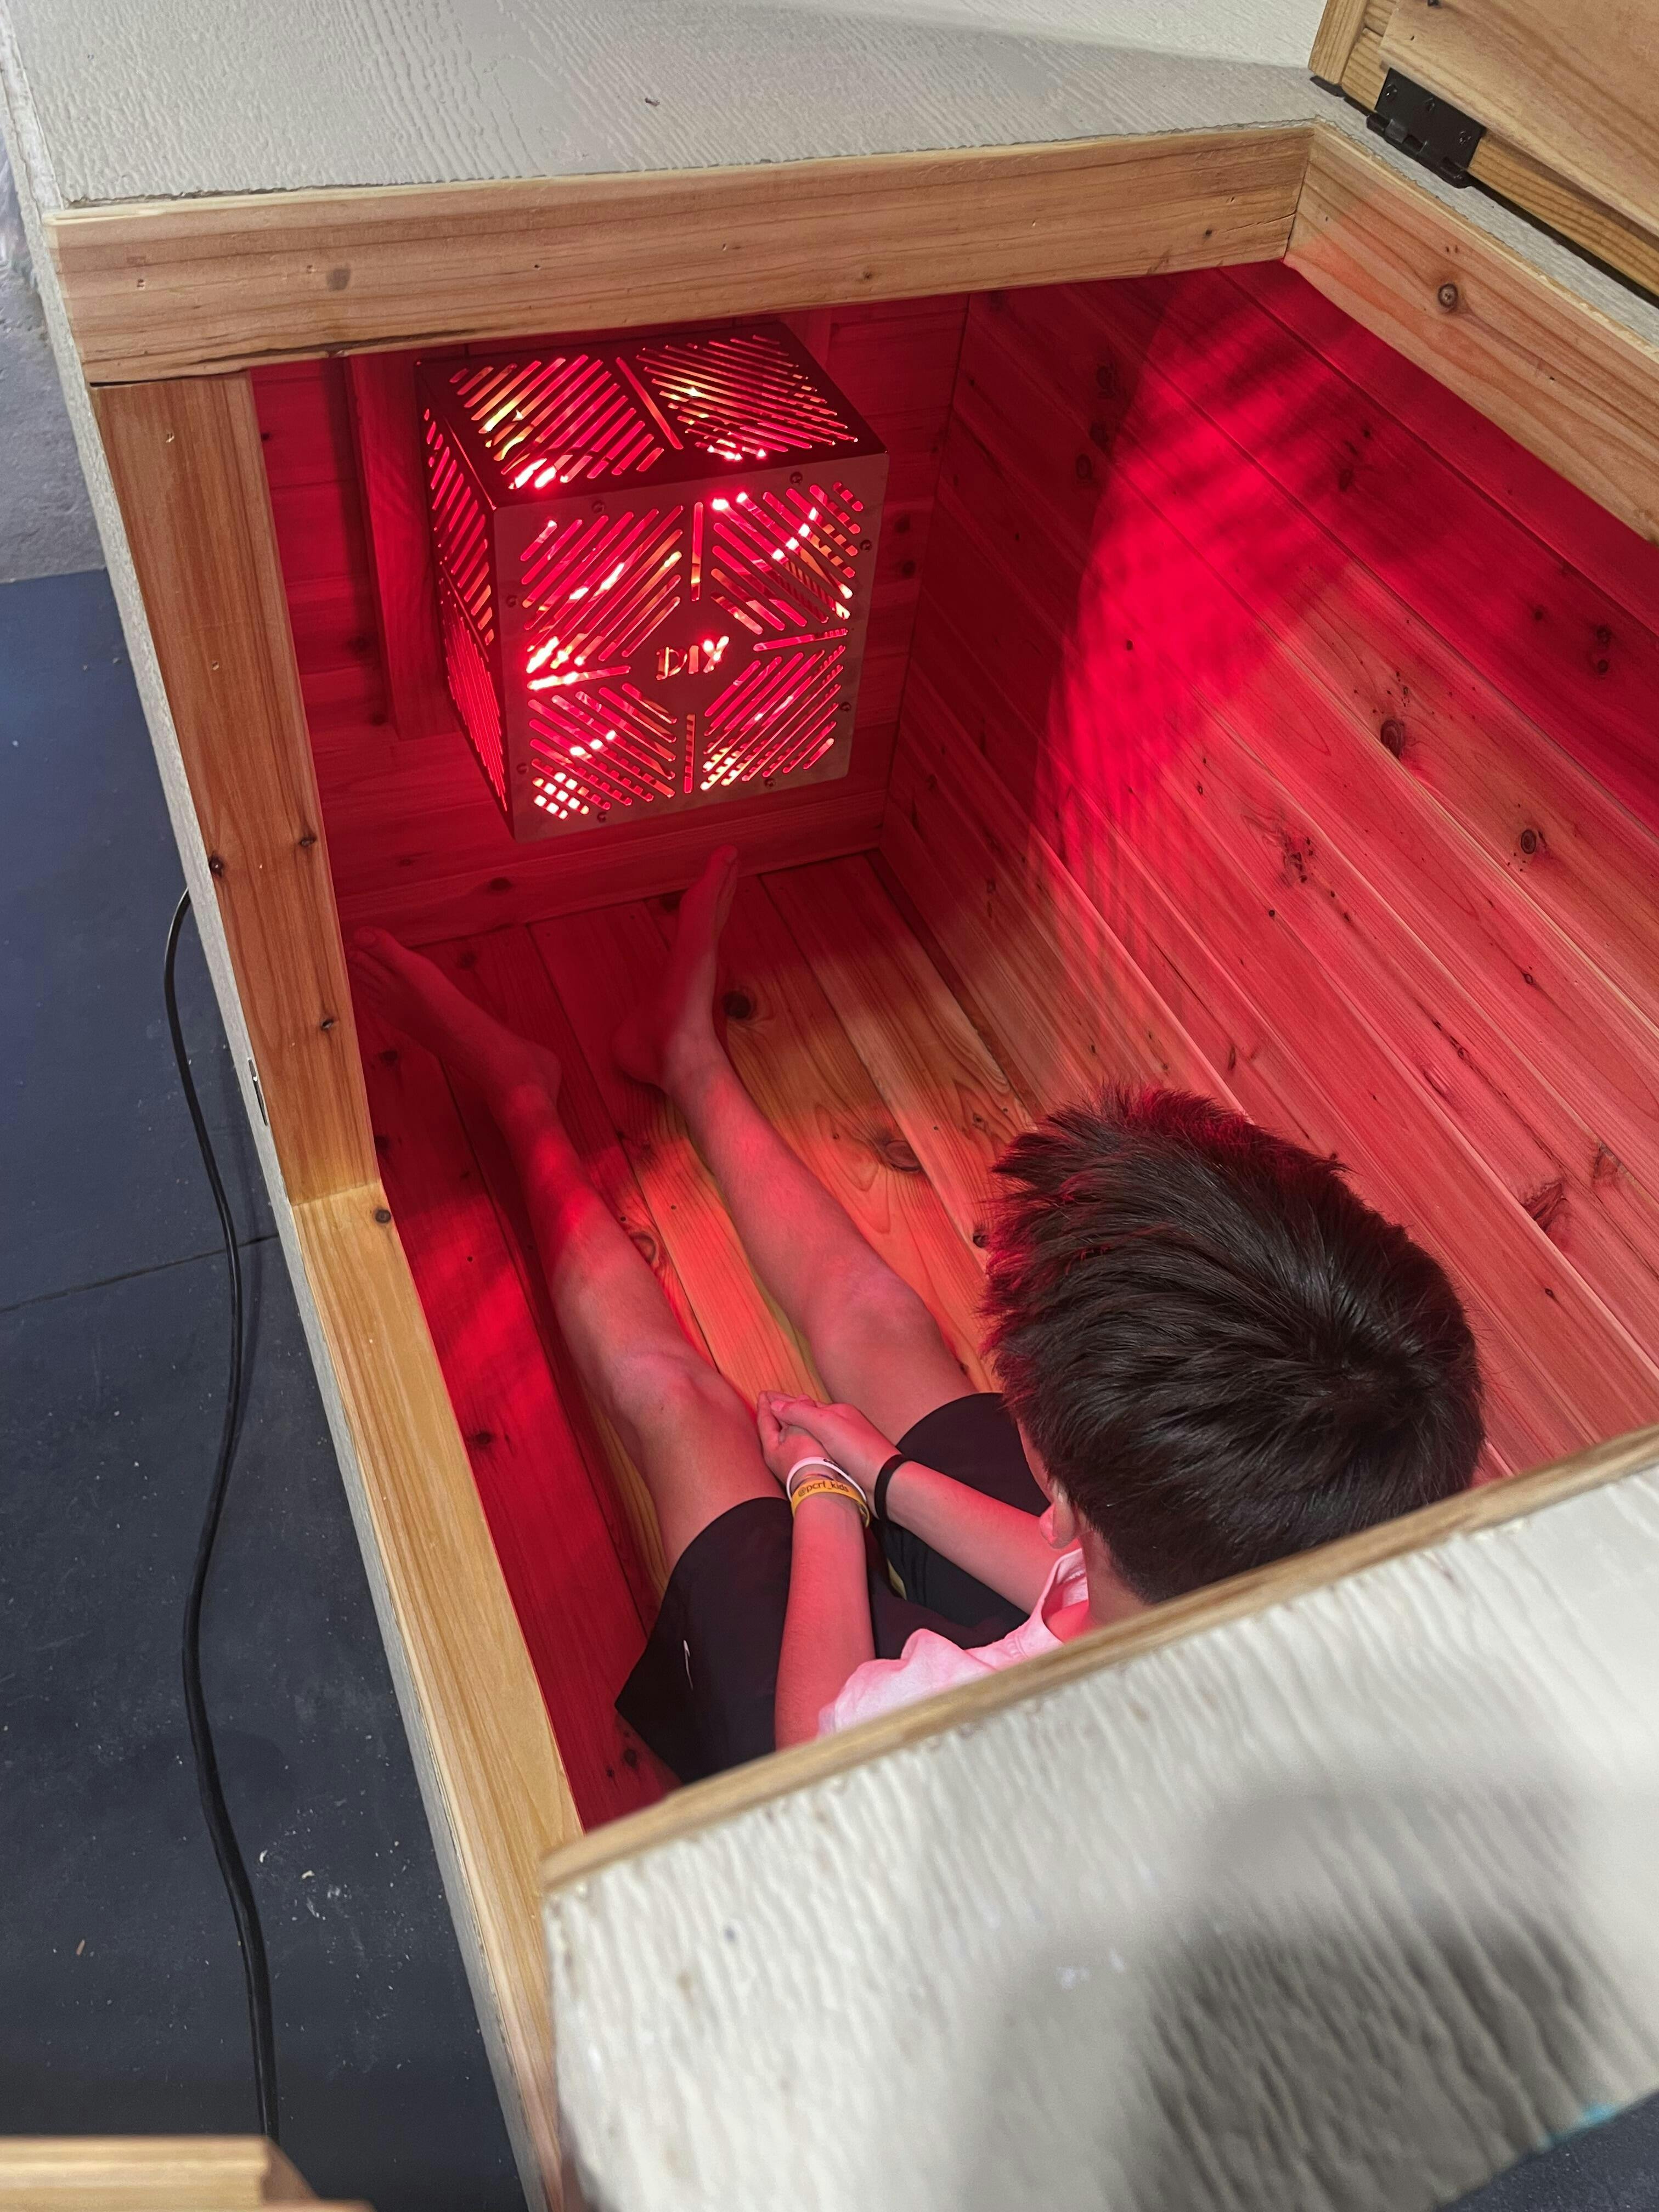
Im just under 6' tall and figured I would need the XL to accommodate for comfortable seating where I could stretch my legs. For the most part this has proved to be true, I can stretch my legs but, as my sauna is set up in my laundry room, its much to wide to fit through the door way. Though it required a lot of extra work, I put my sides and top together using cap bolts with threaded inserts so I can take it apart and put it back together again without the worry of wearing out screw holes. Probably overkill as I don't expect to be moving the sauna anytime soon. i went with the DIY light box set up and originally had it mounted to the front wall using Ruby Lux bulbs from Amazon. Having read that 12"-24" distance from the bulbs is the sweet spot for therapeutic use, for a month or so I would just scrunch myself up close to the light for my 15 -20 minutes sauna sessions. I installed some closet pole fittings and cut a round wooden closet pole so after scrunching into position I could slide my back rest in and somewhat lean back and relax. After burning my knees several times while getting into position, I built and installed a wood frame around the metal box. Now climbing in and scrunching forward and sitting in a lotus position worked well for the most part, I eventually smartened up and just installed a long arm tv mount and put the light/heater box on it. Now i can sit back, stretch my legs comfortably and move the box closer or further depending how close I care to have it. I started this review stating that my build is semi completed and the reason for that is that there have been some several tweaks along the way. I bought the exhaust fan kit but never installed it as I wanted to keep the heat in. As it is now I can barely stay in for 20 minutes before i tap out. I have two thermometers installed but since eye glasses don't work out well inside, I pretty much have to speculate as to what the correct temperature is. My routine is to start it up in the morning while I'm having my coffee, by the time I'm done procrastinating and finish my workout, it'll have been running for at least 1-2 hrs with a temp of 175º-180º(I think, might be higher). Thats more then enough heat for me. I'm still on the fence about the fan as I don't feel that I need it. P.S. the bare wood gets hot and theres a lot of sweat so i put a moisture absorbing pad down as well as a gel butt cushion, that too gets hot so I have another piece of foam and a small towel that I put down when I get in. I also made a video but for some reason when I try click to install, it's not lit up to install(it's in mp4).
Couldn't get this shipped to Cali from Amazon and found this site from insta. Price is great and shipping was fast and easy. The owner is also quick to respond when I had questions regarding timers for the ozone. I will continue to buy from him. Overall had a pleasa6 experience and my plunge is now running at 100%
The ozone generator on my Plunge whent out (I think from water damage). This site has great price and quick shipping. The generator is working fine and seems to b doing its job.

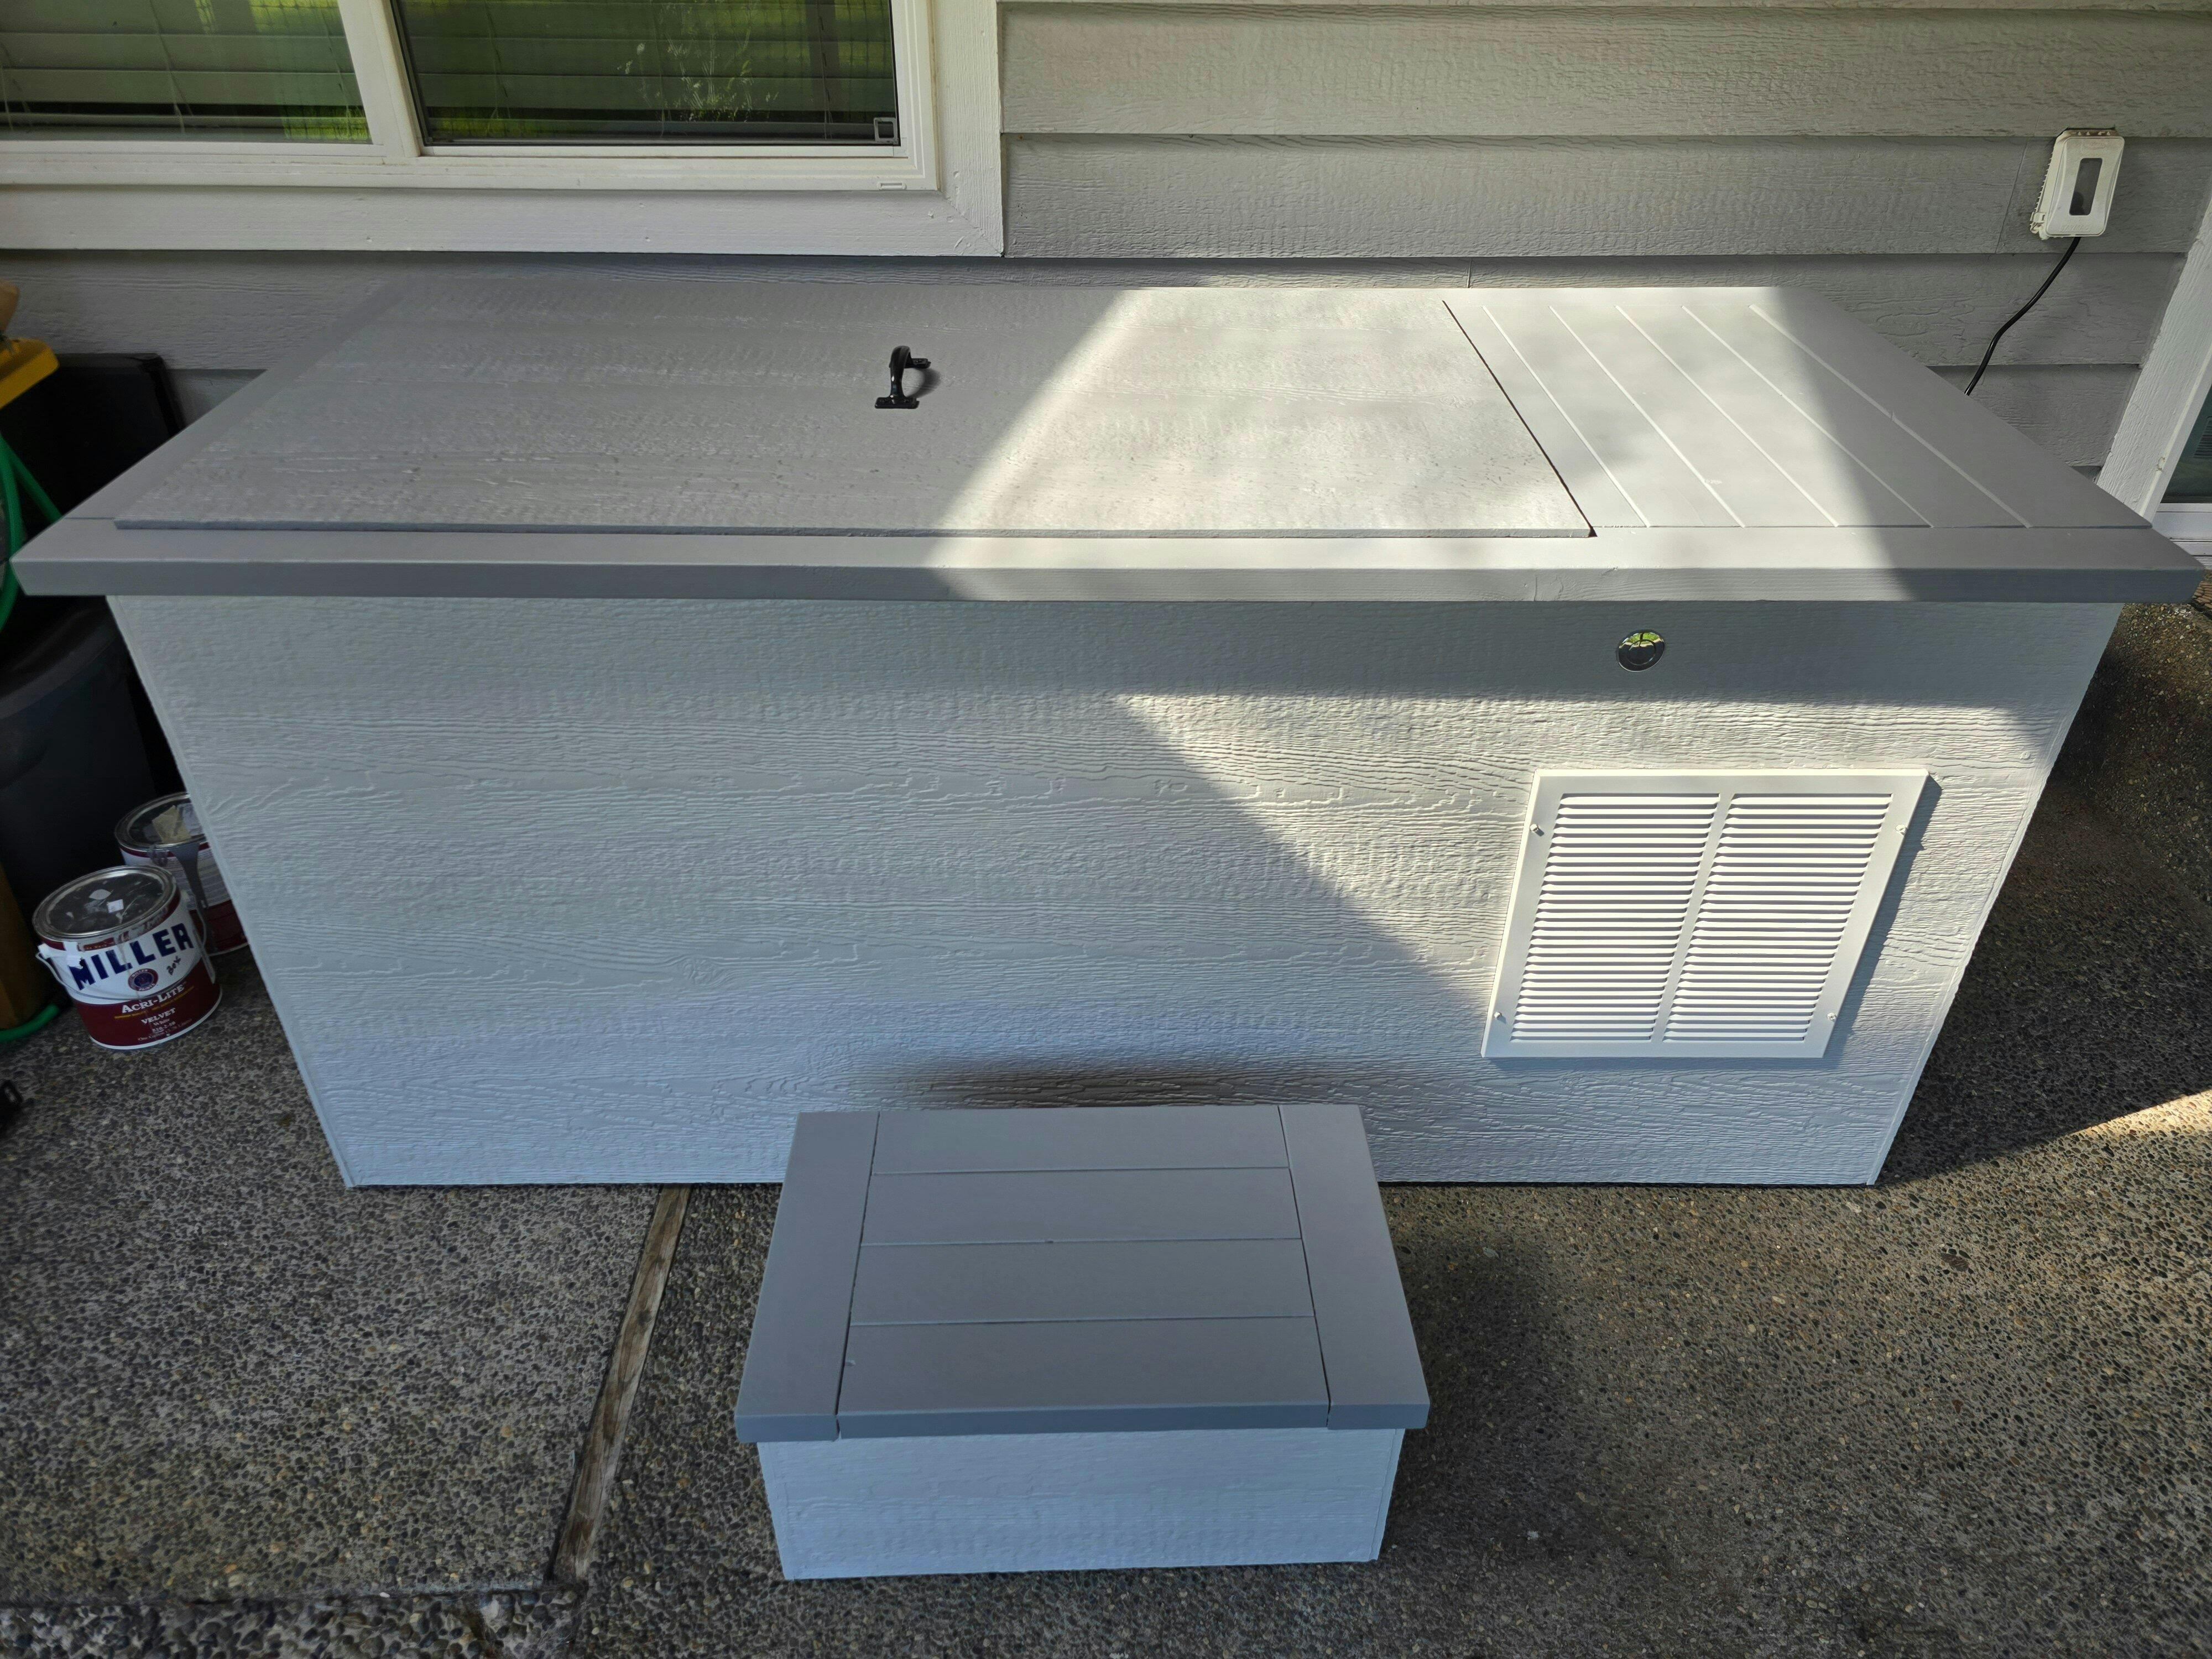
Couldn't be happier with the filter housing and accessories that I purchased through diy cold plunge. Joe's videos on Youtube made the setup a lot less daunting and I'm confident anyone could make their own, just need to dedicate the time and energy. Saved a pile of money going this route and it gives me peace of mind knowing how it all functions if a problem ever arises. Thank you Joe!

The complete plumbing package is the way to go. Everything is in this kit with plenty of connectors that will allow for changing out chillers and pumps should something go wrong with them. I am not a plumber, but between this kit and the youtube videos I was able to build my own plunge which is now something I do daily and in luxury at a reduced cost. I have paid to plunge at a recovery center that had multiple tubs and the tub that I built is just as nice as the $3,000+ plunges that were at the recovery center. I would highly recommend buying the kit and building a plunge for yourself. Its very rewarding. Also, buy the complete plans or watch the video for the complete build. Everything is there for you to have success.

Working with this company has been easy and swift price of items amazing and plans and videos were easy to follow.
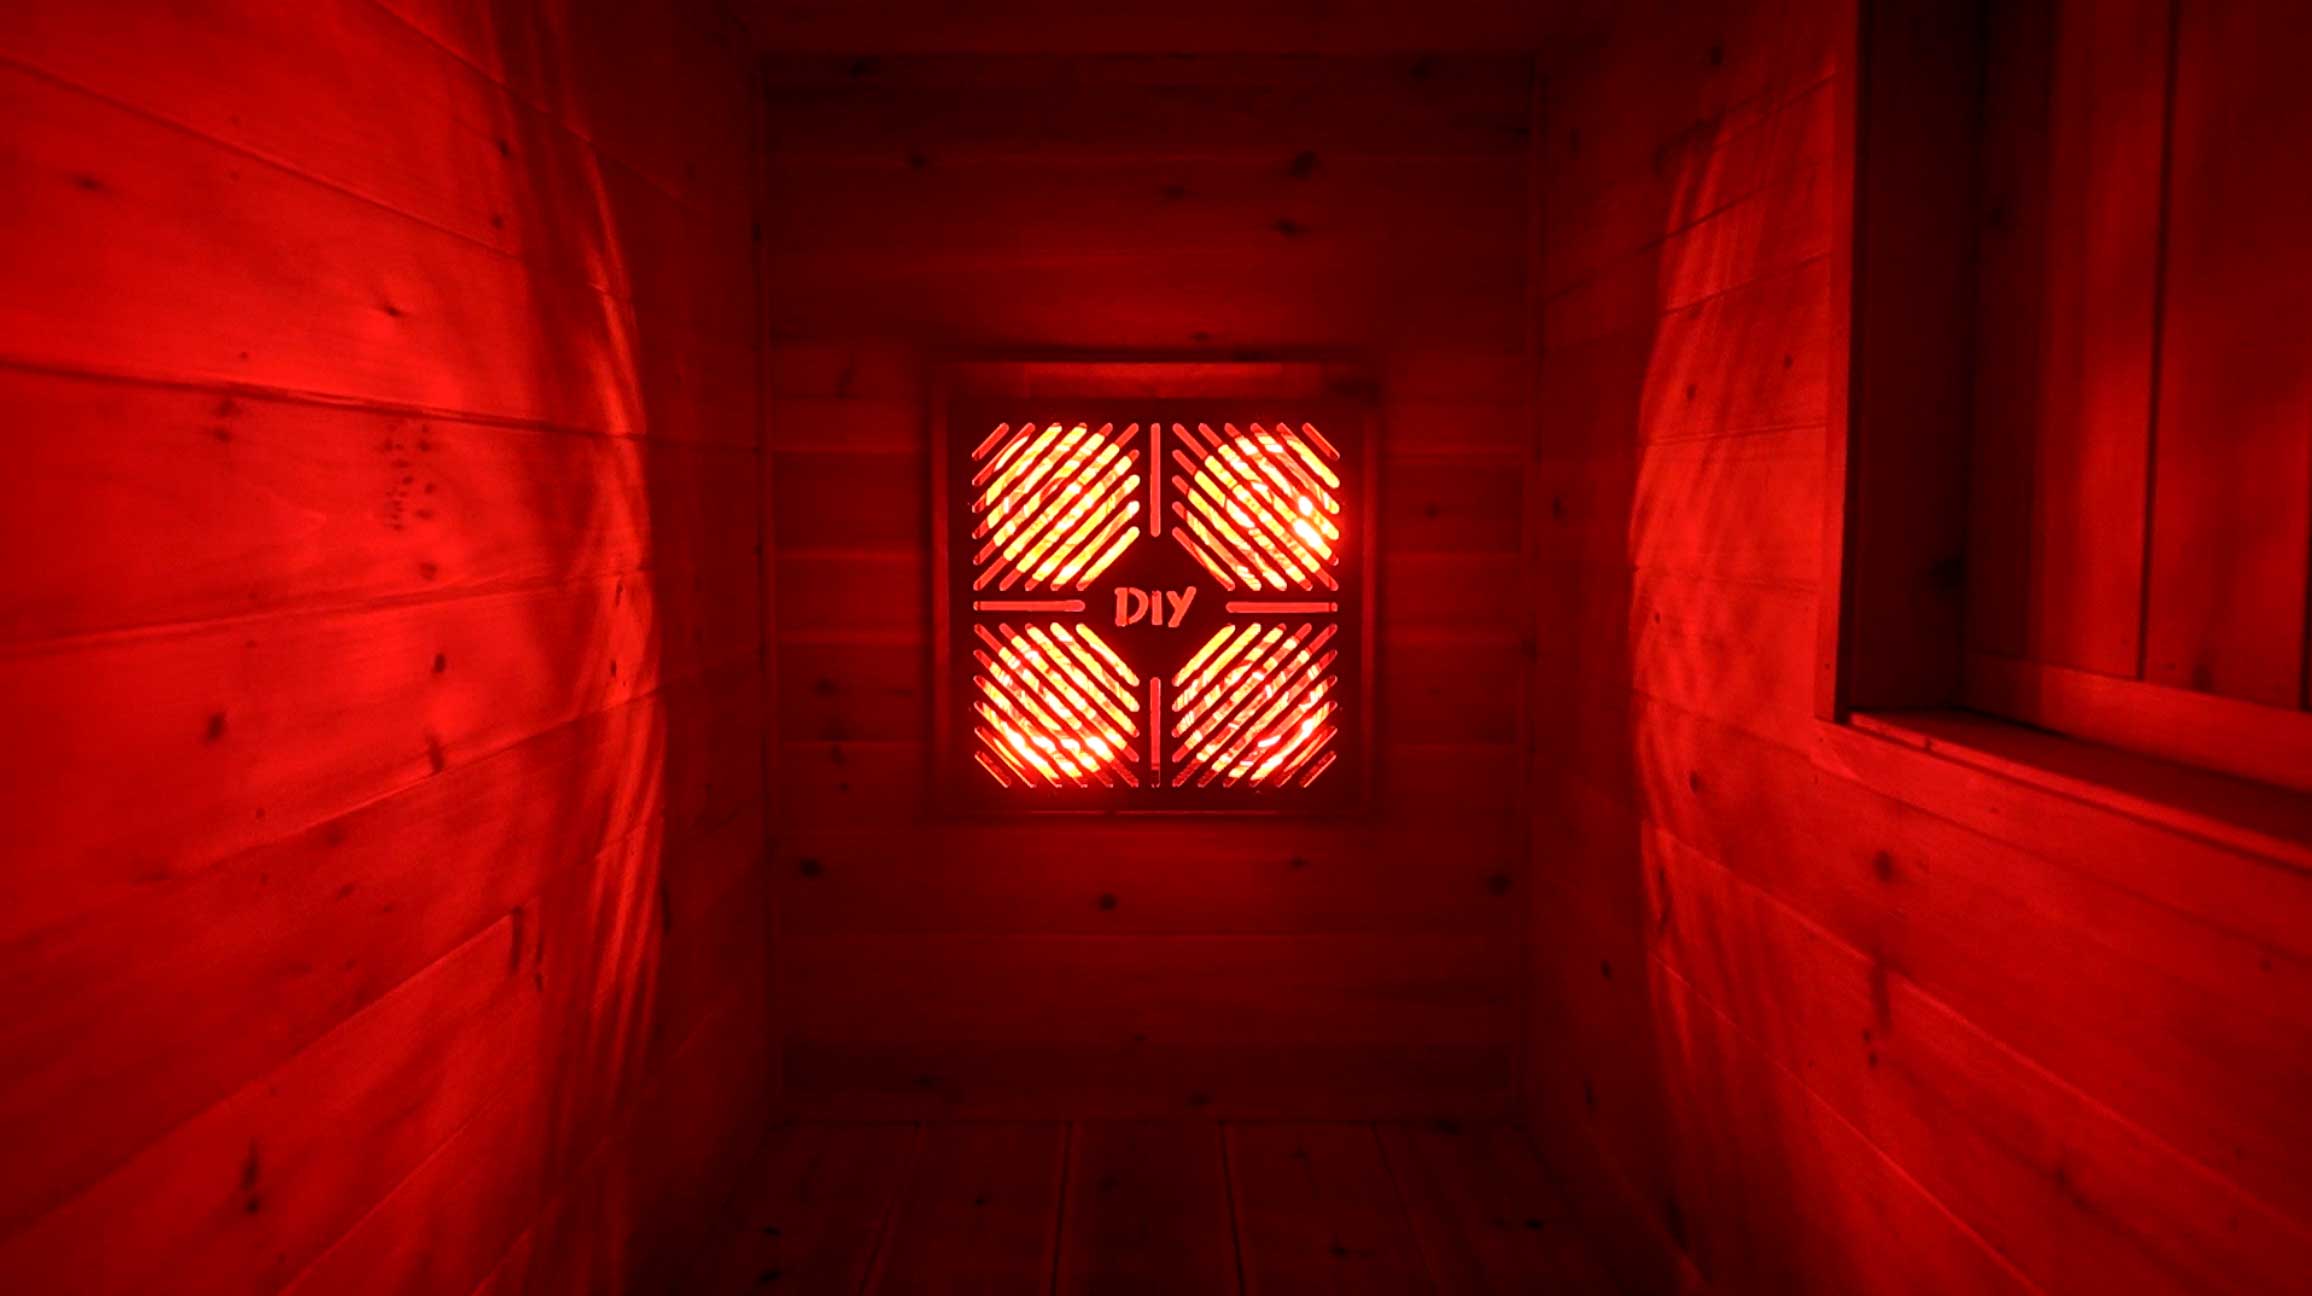
This is great took my husband and I 3 days to build and paint we have used it several times now and love it, the red light therapy is the best I feel more energetic and the dry heat is great.
![[PRE-ORDER DEAL!] DIY Sauna Heater Kit](https://cdn.shopify.com/s/files/1/0629/1695/2234/files/DIY-Sauna-Heater-Kit-Infrared-Bulb-Fixture-001_664c10a4-2f32-4756-b38f-35e401cb0ccb_70x70.jpg?v=1746232893)
Thrilled with how my cold plunge turned out. Plan is easy to follow overall and the videos help you through some of trickier parts.


WORTH EVERY PENNY
There were steps I had never done before, but thanks to the high level of detail, I had complete confidence at every step.
The plans and supplies list saved so many hours and the finished product looks and works great!


THE BEST
Extremely detailed and easy to follow (videos are incredible)! I've sat in the similar version you can buy for 4x the price and there is no difference.
Do yourself a favor – buy the plan and build your own!